
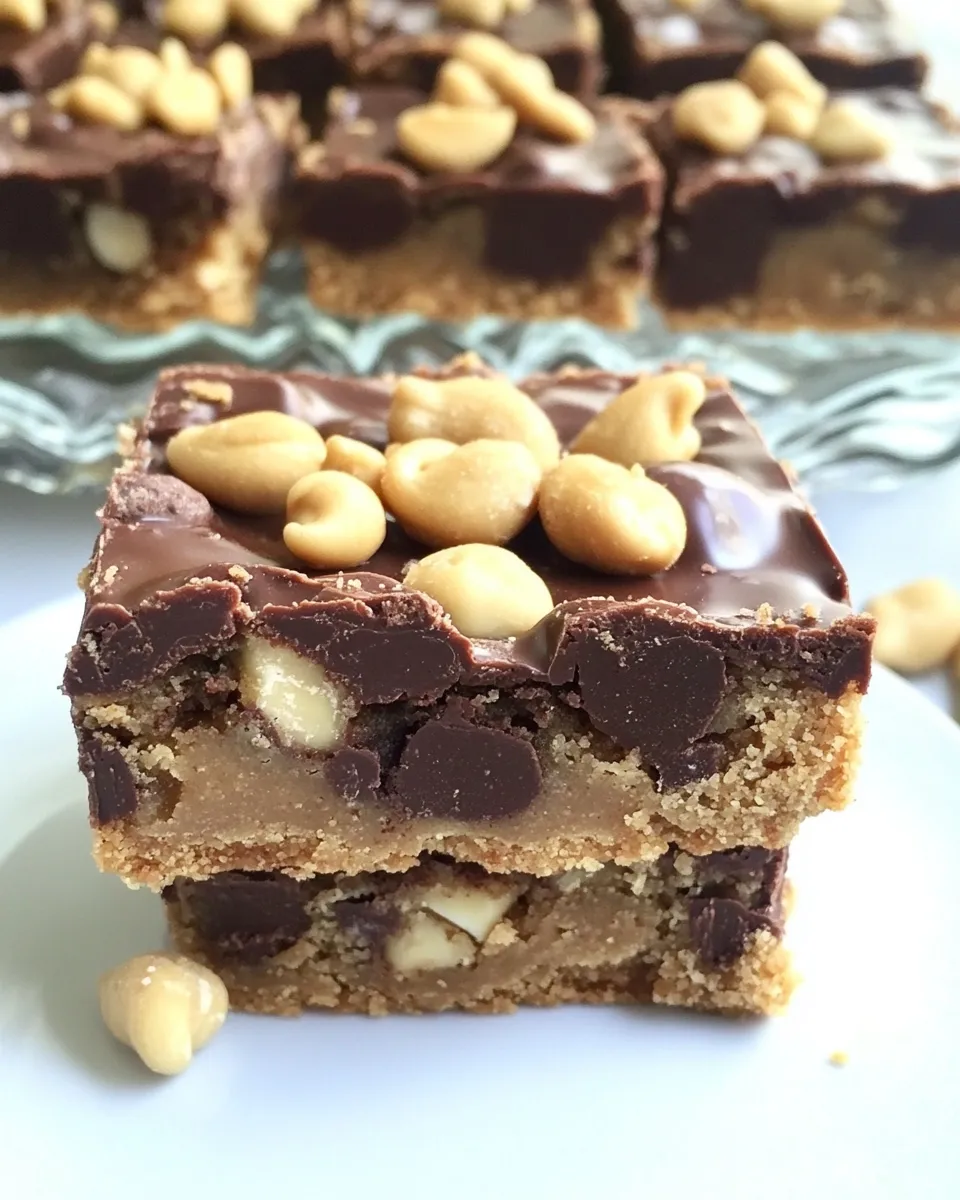
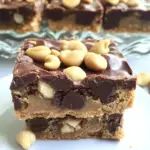
These Peanut Butter Chocolate Cookie Bars are the kind of recipe I reach for when I want something that feels indulgent but comes together without drama. Crunch from chopped peanuts, a soft peanut-butter crust, and a glossy chocolate-sweetened condensed milk layer — it’s straight comfort in every bite. I like that they slice cleanly and keep well, which makes them a dependable choice for potlucks or a week of treat-box lunches.
I’ll be direct: this is a recipe that rewards attention to a few small details — pressing the crust evenly, not overheating the melted chocolate, and letting the finished pan cool completely so the bars cut tidy. Nothing fancy. No obscure ingredients. The steps are short, and the results are reliably excellent.
If you enjoy peanut butter and chocolate together, these bars will quickly become a repeat. Read through the equipment and storage notes before you start; a tiny bit of preparation saves time and delivers a neater final bar.
Ingredient Rundown
Below I break down what each component does in the recipe so you know which elements create texture, sweetness, and structure. This helps when you’re deciding whether or not to substitute anything (my short notes explain where substitution is risky and where it’s safe).
Ingredients
- 1 cup peanut butter — forms the soft, peanutty crust and binds the base; creamy or chunky both work, but chunky adds texture.
- 1 cup sugar — sweetens and helps the crust set during the brief bake.
- 2 eggs — one egg goes in the crust to bind; the second egg helps set the chocolate layer.
- 1 can (14 ounces) sweetened condensed milk — sweet, thick liquid that makes the chocolate layer rich and glossy.
- 2 ounces unsweetened baking chocolate, melted and cooled — gives the chocolate layer real cocoa depth without extra sweetness; must be cooled before mixing with the condensed milk and egg.
- 1 teaspoon vanilla extract — lifts and rounds the chocolate mixture; small but important for flavor balance.
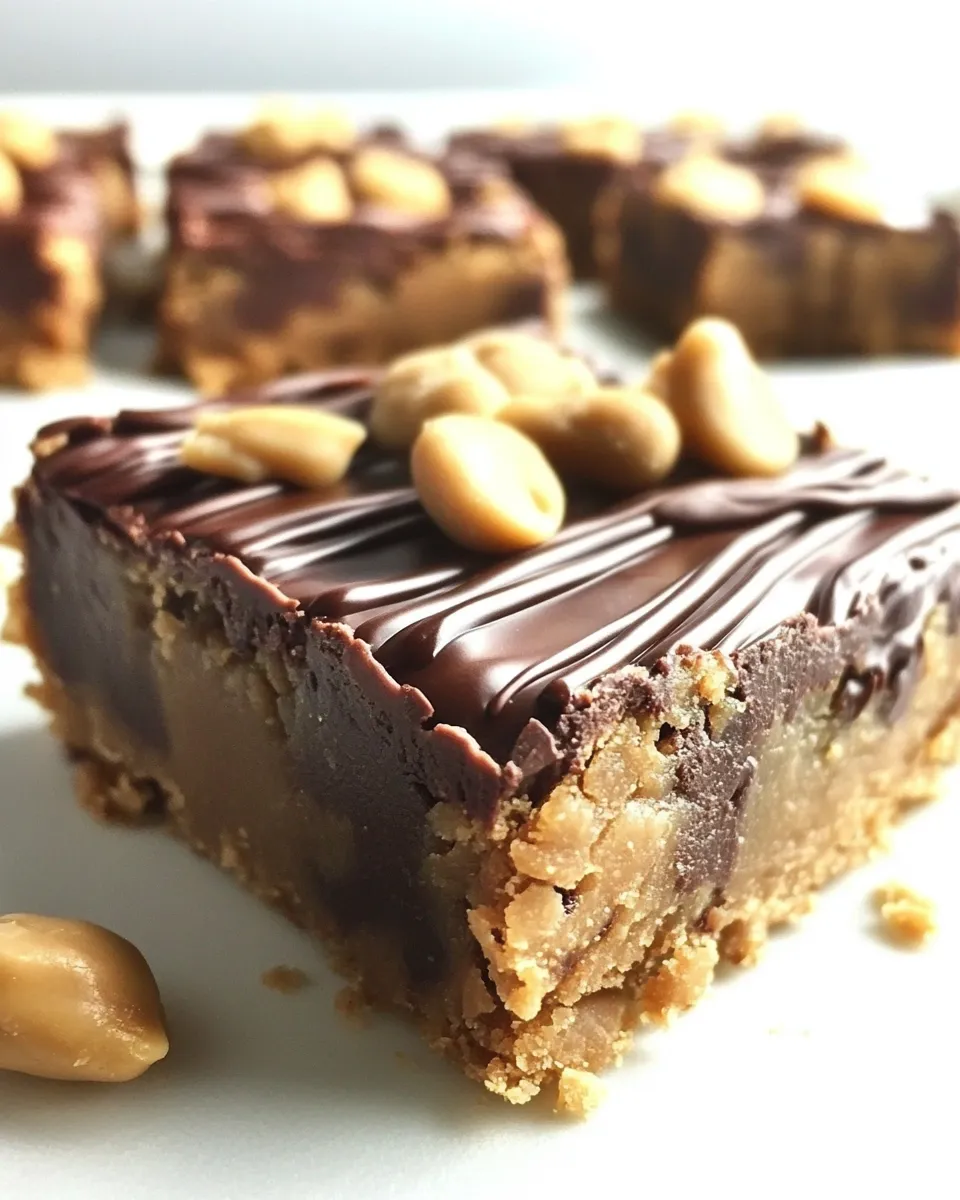
- ½ cup coarsely chopped peanuts — sprinkled on top for crunch and visual contrast; use salted or unsalted based on preference.
Peanut Butter Chocolate Cookie Bars — Do This Next
- Preheat oven to 350°F. Line a 9×9-inch baking pan with foil (leave an overhang for lifting the bars) and spray the foil with cooking spray; set the pan aside.
- In a large bowl, stir together 1 cup peanut butter, 1 cup sugar, and 1 egg until smooth and evenly combined.
- Spread the peanut butter mixture evenly across the bottom of the prepared pan, pressing to the edges. Bake the crust for 12 minutes.
- While the crust bakes, melt 2 ounces unsweetened baking chocolate and let it cool to room temperature. (You can melt the chocolate in short microwave bursts, stirring between bursts, or use a double boiler; allow it to cool before proceeding.)
- In a medium bowl, stir the cooled melted chocolate together with the 14-ounce can of sweetened condensed milk. Add the remaining egg and 1 teaspoon vanilla extract, and stir until the mixture is smooth and combined.
- As soon as the crust comes out of the oven, spread the chocolate mixture evenly over the hot crust. Sprinkle 1/2 cup coarsely chopped peanuts evenly over the top.
- Return the pan to the oven and bake an additional 20–25 minutes, until the top is set and gently bounces back when touched. Cool completely in the pan on a wire rack, then lift out using the foil overhang and cut into bars.
Why You’ll Love This Recipe
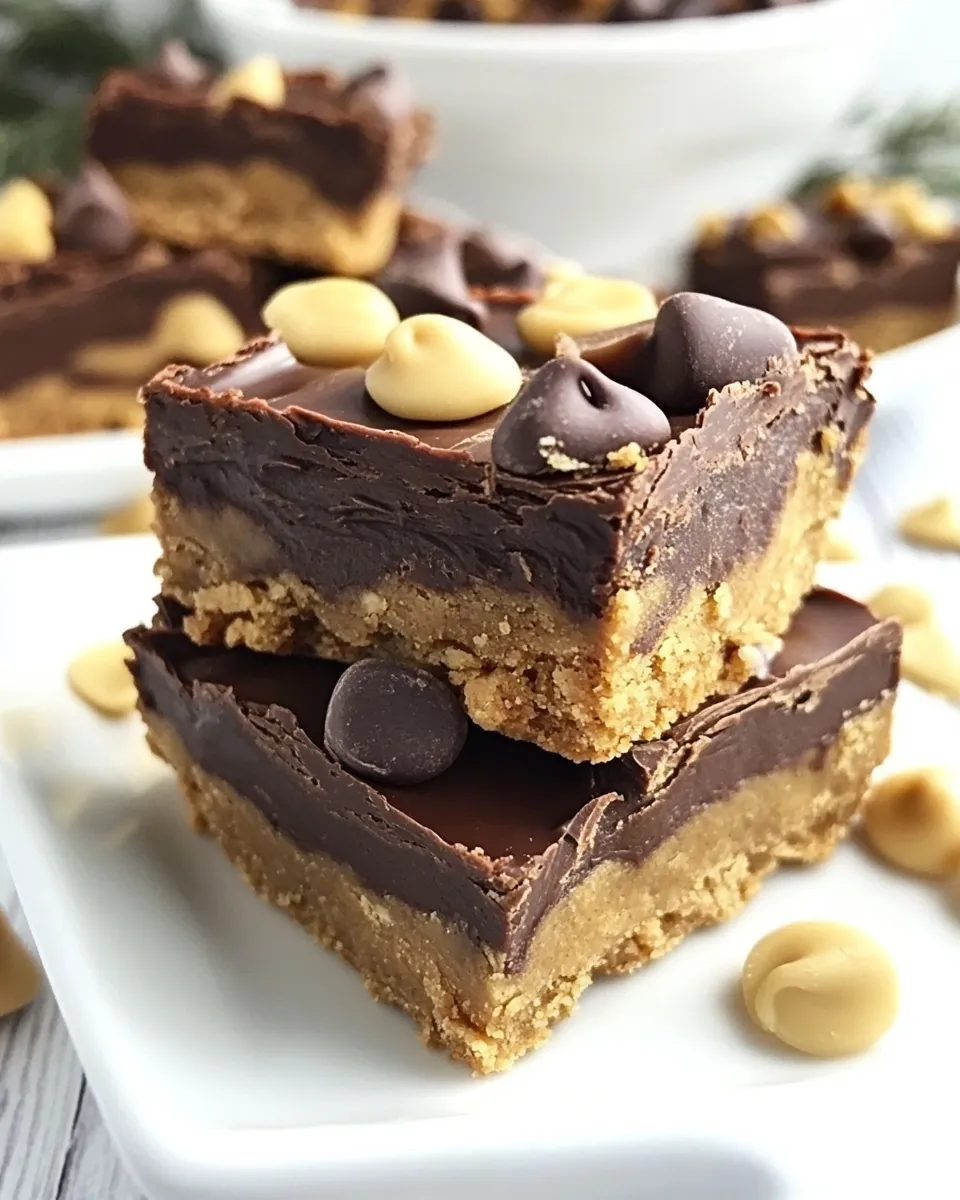
First, the flavor pairing is classic and uncomplicated: roasted peanut butter and real cocoa. The unsweetened chocolate keeps the filling from becoming cloying despite the sweetened condensed milk. Texture-wise, you get a soft, slightly crisp-edged base and a dense, fudgy top layer with crunchy peanuts.
Second, the method is forgiving. The crust needs only a short bake so it won’t dry out, and the chocolate layer sets from the condensed milk and egg — no tempering or complicated chocolate work required. The recipe scales fairly well and is friendly to home bakers at any level.
Finally, they travel well. The bars hold their shape and maintain flavor over several days, which makes them convenient for gifting, lunchboxes, or a dessert table where you want something that won’t collapse or weep.
International Equivalents
If you prefer metric measures, here are approximate conversions to help with accuracy. These are standard kitchen equivalents and will get you very close to the intended results.
- 1 cup peanut butter — about 240 grams.
- 1 cup sugar — about 200 grams (granulated sugar).
- 2 eggs — use two medium-large eggs (no conversion needed).
- 1 can (14 ounces) sweetened condensed milk — approximately 396 grams.
- 2 ounces unsweetened baking chocolate — about 56 grams.
- 1 teaspoon vanilla extract — about 5 milliliters.
- ½ cup coarsely chopped peanuts — roughly 60–65 grams depending on chop size.
Note: Oven temperatures are in Fahrenheit above (350°F). If you use Celsius, set the oven to about 175°C (conventional). Keep an eye on the bars the first time you bake them in a different oven; small adjustments in timing may be needed.
Before You Start: Equipment
- 9×9-inch baking pan — the recipe assumes this size; larger pans will yield thinner bars and shorter bake times.
- Aluminum foil and cooking spray — foil with an overhang makes lifting the bars easy; spray prevents sticking.
- Large mixing bowl and medium mixing bowl — one for the crust, one for the chocolate layer.
- Measuring cups and spoons — accuracy matters for balance between peanut butter, sugar, and egg.
- Small saucepan or microwave-safe bowl/double boiler — for melting the unsweetened chocolate.
- Wire rack — for cooling the pan completely before cutting.
- Sharp knife or bench scraper — to cut neat bars once cooled.
Steer Clear of These
- Overheating the chocolate — if the melted unsweetened chocolate is hot when mixed with the sweetened condensed milk and egg, the egg could scramble or the texture can be grainy. Let the chocolate cool to room temperature.
- Undermixing the crust — you want an even, spreadable layer. If the peanut butter is too stiff, stir well before measuring or microwave 5–10 seconds to loosen it.
- Skipping the foil overhang — trying to remove bars directly from a pan is messy. The foil lift makes neat cuts and easy storage.
- Cutting while warm — the bars finish setting as they cool. Cutting too early makes crumbly pieces and messy edges.
Fresh Takes Through the Year
Spring/Summer: Serve chilled. I like keeping these refrigerated on hot days; they slice as clean little cool squares and make a good counterpoint to fresh fruit platters.
Autumn/Winter: Warm a slice briefly (10–12 seconds) in the microwave and serve with a spoonful of vanilla ice cream for an instant dessert. Add a pinch of flaky sea salt on top before serving to brighten the chocolate and peanut flavors.
Holiday twist: Swap the chopped peanuts for chopped roasted hazelnuts for a slightly different profile, and consider sprinkling finely crushed pretzel pieces on top for salt and crunch. (Any swap means the final result will change in texture and flavor — I keep the original recipe recommendations as my baseline.)
Cook’s Commentary
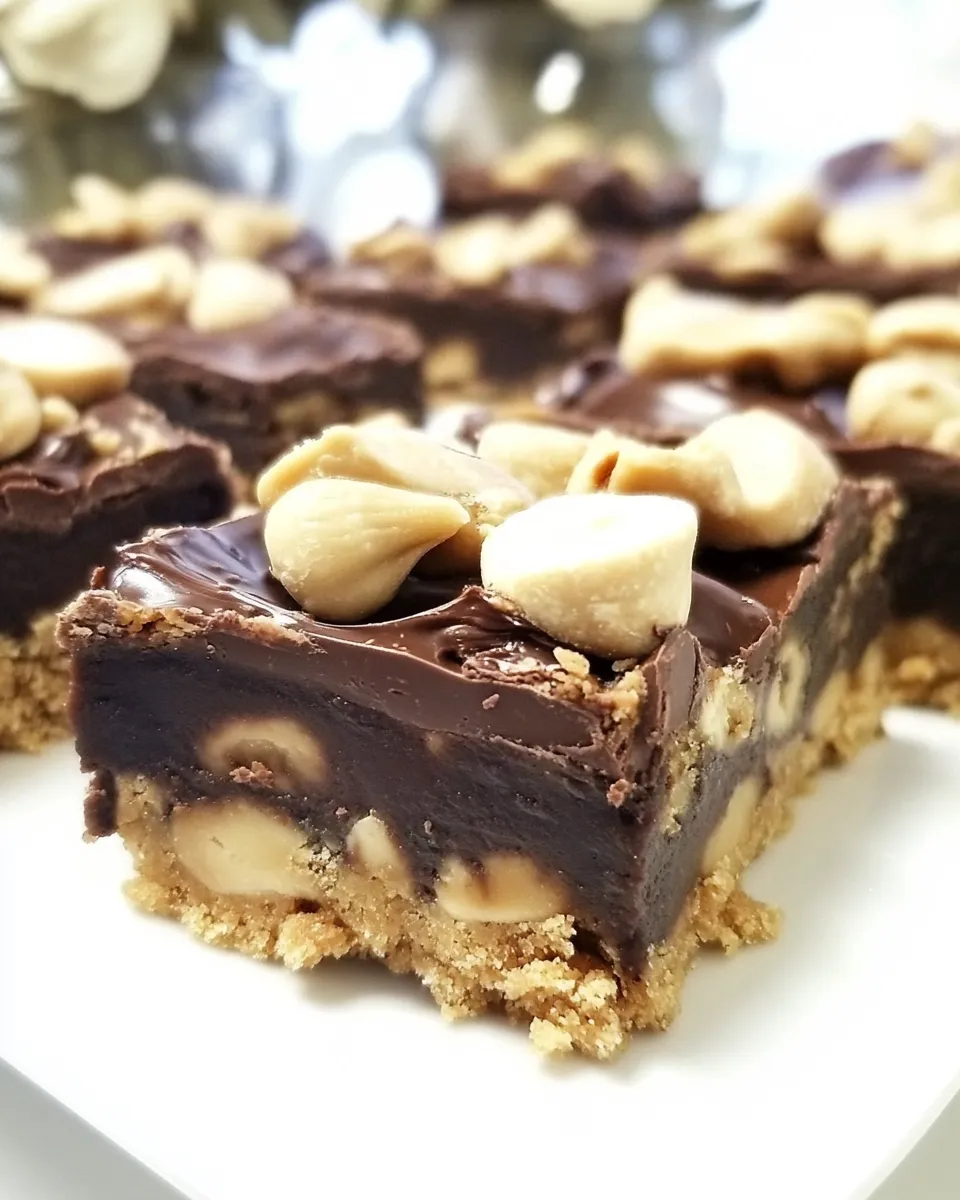
I make these bars when I want something straightforward but with a “made-from-scratch” feel. The use of sweetened condensed milk is a practical shortcut that gives the chocolate layer a silky, creamy density that’s hard to replicate with heavy cream and chopped chocolate alone. The unsweetened chocolate is important; it prevents the sweetened condensed milk from overpowering the peanut butter and keeps the flavor rounded.
One small habit I have: I lightly press the crust into the pan with a flat-bottomed measuring cup. It firms the base evenly and gives the finished bars a uniform height. Another is to give the chocolate a full 10–15 minutes to cool after melting; even if it feels warm, that residual heat can affect the eggs.
Cooling, Storing & Rewarming
Cooling: Cool the pan completely on a wire rack before lifting the foil and slicing. This can take up to an hour depending on your kitchen temperature. If you’re impatient, chill the pan in the fridge for 20–30 minutes to speed things up, but cutting after a quick chill gives sharper edges than cutting entirely at room temp.
Storing: Store bars in an airtight container at room temperature for up to 2 days. For longer storage, refrigerate up to 7 days. If you refrigerate them, let the bars sit at room temperature 15–20 minutes before serving so flavors soften.
Freezing: Wrap bars individually in plastic wrap and place in a freezer-safe container. Freeze up to 2 months. Thaw in the refrigerator overnight and bring to room temperature before serving.
Rewarming: If you like them warm, microwave single bars for 8–12 seconds (check after 8 seconds) — that’s usually enough to soften the chocolate layer without melting it completely.
Common Qs About Peanut Butter Chocolate Cookie Bars
- Can I use natural peanut butter? You can, but natural peanut butter can be looser and oilier. Stir it well before measuring. If your natural peanut butter separates and is runny, the crust texture will change slightly — still tasty, but a bit more crumbly.
- Can I make this gluten-free? The recipe as written contains no flour, so it’s effectively gluten-free provided your peanut butter and any other packaged ingredients are certified gluten-free.
- What if I don’t have unsweetened baking chocolate? Unsweetened baking chocolate gives concentrated cocoa flavor. You could use semisweet chocolate, but reduce additional sweet elements elsewhere only if you find the final result too sweet; the recipe balances sweetened condensed milk and peanut butter with unsweetened chocolate intentionally.
- My top browned too much during the final bake. Now what? If the top darkens too quickly, loosely tent the pan with foil and continue baking until set. The tent prevents further browning while allowing the bars to finish.
- How should I cut neat bars? Use a sharp knife warmed under hot water and wiped dry between cuts. For extra-clean edges, chill the pan until firm and then cut.
Final Thoughts
These Peanut Butter Chocolate Cookie Bars are straightforward and dependable. They’re quick to assemble, forgiving in technique, and deliver a satisfying balance of peanut, sugar, and cocoa. Follow the few critical points — melt and cool the chocolate, press the crust evenly, and cool the pan completely before cutting — and you’ll have neat, tasty bars any time you need a reliable dessert.
Give them a try exactly as written the first time, and then experiment with small tweaks: a sprinkle of flaky salt, a different nut, or a warm scoop of ice cream at the finish. Mostly, have fun with them; they’re meant to be shared and enjoyed.
Peanut Butter Chocolate Cookie Bars
Ingredients
Ingredients
- 1 cuppeanut butter
- 1 cupsugar
- 2 eggs
- 1 can 14 ounces sweetened condensed milk
- 2 ouncesunsweetened baking chocolate melted and cooled
- 1 teaspoonvanilla extract
- 1/2 cupcoarsely chopped peanuts
Instructions
Instructions
- Preheat oven to 350°F. Line a 9x9-inch baking pan with foil (leave an overhang for lifting the bars) and spray the foil with cooking spray; set the pan aside.
- In a large bowl, stir together 1 cup peanut butter, 1 cup sugar, and 1 egg until smooth and evenly combined.
- Spread the peanut butter mixture evenly across the bottom of the prepared pan, pressing to the edges. Bake the crust for 12 minutes.
- While the crust bakes, melt 2 ounces unsweetened baking chocolate and let it cool to room temperature. (You can melt the chocolate in short microwave bursts, stirring between bursts, or use a double boiler; allow it to cool before proceeding.)
- In a medium bowl, stir the cooled melted chocolate together with the 14-ounce can of sweetened condensed milk. Add the remaining egg and 1 teaspoon vanilla extract, and stir until the mixture is smooth and combined.
- As soon as the crust comes out of the oven, spread the chocolate mixture evenly over the hot crust. Sprinkle 1/2 cup coarsely chopped peanuts evenly over the top.
- Return the pan to the oven and bake an additional 20–25 minutes, until the top is set and gently bounces back when touched. Cool completely in the pan on a wire rack, then lift out using the foil overhang and cut into bars.
Equipment
- 9x9-inch Baking Pan
- Foil
- Cooking spray
- Mixing bowls
- microwave or double boiler
- Wire Rack


