
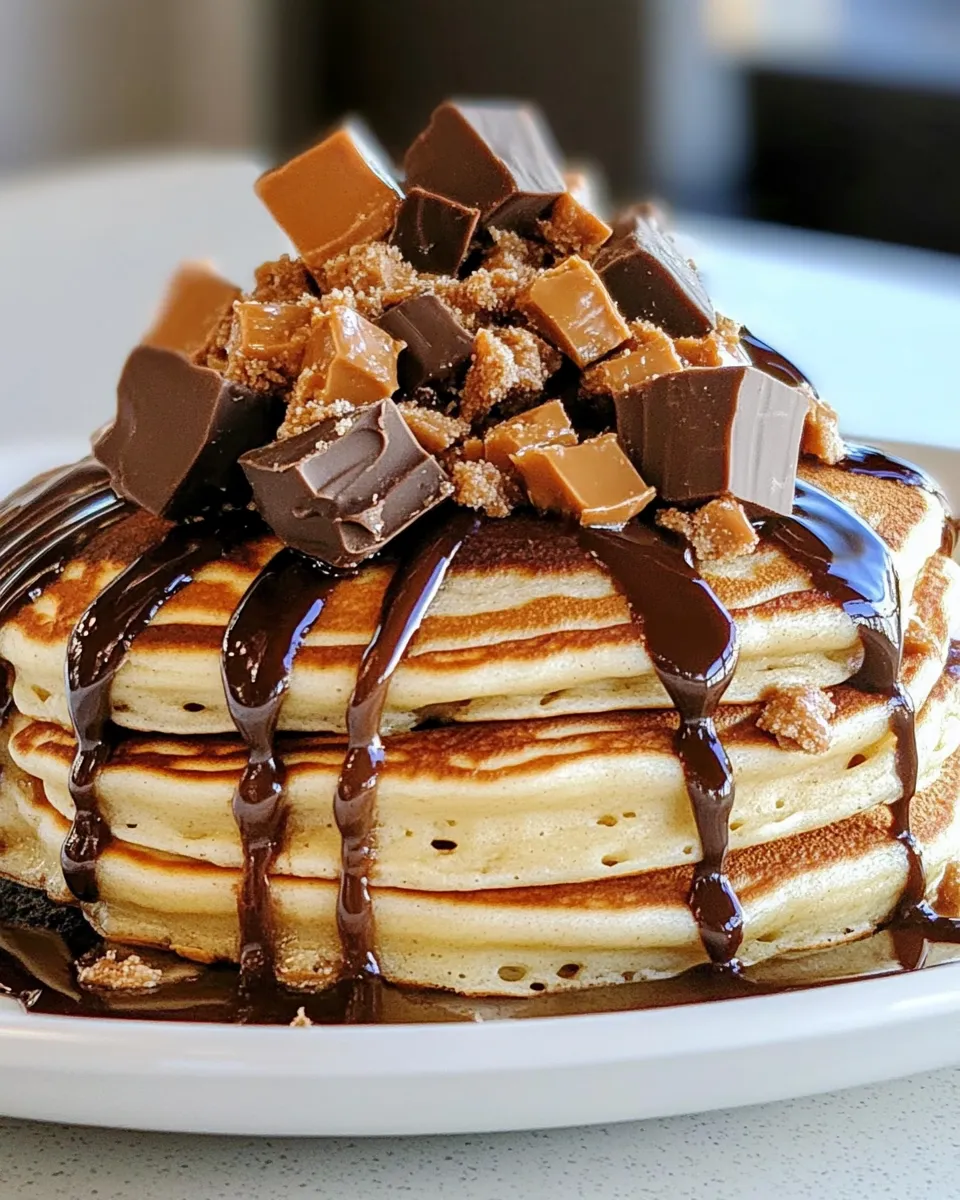
I make these Peanut Butter Cup Pancakes when I want something that feels indulgent but comes together fast. The batter is studded with chopped mini peanut butter cups so every bite has pockets of chocolate and peanut butter — melting into the hot pancake as it cooks. It reads like dessert for breakfast, but honestly it’s a comfort food moment any time of day.
There’s no complicated technique here. The batter is thick and forgiving, and the peanut butter gives the pancakes a tender, slightly chewy crumb. Sprinkle the candy on the uncooked side, press a little batter over them, and you get gooey bits inside rather than a flat smear on top.
I’ll walk you through what to buy, the exact steps, common problems (and fixes), and swaps if you need to suit dietary needs. Practical tips and little tricks are tucked into every section — because the goal is reliable, delicious pancakes without fuss.
What to Buy
Shop for quality where it matters: a creamy peanut butter you like, fresh buttermilk, and good mini peanut butter cups. You don’t need specialty items beyond that. Here’s what I reach for:
– Creamy peanut butter: it blends smoothly into the batter and gives a rich, nutty base.
– Buttermilk: helps the pancake rise and keeps them tender. If you don’t have it, plan a simple swap (see Dietary Swaps & Alternatives).
– Mini chocolate peanut butter cups: chop them small so the bits distribute through the pancakes. They melt into small pockets of flavor.
– Basic pantry staples: flour, sugar, baking powder, baking soda, salt, one egg — nothing exotic.
Ingredients
- 1 cup flour — the structure of the pancake; use all-purpose flour for the classic texture.
- 2 Tbsp. sugar — adds a touch of sweetness and helps browning.
- 1 tsp baking powder — primary leavener so the pancakes are light.
- ½ tsp baking soda — reacts with the buttermilk for lift and tenderness.
- ¼ tsp salt — balances sweetness and enhances flavor.
- 1 ¼ cup buttermilk — acid and moisture; keeps pancakes tender and adds tang.
- 1 egg, beaten — binds and adds richness.
- ⅓ cup creamy peanut butter — flavor and a slightly denser batter; creamy is best here.
- ½ cup mini chocolate peanut butter cups, chopped into small pieces — the star garnish inside each pancake; chop small so they distribute evenly.
- chocolate syrup for serving — optional finish for extra chocolatey shine.
- whipped cream for serving — optional topping that lifts the dish into dessert territory.
Build Peanut Butter Cup Pancakes Step by Step
- Preheat a large skillet or griddle over medium heat.
- In a medium bowl, whisk together 1 cup flour, 2 Tbsp. sugar, 1 tsp baking powder, ½ tsp baking soda, and ¼ tsp salt.
- In a small bowl, whisk together 1 ¼ cup buttermilk, 1 beaten egg, and ⅓ cup creamy peanut butter until smooth.
- Pour the wet ingredients into the dry ingredients and stir until just combined; the batter should be slightly lumpy. Do not overmix.
- Lightly spray or grease the preheated skillet. Use a ¼-cup measure to portion batter onto the skillet for each pancake. Because the batter is thick, gently spread each mound with the back of a spoon, spatula, or the measuring cup to form a round pancake.
- Immediately sprinkle a few pieces of the ½ cup chopped mini chocolate peanut butter cups onto each uncooked pancake. Use a spoon to cover the candy pieces with a little batter so they adhere.
- Cook until bubbles form on the surface and the edges look set, about 2–3 minutes. Flip and cook the other side until golden and cooked through, about 1–2 minutes more.
- Transfer cooked pancakes to a plate and keep warm while you repeat with the remaining batter; re-spray the skillet as needed between batches.
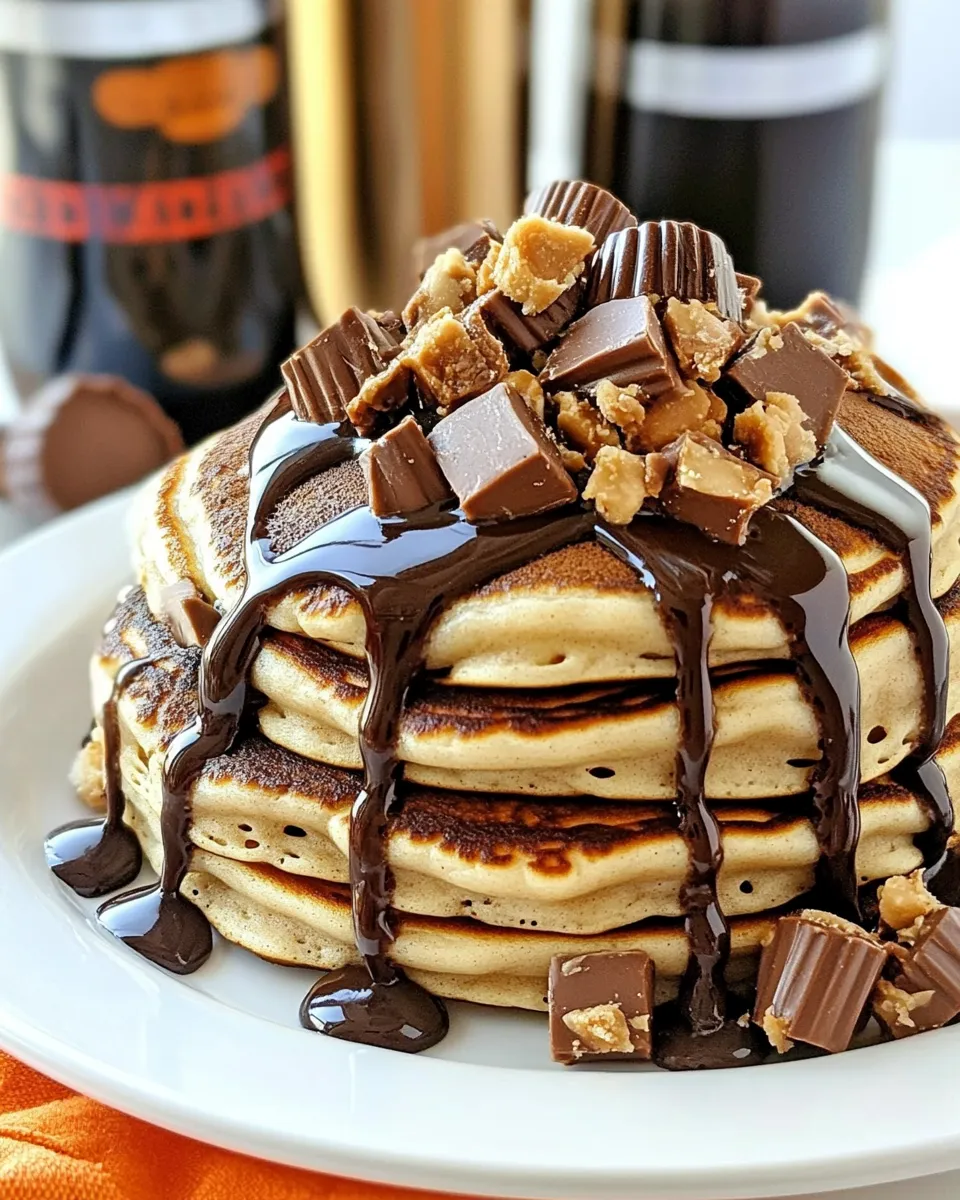
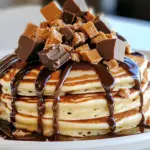
- Serve the pancakes topped with whipped cream, chocolate syrup, and any remaining chopped peanut butter cups.
Why I Love This Recipe
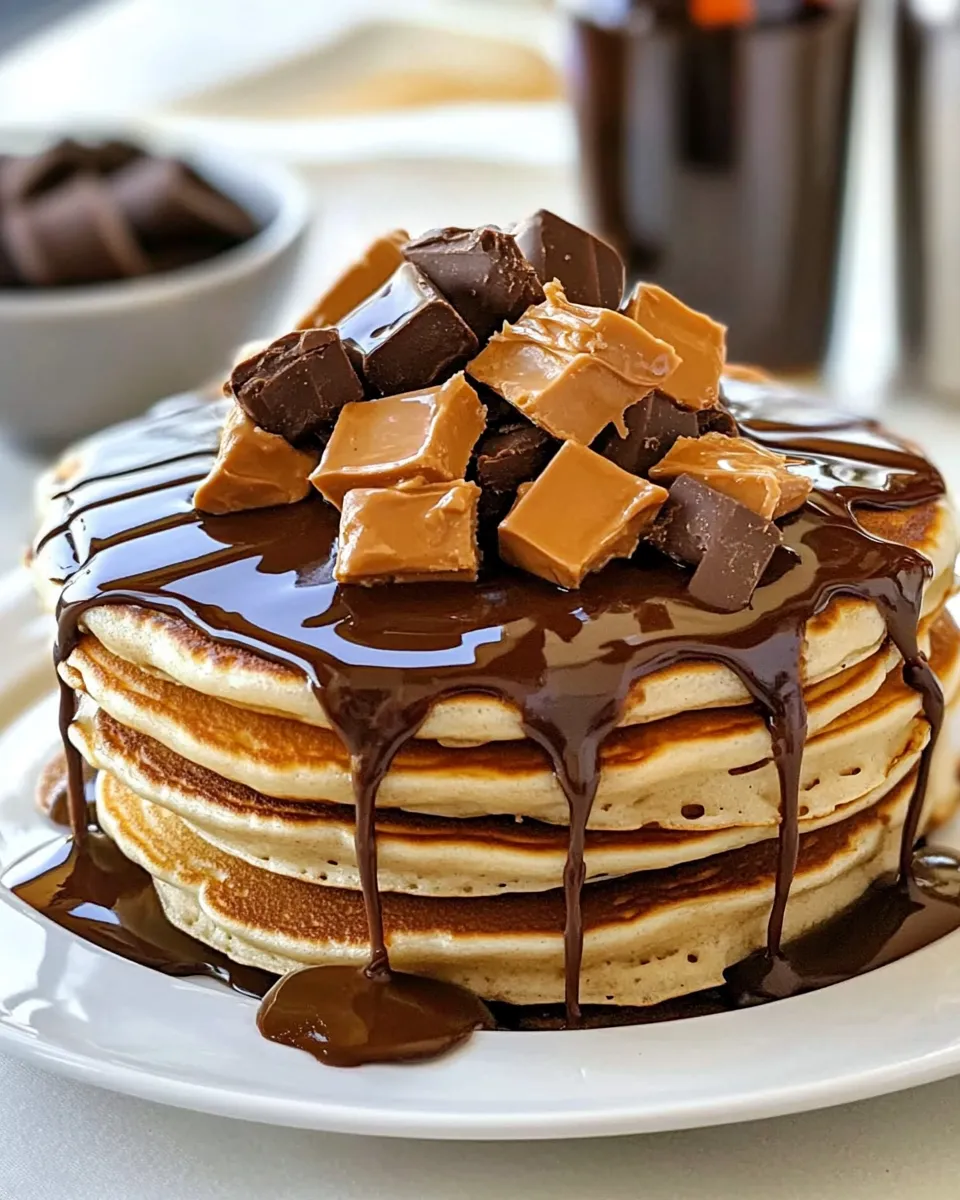
These pancakes hit the cozy, nostalgic notes I want on a weekend morning. Peanut butter is baked into the batter rather than slathered on afterward, so the flavor is integrated and consistent across each pancake. The mini peanut butter cups are a textural and flavor contrast — a soft, melty center surrounded by tender pancake.
They’re forgiving. The batter won’t punish slight overmixing the way some delicate batters do, and the candy pieces keep things exciting without any special equipment. Serve them simple or dress them up for guests; either way they read like a treat but come together quickly.
Low-Carb/Keto Alternatives
If you want to lower carbs, swap the flour for a low-carb baking mix or almond flour blend designed for pancakes and replace the sugar with a granulated erythritol or monk fruit sweetener. Use a sugar-free peanut butter cup if you can find one, or omit the cups and top with a drizzle of sugar-free chocolate.
Keep in mind that grain-free flours behave differently — the batter may be thinner or denser, and cook time will vary. Start with slightly less batter per pancake so you can judge how they hold together on the griddle.
Hardware & Gadgets
Use basic kitchen tools — nothing fancy required.
- Large skillet or electric griddle — gives even heat and enough surface for multiple pancakes.
- Measuring cups and spoons — precise amounts keep batter consistency reliable.
- Whisk and small bowls — whisk dry and wet separately to avoid overmixing.
- Spatula — a thin, flexible turner helps flip pancakes cleanly.
- Nonstick spray or a little butter — prevents sticking and helps with browning.
Troubles You Can Avoid
Here are common issues and quick fixes so you get the pancakes you expect.
Problem: Pancakes burn on the outside before cooking through. Fix: Your skillet is too hot. Reduce the heat to medium-low and give the pan a minute to cool. Pancakes should sizzle gently, not fry aggressively.
Problem: Batter spreads too thin, or pancakes are flat. Fix: The batter should be thick; if you over-measured buttermilk or under-measured flour, the batter will thin out. Scoop with a ¼-cup measure and gently spread the mound; don’t level it like a crepe.
Problem: Peanut butter cups fall off after flipping. Fix: After sprinkling the candies, press them lightly into the batter and cover with a dab of batter using a spoon. That helps them adhere. Avoid piling too many pieces in one spot.
Problem: Candy melts into a chocolate smear on the griddle. Fix: Keep pieces small and press them into the top so they’re partially encased. Also avoid leaving pancakes face-down on the hot surface before flipping — that gives the candy too much direct contact with the skillet.
Dietary Swaps & Alternatives
Need a vegetarian, vegan, or allergy-friendly version? Here are reliable swaps to consider without changing the method dramatically.
Dairy-free / Vegan: Replace buttermilk with a plant-based milk plus an acid (such as almond or oat milk mixed with a splash of lemon juice) and use a flax or chia “egg” (1 tbsp ground flax + 3 tbsp water, mixed and rested) as the binder. Use dairy-free whipped topping and a vegan chocolate PB cup or chopped dark chocolate for the candy bits.
Nut-free: If peanuts are an issue, this recipe becomes a different pancake entirely. Skip the peanut butter and peanut butter cups and substitute a neutral oil and a chopped chocolate candy you can eat safely. The batter steps remain the same.
Sugar-free: Swap the sugar in the batter for a granulated sugar substitute that measures cup-for-cup, and choose sugar-free chocolate candies and syrup for serving.
Insider Tips
Small adjustments make a big difference in results.
– Warm the peanut butter slightly if it’s very stiff so it blends into the buttermilk smoothly. A few seconds in the microwave will do it.
– Chop the mini peanut butter cups into small, uniform pieces. Too-large chunks make irregular cooking and can cause the centers to stay gooey while the pancake finishes.
– Keep a low oven (about 200°F/95°C) ready to keep pancakes warm as you cook batches. Stack between layers of parchment to prevent sticking.
– If your batter sits for a few minutes, it will thicken slightly. Stir gently before portioning and avoid overmixing.
Refrigerate, Freeze, Reheat
Store leftovers properly so you can enjoy them later without losing texture.
Refrigerate: Place cooled pancakes in an airtight container with parchment between layers. They’ll keep for 3–4 days in the refrigerator. Reheat in a warm oven or toaster oven to preserve texture.
Freeze: Flash-freeze single pancakes on a baking sheet until firm, then transfer to a freezer bag with parchment between layers. Frozen pancakes keep well for up to 2 months.
Reheat: For a quick reheat, microwave a couple pancakes for 20–30 seconds, but the texture will be softer. For best results, reheat in a 350°F oven for 8–12 minutes or in a toaster oven until warmed through and slightly crisped on the edge.
Top Questions & Answers
Can I use crunchy peanut butter? Yes. Crunchy will add texture. If the peanut pieces are very large, they can affect the batter’s spread — consider a smoother variety or stir crunchy briefly to break the larger bits.
Can I make the batter ahead? You can mix the dry and wet separately and combine just before cooking. If you mix the full batter ahead, expect some thickening; give it a gentle stir before portioning.
How many pancakes does this recipe make? Using a ¼-cup measure, you’ll get several small-to-medium pancakes; exact count depends on how thin or thick you spread each portion. Plan for two or three per person as a typical serving when serving other breakfast items.
Can I omit the peanut butter cups? Absolutely. The batter still makes tasty peanut butter pancakes. Top with chocolate syrup or chopped chocolate if you want the chocolate element without the candy pieces.
Ready to Cook?
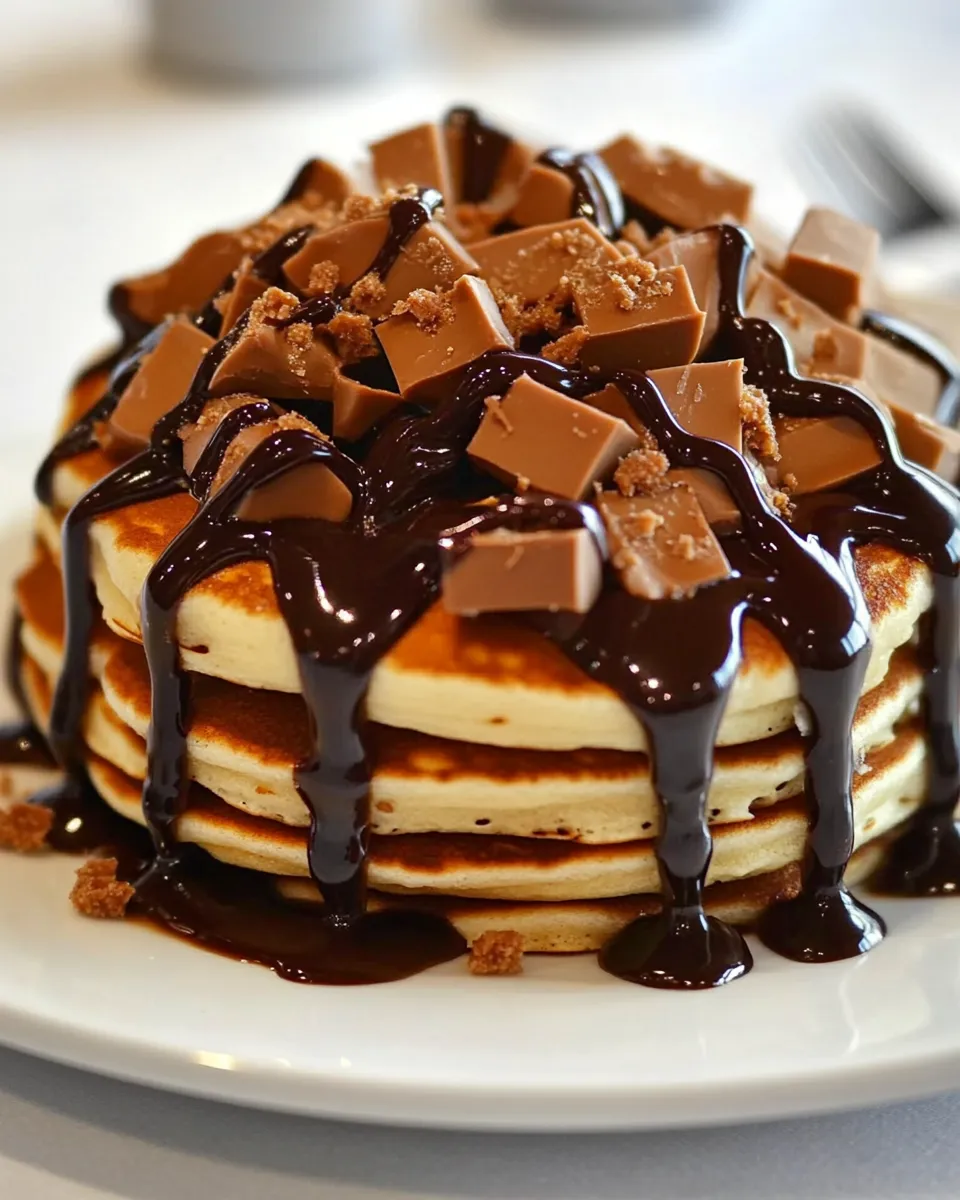
These Peanut Butter Cup Pancakes are straightforward: mix, dollop, sprinkle, and flip. The reward is a stack of warm, peanut-buttery pancakes with melty chocolate in every bite. Start with the ingredients listed, follow the step-by-step directions, and use the tips here if you hit a snag.
Make a small test pancake first to confirm your skillet temperature and batter consistency. Adjust heat if it browns too fast or too slowly. Then cook confidently — these pancakes are designed to be enjoyed, not fussed over.
When you serve them, add a little whipped cream and a drizzle of chocolate syrup, and save a few chopped peanut butter cups for garnish. Sit down, dig in, and enjoy the messy, melty, perfectly imperfect pancake moment.
Peanut Butter Cup Pancakes
Ingredients
Ingredients
- 1 cupflour
- 2 Tbsp.sugar
- 1 tsp.baking powder
- 1/2 tsp.baking soda
- 1/4 tsp.salt
- 1 1/4 cupbuttermilk
- 1 eggbeaten
- 1/3 cupcreamy peanut butter
- 1/2 cupmini chocolate peanut butter cupschopped into small pieces
- chocolate syrupfor serving
- whipped creamfor serving
Instructions
Instructions
- Preheat a large skillet or griddle over medium heat.
- In a medium bowl, whisk together 1 cup flour, 2 Tbsp. sugar, 1 tsp baking powder, ½ tsp baking soda, and ¼ tsp salt.
- In a small bowl, whisk together 1 ¼ cup buttermilk, 1 beaten egg, and ⅓ cup creamy peanut butter until smooth.
- Pour the wet ingredients into the dry ingredients and stir until just combined; the batter should be slightly lumpy. Do not overmix.
- Lightly spray or grease the preheated skillet. Use a ¼-cup measure to portion batter onto the skillet for each pancake. Because the batter is thick, gently spread each mound with the back of a spoon, spatula, or the measuring cup to form a round pancake.
- Immediately sprinkle a few pieces of the ½ cup chopped mini chocolate peanut butter cups onto each uncooked pancake. Use a spoon to cover the candy pieces with a little batter so they adhere.
- Cook until bubbles form on the surface and the edges look set, about 2–3 minutes. Flip and cook the other side until golden and cooked through, about 1–2 minutes more.
- Transfer cooked pancakes to a plate and keep warm while you repeat with the remaining batter; re-spray the skillet as needed between batches.
- Serve the pancakes topped with whipped cream, chocolate syrup, and any remaining chopped peanut butter cups.
Equipment
- Large skillet or griddle
- Medium Bowl
- Small Bowl
- Measuring Cups
- Measuring Spoons
- Spatula
- Spoon


