
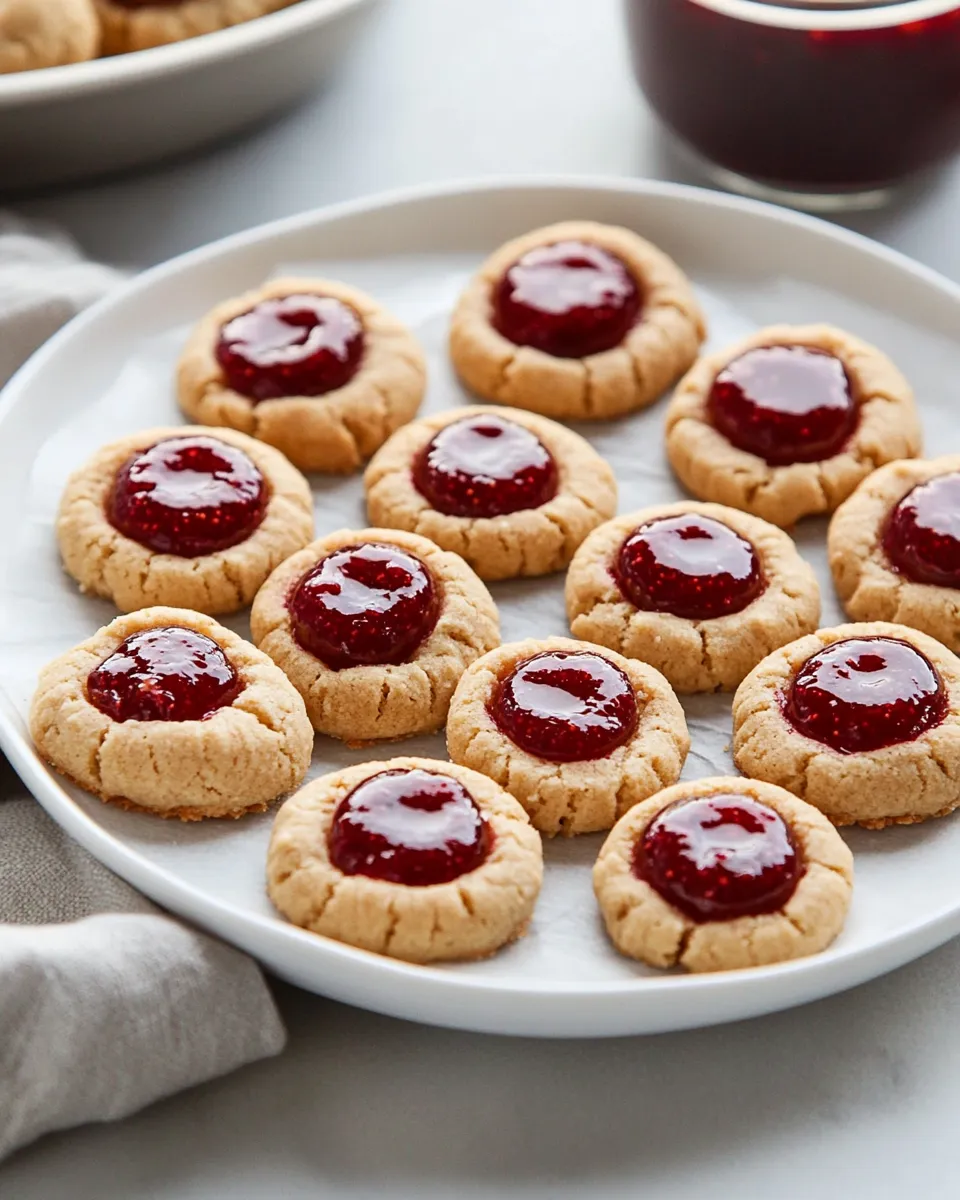
Peanut butter and jelly is a classic combination that brings back memories of childhood lunches and carefree afternoons. These Peanut Butter & Jam Thumbprint Cookies take that nostalgia and transform it into a delightful, chewy cookie that is perfect for any occasion. With the rich flavor of creamy peanut butter, a hint of sweetness from the jam, and a sprinkle of sugar on top, these cookies are sure to be a hit with family and friends. Let’s dive into the details of this delicious treat!
Why It’s Crowd-Pleasing

Everyone loves a good cookie, and when it comes to Peanut Butter & Jam Thumbprint Cookies, they offer a unique twist that satisfies both sweet and savory cravings. The combination of the nutty flavor from the peanut butter and the fruity sweetness of the jam creates an irresistible pairing that appeals to all ages. These cookies are also incredibly easy to make, making them ideal for baking parties, family gatherings, or even just a cozy night in.
Your Shopping Guide
Before you get started, here’s a detailed list of ingredients you’ll need to make your Peanut Butter & Jam Thumbprint Cookies:
- 197g all-purpose flour (about 1 cup plus 1 tablespoon, precise measurement recommended)
- ½ teaspoon fine sea salt (increase to ¾ teaspoon if using unsalted peanut butter)
- ½ teaspoon baking soda
- ½ teaspoon baking powder
- 113g (1 stick) unsalted butter, at room temperature
- 160g packed light brown sugar
- 50g granulated sugar, plus more for rolling
- 1 large egg, at room temperature
- 160g creamy peanut butter, at room temperature
- 1 teaspoon vanilla extract
- 125g jam (your favorite flavor)
Gear Checklist
To craft these delightful cookies, make sure you have the following tools:
- Mixing bowls – for combining the ingredients.
- Measuring cups and spoons – precision is key!
- Cookie sheet – for baking the cookies.
- Silicone baking mat or parchment paper – prevents sticking.
- Wooden spoon or electric mixer – for creaming the butter and sugars.
- Spoon or your thumb – for creating the thumbprint in the cookies.
Peanut Butter & Jam Thumbprint Cookies Made Stepwise
Step 1: Preheat Your Oven
Preheat your oven to 350°F (175°C) to give your cookies a perfect golden finish.
Step 2: Combine the Dry Ingredients
In a medium bowl, whisk together the all-purpose flour, fine sea salt, baking soda, and baking powder. Set this aside as we move on to the wet ingredients.
Step 3: Cream the Butter and Sugars
In a large mixing bowl, beat the unsalted butter, light brown sugar, and granulated sugar together until the mixture is light and fluffy. This should take about 2-3 minutes.
Step 4: Add the Egg and Peanut Butter
Add the large egg, creamy peanut butter, and vanilla extract to the butter-sugar mixture. Beat until fully combined and smooth.
Step 5: Incorporate Dry Ingredients
Gradually add the dry ingredient mixture to the wet ingredients, mixing until just combined. Be careful not to overmix; stop once you see no more flour streaks.
Step 6: Shape the Cookies
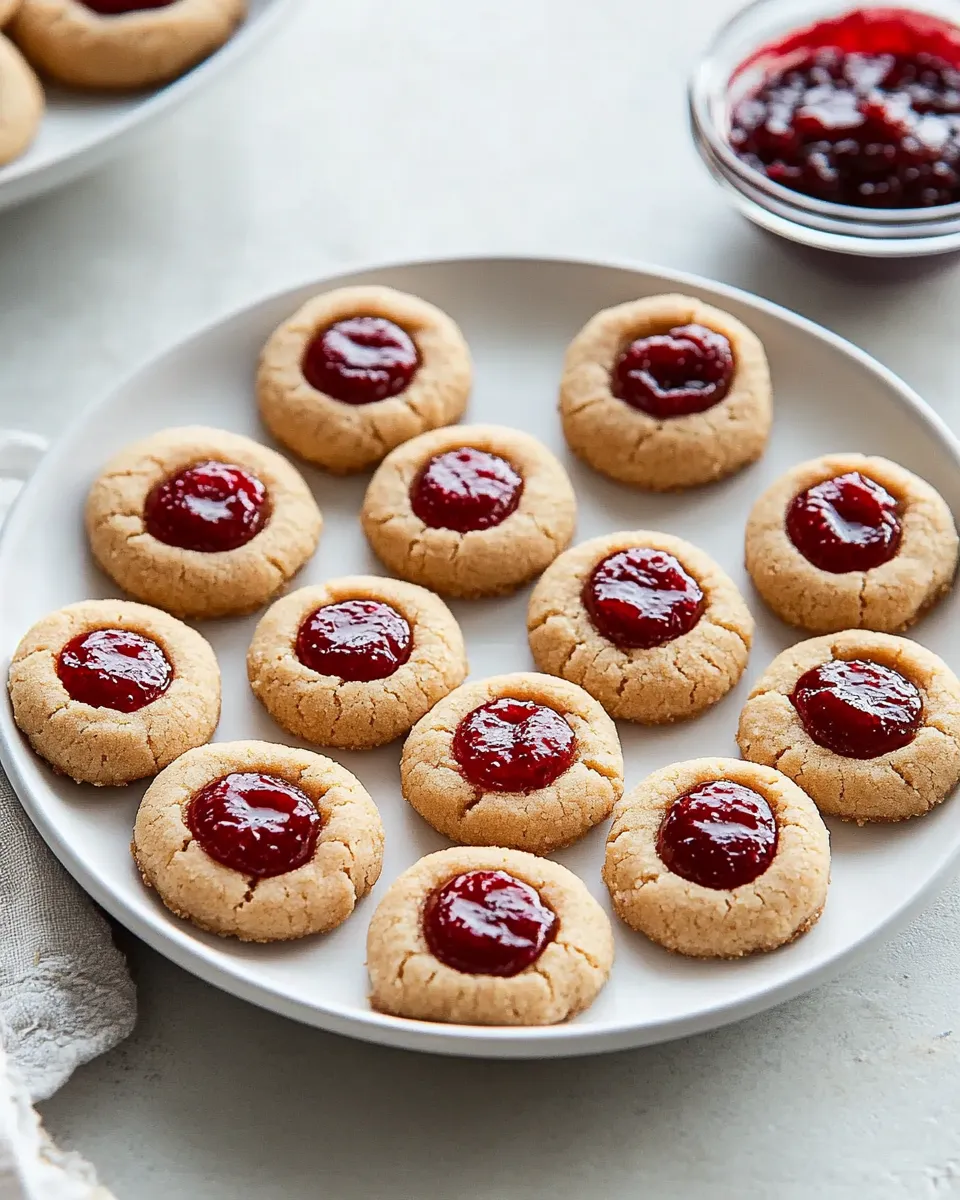
Scoop out tablespoon-sized portions of dough and roll them into balls. Roll each ball in granulated sugar for a sweet finish, then place them on a cookie sheet lined with a silicone mat or parchment paper.
Step 7: Create the Thumbprint
Using your thumb (or the back of a spoon), gently press down in the center of each ball to create a well for the jam.
Step 8: Fill with Jam
Using a small spoon, fill each thumbprint with your favorite jam. Strawberry, raspberry, or grape work beautifully!
Step 9: Bake
Bake the cookies in the preheated oven for about 12-15 minutes, or until the edges are lightly golden. The centers will remain soft, which is perfect for the chewy texture.
Step 10: Cool and Enjoy
Allow the cookies to cool on the baking sheet for 5 minutes, then transfer them to a wire rack to cool completely. Enjoy your Peanut Butter & Jam Thumbprint Cookies with a glass of milk or a cup of tea!
Variations for Dietary Needs

If you have specific dietary needs or preferences, here are some variations you might consider:
- Gluten-Free: Substitute the all-purpose flour with a gluten-free flour blend.
- Dairy-Free: Use dairy-free butter and a plant-based milk alternative.
- Nut-Free: Replace peanut butter with sun butter or a seed butter.
- Reduced Sugar: Use a sugar substitute that measures like sugar to reduce overall sweetness.
Pitfalls & How to Prevent Them
While making Peanut Butter & Jam Thumbprint Cookies, there are a few common pitfalls to avoid:
- Overmixing the Dough: This can lead to tough cookies. Mix just until the flour is incorporated.
- Using Cold Ingredients: Ensure your butter and egg are at room temperature for a smoother batter.
- Too Much Jam: Avoid overfilling the thumbprint as the jam can overflow while baking.
- Underbaking: To maintain that soft, chewy texture, keep an eye on the baking time and remove them from the oven when the edges are just golden.
Make-Ahead & Storage
Making Peanut Butter & Jam Thumbprint Cookies ahead of time? Here are some tips for storage:
- Make-Ahead: You can prepare the dough and refrigerate it for up to 3 days before baking.
- Baked Cookies: Store in an airtight container at room temperature for up to one week.
- Freezing: Freeze unbaked cookie dough balls for up to 3 months. Bake directly from the freezer, adding a couple of extra minutes to the baking time.
Helpful Q&A
Can I use crunchy peanut butter instead of creamy?
Absolutely! Crunchy peanut butter will add delightful texture to your Peanut Butter & Jam Thumbprint Cookies, making them even more enjoyable.
What type of jam works best?
You can use any type of jam you like! Popular choices include strawberry, raspberry, or even blueberry. Just make sure it’s a flavor you love.
Can I make these cookies vegan?
Yes! Substitute the egg with a flax egg (1 tablespoon ground flaxseed mixed with 2.5 tablespoons water), and use a plant-based butter alternative.
Why are my cookies spreading too much?
If your cookies spread too much, it could be due to the butter being too warm or using a warm baking sheet. Make sure everything is at the right temperature before baking.
If you’re a fan of peanut butter, you might also enjoy:
Wrap-Up
These Peanut Butter & Jam Thumbprint Cookies are not only a delightful treat but also a fun baking project. With their perfect balance of flavors and textures, they offer something for everyone. Whether you’re enjoying them with a glass of milk or sharing them with loved ones, these cookies are sure to bring joy to any occasion. So gather your ingredients, roll up your sleeves, and get ready to indulge in a nostalgic classic that’s sure to please!

Peanut Butter & Jam Thumbprint Cookies
Ingredients
For the Cookies:
- 197 g all-purpose flour (about 1 cup plus 1 tablespoon, precise measurement recommended)
- ½ teaspoon fine sea salt (increase to ¾ teaspoon if using unsalted peanut butter)
- ½ teaspoon baking soda
- ½ teaspoon baking powder
- 113 g unsalted butter (at room temperature)
- 160 g packed light brown sugar
- 50 g granulated sugar (plus more for rolling)
- 1 large egg (at room temperature)
- 160 g creamy peanut butter (at room temperature)
- 1 teaspoon vanilla extract
- 125 g jam (your favorite flavor)
Instructions
Preparation Steps:
- Step 1: Preheat your oven to 350°F (175°C) to give your cookies a perfect golden finish.
- Step 2: In a medium bowl, whisk together the all-purpose flour, fine sea salt, baking soda, and baking powder. Set this aside.
- Step 3: In a large mixing bowl, beat the unsalted butter, light brown sugar, and granulated sugar together until light and fluffy (about 2-3 minutes).
- Step 4: Add the egg, creamy peanut butter, and vanilla extract to the butter-sugar mixture and beat until fully combined and smooth.
- Step 5: Gradually add the dry ingredient mixture to the wet ingredients, mixing until just combined.
- Step 6: Scoop out tablespoon-sized portions of dough and roll them into balls. Roll each ball in granulated sugar for a sweet finish, then place on a cookie sheet lined with a silicone mat or parchment paper.
- Step 7: Using your thumb (or the back of a spoon), gently press down in the center of each ball to create a well for the jam.
- Step 8: Fill each thumbprint with your favorite jam.
- Step 9: Bake the cookies in the preheated oven for about 12-15 minutes, or until the edges are lightly golden.
- Step 10: Allow the cookies to cool on the baking sheet for 5 minutes, then transfer to a wire rack to cool completely.
Equipment
- Mixing bowls
- Measuring cups and spoons
- Cookie Sheet
- Silicone baking mat or parchment paper
- Wooden spoon or electric mixer
- Spoon or your thumb
Notes
- For gluten-free cookies, substitute all-purpose flour with gluten-free flour blend.
- Use dairy-free butter and a plant-based milk alternative for dairy-free cookies.
- Store baked cookies in an airtight container at room temperature for up to one week.


