
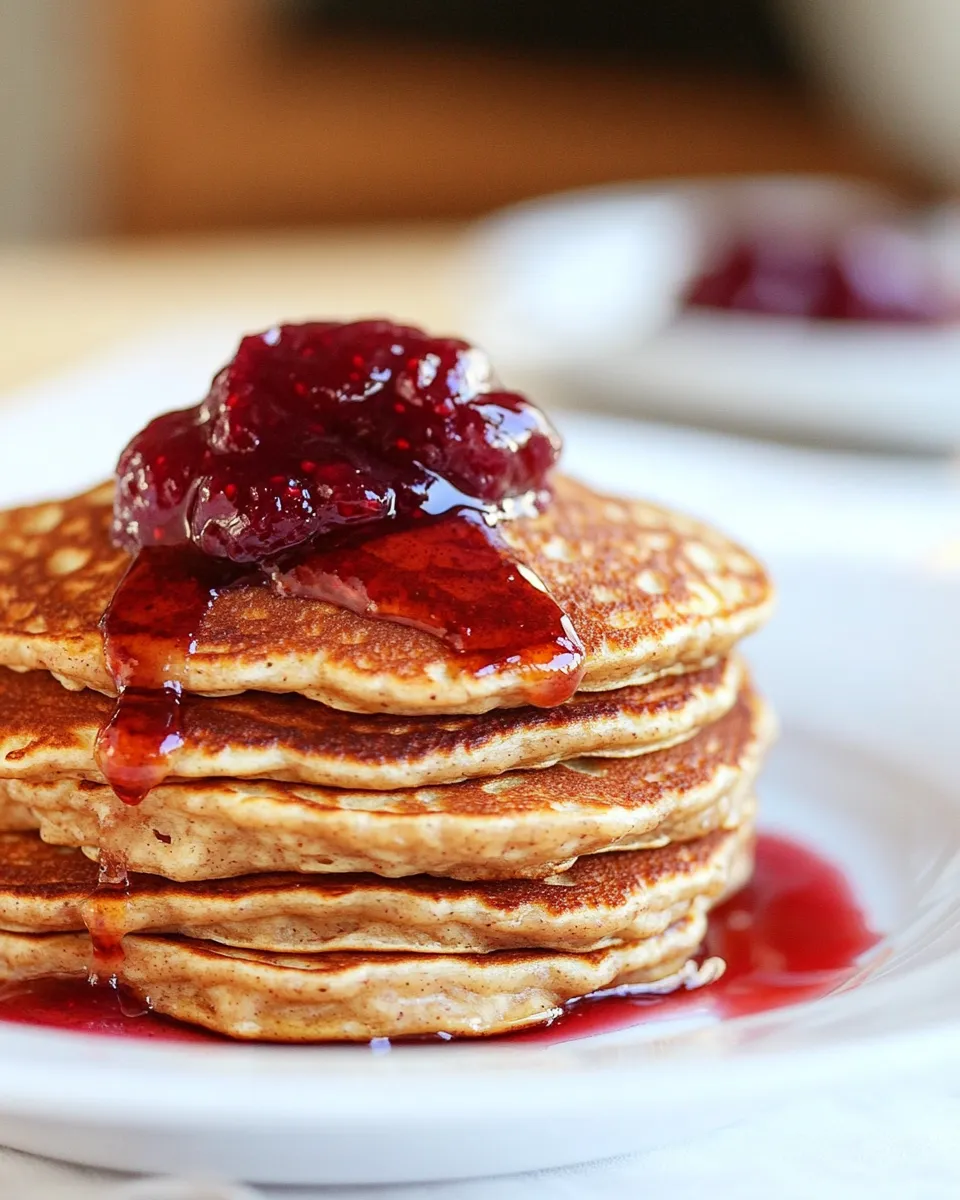
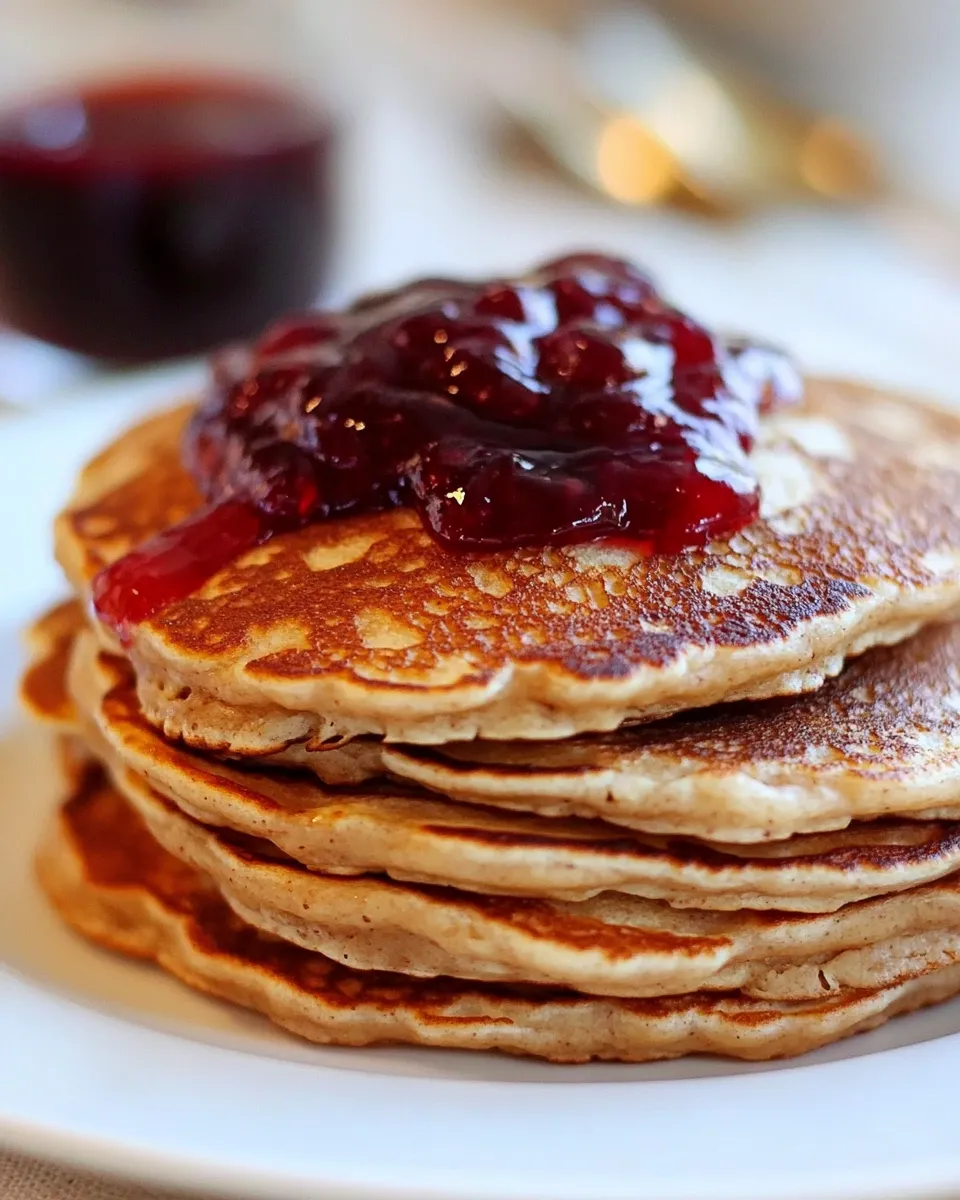
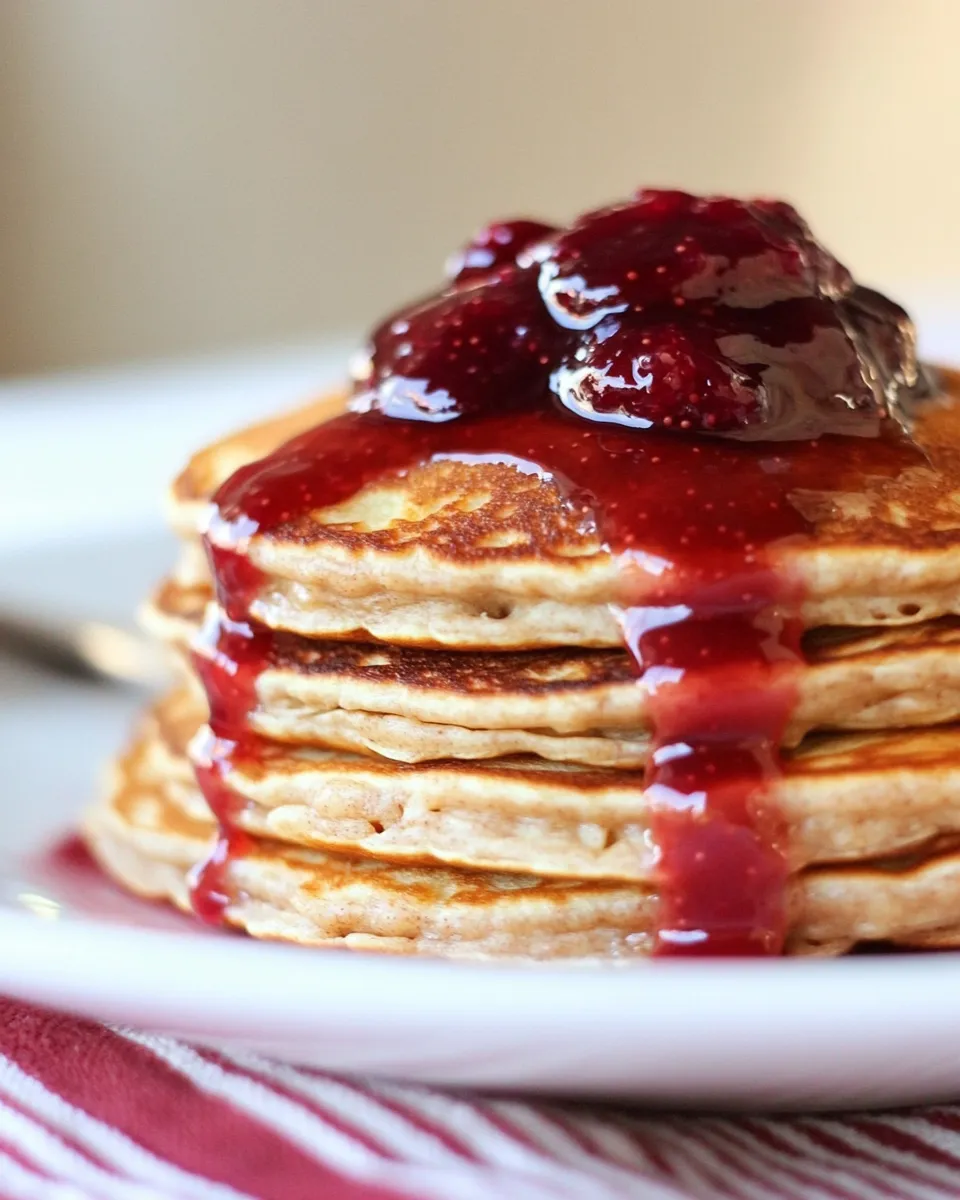
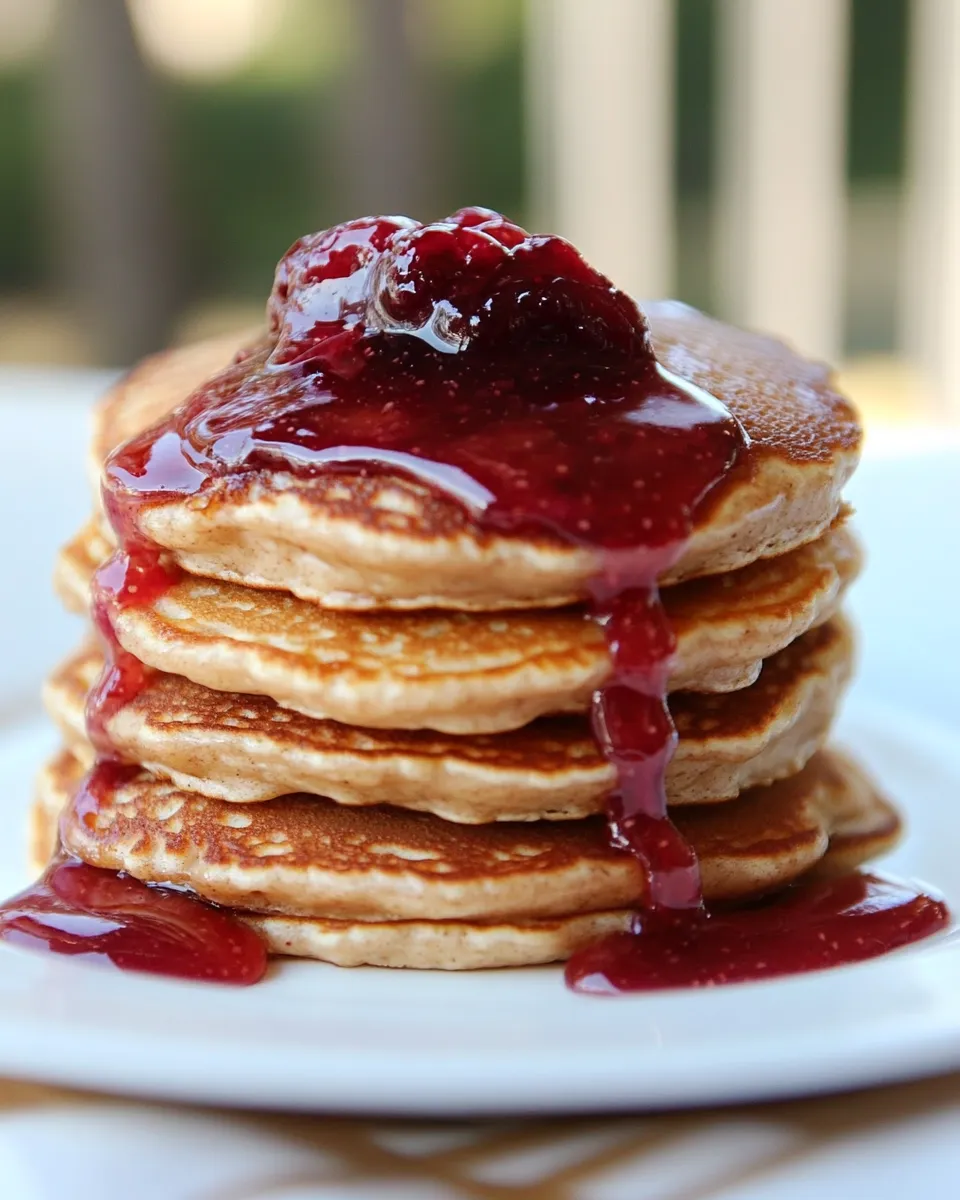
Start your morning with a twist on a classic favorite—Peanut Butter & Jelly Pancakes (Gluten Free). These pancakes bring together the comforting flavors of creamy peanut butter and sweet jelly, creating a delicious breakfast that everyone will love. Perfect for those with dietary restrictions, they’re made with gluten-free flours and pack a protein punch thanks to the peanut butter. Whether you’re enjoying them on a lazy weekend or serving them up for a special occasion, these pancakes are sure to impress.
Why It Deserves a Spot
Peanut Butter & Jelly Pancakes (Gluten Free) are not just another breakfast option; they’re a nostalgic treat that brings childhood memories to the table. They combine the classic flavors of peanut butter and jelly with the fluffy goodness of pancakes, making them a delightful way to start your day. Plus, they are gluten-free, so everyone can enjoy them, regardless of dietary needs. The combination of almond and brown rice flour makes for a wonderfully light and fluffy texture that rivals traditional pancakes. Whether you’re serving them for yourself or a crowd, these pancakes will quickly become a favorite.
What Goes In
To make these delicious Peanut Butter & Jelly Pancakes (Gluten Free), you’ll need the following ingredients:
- 1 large egg – Provides structure and moisture.
- 1 cup unsweetened almond milk – Keeps the pancakes moist and dairy-free.
- 4 Tbsp unsalted creamy peanut butter – Adds richness and that classic peanut flavor.
- ¾ cup almond flour – A gluten-free alternative that gives a tender texture.
- ⅔ cup brown rice flour – Adds a hearty base to the pancakes.
- 1 tsp baking powder – Helps the pancakes rise and become fluffy.
- 2 Tbsp your favorite jelly or jam – For that sweet burst of flavor inside the pancakes, plus more for serving.
Recommended Tools
Before you start cooking, gather the following tools to make the process smooth and easy:
- Mixing bowls – For combining your ingredients.
- Whisk – To ensure everything is well combined and fluffy.
- Measuring cups and spoons – Precision is key in baking!
- Non-stick skillet or griddle – To cook your pancakes evenly without sticking.
- Spatula – For flipping those pancakes with ease.
- Serving plates – To display your delicious pancakes.
The Method for Peanut Butter & Jelly Pancakes (Gluten Free)
Now that you have your ingredients and tools ready, let’s dive into the step-by-step process of making these delightful pancakes.
Step 1: Prepare the Batter
In a large mixing bowl, whisk together the large egg and unsweetened almond milk until well combined. Add the creamy peanut butter and mix until smooth.
Step 2: Combine Dry Ingredients
In a separate bowl, mix the almond flour, brown rice flour, and baking powder. Stir well to ensure the baking powder is evenly distributed.
Step 3: Combine Wet and Dry Ingredients
Gradually add the dry ingredients to the wet mixture, stirring gently until just combined. Be careful not to overmix; a few lumps are okay.
Step 4: Add the Jelly
Gently fold in the 2 tablespoons of your favorite jelly or jam into the batter. Swirling it in will give a lovely fruity flavor throughout the pancakes.
Step 5: Preheat the Skillet
Heat a non-stick skillet or griddle over medium heat. Lightly grease with a small amount of oil or cooking spray if necessary.
Step 6: Cook the Pancakes
Pour about ¼ cup of the pancake batter onto the skillet for each pancake. Cook for 2-3 minutes, or until bubbles form on the surface and the edges look set. Flip and cook for an additional 2 minutes on the other side until golden brown.
Step 7: Serve and Enjoy
Stack your pancakes on a plate, top with additional jelly or jam, and drizzle with maple syrup if desired. Serve warm and enjoy every bite!
Ingredient Flex Options
Feel free to customize your Peanut Butter & Jelly Pancakes (Gluten Free) with these options:
- Nut butters – Swap peanut butter for almond or cashew butter for a different flavor.
- Milk alternatives – Use coconut milk or oat milk instead of almond milk for a change.
- Flour blends – Experiment with other gluten-free flour blends if you prefer.
- Jelly flavors – Use different flavors of jelly or jam, such as raspberry or blueberry, to switch things up.
Insider Tips
- For fluffier pancakes, let the batter rest for about 10 minutes before cooking.
- Always check if your peanut butter is stir-free; if not, mix it well before measuring.
- Adjust the thickness of your batter by adding a little more almond milk if necessary.
- Keep pancakes warm in a low oven while you cook the rest of the batter.
How to Store & Reheat
To keep your leftover Peanut Butter & Jelly Pancakes (Gluten Free):
- Store pancakes in an airtight container in the refrigerator for up to 3 days.
- For longer storage, freeze pancakes separated by parchment paper in a freezer-safe bag for up to 3 months.
- To reheat, place pancakes in a toaster or microwave until warm. You can also warm them in a skillet.
Peanut Butter & Jelly Pancakes (Gluten Free) Q&A
Can I make these pancakes vegan?
Yes! You can substitute the egg with a flax egg (1 tablespoon ground flaxseed mixed with 2.5 tablespoons water) and use a plant-based milk alternative.
Can I make these pancakes in advance?
Absolutely! You can prepare the batter the night before and store it in the fridge. Just give it a good stir before cooking in the morning.
What can I serve with these pancakes?
These pancakes are delicious on their own, but you can enhance them with toppings like sliced bananas, chopped nuts, or a drizzle of honey or maple syrup.
Can I use other flours instead of almond and brown rice flour?
Yes, feel free to experiment with other gluten-free flours like oat flour or a gluten-free all-purpose blend, but keep in mind that the texture may vary slightly.
If you love these Peanut Butter & Jelly Pancakes (Gluten Free), you might also enjoy:
Ready, Set, Cook
Now that you have all the details to make your own Peanut Butter & Jelly Pancakes (Gluten Free), it’s time to roll up your sleeves and get cooking! This recipe is not only easy but also a delightful way to indulge in a beloved childhood flavor. Don’t forget to share your pancake creations with friends and family—they’ll surely want to join in on the fun! Enjoy your delicious, homemade pancakes and the joy they bring to your breakfast table.
Peanut Butter & Jelly Pancakes (Gluten Free)
Ingredients
- 1 large egg Provides structure and moisture.
- 1 cup unsweetened almond milk Keeps the pancakes moist and dairy-free.
- 4 Tbsp unsalted creamy peanut butter Adds richness and that classic peanut flavor.
- ¾ cup almond flour A gluten-free alternative that gives a tender texture.
- ⅔ cup brown rice flour Adds a hearty base to the pancakes.
- 1 tsp baking powder Helps the pancakes rise and become fluffy.
- 2 Tbsp your favorite jelly or jam For that sweet burst of flavor inside the pancakes, plus more for serving.
Instructions
- In a large mixing bowl, whisk together the large egg and unsweetened almond milk until well combined. Add the creamy peanut butter and mix until smooth.
- In a separate bowl, mix the almond flour, brown rice flour, and baking powder. Stir well to ensure the baking powder is evenly distributed.
- Gradually add the dry ingredients to the wet mixture, stirring gently until just combined. Be careful not to overmix; a few lumps are okay.
- Gently fold in the 2 tablespoons of your favorite jelly or jam into the batter. Swirling it in will give a lovely fruity flavor throughout the pancakes.
- Heat a non-stick skillet or griddle over medium heat. Lightly grease with a small amount of oil or cooking spray if necessary.
- Pour about ¼ cup of the pancake batter onto the skillet for each pancake. Cook for 2-3 minutes, or until bubbles form on the surface and the edges look set. Flip and cook for an additional 2 minutes on the other side until golden brown.
- Stack your pancakes on a plate, top with additional jelly or jam, and drizzle with maple syrup if desired. Serve warm and enjoy every bite!
Equipment
- Mixing bowls
- Whisk
- Measuring cups and spoons
- Non-stick Skillet or Griddle
- Spatula
- Serving plates
Notes
- For fluffier pancakes, let the batter rest for about 10 minutes before cooking.
- Always check if your peanut butter is stir-free; if not, mix it well before measuring.
- Adjust the thickness of your batter by adding a little more almond milk if necessary.
- Keep pancakes warm in a low oven while you cook the rest of the batter.


