
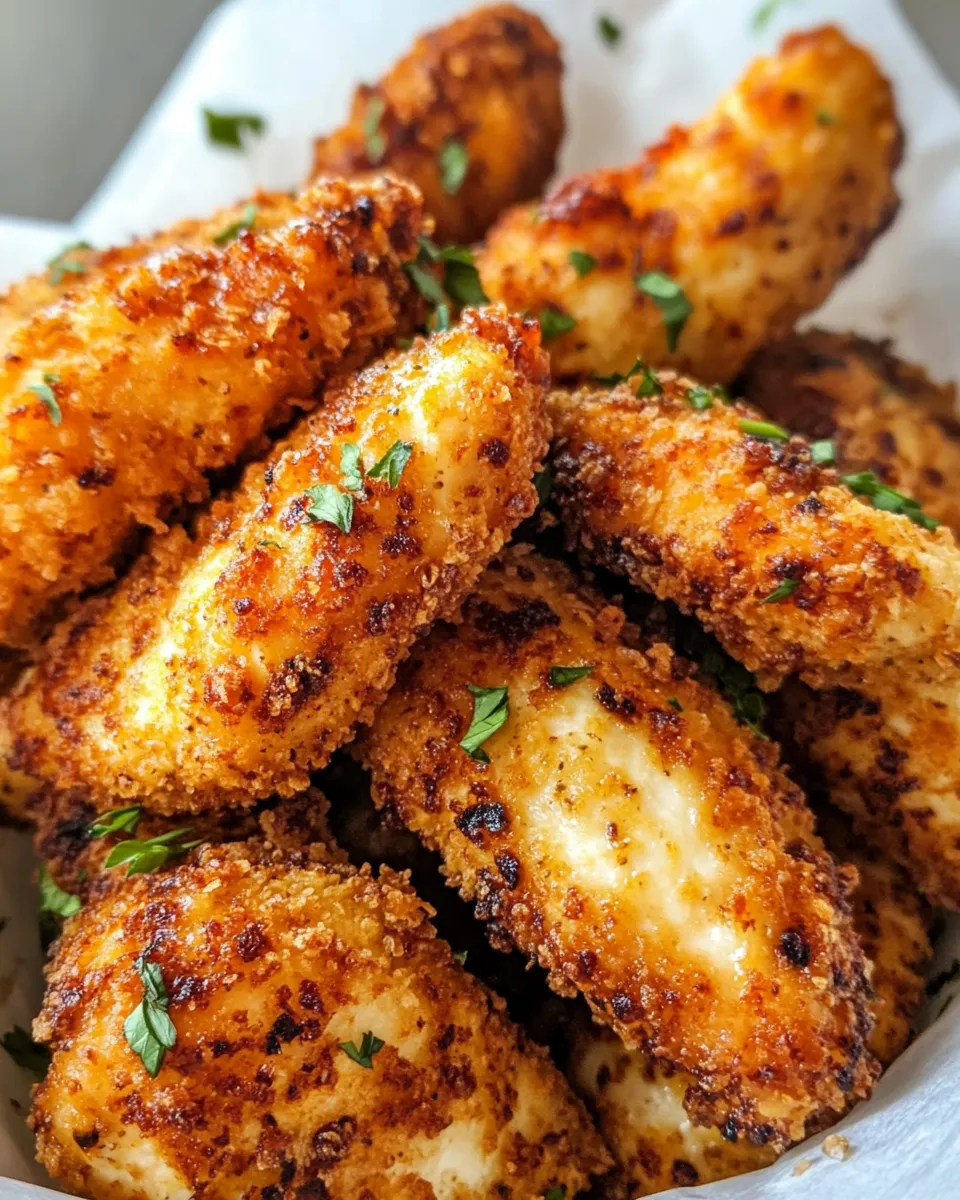
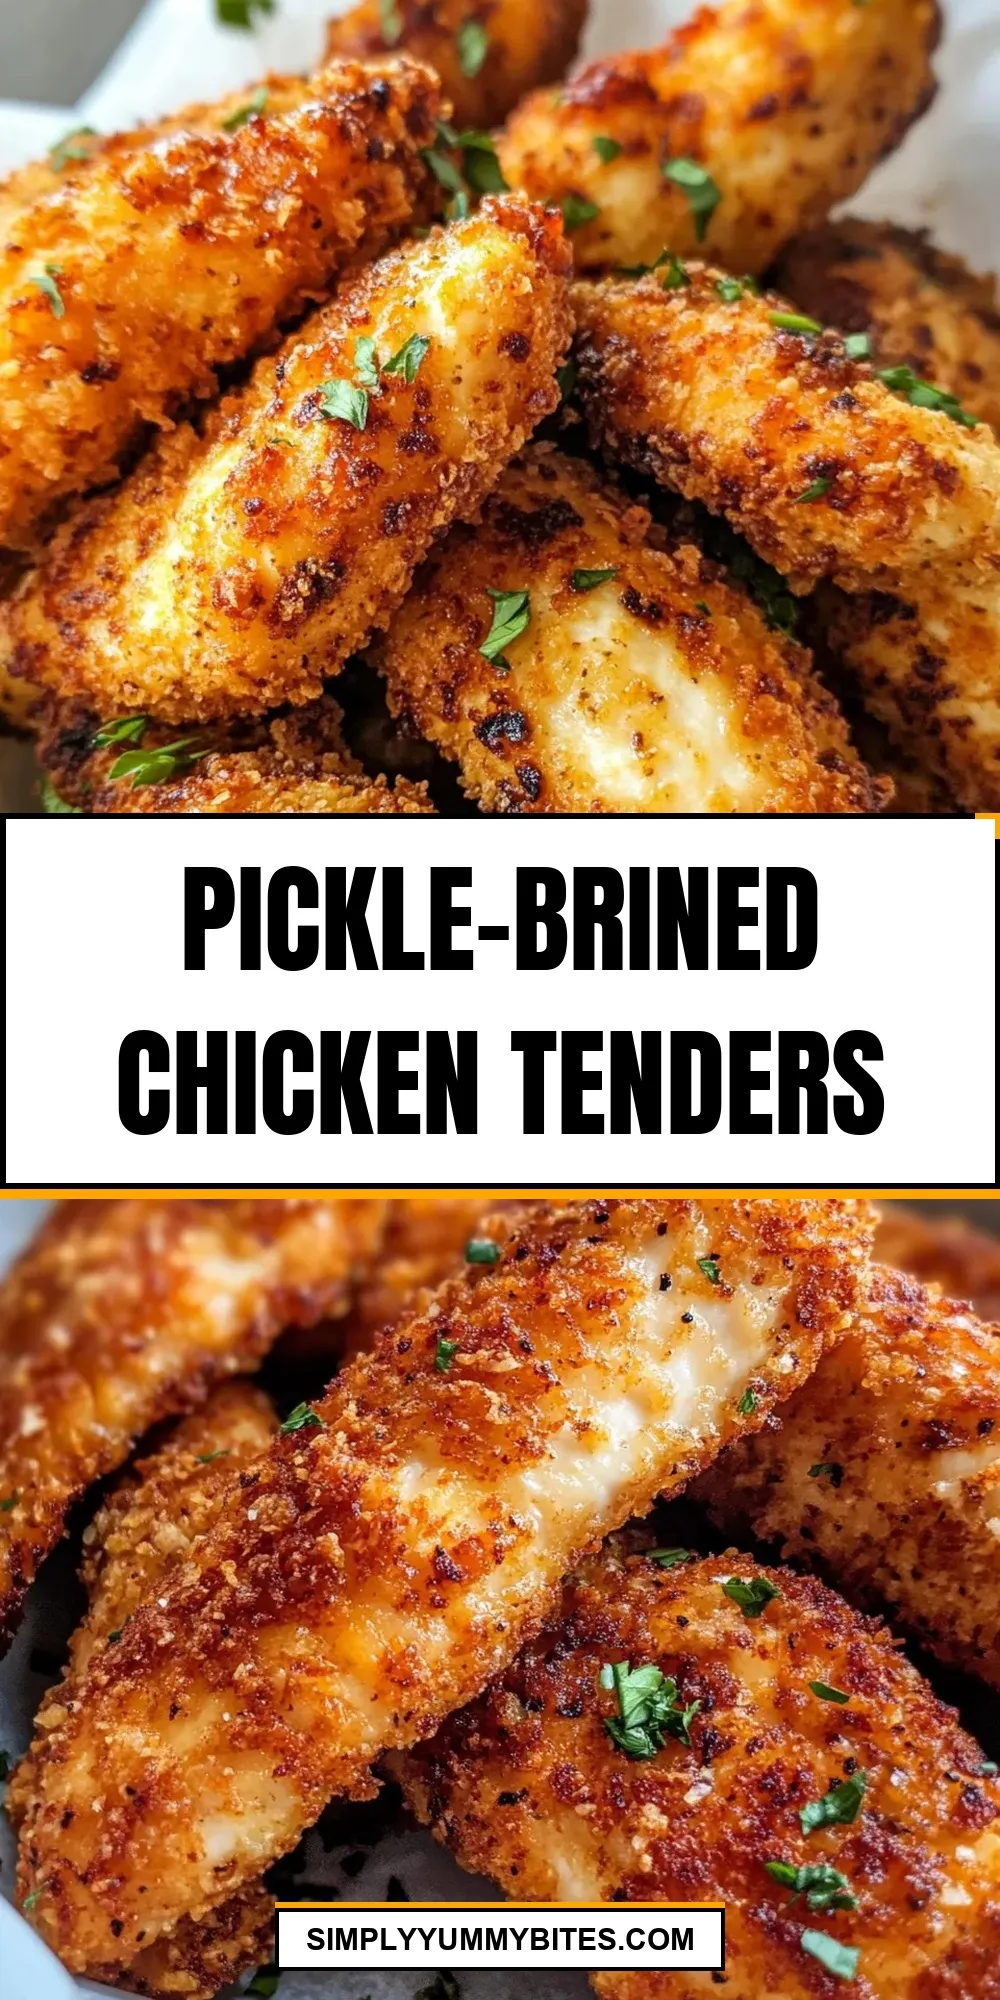
I fell in love with these the first time I soaked chicken in pickle juice. It sounds like a shortcut — and it is — but it’s also chemistry at work. The brine tenderizes and seasons the meat in a single, forgiving step, and the result is juicy chicken with a gentle tang that cuts through the fried crust without stealing the show.
This recipe pairs a short pickle brine with a buttermilk dip, a crisp flour coating, and classic frying. The method is straightforward: brine, buttermilk, dredge, rest, and fry. Each phase has a purpose, and when you follow them in order you’ll get reliably crisp, flavorful tenders that hold up for sandwiches, salads, or a no-fuss weeknight dinner.
I’ll keep this practical and precise. Below you’ll find the shopping list and exact instructions I use, plus substitutions, gear recommendations, and the little things I always remind readers about. If you want crunchy, juicy, pickle-bright chicken tenders, this is the one I make again and again.
Shopping List
- 3 boneless, skinless chicken breasts — the main protein; trim visible fat before cutting into tenders.
- 1 cup dill pickle juice — provides the brine and pickle flavor; straight from the jar is fine.
- 1 cup buttermilk — tenderizes and helps the flour adhere; adds a gentle tang.
- 1 tablespoon hot sauce — optional heat and flavor lift in the buttermilk soak.
- 1 1/2 cups all-purpose flour — the base of the breading; gives structure and color.
- 2 tablespoons cornstarch — lightens the crust and increases crispness.
- 1 teaspoon paprika — mild smokiness and color for the coating.
- 1/2 teaspoon salt — seasons the breading; adjust to taste.
- 1/2 teaspoon pepper — basic seasoning for balance.
- 1/2 teaspoon garlic powder — background savory note in the breading.
- Vegetable oil — for frying to about 2 inches deep; neutral oils work best.
Ingredients
- 3 boneless, skinless chicken breasts — yields about 12 to 15 tenders when sliced; trim fat first for even frying.
- 1 cup dill pickle juice — key for the brine; adds acidity and that unmistakable pickle tang.
- 1 cup buttermilk — helps the flour crust stick and adds tenderness.
- 1 tablespoon hot sauce — amps flavor in the buttermilk stage; adjust or omit if you prefer no heat.
- 1 1/2 cups all-purpose flour — main dry coating for crunch and color.
- 2 tablespoons cornstarch — helps create a light, extra-crisp crust.
- 1 teaspoon paprika — adds color and a subtle smoky note.
- 1/2 teaspoon salt — seasons the breading; fine salt is easiest to distribute evenly.
- 1/2 teaspoon pepper — simple warmth and balance.
- 1/2 teaspoon garlic powder — gives a savory backbone without overpowering.
- Vegetable oil — for frying; choose an oil with a high smoke point and neutral flavor.
Directions: Pickle-Brined Chicken Tenders
- Trim any fat from 3 boneless, skinless chicken breasts and cut each breast into strips about 1 inch wide (chicken tenders). Place the strips in a large zip-top bag with 1 cup dill pickle juice, seal, and refrigerate for 4 to 8 hours.
- Remove the bag from the refrigerator, discard the pickle juice, and transfer the chicken strips to a medium bowl. Add 1 cup buttermilk and 1 tablespoon hot sauce to the bowl, stir to coat the chicken evenly, cover, and refrigerate for 1 hour.
- While the chicken marinates, combine the breading: in a shallow bowl or pie plate stir together 1 1/2 cups all-purpose flour, 2 tablespoons cornstarch, 1 teaspoon paprika, 1/2 teaspoon salt, 1/2 teaspoon pepper, and 1/2 teaspoon garlic powder. Mix until uniform.
- When the buttermilk step is done, remove the chicken from the bowl allowing excess buttermilk to drip off (you can gently shake or pat lightly with paper towels). Do not rinse.
- Working one piece at a time, dredge each chicken strip in the flour mixture, pressing lightly so the coating adheres. Shake off excess and place the coated strips on a baking sheet lined with wax paper or parchment paper in a single layer.
- Let the coated chicken rest on the baking sheet for 20 to 30 minutes at room temperature. This helps the coating set.
- Meanwhile, pour vegetable oil into a Dutch oven to a depth of about 2 inches. Heat the oil over medium-high heat until it reaches 350°F on a deep-fry or candy thermometer. If you don’t have a thermometer, test by dropping a small pinch of the flour mixture into the oil — it should sizzle steadily and rise to the surface.
- Fry the chicken in batches of about 4 to 5 tenders, taking care not to overcrowd the pot. Use tongs to gently add the strips to the hot oil.
- Fry the tenders about 3 to 4 minutes per side, turning once, until golden brown and crisp. Total frying time per batch should be about 6 to 8 minutes; check one piece for doneness (internal temperature should reach 165°F or cut into the thickest piece to ensure juices run clear).
- Transfer cooked tenders to a plate lined with paper towels to drain. Repeat with remaining chicken, letting the oil return to 350°F between batches.
- Let tenders rest a few minutes before serving. Discard any leftover marinade and dispose of used oil safely when cool.
Why I Love This Recipe
This recipe is a keeper because it solves two common problems: dry breaded chicken and bland flavor. The pickle brine adds acidity that breaks down tough proteins, so the meat stays juicy. The buttermilk step layers in richness and helps the coating cling. The crust crisps up beautifully thanks to a small amount of cornstarch in the flour mix.
It’s also flexible. Make it for a casual family dinner one night and use leftovers for crunchy sandwiches or salads the next day. The flavor balance — bright pickle, mild heat from the hot sauce, and a savory, garlicky crust — keeps it from feeling heavy or one-note.
Finally, it’s fast to execute once the chicken is brining. Active hands-on time is limited: most of the work is passive marinating, and the frying itself is straightforward. That makes this a practical midweek hero and an indulgent weekend treat.
Healthier Substitutions
- Air-fry instead of deep-fry — toss coated tenders with a little oil spray and air-fry at 400°F until crisp, flipping halfway; texture will be drier but still tasty.
- Bake on a wire rack — bake at 425°F on a rack over a sheet for 18–22 minutes, turning once; brush lightly with oil for better browning.
- Use low-fat buttermilk — reduces calories while keeping the tenderizing effect.
- Swap panko for flour — use a 50/50 mix of panko and flour for a lighter, crunchier exterior if avoiding cornstarch.
- Reduce salt — cut the 1/2 teaspoon in the breading and rely on pickle juice for some seasoning if you’re watching sodium.
Gear Up: What to Grab
- Dutch oven or heavy-bottomed pot — holds oil steady and maintains temperature during frying.
- Deep-fry or candy thermometer — ensures oil stays at 350°F; crucial for consistent frying.
- Tongs — for safe handling of pieces when frying and turning.
- Baking sheet with parchment/wax paper — keeps coated tenders orderly while the coating sets.
- Wire rack and tray — ideal for draining excess oil while keeping the crust crisp.
Easy-to-Miss Gotchas
- Don’t rinse after buttermilk — the step explicitly says do not rinse. Rinsing washes away seasoning and the sticky surface the coating needs.
- Let the coating rest — skipping the 20–30 minute rest time leads to more coating fall-off in the oil.
- Oil temperature matters — if the oil is too hot, the exterior will burn before the interior cooks; too cool and the crust soaks up oil and becomes greasy.
- Avoid overcrowding — overcrowding drops oil temperature and gives soggy results; cook in batches.
- Discard marinade safely — used raw chicken marinades must be discarded, not reused or poured down a warming drain without cooling first.
Adaptations for Special Diets
- Gluten-free — replace the 1 1/2 cups all-purpose flour with a gluten-free flour blend labeled for frying and use cornstarch as directed; results vary by blend.
- Dairy-free — use a dairy-free buttermilk alternative (1 cup unsweetened dairy-free milk + 1 tablespoon vinegar, let sit 5 minutes) though texture will differ.
- Low-sodium — choose low-sodium dill pickle juice and reduce salt in the breading; check labels on hot sauce too.
- Lower fat — use an air fryer or oven-bake method described above to avoid deep frying altogether.
Insider Tips
- Uniform strips fry evenly — cut each breast into similar-width strips so they finish at the same time.
- Shake, don’t dust — press the flour mixture on gently, then shake off excess; thick clumps burn and thin spots undercook.
- Test one piece first — fry one tender as a test batch for doneness and seasoning before committing all of them.
- Keep finished tenders warm — a 200°F oven on a rack keeps cooked tenders crisp while you finish frying the rest.
- Use a thermometer for doneness — 165°F internal temperature is the safe target; it’s the fastest way to avoid over- or under-cooking.
Storage & Reheat Guide
- Refrigerate — store cooled tenders in a single layer or separated with parchment in an airtight container for up to 3 days.
- Freeze — flash-freeze on a baking sheet, then transfer to a freezer bag for up to 2 months; reheat from frozen at lower temperature to avoid burning.
- Reheat for crispness — reheat in a 375°F oven on a wire rack for 8–10 minutes for leftover tenders; air-fryer at 350°F for 6–8 minutes works well too.
- Microwave only in a pinch — the microwave will make the crust soggy; use it only if you plan to finish briefly in the oven or air-fryer.
Reader Questions
- Q: Can I use chicken thighs instead? A: Yes. Boneless, skinless thighs will work and stay juicy; adjust frying time slightly if pieces are thicker.
- Q: Do I have to use dill pickle juice? A: Dill pickle juice is central to the pickle-brined flavor. You can experiment with other brines, but the signature note will change.
- Q: My coating fell off in the oil — why? A: Likely reasons: not letting the coating rest, too much excess buttermilk on the pieces, or oil temperature fluctuations. Pat or shake off excess before dredging, let the coating set, and avoid overcrowding.
- Q: Can I double the recipe? A: Yes. Brine in a larger container and fry in multiple batches. Keep an eye on oil volume and return temperature between batches.
- Q: What dipping sauces pair well? A: Classic options: ranch, honey mustard, sriracha mayo, or a dill pickle–forward dip to echo the brine.
Next Steps
If you’re ready to try this, start the brine the night before or early in the day so it has time to work. Gather equipment and set out your breading station before the buttermilk step ends — organization speeds things up and reduces stress. If you love the tang, scale the method for wings or nuggets next time. Tag a photo when you make it; I love seeing how readers customize this one.
Pickle-Brined Chicken Tenders
Ingredients
Ingredients
- 3 boneless skinless chicken breasts
- 1 cupdill pickle juice
- 1 cupbuttermilk
- 1 tablespoonhot sauce
- 1 1/2 cupsall-purpose flour
- 2 tablespoonscornstarch
- 1 teaspoonpaprika
- 1/2 teaspoonsalt
- 1/2 teaspoonpepper
- 1/2 teaspoongarlic powder
- Vegetable oil
Instructions
Instructions
- Trim any fat from 3 boneless, skinless chicken breasts and cut each breast into strips about 1 inch wide (chicken tenders). Place the strips in a large zip-top bag with 1 cup dill pickle juice, seal, and refrigerate for 4 to 8 hours.
- Remove the bag from the refrigerator, discard the pickle juice, and transfer the chicken strips to a medium bowl. Add 1 cup buttermilk and 1 tablespoon hot sauce to the bowl, stir to coat the chicken evenly, cover, and refrigerate for 1 hour.
- While the chicken marinates, combine the breading: in a shallow bowl or pie plate stir together 1 1/2 cups all-purpose flour, 2 tablespoons cornstarch, 1 teaspoon paprika, 1/2 teaspoon salt, 1/2 teaspoon pepper, and 1/2 teaspoon garlic powder. Mix until uniform.
- When the buttermilk step is done, remove the chicken from the bowl allowing excess buttermilk to drip off (you can gently shake or pat lightly with paper towels). Do not rinse.
- Working one piece at a time, dredge each chicken strip in the flour mixture, pressing lightly so the coating adheres. Shake off excess and place the coated strips on a baking sheet lined with wax paper or parchment paper in a single layer.
- Let the coated chicken rest on the baking sheet for 20 to 30 minutes at room temperature. This helps the coating set.
- Meanwhile, pour vegetable oil into a Dutch oven to a depth of about 2 inches. Heat the oil over medium-high heat until it reaches 350°F on a deep-fry or candy thermometer. If you don’t have a thermometer, test by dropping a small pinch of the flour mixture into the oil — it should sizzle steadily and rise to the surface.
- Fry the chicken in batches of about 4 to 5 tenders, taking care not to overcrowd the pot. Use tongs to gently add the strips to the hot oil.
- Fry the tenders about 3 to 4 minutes per side, turning once, until golden brown and crisp. Total frying time per batch should be about 6 to 8 minutes; check one piece for doneness (internal temperature should reach 165°F or cut into the thickest piece to ensure juices run clear).
- Transfer cooked tenders to a plate lined with paper towels to drain. Repeat with remaining chicken, letting the oil return to 350°F between batches.
- Let tenders rest a few minutes before serving. Discard any leftover marinade and dispose of used oil safely when cool.
Equipment
- Deep-frying thermometer


