
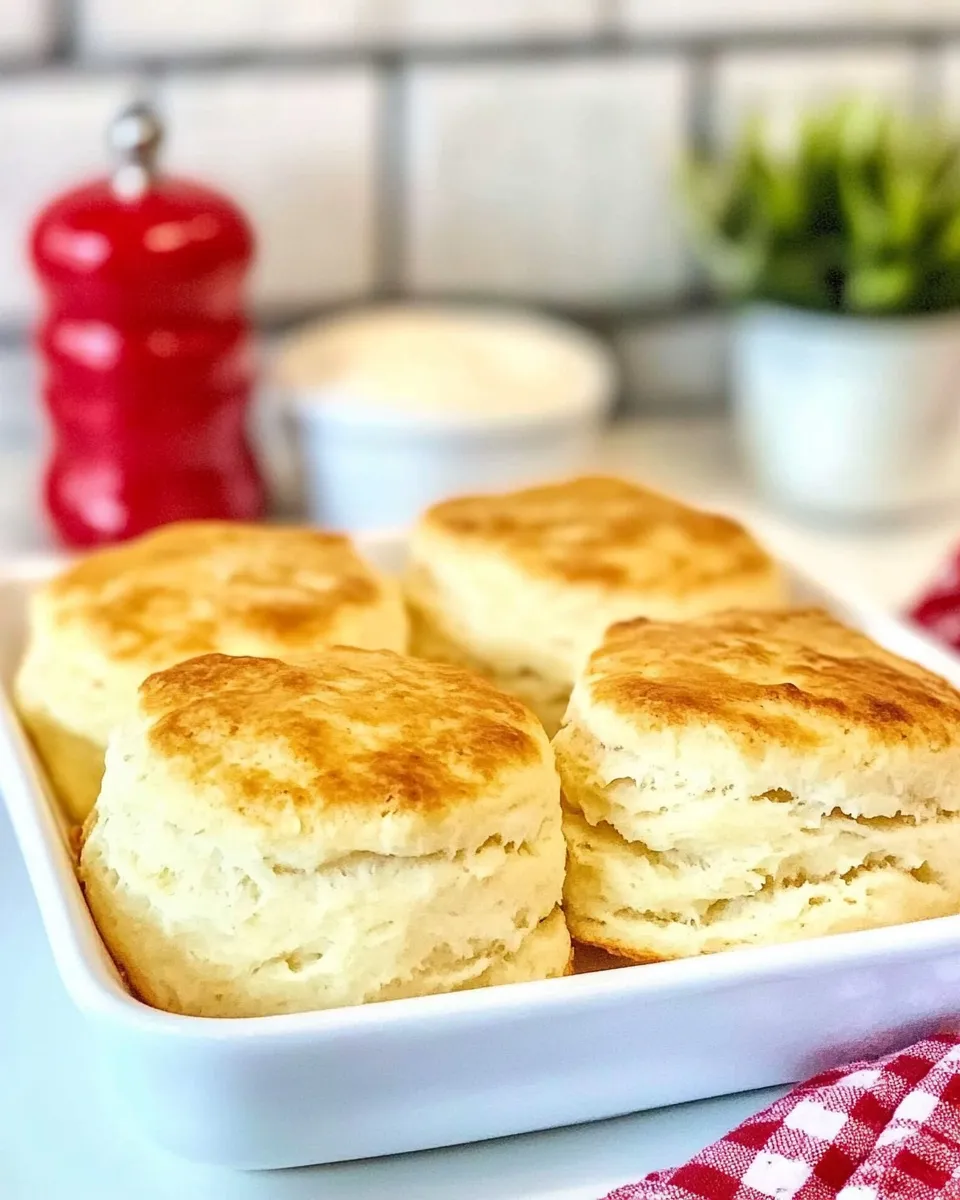
These biscuits are straightforward, dependable, and exactly what you want at breakfast, with fried chicken, or sliced open for a sausage gravy. They rely on cold butter and minimal handling to give a tender interior and flaky layers. No complicated dough handling — just careful technique.
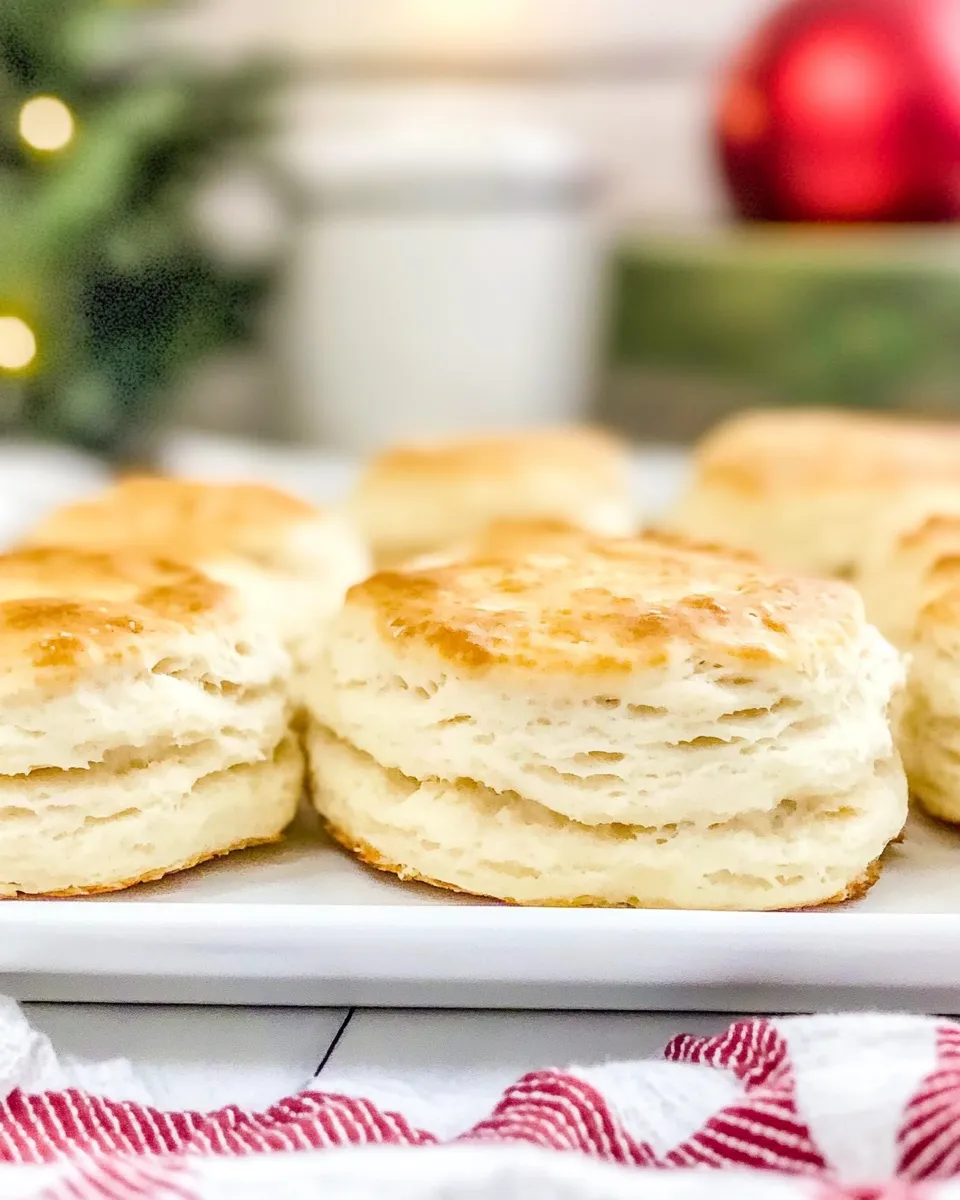
I use a simple formula and a few habits that prevent the usual biscuit disasters: overworking the dough, letting butter warm up, or cutting the rounds with a twist. Follow the steps and the biscuits will turn out golden and tall.
Below you’ll find the precise ingredient list, the step-by-step method straight from the recipe, and practical tips to tweak, store, or convert these biscuits for different diets. Read the why and the how before you start; a little context saves a lot of fixes later.
Ingredient List
- 2½ lb self-rising flour (approximately 9½ cups) — provides the flour, salt, and leavening in one; measure by weight or spoon-and-level cups for consistency.
- ½ lb cold butter, grated (2 sticks) — cold butter creates steam pockets that lift the dough and make flaky layers; grating keeps pieces small and evenly distributed.
- 2 cups buttermilk — adds acidity and moisture to activate the self-rising flour and tenderize the crumb; use cold buttermilk for best results.
Ruby Slipper Buttermilk Biscuits: How It’s Done
- Preheat oven to 350°F. Line a baking sheet with parchment paper.
- In a large bowl combine the 2½ lb self-rising flour and the grated cold ½ lb (2 sticks) butter. Toss gently with your fingers or a pastry cutter until the mixture resembles coarse crumbs with some pea-sized pieces of butter remaining.
- Pour in half of the 2 cups buttermilk and fold gently with a spatula or wooden spoon until the dough just begins to come together. Add the remaining buttermilk and fold just until the dough holds together in a shaggy mass. Do not overmix.
- Turn the dough out onto a lightly floured surface. Gently knead the dough 4–6 turns until it is cohesive; avoid vigorous kneading. If the dough is very sticky, sprinkle a little flour sparingly.
- Flatten the dough with your hands into a rough rectangle or disk, then fold the dough over on itself three times. After the third fold, press or pat the dough to an even 1½-inch thickness.
- Using a 3-inch biscuit cutter, cut straight down through the dough without twisting. Place the cut biscuits on the prepared baking sheet (you may place them close together or slightly apart).
- Gather the scraps, press them together gently (do not overwork), repeat the folding and pressing if needed, and cut additional biscuits until all dough is used.
- Bake for 20–25 minutes, until the biscuits are golden brown. Remove from the oven and let cool on the pan for a few minutes before serving.
Why It Works Every Time
This method leans on a few consistent principles: even distribution of cold fat, minimal mixing, and preserving layers created by folding. Self-rising flour already contains baking powder and salt, so you avoid the uncertainty of adding leavening separately. That gives you a reliable rise without fuss.
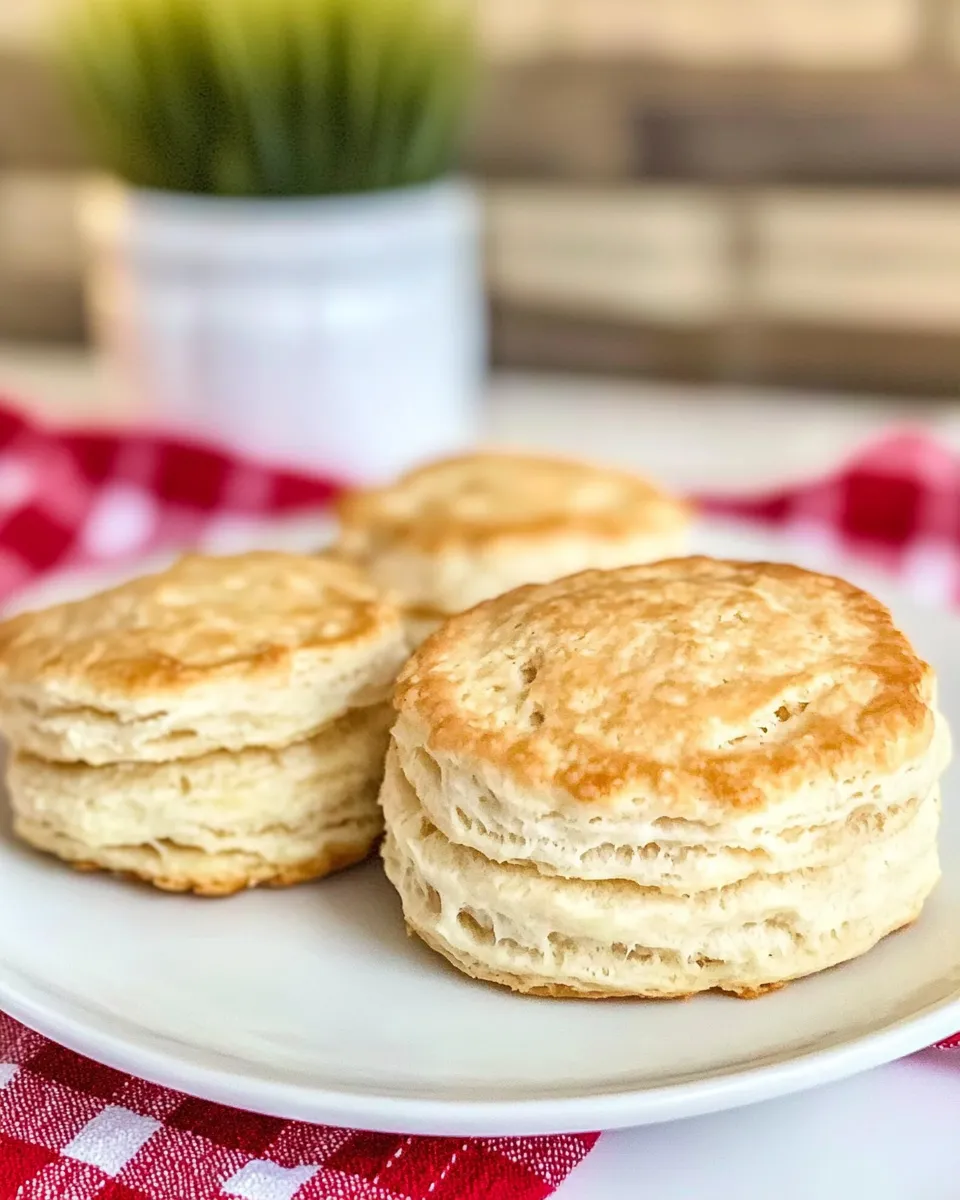
Grating the butter is a small but powerful step. Small, cold bits stay suspended in the dough instead of melting into it. During baking, the butter melts and turns into steam, which puffs the surrounding dough and creates flaky pockets. The pea-sized pieces mentioned in the method are intentional — they’re the ones that give lift.
Minimal mixing and gentle kneading keep the gluten from tightening. Overworking yields tough biscuits. Folding the dough three times creates laminate-like layers, but because the folds are gentle, you preserve lightness rather than building a dense pastry.
Low-Carb/Keto Alternatives
- Almond flour and coconut flour can replace wheat flour in low-carb baking, but they behave differently and won’t mimic these biscuits exactly. Expect a denser texture and a need for more binders (eggs, cream cheese, or psyllium husk).
- Use butter or a full-fat dairy substitute; the fat is crucial for lift and mouthfeel. If you need a dairy-free or vegan alternative, choose a cold solid fat that behaves like butter, but note that flavor and texture will change.
- Because this recipe depends on self-rising flour, add a leavening agent (baking powder) to your low-carb flour blend if it doesn’t contain it. Test smaller batches first — low-carb flours absorb liquid differently.
Essential Tools for Success

- Baking sheet lined with parchment paper — clean release and even browning.
- Box grater — to grate cold butter quickly and evenly.
- Large mixing bowl — roomy enough to toss flour and butter without spilling.
- Spatula or wooden spoon — for gentle folding of buttermilk into the dough.
- Lightly floured work surface — prevents sticking without adding too much extra flour.
- 3-inch biscuit cutter — gives the round, tall biscuits the recipe intends; a sharp cutter matters.
- Oven thermometer — optional but helpful if your oven runs hot or cold; accurate temperature helps timing.
Avoid These Mistakes
- Twisting the cutter when you cut biscuits — twisting seals the edges and prevents a rise. Cut straight down and lift the cutter straight up.
- Letting butter get warm — warm butter blends into the dough and eliminates those steam pockets. Keep the butter cold until it goes into the oven.
- Overmixing — fold only until the dough holds together. Stop when it’s shaggy and cohesive; extra mixing develops gluten and toughens the biscuits.
- Skipping the folds — they’re not decorative steps. The three folds create distinct layers; leaving them out gives a different, flatter crumb.
- Baking at a very high temperature for very large biscuits — the recipe’s 350°F and the 20–25 minute bake time are tuned to the large volume created by the specified dough. If you increase temperature, you risk overbrowning before the center cooks through.
Tailor It to Your Diet
Vegetarian? These biscuits already qualify. For vegan diets, you’ll need to replace both the butter and the buttermilk. Use a solid plant-based fat kept cold and a tangy plant-based yogurt thinned with non-dairy milk or a bit of vinegar for acidity. Expect differences in flavor and texture.
Gluten-free cooks: swap in a tested gluten-free flour blend that is designed for baking and includes xanthan gum or another binder. Because self-rising flour is part of the original method, you’ll want a gluten-free blend with added leavening, or add baking powder and salt to the blend.
Low-sodium needs: self-rising flour contains salt. If you need low-sodium biscuits, use a low-sodium self-rising flour or switch to all-purpose flour and add a precise, reduced amount of baking powder and salt to control sodium levels.
Chef’s Rationale
I keep the technique simple and the ingredients minimal because reliability matters more than tweaking for novelty. Self-rising flour is a convenience and a reliability hack — the leavening is evenly distributed, so you won’t get pockets that rise while other areas stay flat. Grating cold butter instead of cubing it makes the job faster and yields more even results when you don’t have a food processor.
The three-fold method borrows from laminated dough techniques but stays gentle. It’s enough to create layers without creating searingly thin sheets. Folding and pressing to 1½ inches ensures the biscuits are tall and have room to rise. The cutter size (3 inches) balances surface area and height so the exterior browns while the middle cooks through in the recommended time.
Store, Freeze & Reheat
Short-term storage
Cool biscuits fully on a rack for a few minutes, then store in an airtight container at room temperature for up to 2 days. For freshness beyond that, refrigerate for up to 4–5 days, though refrigeration can dry them slightly — reheat to restore softness.
Freezing
Freeze cooled biscuits in a single layer on a baking sheet until firm, then transfer to an airtight freezer bag or container. Freeze for up to 1–3 months for best quality. Label with the date.
Reheating
Thaw frozen biscuits at room temperature or reheat straight from frozen. For best texture, warm in a 300–350°F oven for 8–12 minutes (shorter if thawed), or microwave briefly and then crisp in a hot oven or toaster oven for a minute. If you like, brush with melted butter after reheating.
Reader Questions
- Can I use all-purpose flour? You can, but all-purpose flour doesn’t include leavening and salt. If you use it, add baking powder and salt in appropriate amounts and measure carefully. Results will vary from the original self-rising formula.
- Why 350°F and not higher? This recipe balances a lower oven temperature with larger biscuit size. The slower, steadier heat lets the center cook through without burning the exterior. If you prefer a quicker, higher-temperature bake, reduce the biscuit diameter or watch carefully.
- How cold should the butter be? Very cold — straight from the refrigerator. If it’s too soft, chill it briefly. The colder it is, the better the steam pockets and the flakier the result.
- Can I freeze the dough instead of baked biscuits? Yes. Shape the biscuits and flash-freeze them on a tray, then store frozen. Bake from frozen, adding a few minutes to the baking time. The dough should be handled minimally when shaping.
- What if my biscuits spread or don’t rise? Check that your self-rising flour is fresh — expired leavening will give poor rise. Also, ensure the butter was cold and you didn’t overwork the dough. Cutting straight down and not twisting the cutter helps maintain lift.
Let’s Eat
Serve these biscuits warm. Split and slather with butter and honey, stack with fried chicken, or spoon sausage gravy over them. They’re sturdy enough to hold fillings yet soft and flaky inside. If you’re serving a crowd, make the dough and freeze extras so you can bake off a fresh batch in minutes.
After a couple of tries you’ll get a feel for the dough’s texture and how your oven behaves. Keep the butter cold, don’t overmix, and cut cleanly. Those three habits will get you consistent, tall, golden biscuits every time.

Ruby Slipper Buttermilk Biscuits
Ingredients
Ingredients
- 2 1/2 lbself-rising flour (approximately 9 1/2 cups)
- 1/2 lbcold butter ,grated (2 sticks)
- 2 cupsbuttermilk
Instructions
Instructions
- Preheat oven to 350°F. Line a baking sheet with parchment paper.
- In a large bowl combine the 2½ lb self-rising flour and the grated cold ½ lb (2 sticks) butter. Toss gently with your fingers or a pastry cutter until the mixture resembles coarse crumbs with some pea-sized pieces of butter remaining.
- Pour in half of the 2 cups buttermilk and fold gently with a spatula or wooden spoon until the dough just begins to come together. Add the remaining buttermilk and fold just until the dough holds together in a shaggy mass. Do not overmix.
- Turn the dough out onto a lightly floured surface. Gently knead the dough 4–6 turns until it is cohesive; avoid vigorous kneading. If the dough is very sticky, sprinkle a little flour sparingly.
- Flatten the dough with your hands into a rough rectangle or disk, then fold the dough over on itself three times. After the third fold, press or pat the dough to an even 1½-inch thickness.
- Using a 3-inch biscuit cutter, cut straight down through the dough without twisting. Place the cut biscuits on the prepared baking sheet (you may place them close together or slightly apart).
- Gather the scraps, press them together gently (do not overwork), repeat the folding and pressing if needed, and cut additional biscuits until all dough is used.
- Bake for 20–25 minutes, until the biscuits are golden brown. Remove from the oven and let cool on the pan for a few minutes before serving.
Equipment
- Rotary Cheese Grater
- biscuit cutter
- Kitchen scale
Notes
You can bake the biscuits from frozen, you will just need to add a few minutes to the cooking time.
I used White Lily Self-Rising Flour. 2.5 pounds of flour is approximately 9.5 cups.


