
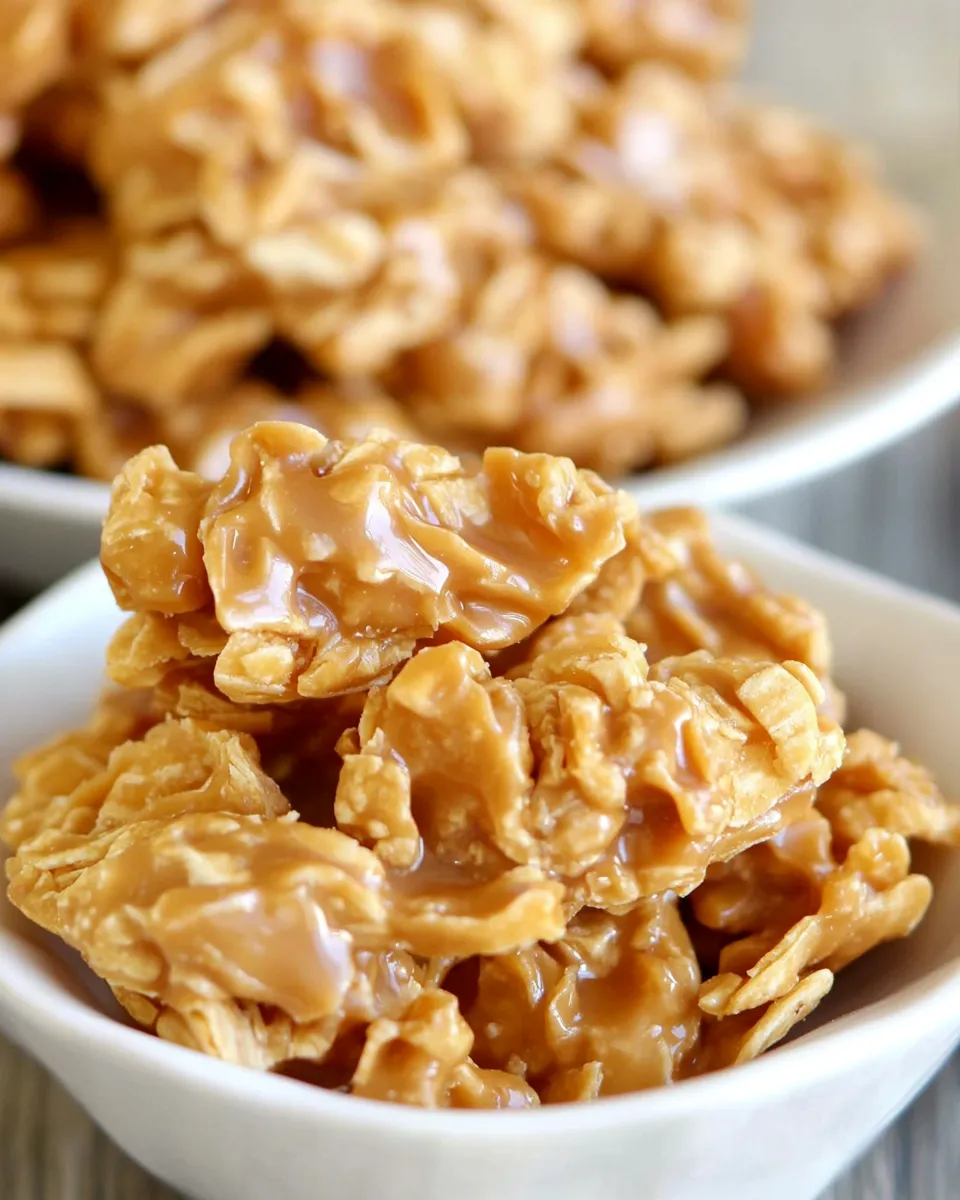
These clusters are the kind of small, addictive treats I reach for when I want something sweet without turning my whole kitchen into a baking project. They come together quickly, they rely on pantry staples, and the result is a soft, chewy bite with that familiar caramel pull. They’re a sweet fix that’s forgiving and portable — perfect for dessert plates, lunchbox surprises, or a last‑minute hostess gift.
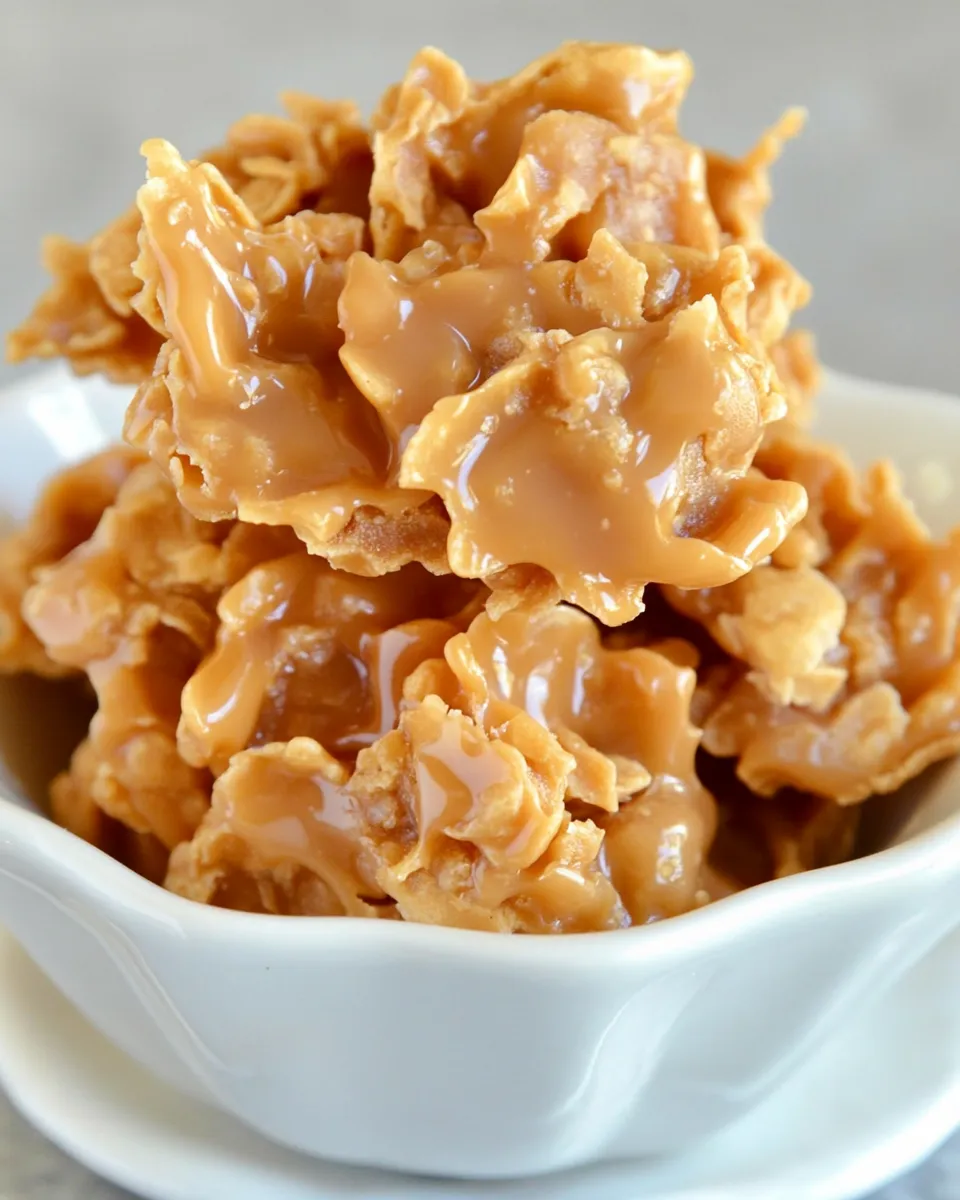
I like to keep a bag of Kraft caramels on hand specifically for recipes like this. The caramel melts smoothly when mixed with butter and a little milk, coating cornflakes into little clusters that set soft but firm enough to hold their shape. The technique is simple: melt, fold, scoop, cool. Small details — heat control, gentle folding, and spacing the mounds — make the difference between glossy clusters and sticky puddles.
Below I walk you through everything: the exact ingredients, step‑by‑step instructions you can follow without guessing, sensible substitutions, how to troubleshoot common problems, and notes on storage and freezing. No fluff, just practical tips so your first batch comes out great.
Ingredient Notes
Ingredients
- 1/4 cup milk — thins the caramel so it coats flakes evenly; use whole or 2% for best texture.
- 1/2 cup of butter — adds richness and helps the caramel stay soft once cooled; salted or unsalted both work.
- 14 oz bag Kraft caramels (wrappers removed (about 50 caramels)) — the primary sweetener and chew factor; wrappers must be removed before melting.
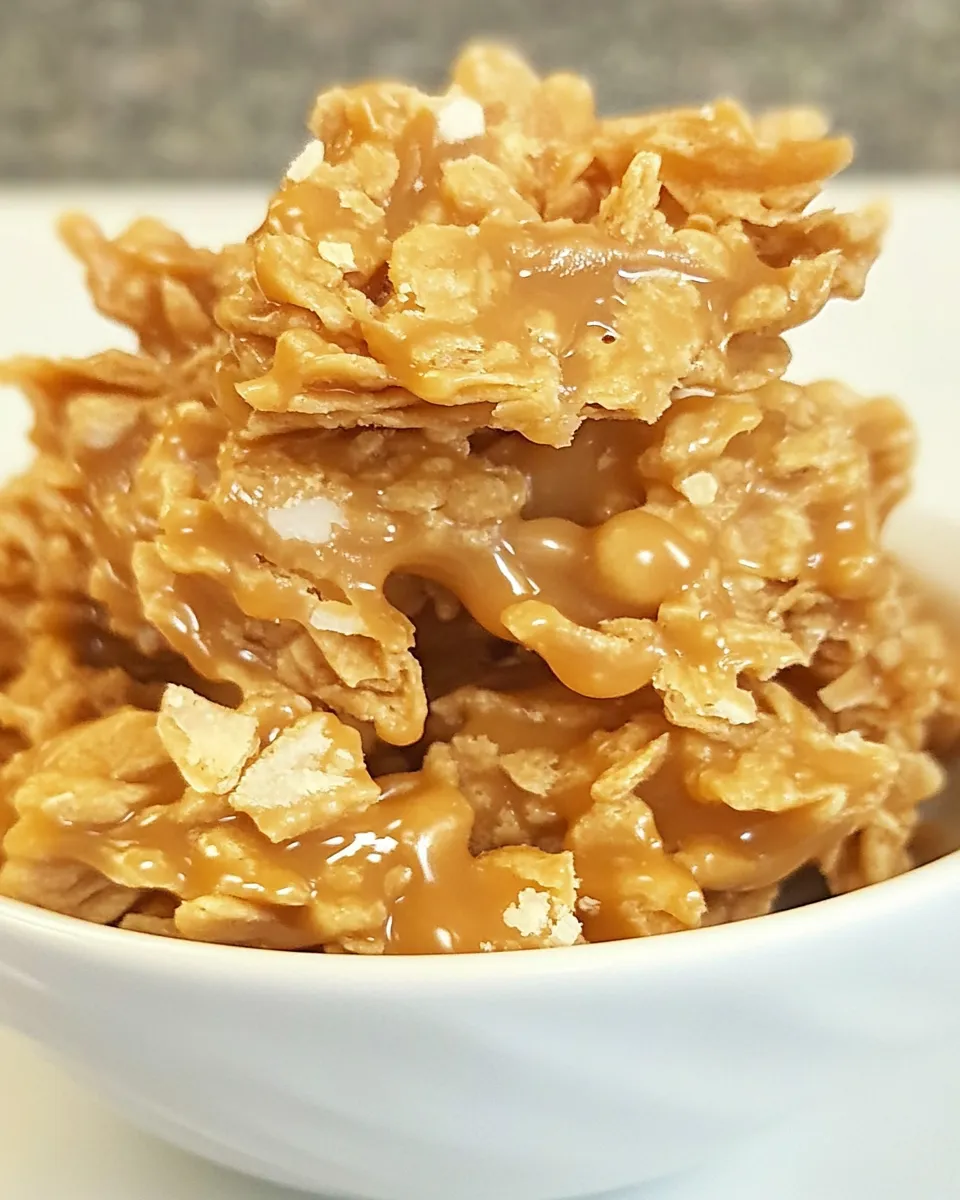
- 5 cups cornflakes (can add up to 6 cups if needed) — provides structure and crunch; plain cornflakes hold up best.
Soft and Chewy Caramel Clusters: Step-by-Step Guide
- Line two baking sheets with parchment paper and set aside.
- Place 1/4 cup milk, 1/2 cup butter, and the entire 14 oz bag of Kraft caramels (wrappers removed, about 50) into a large, heavy‑bottomed pot—big enough to hold the caramel mixture plus 5–6 cups of cornflakes and allow room for stirring.
- Heat the pot over medium, stirring frequently until the butter and caramels are completely melted and the mixture is smooth. Reduce heat as needed to prevent scorching; do not let the mixture come to a rolling boil.
- Remove the pot from the heat. Add 5 cups cornflakes and gently fold until the flakes are evenly coated. If the mixture appears to have excess caramel and the flakes look undercoated, add up to 1 more cup of cornflakes (up to 6 cups total) and fold until evenly coated, taking care not to crush the flakes.
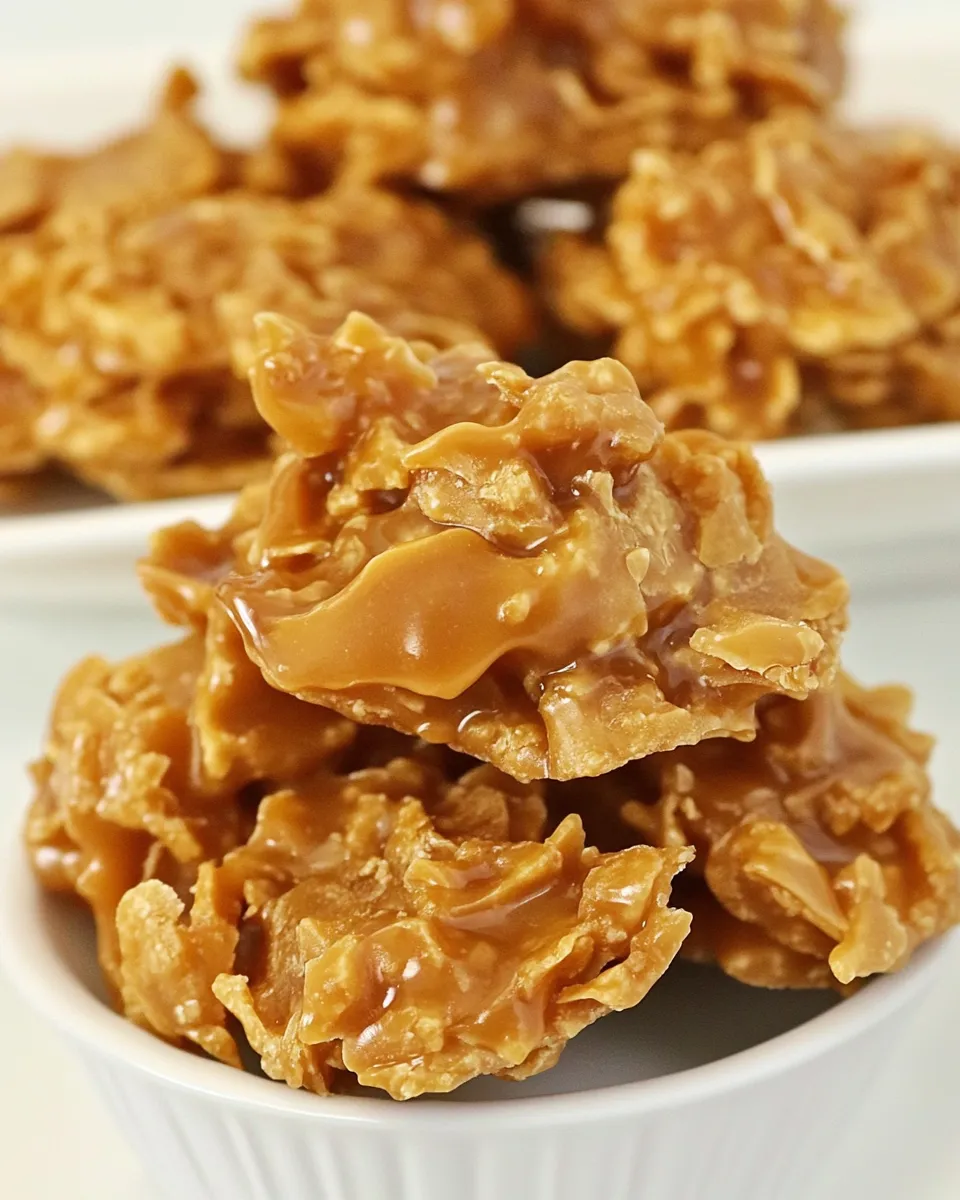
- Use a heaping tablespoon to scoop 1‑inch mounds of the coated cornflake mixture onto the prepared baking sheets, spacing the clusters slightly apart. You should get about 30–34 clusters.
- Let the clusters cool completely at room temperature until set; they will firm up into soft, chewy clusters as they cool.
- Store the cooled clusters in a parchment‑lined airtight container. If stacking, place parchment between layers to prevent sticking. Best when eaten within 7 days.
Why You’ll Keep Making It
These clusters are quick, predictable, and satisfyingly chewy without needing an oven. The recipe uses one pot, a couple of pans, and basic pantry ingredients. The combination of buttery caramel and crisp cornflakes gives a texture contrast that’s hard to beat: each bite is soft and chewy with a little crunch under it. I find them easier and faster than baking cookies and much less messy than making poured caramel candies.
They also travel well. Pack them in a parchment‑lined tin and they make a lovely neighbor gift. If you’re feeding a crowd, they scale up easily — just use a larger pot and extra baking sheets. Because the clusters set at room temperature, you don’t need to worry about cooling racks or oven time; you can get on with other tasks while they firm up.
Substitutions by Category
Liquids & Fats
- Milk — whole or 2% works best. For a slightly richer finish, you can use half‑and‑half, but reduce it a touch because it thins the mix more.
- Butter — salted or unsalted are both fine. If using salted, taste a cluster to check salt level before serving to kids or those sensitive to sodium.
Sweeteners & Caramels
- Kraft caramels — the recipe uses a 14 oz bag. You can use any similar wrapped caramel candies as long as you remove wrappers, but texture and flavor may shift slightly with different brands.
Crisp Base
- Cornflakes — plain cornflakes are ideal. If you want a gluten‑free option, check the packaging for gluten‑free cornflakes. For a different texture, try rice cereal (note: it will produce a lighter, more brittle cluster).
What You’ll Need (Gear)
- Large, heavy‑bottomed pot — prevents hot spots and scorching while melting caramels.
- Spoon or heatproof spatula — for frequent stirring and gentle folding.
- Baking sheets — two, to spread clusters out.
- Parchment paper — essential to keep clusters from sticking and for easy cleanup.
- Tablespoon or small scoop — for uniform cluster sizes.
- Airtight container — for storing cooled clusters.
Watch Outs & How to Fix
Caramel Scorching
If the caramel looks grainy or begins to stick to the pot, the heat is too high. Immediately reduce the heat and stir constantly. If it’s badly scorched and smells burnt, start over — burnt caramel will carry an off taste you can’t mask.
Too Runny or Undercoated Flakes
If, after adding 5 cups cornflakes, the mixture still looks soupy and flakes are undercoated, fold in more cornflakes up to the allowed 6 cups. Add them gently to avoid crushing the flakes. Excess caramel can also be addressed by chilling the pot briefly off heat to thicken before folding.
Clusters Spread or Won’t Hold Shape
Spacing is key. Scoop mounds about 1 inch each and leave room. If clusters flatten, your mixture may be too hot when scooped — let it sit a minute off heat to thicken slightly before forming mounds. Also ensure baking sheets are lined with parchment; greased sheets can cause sliding.
Health-Conscious Tweaks
If you want to lighten these up a little without changing the essential texture, try these small adjustments:
- Reduce portion size — make smaller 3/4‑inch clusters so you still get a sweet hit with fewer calories per piece.
- Use lower‑fat milk — 2% works fine; it won’t dramatically affect chewiness.
- Choose low‑salt butter or reduce added salt elsewhere — if watching sodium, use unsalted butter and a pinch of salt only if desired.
Bear in mind that these clusters rely on caramel for texture and sweetness: significant swaps (like replacing caramels entirely) will change the recipe into something else.
Cook’s Notes
Remove all wrappers from the caramels before you start; it’s tedious mid‑cook and slows you down. Use the largest pot you have so you can stir without spilling. Keep a bowl nearby for discarded wrappers — it saves time and keeps the counter tidy.
Stirring constantly while melting prevents hotspots and gives you a smooth, glossy caramel. If you find small unmelted bits near the pot edge, push them into the center and continue stirring; avoid increasing heat to try to force melting.
When folding in the flakes, use a broad spatula and scoop from the bottom so the caramel coats evenly. Avoid smashing the flakes; part of the appeal is lightness and crunch.
Freezer-Friendly Notes
These clusters freeze well. Flash‑freeze the scooped clusters on the lined baking sheets for 30–60 minutes until firm, then transfer to a freezer‑safe airtight container with parchment between layers. Thaw at room temperature for 30–60 minutes before serving. They will keep in the freezer for up to 2 months without major quality loss.
When packing for gifts, keep chilled or layered with parchment so they don’t stick. If transporting in warm weather, a small cooler or insulated bag helps them hold shape until you reach your destination.
Your Top Questions
How long do they last?
Stored in an airtight container at room temperature with parchment between layers, they’re best within 7 days.
Can I make them ahead?
Yes. Make them a day or two before serving and store at room temperature. For longer hold, freeze as noted above and thaw before serving.
What if my caramel seizes or becomes grainy?
Graininess usually means overheating or moisture issues. If it’s slightly grainy, continue stirring off heat — sometimes it smooths. If it’s badly seized, it’s best to start over with fresh caramels.
Can I add nuts or extras?
You can fold in chopped nuts or mini chocolate chips after coating, but adding extras will change texture and yield. If you add nuts, reduce the cornflakes slightly so clusters still bind.
Save & Share
If you make these, snap a quick photo with a simple backdrop — parchment or kraft paper and natural window light do wonders — and tag a friend who needs an easy gift idea. I keep this recipe bookmarked for emergencies: company at the door, unexpected school parties, or when I want a treat that’s quick to pull together.
Want to scale up? Double the batch but melt caramels in a pot that’s proportionally larger and work in two stages if necessary so folding remains gentle. And if you have questions while making them, leave a comment and I’ll reply with troubleshooting tips.
Soft and Chewy Caramel Clusters
Ingredients
Ingredients
- 1/4 cupmilk
- 1/2 cupof butter
- 14 ozbagKraft caramels wrappers removed (about 50 caramels)
- 5 cupscornflakes can add up to 6 cups if needed
Instructions
Instructions
- Line two baking sheets with parchment paper and set aside.
- Place 1/4 cup milk, 1/2 cup butter, and the entire 14 oz bag of Kraft caramels (wrappers removed, about 50) into a large, heavy‑bottomed pot—big enough to hold the caramel mixture plus 5–6 cups of cornflakes and allow room for stirring.
- Heat the pot over medium, stirring frequently until the butter and caramels are completely melted and the mixture is smooth. Reduce heat as needed to prevent scorching; do not let the mixture come to a rolling boil.
- Remove the pot from the heat. Add 5 cups cornflakes and gently fold until the flakes are evenly coated. If the mixture appears to have excess caramel and the flakes look undercoated, add up to 1 more cup of cornflakes (up to 6 cups total) and fold until evenly coated, taking care not to crush the flakes.
- Use a heaping tablespoon to scoop 1‑inch mounds of the coated cornflake mixture onto the prepared baking sheets, spacing the clusters slightly apart. You should get about 30–34 clusters.
- Let the clusters cool completely at room temperature until set; they will firm up into soft, chewy clusters as they cool.
- Store the cooled clusters in a parchment‑lined airtight container. If stacking, place parchment between layers to prevent sticking. Best when eaten within 7 days.
Equipment
- Baking Sheets
- Parchment Paper
- large heavy-bottomed pot
- Spoon or Spatula
- tablespoon


