

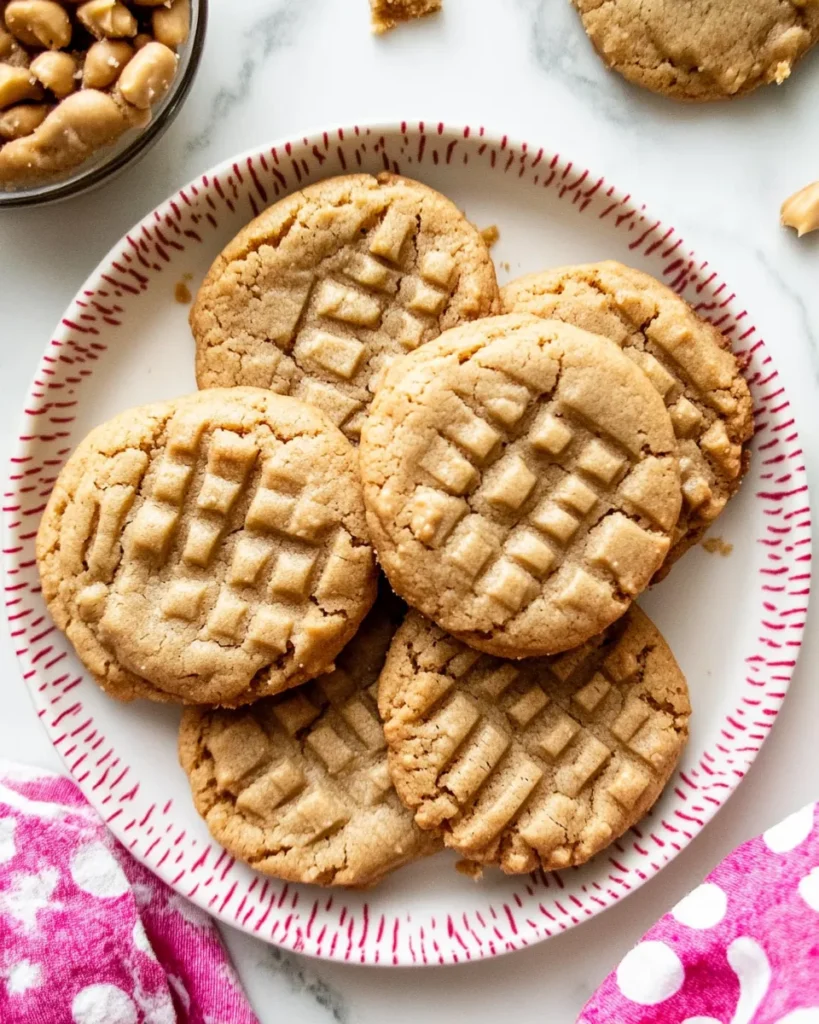
These soft peanut butter cookies are the kind I bake when I want something reliably comforting and effortless. The texture stays tender, the flavor is pleasantly peanutty, and a few chocolate chips give the whole cookie a gentle lift without stealing the show. They come together with straightforward pantry staples and a short bake time.
I like to keep the process simple: cream the butter and spreadable peanut butter, add sugars and vanilla, fold in the flour and baking powder, and finish with chocolate chips. The dough is soft, easy to roll, and forgiving in the oven—just a couple of minutes too long and you’ll notice the difference, so timing matters.
If you need a cookie for after-school snacks, a casual drop-off, or a weeknight pick-me-up, these fit the bill. Below I’ll walk you through the ingredients, the exact steps I use, gear that makes the job faster, common mistakes to avoid, and storage tips so they stay soft for days.
Ingredient Rundown
Ingredients
- 1/2 cup unsalted butter, softened — adds rich flavor and tenderness; keep it soft but not melted so it creams properly.
- 1/2 cup spreadable peanut butter (no natural peanut butter) — provides peanut flavor and chew; the recipe calls for spreadable peanut butter to ensure consistent texture.
- 2/3 cup light brown sugar, packed — gives moisture and chew; packing it ensures consistent sweetness and color.
- 1/2 cup white granulated sugar — balances the brown sugar and helps with slight crisping on the edges.
- 2 teaspoons pure vanilla extract — brightens the peanut butter and deepens overall flavor.
- 1 egg, large — binds the dough and contributes to softness.
- 1 1/2 cups all-purpose (or plain) flour — structure for the cookies; measure by spooning into the cup and leveling for accuracy.
- 1/2 teaspoon baking powder — a gentle leavening agent to lift the cookies slightly without making them cakey.
- 1/3 teaspoon salt — balances sweetness and enhances peanut flavor; if your peanut butter is salted, you can still use the full amount.
- 3/4 cup semi-sweet (or dark) chocolate chips — adds pockets of chocolate; the recipe splits the chips so some are mixed in and some pressed on top for presentation.
From Start to Finish: Soft Peanut Butter Cookies
- Preheat the oven to 350°F (175°C). Line 2 large baking sheets with parchment paper and set aside.
- In a large bowl, beat together the 1/2 cup softened unsalted butter and 1/2 cup spreadable peanut butter until creamy.
- Add the 2/3 cup packed light brown sugar, 1/2 cup white granulated sugar, and 2 teaspoons pure vanilla extract; beat until smooth.
- Beat in the 1 large egg until fully incorporated.
- Add the 1 1/2 cups all-purpose flour, 1/2 teaspoon baking powder, and 1/3 teaspoon salt. Fold the dry ingredients into the wet ingredients until just combined and a soft dough forms—do not overmix.
- Stir in half of the 3/4 cup semi-sweet (or dark) chocolate chips with your fingers or a wooden spoon.
- Roll the dough into about 15 balls and place them on the lined baking sheets, leaving space between each cookie for spreading.
- Press the remaining chocolate chips onto the top of each cookie.
- Bake for about 10–11 minutes, until the tops are lightly golden. Do not overbake.
- Remove the baking sheets from the oven, let the cookies rest on the sheet for a few minutes, then transfer them to a wire rack and allow to cool for about 15 minutes.
The Upside of Soft Peanut Butter Cookies
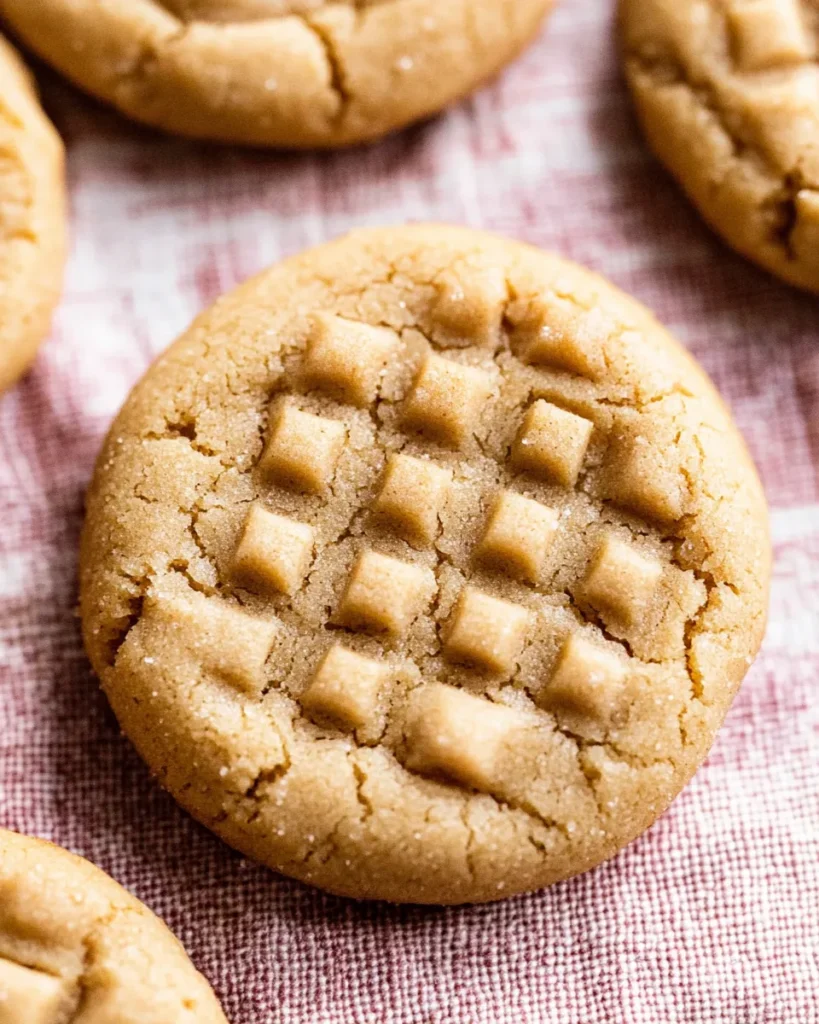
These cookies are dependable. The formula balances fat and sugar to keep them soft in the middle while offering lightly golden edges. Because the recipe uses both butter and spreadable peanut butter, you get real peanut flavor plus that tender bite that comes from butter.
They’re flexible too. Make the dough, roll and bake right away, or chill the dough briefly if you want a slightly thicker cookie. They’re easy to scale: double the dough if you want more, and the bake time remains similar for individual cookies. Finally, splitting the chocolate chips—some mixed in, some on top—gives a pleasing look and ensures a chocolate hit in almost every bite.
Healthier Substitutions

If you want to lighten things up or accommodate preferences, here are straightforward swaps that keep the spirit of the cookie without inventing new ingredients:
- Sugar swap considerations: Reduce white sugar by a tablespoon or two if you prefer slightly less sweetness. The texture will remain soft due to the brown sugar.
- Butter alternatives: You can try lower-fat spreads labeled for baking, but expect a small change in flavor and chew. This recipe depends on butter for richness.
- Peanut butter options: The recipe specifies spreadable peanut butter (no natural peanut butter) because natural separates and can affect texture; if you must use a natural kind, stir well and be aware the dough may be slightly looser.
- Chocolate options: Use dark chocolate chips for less sugar per bite; the amount called for stays the same.
Equipment Breakdown
You don’t need fancy tools—just the right basics. A reliable oven, two large baking sheets, parchment paper, a large mixing bowl, and either an electric mixer or a strong wooden spoon will do the job.
- Electric mixer or sturdy spoon: An electric mixer speeds up creaming the butter and peanut butter, but you can do it by hand.
- Baking sheets and parchment: Parchment prevents sticking and encourages even browning. Two sheets let you bake a full batch without swapping mid-bake.
- Wire rack: Transfers heat away from the bottoms as they cool so the centers stay soft while the edges set.
- Measuring cups/spoons: Accurate measuring keeps texture consistent—especially the flour and baking powder.
Slip-Ups to Skip
Here are the common mistakes I see and how to avoid them.
- Overmixing the dough: Once you add the flour, fold just until combined. Overworking gluten will make cookies tough.
- Using natural peanut butter: Natural types separate and are oilier; the recipe asks for spreadable peanut butter to keep the dough cohesive.
- Overbaking: Ten to eleven minutes is the sweet spot. Pull them when the tops are lightly golden; they continue to set as they cool.
- Skipping the resting on the sheet: Let the cookies sit on the baking sheet for a few minutes after removing from the oven—moving them too soon can cause breakage.
- Flattening too early or too much: You want some spread. Roll the dough into balls and give them room; pressing too hard can create thin, crispy cookies instead of soft centers.
Season-by-Season Upgrades
Little tweaks take these cookies from everyday to seasonal-special without extra work.
- Spring: Add a pinch of flaky sea salt on top before baking to highlight the peanut flavor and contrast with the chocolate.
- Summer: Press a few chopped roasted peanuts on top for extra crunch and a rustic look; they pair well with a chilled glass of milk.
- Fall: Swap half the chocolate chips for butterscotch chips or add a 1/4 teaspoon cinnamon to the dry mix for warmth.
- Winter: Drizzle melted dark chocolate over cooled cookies and sprinkle a touch of coarse salt or crushed peppermint for a festive finish.
If You’re Curious
Why does the recipe call for both brown and white sugar? The brown sugar retains moisture and gives chew, while the white sugar contributes slight crisping and balanced sweetness.
Why the split of chocolate chips? Mixing half in ensures chocolate pockets throughout the cookie; pressing the rest on top makes every cookie look and taste like a treat. It’s a small step that lifts presentation and bite satisfaction.
Make-Ahead & Storage
Make-ahead options
Prepare the dough up to the point of rolling into balls, then refrigerate for up to 3 days. When ready to bake, let the dough sit at room temperature for 10–15 minutes if it’s very firm, then roll and bake as directed. For longer storage, freeze the dough balls on a tray until solid, then transfer to a sealed container for up to 3 months. Bake from frozen, adding a minute or two to the time.
Storage after baking
Once cooled, store cookies in an airtight container at room temperature for up to 4 days to keep them soft. Layer with parchment if stacking to prevent sticking. For longer storage, freeze baked cookies in a sealed container for up to 2 months; thaw at room temperature before serving.
Your Top Questions
Will the cookies be too greasy? Not if you use spreadable peanut butter rather than a separated natural variety. The specified balance of butter and sugars keeps them tender without excess oil.
Can I use crunchy peanut butter? Yes, but it will change the texture—expect some extra crunch and a slightly drier feel. The recipe’s instructions and amounts remain the same.
How do I make them thicker? Chill the rolled dough balls for 20–30 minutes before baking. Chilled dough spreads less, producing thicker cookies.
Can I double the recipe? Yes. Use two mixing bowls or work in batches so you can fold the flour in evenly and maintain the soft dough consistency.
Let’s Eat
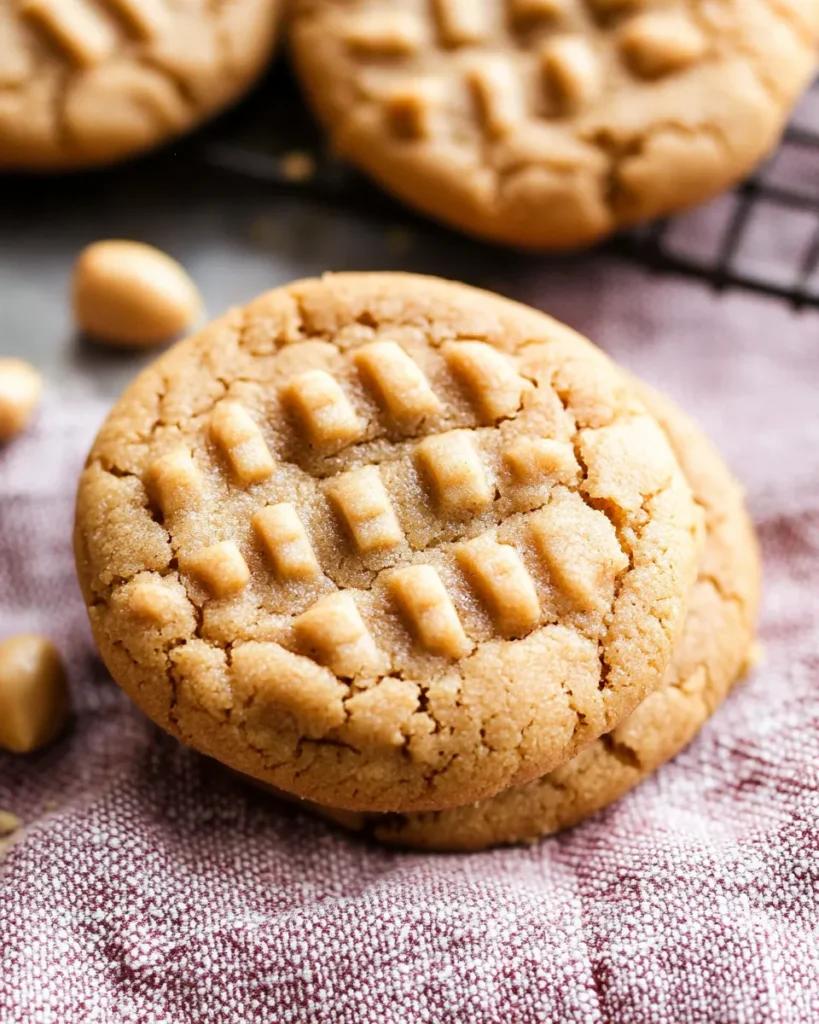
Follow the steps above and you’ll have about 15 soft, peanut-buttery cookies with chocolate surprises in every bite. Let them cool enough to set, then serve with cold milk, coffee, or on their own. Store extras in an airtight container and reheat gently for that fresh-baked feel.
These cookies are a small, dependable ritual: straightforward to make, forgiving at the oven window, and satisfying every time. Happy baking—and enjoy every soft, chocolate-spotted bite.
Soft Peanut Butter Cookies
Ingredients
Ingredients
- 1/2 cupunsalted buttersoftened
- 1/2 cupspreadable peanut butterno natural peanut butter
- 2/3 cuplight brown sugarpacked
- 1/2 cupwhite granulated sugar
- 2 teaspoonspure vanilla extract
- 1 egglarge
- 1 1/2 cupsall-purposeor plain flour
- 1/2 teaspoonbaking powder
- 1/3 teaspoonsalt
- 3/4 cupsemi sweet chocolate chipsor dark
Instructions
Instructions
- Preheat the oven to 350°F (175°C). Line 2 large baking sheets with parchment paper and set aside.
- In a large bowl, beat together the 1/2 cup softened unsalted butter and 1/2 cup spreadable peanut butter until creamy.
- Add the 2/3 cup packed light brown sugar, 1/2 cup white granulated sugar, and 2 teaspoons pure vanilla extract; beat until smooth.
- Beat in the 1 large egg until fully incorporated.
- Add the 1 1/2 cups all-purpose flour, 1/2 teaspoon baking powder, and 1/3 teaspoon salt. Fold the dry ingredients into the wet ingredients until just combined and a soft dough forms—do not overmix.
- Stir in half of the 3/4 cup semi-sweet (or dark) chocolate chips with your fingers or a wooden spoon.
- Roll the dough into about 15 balls and place them on the lined baking sheets, leaving space between each cookie for spreading.
- Press the remaining chocolate chips onto the top of each cookie.
- Bake for about 10–11 minutes, until the tops are lightly golden. Do not overbake.
- Remove the baking sheets from the oven, let the cookies rest on the sheet for a few minutes, then transfer them to a wire rack and allow to cool for about 15 minutes.
Equipment
- Oven
- Baking Sheets
- Parchment Paper
- Large Bowl
- mixer or mixing spoon
- Wooden Spoon
- Wire Rack
Notes
Don’t forget to preheat your oven first!


