
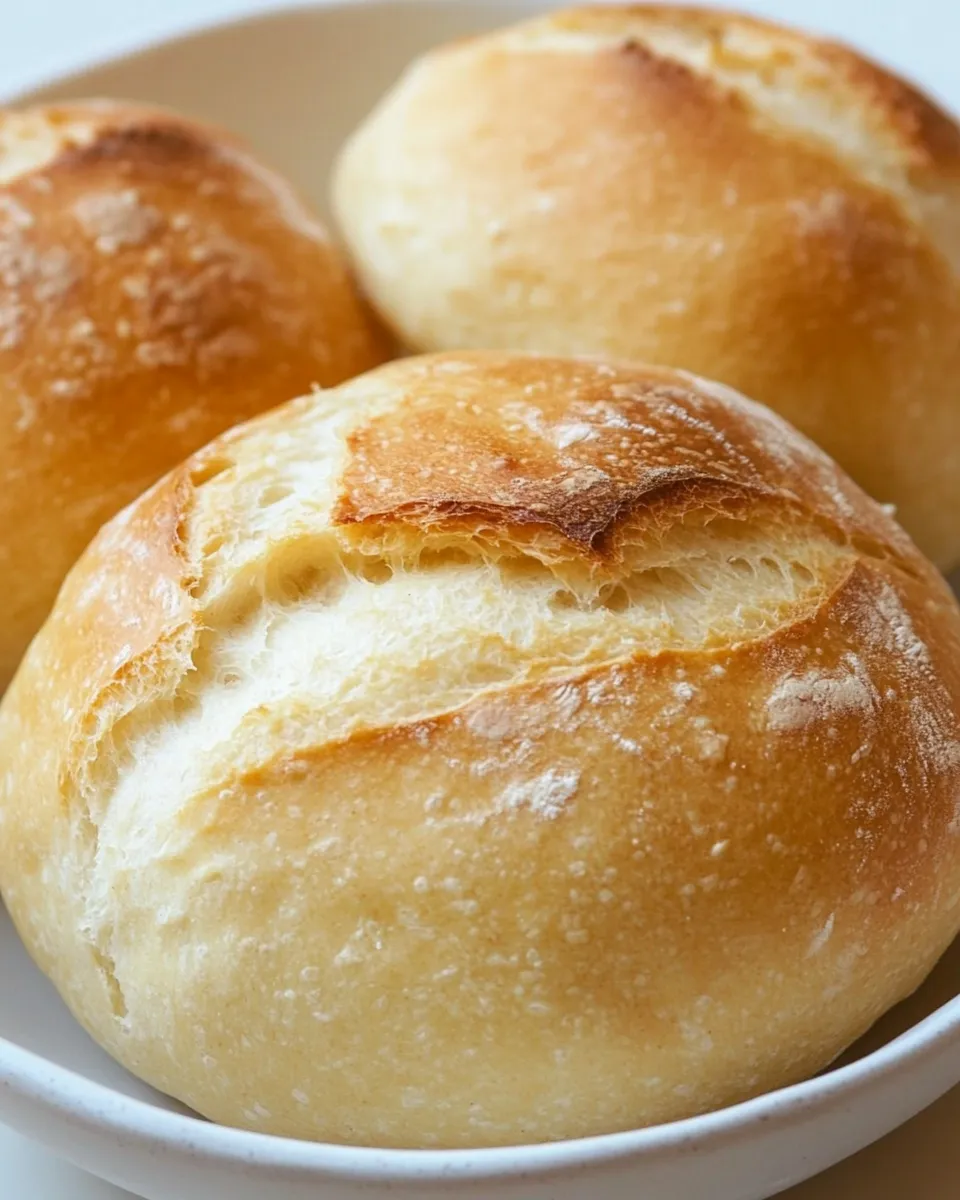
I bake with a purpose: comforting bowls of soup deserve their own edible bowl. These sourdough bread bowls are a bit of a love letter to crusty bread and cozy nights. I’ll walk you through creating a reliable starter and the mindset you need to shape bread into a vessel that holds chili, stew, or a creamy chowder without collapsing.
No fluff here — just what works in a busy kitchen. The process below begins with building a simple, active starter. From there you’ll have the foundation to make any sourdough loaf, shaped and hollowed into bowls. Expect predictable steps, practical tips, and troubleshooting that keeps you baking, not re-baking.
This post focuses on the starter and the practical habits that let you convert sourdough into bowls that are crisp on the outside and tender inside. If you already have a mature starter, you can skip straight to shaping and baking notes later in the post.
What We’re Using
We keep the ingredient list short and the approach repeatable. The starter this method builds is flexible: it’s tolerant, fridge-friendly, and reliable for weekend bakers. There’s a little patience required — plan two to five days for the starter to show a mild sour aroma and then refrigerate it until you’re ready to use it.
Key roles of the ingredients are simple. Water hydrates and activates yeast; sugar or honey gives the yeast an initial feed; active dry yeast jumpstarts fermentation while flour supplies the structure. This is a hybrid starter approach that gets you a functional leaven quickly and then lets natural fermentation develop a gentle sour note.
Ingredients
- 2 cups warm water — hydrates the flour and activates the yeast; warm but not hot speeds activity.
- 1 tbsp. sugar or honey — a small food source to help yeast start fermenting predictably.
- 1 tbsp. active dry yeast — jumpstarts fermentation so you get predictable bubbling and flavor development.
- 2 cups unbleached all-purpose flour — the structural base for your starter; unbleached has more flavor and performance.
How to Prepare Sourdough Bread Bowls
- Pour 2 cups warm water into a clean 2‑quart glass or ceramic jar or bowl.
- Stir in 1 tablespoon sugar or honey until dissolved.
- Stir in 1 tablespoon active dry yeast until distributed.
- Gradually whisk in 2 cups unbleached all‑purpose flour until evenly combined and no large lumps remain.
- Cover the jar loosely with a clean kitchen towel or dishcloth (do not use plastic wrap) and place it in a warm area.
- Let the mixture develop for 2–5 days, stirring once a day to reincorporate any separated liquid.
- When bubbling has subsided and a mild sour aroma has developed, stir once more and refrigerate the starter until you are ready to use it.
- To maintain the starter in the refrigerator, replenish it about once every two weeks or whenever you remove some for baking.
- Feed the starter each time you remove a portion for baking. If you have not used it for two weeks and do not plan to bake immediately, remove 1 cup of the starter and discard it.
- For every 1 cup of starter removed, replace with 1 cup flour and 1/2 cup water. Stir to blend thoroughly.
- After feeding, let the starter sit at room temperature for at least 12 hours before returning it to the refrigerator.
What Makes This Recipe Special
There are two things that make these sourdough bread bowls stand out: the reliable starter method and the intent behind shaping. The starter in this recipe is designed to be low-effort and fridge-friendly. You don’t need daily feedings to keep it alive if you bake occasionally — feed when you use it, and keep a maintenance rhythm. That consistency shows up in the crumb and flavor of the finished bowls.
Shaping for bread bowls is less about technique and more about structure. You want a sturdy exterior crust and a soft but stable interior. That balance comes from proper fermentation, shaping with tension, and baking on a hot surface to achieve oven spring and crisping. The starter method here gives you the predictable fermentation needed to time those stages right.
Swap Guide
When you’re adapting this starter or trying to match what’s in your pantry, keep these swaps in mind. They maintain the spirit of the recipe while letting you work with what you have.
- Honey ↔ Sugar — Use either as written. Honey adds a slightly richer flavor; sugar gives neutral sweetness.
- Active Dry Yeast ↔ Instant Yeast — If you swap to instant yeast, you can mix it directly into the flour. The amount remains the same; activation will be slightly faster.
- Unbleached AP Flour ↔ Bread Flour — Bread flour increases dough strength and chew. It’s fine to use if you prefer a firmer crumb for bowls meant to hold very wet fillings.
Setup & Equipment
Keep setup simple and reliable. A few well-chosen tools make a big difference in results.
Must-haves
- 2‑quart glass or ceramic jar or bowl — non-reactive, easy to clean, and roomy enough for fermentation.
- Clean kitchen towel or dishcloth — for loose covering of the starter; breathable is key.
- Digital scale (optional but helpful) — for precise feedings if you scale the starter later.
- Whisk or wooden spoon — to mix the starter smoothly without lumps.
Nice-to-haves
- Thermometer — to check water temperature and keep conditions consistent.
- Proofing basket (banneton) — if you progress to shaping loaves for bowls, it helps build tension.
- Baking stone or steel — for a crisper base when baking bowls in the oven.
Mistakes That Ruin Sourdough Bread Bowls
These are the common missteps I see people make. Avoid them and your bowls will be reliable.
- Skipping the loose cover or using plastic wrap — airtight conditions can trap moisture and encourage off aromas or mold. Use a breathable cloth so the starter can breathe.
- Using water that’s too hot — high temperatures kill yeast. Warm means comfortable to the touch, not scalding.
- Feeding too rarely after removing starter — if you take starter for baking and don’t replenish, the starter will weaken over time. Replace what you remove as described.
- Rushing the development phase — the first 2–5 days let natural microbes build flavor. Stopping too early gives you less sourness and weaker leavening later.
- Not stirring separated liquid back in — the liquid (hooch) contains alcohol and flavor; reincorporating keeps the starter balanced and active.
Smart Substitutions
When you need to adapt, do it intentionally. These substitutions preserve performance while matching your pantry.
- If you only have white granulated sugar, use it instead of honey — it’ll feed the yeast fine.
- Swap to instant yeast if you want slightly faster activation; measure the same amount and fold into the flour portion.
- If you’re allergy-conscious, this starter uses only basic wheat flour — switching to a gluten-free flour requires a different maintenance approach and won’t behave identically.
Behind the Recipe
This method blends the speed of commercial yeast with the character of a wild starter. Using active dry yeast gives a reliable initial rise so the mixture becomes active quickly; then the longer rest allows natural lactic acid bacteria to develop mild sour notes. The regimen of stirring once a day and a loose cover creates a stable microenvironment for flavor to emerge without daily fuss.
For bread bowls specifically, you want a starter that’s active but not aggressively sour. A mild sour aroma indicates balanced acidity — enough to complement soups without overpowering. When you move from starter to dough for bowls, that balance helps the crumb hold up to moisture and heat from fillings.
Storage & Reheat Guide
Storage starts with the starter: refrigerate it after the initial development and keep a feeding cadence tied to usage. If you bake once every couple of weeks, the schedule in the instructions — top up after you remove starter and let fed starter sit at room temperature for 12 hours — will keep it healthy.
For finished bread bowls (once you’ve baked them):
- Room temperature storage — wrapped lightly in a cloth for 1–2 days to keep crust crispish and the interior soft.
- Refrigeration — avoid. It dries bread quickly and ruins texture.
- Freezing — wrap bowls tightly in plastic and then foil; freeze for up to 2 months. Thaw at room temperature and re-crisp in a 350°F oven for 8–12 minutes.
- Reheating — to refresh a bread bowl before filling, preheat the oven to 350–375°F and bake 8–12 minutes. For a soft interior with a crisp crust, tent lightly with foil for the last few minutes.
Frequently Asked Questions
Q: How do I know when the starter is ready to use for dough?
A: In this method, you’re watching for activity to peak and then subside. After 2–5 days the mixture should show bubbles, have a mild sour smell, and not be overly alcoholic. Stir once more and refrigerate. Before using, feed a portion and let it sit at room temperature for 12 hours so it revives for maximum leavening.
Q: Can I skip the commercial yeast and rely solely on wild fermentation?
A: Yes, but it will take longer and be less predictable for beginners. This recipe intentionally includes active dry yeast to get reliable activity quickly while still allowing wild microbes to develop flavor over a few days.
Q: What size loaf should I bake to make a decent bread bowl?
A: Aim for small boules of about 12–16 ounces (340–450 g) once scaled and shaped. That size hollows into a generous bowl for soups. If your boules are larger, they work too — adjust baking time and hollowing accordingly.
Q: How do I hollow a bread loaf into a bowl without collapsing it?
A: Cut a circle from the top about two inches from the rim with a sharp knife. Remove the interior crumb carefully, leaving a roughly 1/2–3/4 inch wall. If the crust seems thin, leave a bit more crumb. Toast the hollowed interior briefly in the oven to firm it up before adding liquid fillings.
Ready, Set, Cook
Start your starter as soon as you can. It takes a little time to mature, but most of that is hands-off. Keep the process simple: warm water, a touch of sugar or honey, a tablespoon of yeast, and unbleached flour. Stir each day, watch for gentle bubbling and a mild sour aroma, then refrigerate until you’re ready to bake.
When you’re ready to turn starter into bowls, feed the starter, let it wake up, mix a dough with strength and hydration suited to your shaping skills, and shape small boules with tight surface tension. Bake on a hot surface for the best crust, hollow gently, and fill with your favorite soup. Trust your senses — smell, texture, and timing matter more than perfection.
If you want a follow-up, I can lay out a step-by-step dough and shaping recipe specifically for bread bowls (hydration, bulk fermentation times, shaping and scoring). For now, get your starter stable and we’ll build from there. Happy baking — and may your bowls hold every last spoonful.
Sourdough Bread Bowls
Ingredients
Ingredients
- 2 cupswarm water
- 1 tbsp. sugar or honey
- 1 tbsp. active dry yeast
- 2 cupsunbleached all-purpose flour
Instructions
Instructions
- Pour 2 cups warm water into a clean 2‑quart glass or ceramic jar or bowl.
- Stir in 1 tablespoon sugar or honey until dissolved.
- Stir in 1 tablespoon active dry yeast until distributed.
- Gradually whisk in 2 cups unbleached all‑purpose flour until evenly combined and no large lumps remain.
- Cover the jar loosely with a clean kitchen towel or dishcloth (do not use plastic wrap) and place it in a warm area.
- Let the mixture develop for 2–5 days, stirring once a day to reincorporate any separated liquid.
- When bubbling has subsided and a mild sour aroma has developed, stir once more and refrigerate the starter until you are ready to use it.
- To maintain the starter in the refrigerator, replenish it about once every two weeks or whenever you remove some for baking.
- Feed the starter each time you remove a portion for baking. If you have not used it for two weeks and do not plan to bake immediately, remove 1 cup of the starter and discard it.
- For every 1 cup of starter removed, replace with 1 cup flour and 1/2 cup water. Stir to blend thoroughly.
- After feeding, let the starter sit at room temperature for at least 12 hours before returning it to the refrigerator.
Equipment
- 2-quart glass or ceramic jar or bowl
- Whisk
- clean kitchen towel or dishcloth
- Refrigerator
Notes
*The dough can be shaped into two loaves. Once the dough is read to be shaped divide it into two equal portions. Working with one piece of the dough, press gently into a rough rectangular shape. Make an indentation along the length of the dough with an outstretched hand. Press the thumb of one hand along the indentation while pulling the upper edge of the dough down over the hand to enclose the thumb. Tightly roll the dough towards you while forming into a rough torpedo shape, about 6 x 8 inches. If there is a seam, pinch it shut. Place seam-side down on the prepared baking sheet. Repeat shaping with the other half of the dough. Transfer the shaped loaves to the prepared baking sheet. Cover loosely with lightly oiled plastic wrap. Let rise in a warm place until nearly doubled in volume, about 2-3 hours. Bake as directed. *Using a baking stone of dutch oven is what creates this amazing crust. If you have a dutch oven please use it! If not this bread can still be baked using a baking sheet. I am not sure how the crust will turn out. *To Freeze The Dough: Let dough complete all it risings. Shape into a ball and place in a freezer bag. Freeze. When ready to use defrost. When defrost shape into a loaf or boule and allow to rise until doubled in size. Bake as directed. To Freeze the Baked Bread: Allow the bread to cool completely wrap well and freeze. When ready to eat defrost on the counter for an hour or two. Reheat in a 350 degree oven until heated through.


