
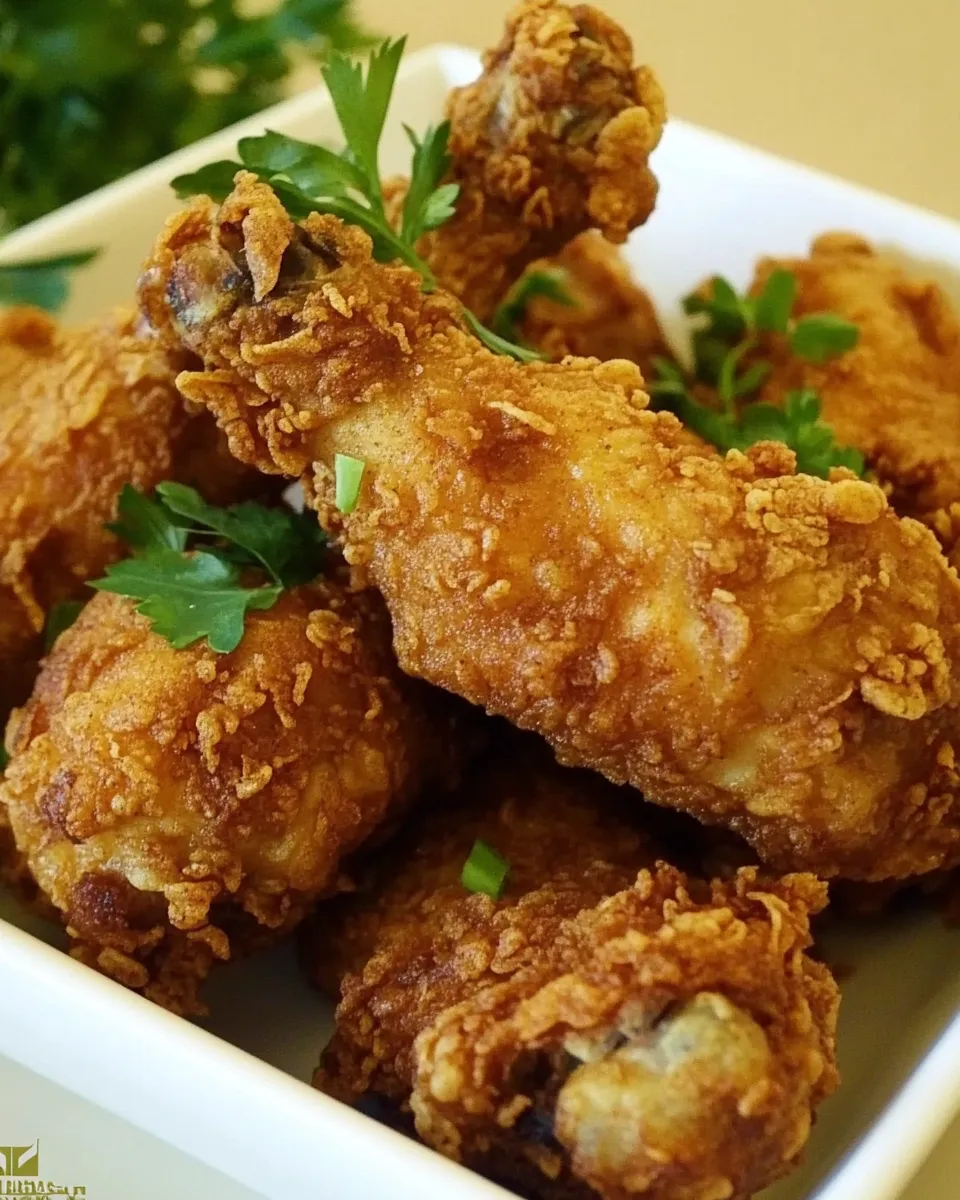
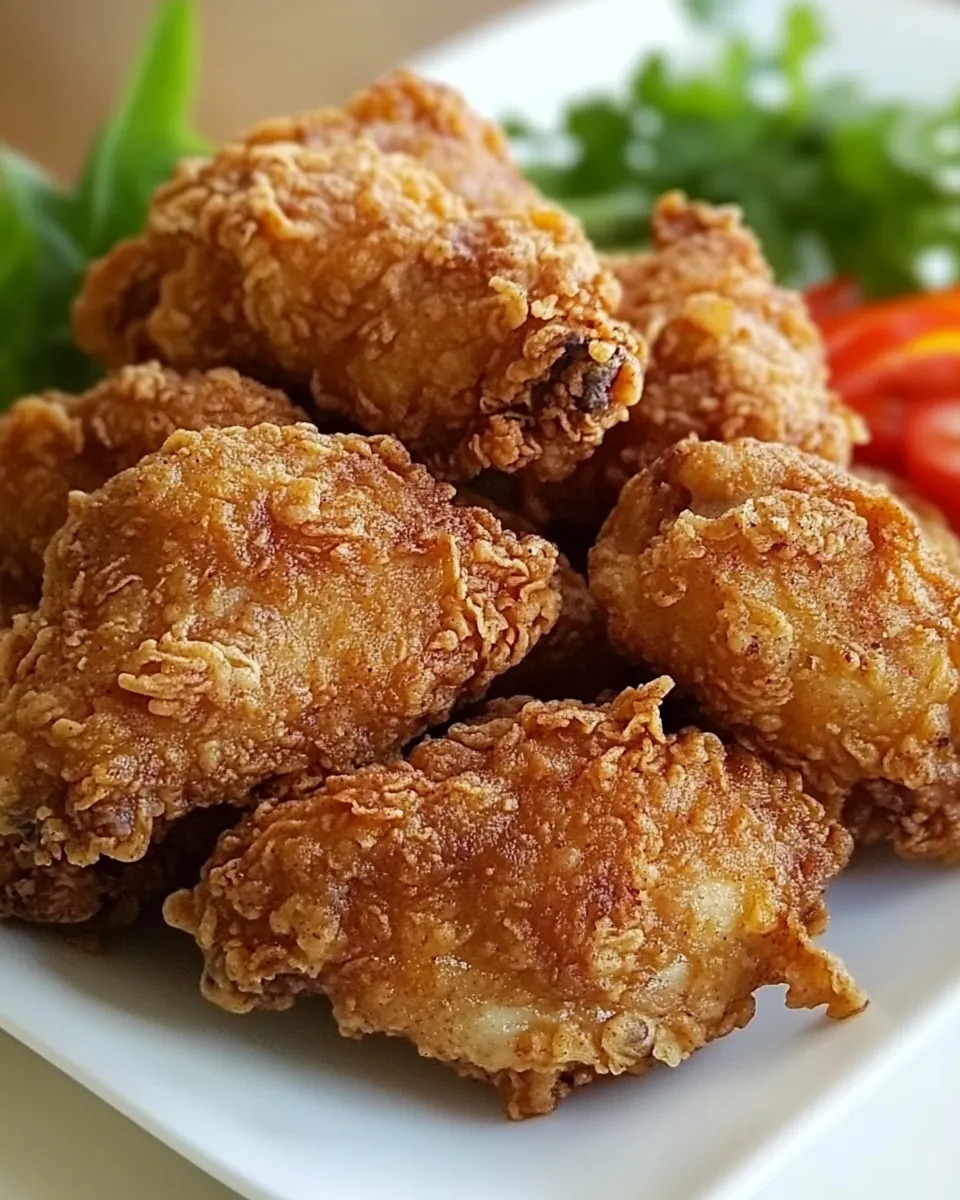
This Thai fried chicken is one of those recipes I reach for when I want bold flavor without fuss. The marinade is bright and savory, the crust is thin and ultra-crisp, and the finished pieces stay juicy. It’s a home-friendly version of the street food you’d find in Bangkok, but made with common pantry items and a reliable frying method.
I’ll walk you through the exact steps I use every time so the results are consistent: clean the chicken, pound the aromatics into a paste, marinate, coat, and fry. There’s a rhythm to it. If you follow the order and keep your oil temperature steady, you’ll get golden, crunchy skin and tender meat every time.
Below you’ll find a clear ingredient breakdown, the step-by-step instructions straight from the recipe, troubleshooting tips, equipment notes, and make-ahead guidance. Read through once, then dive in — this one rewards a little patience in the marinade and attention at the fryer.
Ingredient Breakdown
- 2lbs (1kg) chicken drumsticks, thighs, breasts, or cut-up chicken pieces — Use a mix of dark and white meat if you can; drumsticks and thighs stay juicier. Cut-up pieces cook more evenly.
- 6 cloves garlic, peeled and pounded — The backbone of the marinade. Pounding releases oils and gives more aromatic punch than finely chopped garlic.
- 2 tablespoons cilantro roots, or use the cilantro stems, without leaves — Cilantro roots are classic in Thai marinades; stems are a good, accessible substitute with similar herbal depth.
- 1 teaspoon sea salt, large-grained or kosher salt — Seasoning and tenderizer. Large-grained salts are easier to handle when pounding into the paste.
- 4 tablespoons fish sauce — Brings umami and salty complexity. Essential to the signature Thai flavor.
- 2 tablespoons oyster sauce — Adds sweetness and body to the marinade, balancing the fish sauce.
- 1/2 teaspoon ground black pepper — Simple heat and aromatic lift; freshly ground is best.
- oil, for deep-frying — Neutral high-heat oil (peanut, canola, or vegetable) works well; you need enough for deep frying.
- 4 tablespoons all-purpose flour — Forms part of the crisp coating; keeps the crust light when balanced with the starches.
- 4 tablespoons cornstarch — Gives a glassy, extra-crisp finish when fried.
- 4 tablespoons rice flour — Helps the coating brown less quickly and adds that delicate, rice-paper-like crisp.
Mastering Thai Fried Chicken: How-To
- Clean the chicken pieces and pat them dry thoroughly with paper towels.
- In a mini food processor or with a mortar and pestle, combine the garlic, cilantro roots (or cilantro stems without leaves) and the sea salt. Pound or blend until you have a fine paste.
- Place the chicken in a large Ziploc bag. Add the garlic–cilantro paste, fish sauce, oyster sauce, and ground black pepper. Seal the bag and massage the marinade into the chicken so all pieces are evenly coated.
- Refrigerate the sealed bag and marinate the chicken for 4–6 hours, or preferably overnight.
- When ready to fry, combine the all-purpose flour, cornstarch, and rice flour in a clean Ziploc bag and shake to mix thoroughly.
- Heat a pot of oil or a deep fryer until the oil reaches 350–375°F (175–190°C), or hot enough that a small pinch of the flour mixture sizzles and rises immediately.
- Remove one piece of chicken at a time from the marinade and let excess marinade drip back into the bag. Place the chicken pieces in the flour mixture bag, seal, and shake to coat each piece evenly. Lightly press the coating onto the chicken, then shake off any excess flour.
- Fry the chicken in batches without overcrowding the pot. Carefully lower pieces into the hot oil and fry, turning as needed, until the coating is golden brown and crisp and the internal temperature of the thickest part reaches 165°F (74°C). Depending on piece size, this will generally take about 10–15 minutes per batch.
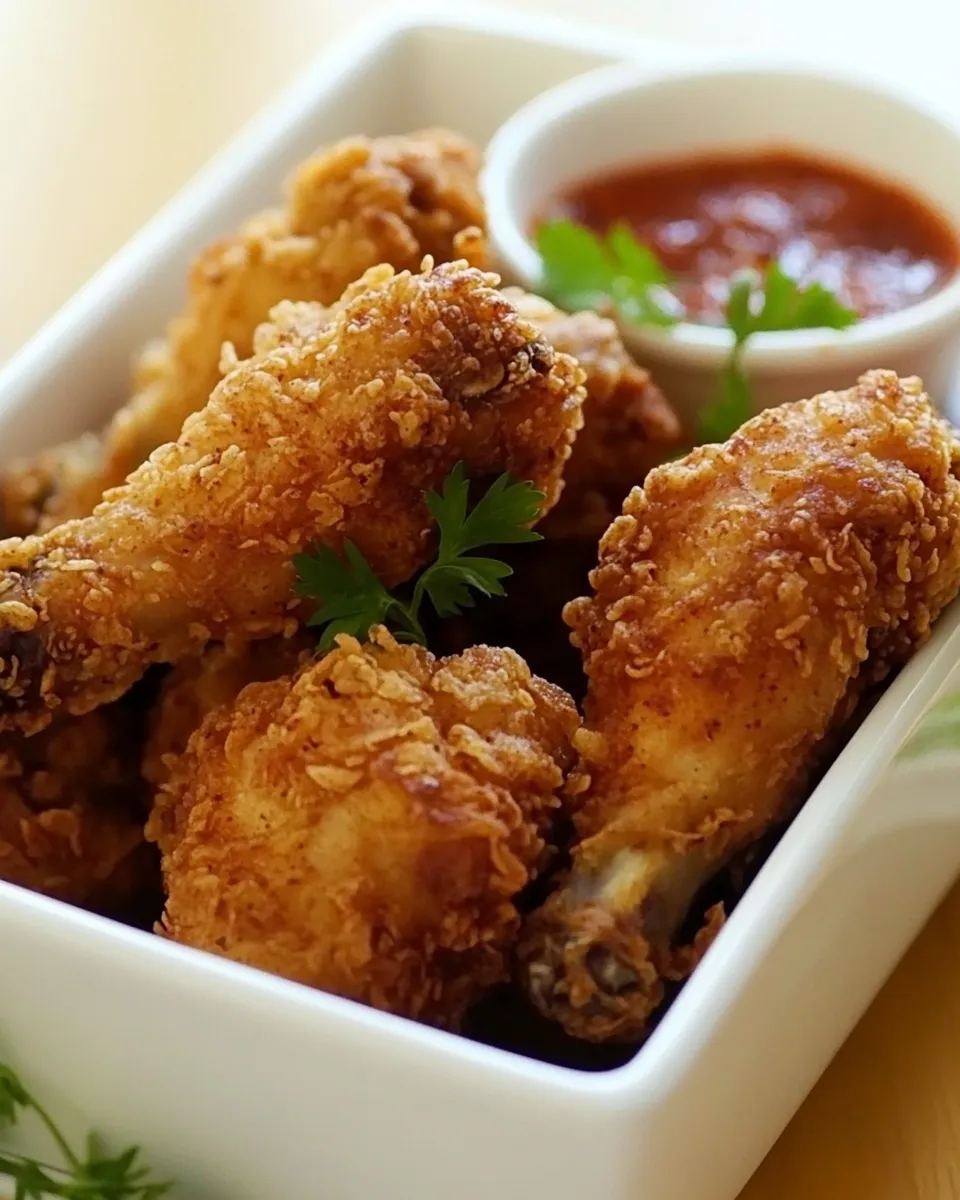
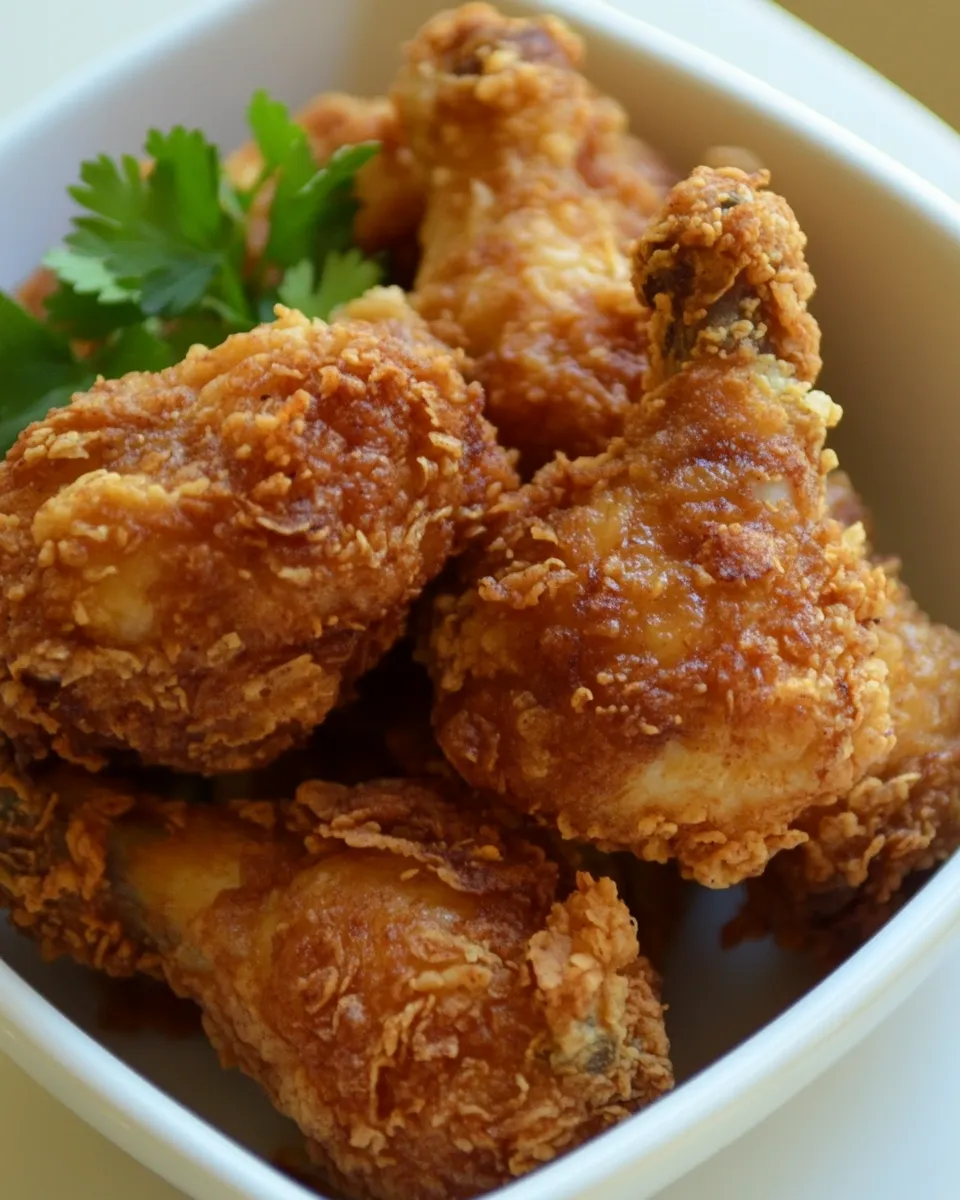
- Transfer fried chicken to a plate lined with paper towels or a wire rack to drain. Let rest a few minutes before serving.
- Serve the fried chicken immediately.
Why You’ll Keep Making It
Once you taste the contrast — thin, crisp crust and juicy interior — this version becomes a weeknight favorite. The marinade is punchy but balanced: fish sauce and oyster sauce give savory depth without needing a dozen exotic ingredients. Garlic and cilantro roots add that unmistakable Thai aroma that makes every bite feel purposeful.
It’s also forgiving. The coating is straightforward and doesn’t require a batter, so it’s easier to get right than some techniques. You can scale the recipe up for a small crowd, and the frying time per batch stays similar so timing is predictable. If you’re comfortable with a thermometer and a steady burner, the results are reliably excellent.
Low-Carb/Keto Alternatives
If you’re avoiding wheat and cornstarch, a few swaps keep the spirit of the dish without piling on carbs:
- Use finely ground almond flour mixed with a little coconut flour to mimic the dry-coating texture. Almond flour browns faster, so watch the oil temperature and lower the heat slightly.
- Crushed pork rinds make an excellent ultra-crispy coating. Pulse to a fine consistency, then press onto the marinated chicken the same way you would with the dry flour mix.
- Skip rice flour and cornstarch entirely and double up on a gluten-free flour blend if you prefer a one-to-one flour alternative. Expect a slightly different mouthfeel but similar crispness when fried at the right temperature.
Setup & Equipment
Gather these tools before you start. Having everything ready keeps the process smooth and safe.
- Heavy-bottomed pot or deep fryer — A Dutch oven or a deep straight-sided pot holds heat well and keeps oil temperature steady.
- Candy or frying thermometer — This is the single most useful tool for reliable frying. Aim for 350–375°F (175–190°C).
- Two large Ziploc bags — One for the marinade, one for the dry-coating mix. They make massaging and coating tidy.
- Mini food processor or mortar and pestle — For the garlic–cilantro paste. Either works; the mortar gives the most authentic texture.
- Wire rack and baking sheet or a plate lined with paper towels — Use a rack whenever possible so the chicken stays crisp after frying.
- Tongs and a slotted spoon — For safely lowering and removing pieces from hot oil.
Troubleshooting Tips
- Oily, soggy coating: Oil too cool. If the oil drops below frying range the crust will absorb oil. Let the oil come back up to temp between batches and don’t overcrowd the pot.
- Coating falls off: Excess marinade left on the chicken prevents the flour from sticking. Let excess drip back into the bag and lightly press the flour onto the surface when coating.
- Crust browns too fast but inside undercooked: Oil too hot. Lower the heat and fry at the correct 350–375°F range, or finish larger pieces in a 325°F oven until internal temperature reaches 165°F (74°C).
- Too salty: Fish sauce and oyster sauce are concentrated. If you find it too salty, reduce the fish sauce by about half next time and taste the marinade before adding to the chicken.
- Uneven color: Rotate pieces while frying for even browning. Use a wire rack to drain — paper towels can trap steam and soften the crust.
Variations by Season
Small seasonal tweaks keep this recipe fresh all year:
- Spring: Serve with a green papaya salad or a crisp cucumber relish to cut the richness and add crunch.
- Summer: Add thin slices of fresh Thai chilies or a squeeze of lime at the table. Bright acidity lifts the fried flavors.
- Autumn: Make an accompanying slaw with shredded cabbage and a tangy fish-sauce vinaigrette to echo the marinade.
- Winter: Increase the black pepper slightly and serve with a warm, spiced dipping sauce (think tamarind or slightly sweet chili) to make it cozy.
Behind-the-Scenes Notes
I tested this several times to land on the 4–6 hour marinade window. Overnight is best if you can, but 4 hours does a fine job. The garlic–cilantro paste is where all the personality comes from, so take the time to get it into a smooth paste — that step makes a noticeable difference in flavor penetration.
For authenticity, cilantro roots are ideal, but stems work nearly as well and are easier to find. If you only have leaves, they’ll be more floral and delicate; use a slightly smaller amount so the flavor doesn’t get grassy.
When I deep-fry at home, I keep two burner zones: one to heat and bring oil back to temp and another off or low to keep the rest of the counter clear. Respect the hot oil, use long tongs, and never leave the pot unattended.
Make-Ahead & Storage
Marinate: You can marinate the chicken up to 24 hours in the fridge. Beyond that, the salt and acid in the sauces can begin to break down texture.
Before frying: If you’re in a hurry on the day you plan to serve, remove pieces from the refrigerator and let them sit 20–30 minutes at room temperature before frying. This helps them cook more evenly.
Storage after frying: Keep leftover fried chicken in an airtight container in the refrigerator for up to 3 days. Reheat in a hot oven (400°F/200°C) on a wire rack for 10–15 minutes to re-crisp the coating. Avoid microwaving if you care about texture.
Popular Questions
- Can I use boneless chicken? Yes. Adjust frying time downward; boneless pieces will cook more quickly and may only need 6–10 minutes depending on thickness.
- What if I don’t have rice flour? You can use extra cornstarch or a gluten-free flour blend. The texture will shift slightly but will still be very crisp.
- Is double-frying necessary? Not with this thin coating. Double-frying can add extra crunch, but following the temperature and coating steps here gives an excellent one-fry result.
- How do I test doneness without a thermometer? Cut into the thickest piece to check, but I recommend a meat thermometer for safety and consistency. Look for clear juices and no pink near the bone.
The Takeaway
This Thai fried chicken is simple to make and packed with unmistakable Thai flavor. The garlic–cilantro paste, fish and oyster sauces, and the trio of flours work together to create a thin, crunchy shell and juicy meat. Take the time to marinate and monitor oil temperature, and you’ll be rewarded with a dish that’s great straight out of the fryer and still very good as leftovers when reheated properly. Try it once and you’ll understand why it becomes a repeat in my kitchen.

Thai Fried Chicken
Ingredients
Ingredients
- 2 lbs 1 kgchicken drumsticks, thighs, breasts, or cut-up chicken pieces
- 6 clovesgarlic peeled and pounded
- 2 tablespoonscilantro roots or use the cilantro stems, without leaves
- 1 teaspoonsea salt large-grained or kosher salt
- 4 tablespoonsfish sauce
- 2 tablespoonsoyster sauce
- 1/2 tablespoonground black pepper
- oil for deep-frying
- 4 tablespoonsall-purpose flour
- 4 tablespoonscornstarch
- 4 tablespoonsrice flour
Instructions
Instructions
- Clean the chicken pieces and pat them dry thoroughly with paper towels.
- In a mini food processor or with a mortar and pestle, combine the garlic, cilantro roots (or cilantro stems without leaves) and the sea salt. Pound or blend until you have a fine paste.
- Place the chicken in a large Ziploc bag. Add the garlic–cilantro paste, fish sauce, oyster sauce, and ground black pepper. Seal the bag and massage the marinade into the chicken so all pieces are evenly coated.
- Refrigerate the sealed bag and marinate the chicken for 4–6 hours, or preferably overnight.
- When ready to fry, combine the all-purpose flour, cornstarch, and rice flour in a clean Ziploc bag and shake to mix thoroughly.
- Heat a pot of oil or a deep fryer until the oil reaches 350–375°F (175–190°C), or hot enough that a small pinch of the flour mixture sizzles and rises immediately.
- Remove one piece of chicken at a time from the marinade and let excess marinade drip back into the bag. Place the chicken pieces in the flour mixture bag, seal, and shake to coat each piece evenly. Lightly press the coating onto the chicken, then shake off any excess flour.
- Fry the chicken in batches without overcrowding the pot. Carefully lower pieces into the hot oil and fry, turning as needed, until the coating is golden brown and crisp and the internal temperature of the thickest part reaches 165°F (74°C). Depending on piece size, this will generally take about 10–15 minutes per batch.
- Transfer fried chicken to a plate lined with paper towels or a wire rack to drain. Let rest a few minutes before serving.
- Serve the fried chicken immediately.
Equipment
- mini food processor or mortar and pestle
- large resealable (Ziploc) bag
- pot or deep fryer
- Instant-read thermometer
- paper towels or wire rack


