
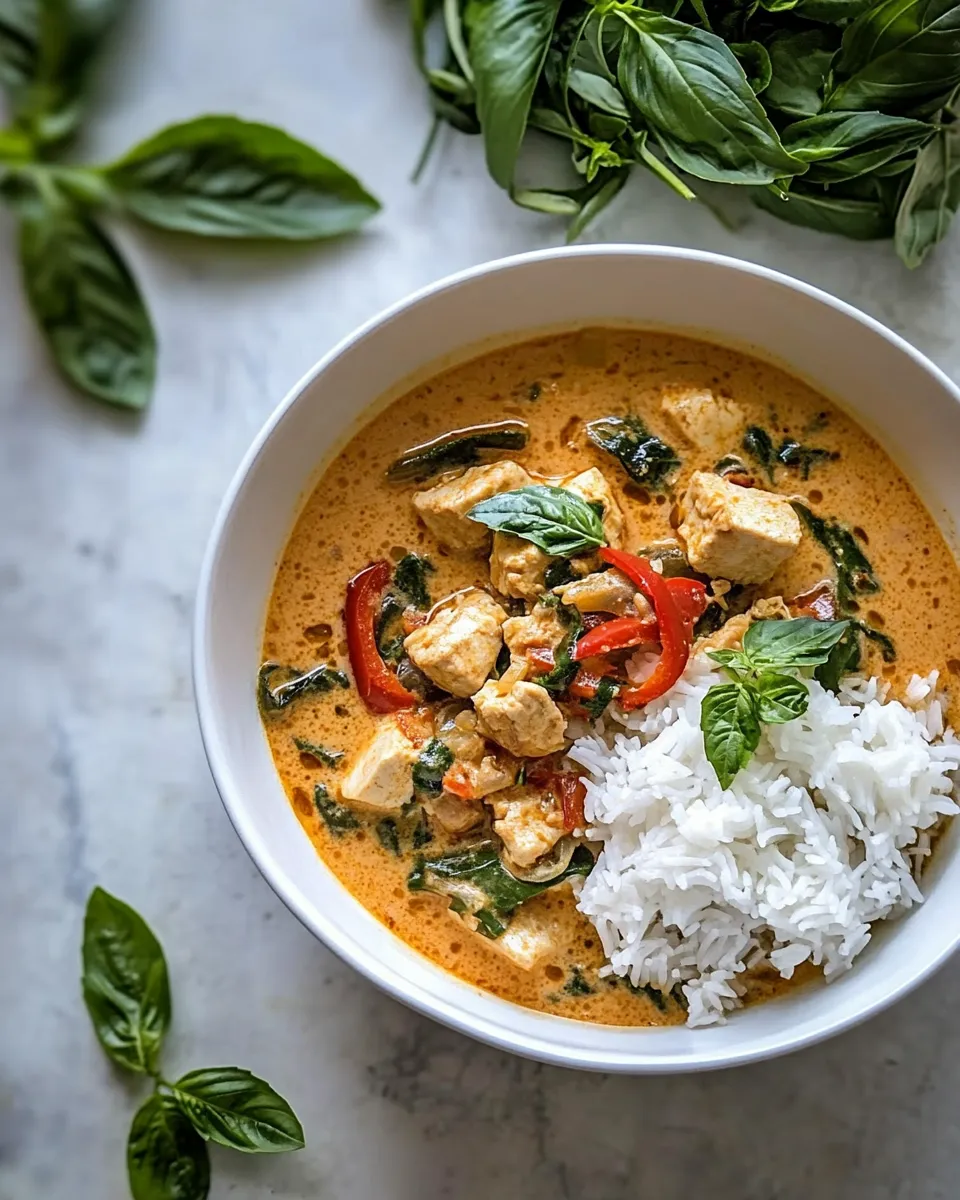
I fell in love with Panang the first time I tasted its gentle, nutty heat—rich coconut, toasted peanuts, and a curry paste that sings. This version is straightforward, forgiving, and built to fit weeknight rhythms without sacrificing depth. It’s one of those recipes that rewards a little patience during simmering and a quick sear on the chicken.
Below I’ll walk you through exactly what to buy, how to cook it step by step (with the original directions unchanged), and practical swaps if you want to make it vegetarian, lighter, or freezer-friendly. The goal: a bowl of comforting Panang curry that looks like you spent hours on it but doesn’t actually take your whole evening.
Keep your mise en place simple—measure, chop, and line up ingredients before you turn on the heat. You’ll be surprised how much calmer the cooking feels and how evenly the flavors develop when everything goes in at the right moment.
What Goes Into Thai Panang Curry
Panang curry is about balance: creamy coconut, savory fish sauce, aromatic curry paste, a touch of sweetness, and the freshness of peppers and onions. Below are the exact ingredients used in this recipe. Each line includes a short note on what that ingredient contributes or a small tip for using it well.
Ingredients
- 2 (15-oz) cans full-fat coconut milk, divided — provides the creamy, rich base; reserve part to start the sauté so the paste blooms in fat.
- 1/2 yellow onion, finely chopped — softens into sweetness and builds savory depth; finely chopping ensures it melts into the sauce.
- 1 red bell pepper, chopped — adds color, texture, and a mild sweetness that brightens the curry.
- 1 Tbsp coconut oil — high smoke point and a subtle coconut flavor that complements the sauce; used for browning chicken.
- 1.5 lbs boneless skinless chicken breasts, chopped — tender protein that soaks up the curry flavors; cut into uniform pieces for even cooking.
- 4 Tbsp panang curry paste — the aromatic core: galangal, chilies, lemongrass, and spices; quality paste equals big flavor.
- 2 Tbsp peanut butter (unsweetened almond butter) — adds nutty creaminess and body; peanut butter is traditional in many Panang variations.
- 2 Tbsp coconut sugar or brown sugar, optional — balances the salt and heat with a hint of caramel; use sparingly if you prefer less sweetness.
- 2 Tbsp fish sauce — the salty, umami backbone; add to taste if you have a low-sodium preference.
- Sea salt to taste — fine-tune at the end; remember fish sauce contributes saltiness, so season gradually.
Thai Panang Curry, Made Easy
- Pour about 1/4 cup from one can of the full-fat coconut milk into a large skillet or Dutch oven. Add the finely chopped yellow onion and sauté over medium heat until very fragrant and softened, about 5 to 8 minutes, stirring occasionally.
- Add the chopped red bell pepper and sauté until slightly softened, about 2 minutes.
- Pour the remaining coconut milk from the cans into the skillet. Add the 4 Tbsp panang curry paste, 2 Tbsp peanut butter (or unsweetened almond butter), 2 Tbsp coconut sugar or brown sugar (if using), 2 Tbsp fish sauce, and sea salt to taste. Stir to combine.
- Bring the mixture to a full boil over medium-high heat, then reduce heat to maintain a gentle simmer. Cook for 15 minutes, stirring occasionally, to develop the sauce flavors.
- While the sauce is simmering, heat a separate skillet over medium-high heat and add 1 Tbsp coconut oil. When the oil is hot, add the chopped chicken in a single layer and brown on two sides, about 3 to 5 minutes.
- Cover that skillet and continue cooking until the chicken is cooked through and no pink remains, about another 3 to 5 minutes. Drain any excess liquid from the chicken.
- Transfer the cooked chicken to the skillet or pot with the curry sauce and stir to combine.
- Continue to simmer the curry gently with the chicken for an additional 10 minutes, stirring occasionally and adjusting sea salt to taste.
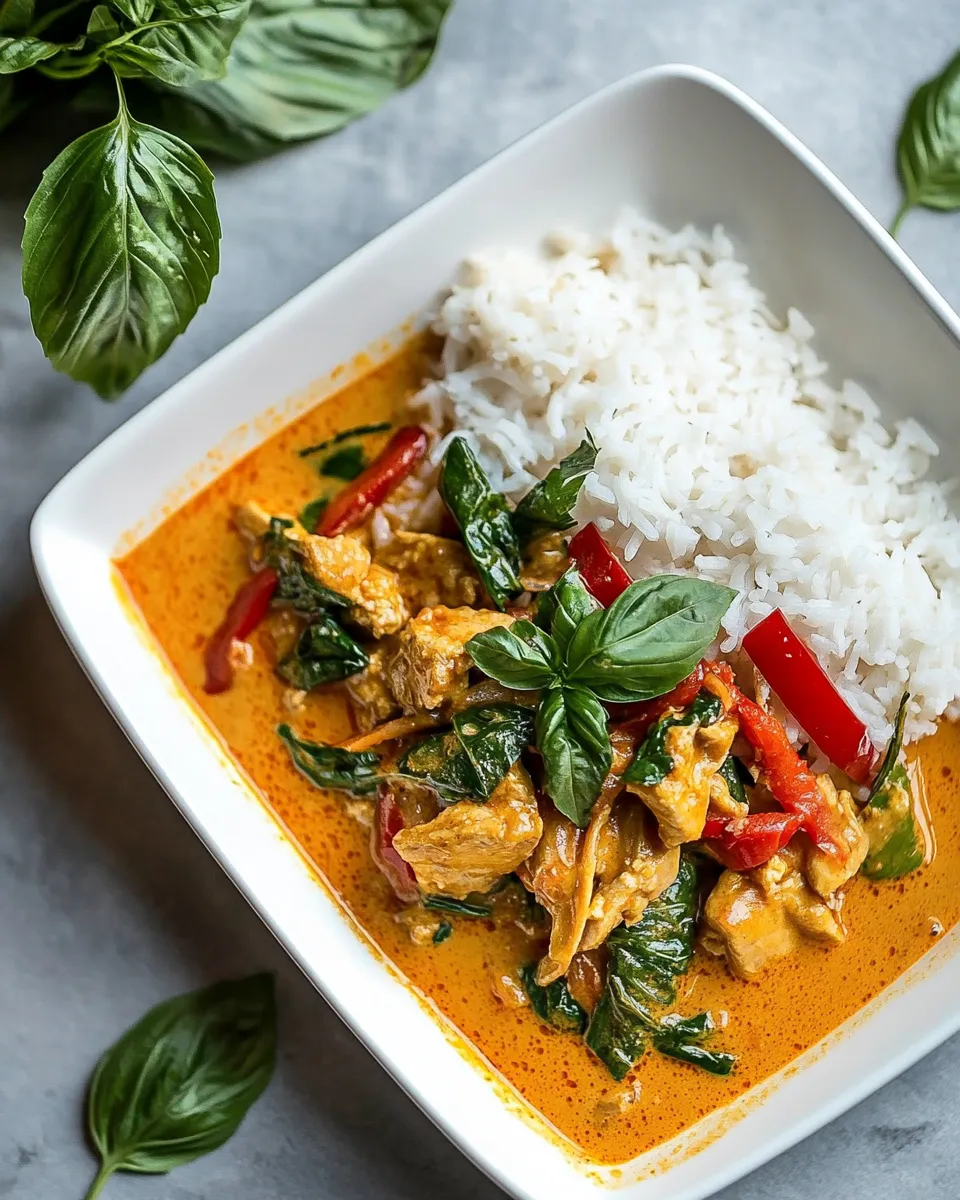
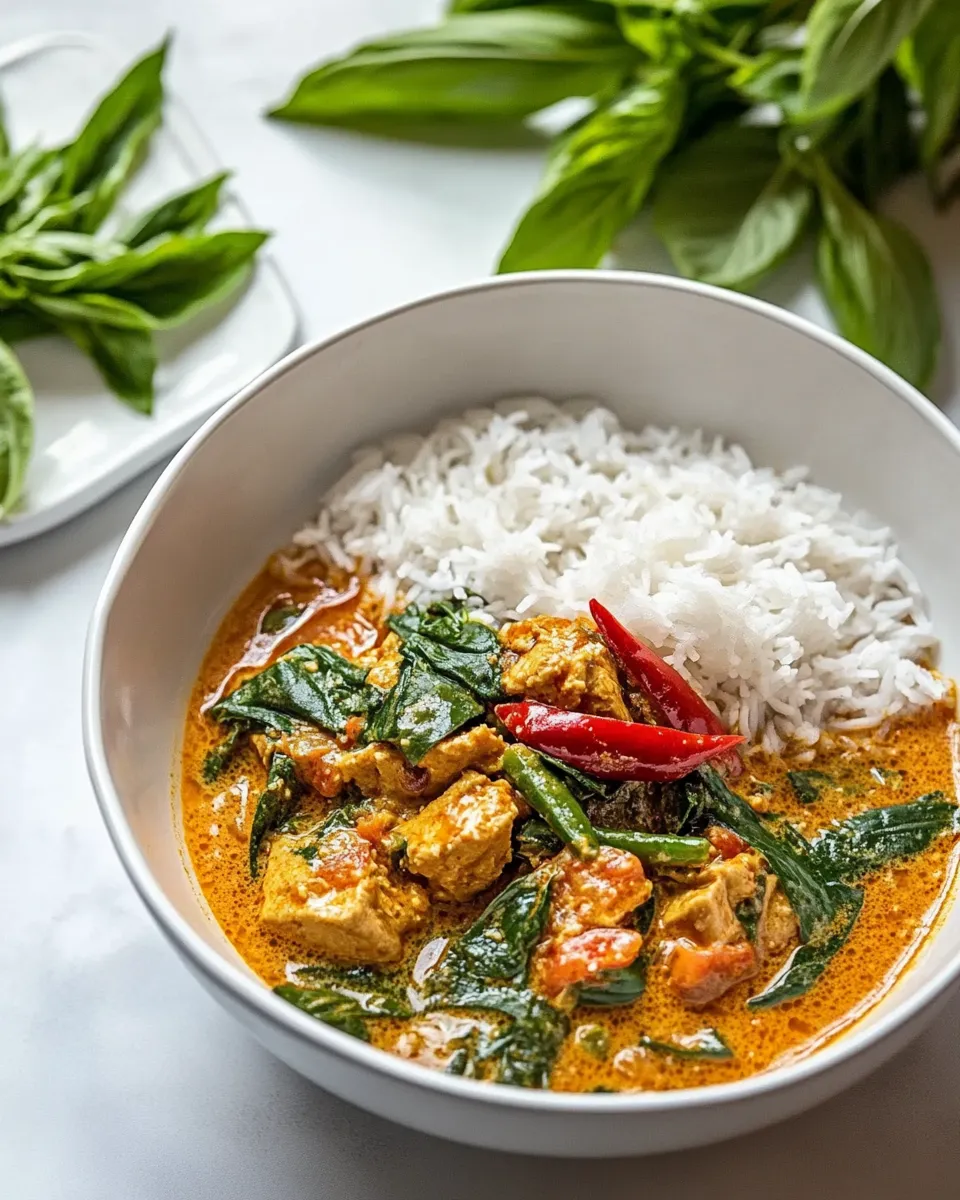
- Serve the Panang curry with your choice of rice, cauliflower rice, zucchini noodles, quinoa, or similar.
Why It Works Every Time
There are a few intentional moves in this recipe that deliver consistent results. First, starting the onions in a small amount of coconut milk lets the fat carry the curry paste’s aromatics and prevents the paste from sticking or burning. Blooming spices in fat unlocks essential oils that create the dish’s perfume.
Second, simmering the sauce for 15 minutes before adding the protein deepens the flavor—sugar caramelizes slightly, coconut concentrates, and the paste leisurely infuses the liquid. Finally, browning the chicken separately gives you Maillard goodness: the seared edges add savory contrast and texture once folded into the silky sauce.
Vegan & Vegetarian Swaps
Want to make this vegetarian or vegan? You can keep the technique exactly the same and swap ingredients to suit your diet.
- Replace chicken with firm tofu, tempeh, or seitan. Press and dry tofu first, then brown on both sides before folding into the sauce.
- Skip fish sauce and use tamari or soy sauce with a splash of miso paste for extra umami. Start with half the amount and adjust to taste.
- If using nut butter is a concern, try a tahini or additional coconut cream for body, keeping an eye on texture as tahini is thinner.
Tools of the Trade
- Large skillet or Dutch oven — for building the curry and simmering without crowding.
- Separate skillet for searing chicken — keeps the chicken dry so it browns instead of steams.
- Sharp chef’s knife and cutting board — uniform chicken and veggie pieces cook evenly.
- Wooden spoon or heatproof spatula — stir gently to avoid breaking the chicken pieces.
- Measuring spoons — the curry paste amount matters; too much can overpower the balance.
Common Errors (and Fixes)
- Undercooked onions: they should be very soft and fragrant. If they’re still sharp, cook a few minutes longer before adding the peppers.
- Burnt curry paste: always start the paste in fat (here, the initial coconut milk) and stir constantly. If you smell charring, lower the heat immediately and add a splash of coconut milk.
- Soggy chicken: avoid overcrowding the searing pan and use high heat so the chicken gets color quickly. Drain excess liquid after cooking to prevent watering down the sauce.
- Too salty: fish sauce is potent. Taste before adding extra salt and remember you can always add but can’t take away.
- Watery curry: simmer long enough to concentrate flavors. If time is tight, remove the lid and simmer a few extra minutes to reduce liquid.
Dietary Swaps & Alternatives
Here are practical swaps depending on your goals—lower fat, paleo-friendly, nut-free, or protein variations:
- Lower fat: use light coconut milk, but expect thinner sauce; simmer uncovered to concentrate it.
- Pescatarian: replace chicken with firm white fish or shrimp; add them late so they don’t overcook.
- Nut-free: use sunflower seed butter or extra coconut cream instead of peanut butter; adjust to taste.
- Gluten-free: confirm your panang paste and fish sauce are certified gluten-free; most are, but labels vary.
Cook’s Notes
Little adjustments make a big difference.
Texture
If you like the curry thicker, remove the lid during the second simmer and cook until it reduces. For a silkier finish, stir in a tablespoon of coconut cream at the end.
Heat Level
Panang paste varies—some brands are hotter than others. If you’re unsure, start with 3 Tbsp and finish with a fourth after tasting. Heat builds as the sauce concentrates, so err on the side of cautious and adjust at the end.
Freshness
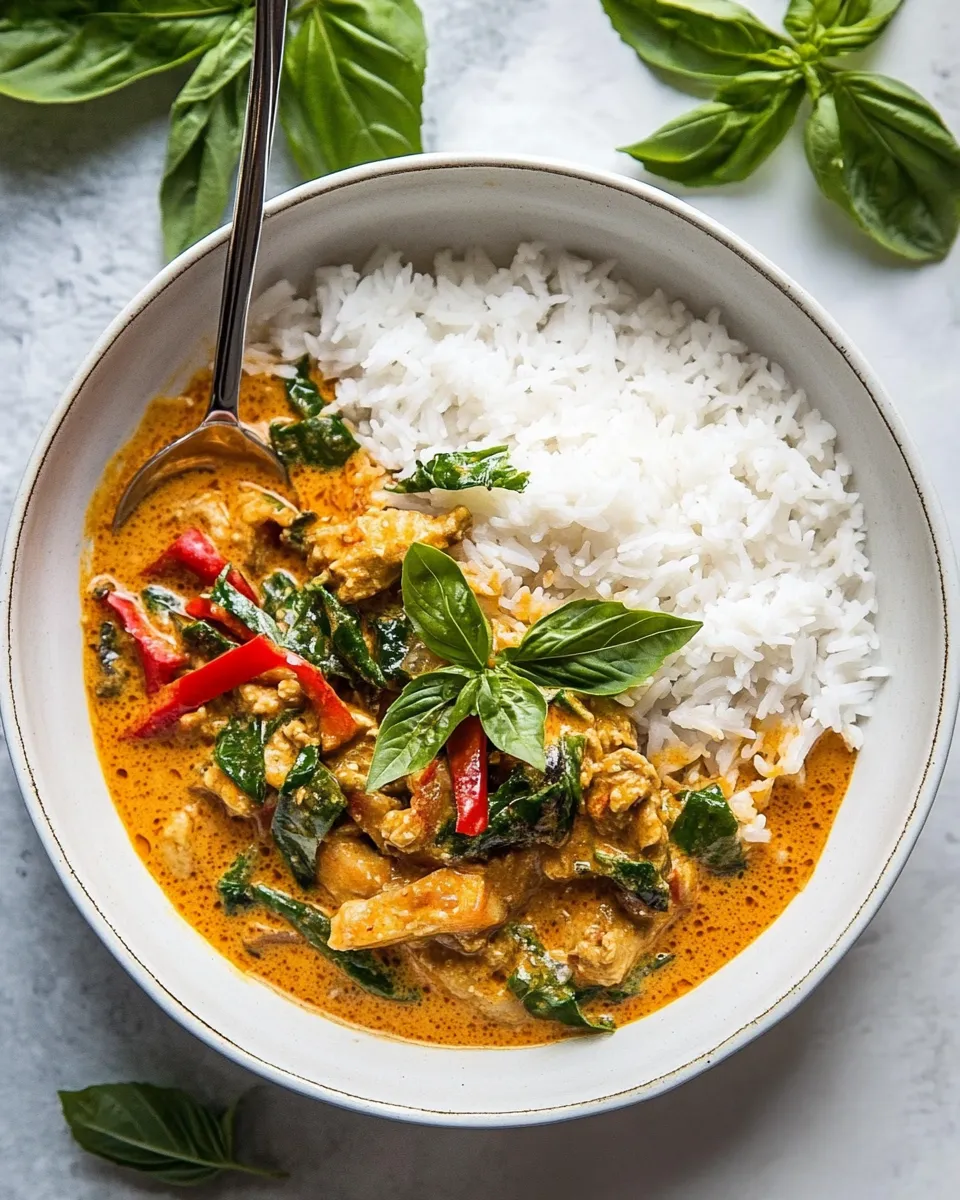
Garnishes (fresh basil, cilantro, or a squeeze of lime) aren’t listed in the ingredients but make the finished dish pop. Add them just before serving for brightness and contrast.
Storage Pro Tips
- Refrigerate: cool to room temperature, then store in an airtight container for up to 3–4 days. Reheat gently on the stove over low heat so the coconut doesn’t separate.
- Freeze: freeze in portions for up to 3 months. Thaw overnight in the fridge and reheat slowly. The texture of coconut can change slightly; whisk or stir while reheating to recombine.
- Make-ahead: you can make the sauce up to 2 days ahead and keep it in the fridge. Sear the chicken just before serving and simmer together for 10 minutes per the recipe.
Top Questions & Answers
Can I use store-bought panang paste? Yes. A good-quality paste is the fastest route to great flavor. Taste the paste first—if it’s extra salty or spicy, reduce the amount slightly.
Is peanut butter necessary? It’s traditional and gives body and a subtle nutty flavor. Unsweetened almond butter works, and for nut-free, use sunflower seed butter or extra coconut cream.
How do I make it spicier or milder? To increase heat, add a pinch of crushed red pepper or an extra tablespoon of paste (if the brand is mild). To tone it down, add a touch more coconut milk or a squeeze of lime to balance.
Can I substitute chicken with vegetables? Absolutely. Roasted or pan-seared vegetables such as eggplant, cauliflower, or sweet potato work beautifully—add denser veggies early and tender ones later so everything finishes together.
Ready, Set, Cook
Set your pans on the stove, chop the onion and pepper, and measure the curry paste and peanut butter. Once you follow the simple sequence—bloom aromatics, simmer sauce, brown protein, combine and finish—you’ll have a glossy, well-balanced Panang curry that feels special yet comes together without drama.
Serve it warm over fluffy jasmine rice or your grain of choice, garnish with fresh herbs and a lime wedge if you like, and enjoy the layered flavors. This is the kind of dish that makes great leftovers, and it scales well for guests. Happy cooking—I’ll be here when you want variations, serving ideas, or a vegetable-forward version next time.
Thai Panang Curry
Ingredients
Ingredients
- 2 15-oz cansfull-fat coconut milkdivided
- 1/2 yellow onionfinely chopped
- 1 red bell pepperchopped
- 1 Tbspcoconut oil
- 1.5 lbsboneless skinless chicken breastschopped
- 4 Tbsppanang curry paste
- 2 Tbsppeanut butterunsweetened almond butter
- 2 Tbspcoconut sugaror brown sugar optional
- 2 Tbspfish sauce
- sea saltto taste
Instructions
Instructions
- Pour about 1/4 cup from one can of the full-fat coconut milk into a large skillet or Dutch oven. Add the finely chopped yellow onion and sauté over medium heat until very fragrant and softened, about 5 to 8 minutes, stirring occasionally.
- Add the chopped red bell pepper and sauté until slightly softened, about 2 minutes.
- Pour the remaining coconut milk from the cans into the skillet. Add the 4 Tbsp panang curry paste, 2 Tbsp peanut butter (or unsweetened almond butter), 2 Tbsp coconut sugar or brown sugar (if using), 2 Tbsp fish sauce, and sea salt to taste. Stir to combine.
- Bring the mixture to a full boil over medium-high heat, then reduce heat to maintain a gentle simmer. Cook for 15 minutes, stirring occasionally, to develop the sauce flavors.
- While the sauce is simmering, heat a separate skillet over medium-high heat and add 1 Tbsp coconut oil. When the oil is hot, add the chopped chicken in a single layer and brown on two sides, about 3 to 5 minutes.
- Cover that skillet and continue cooking until the chicken is cooked through and no pink remains, about another 3 to 5 minutes. Drain any excess liquid from the chicken.
- Transfer the cooked chicken to the skillet or pot with the curry sauce and stir to combine.
- Continue to simmer the curry gently with the chicken for an additional 10 minutes, stirring occasionally and adjusting sea salt to taste.
- Serve the Panang curry with your choice of rice, cauliflower rice, zucchini noodles, quinoa, or similar.
Equipment
- Large Skillet or Dutch Oven
- Skillet


