
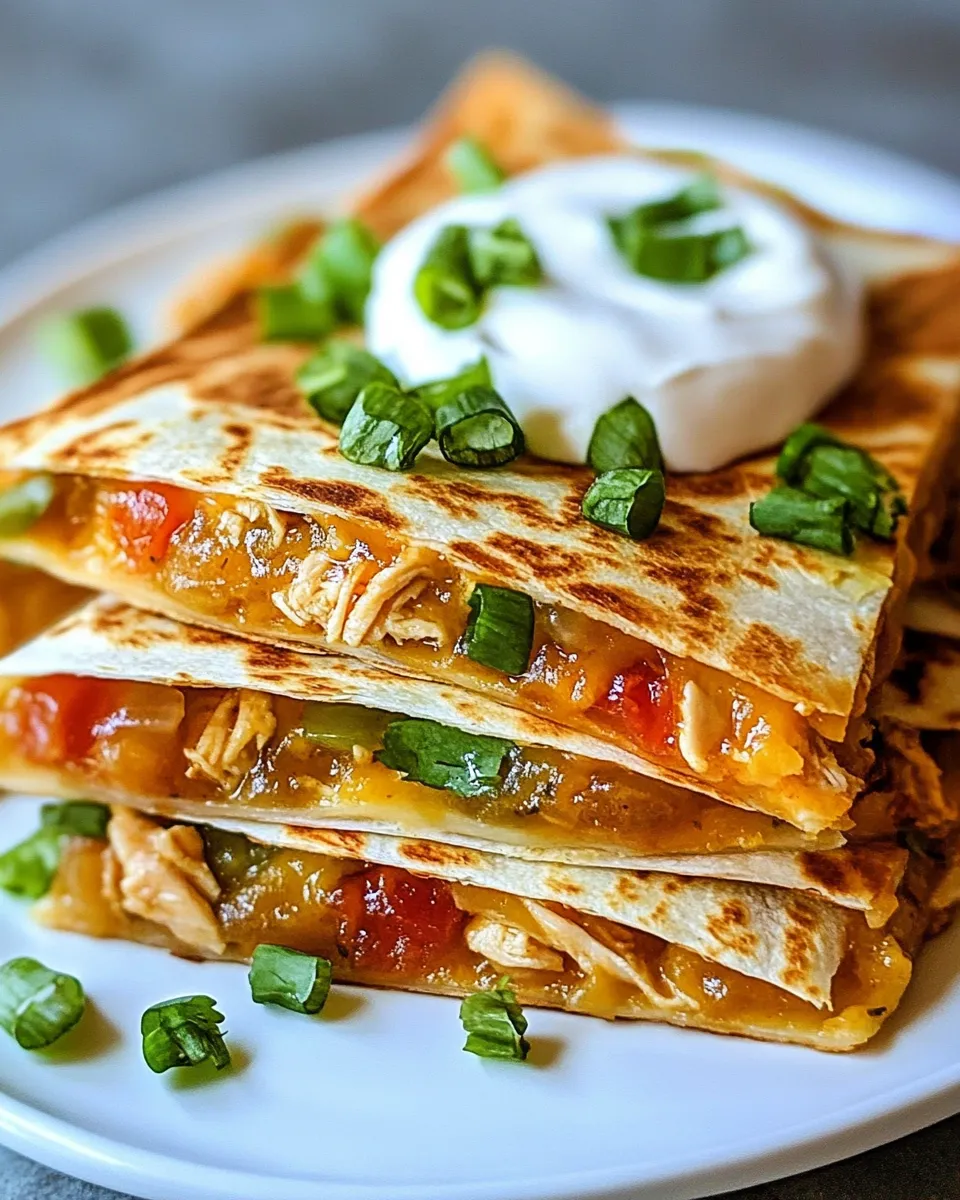
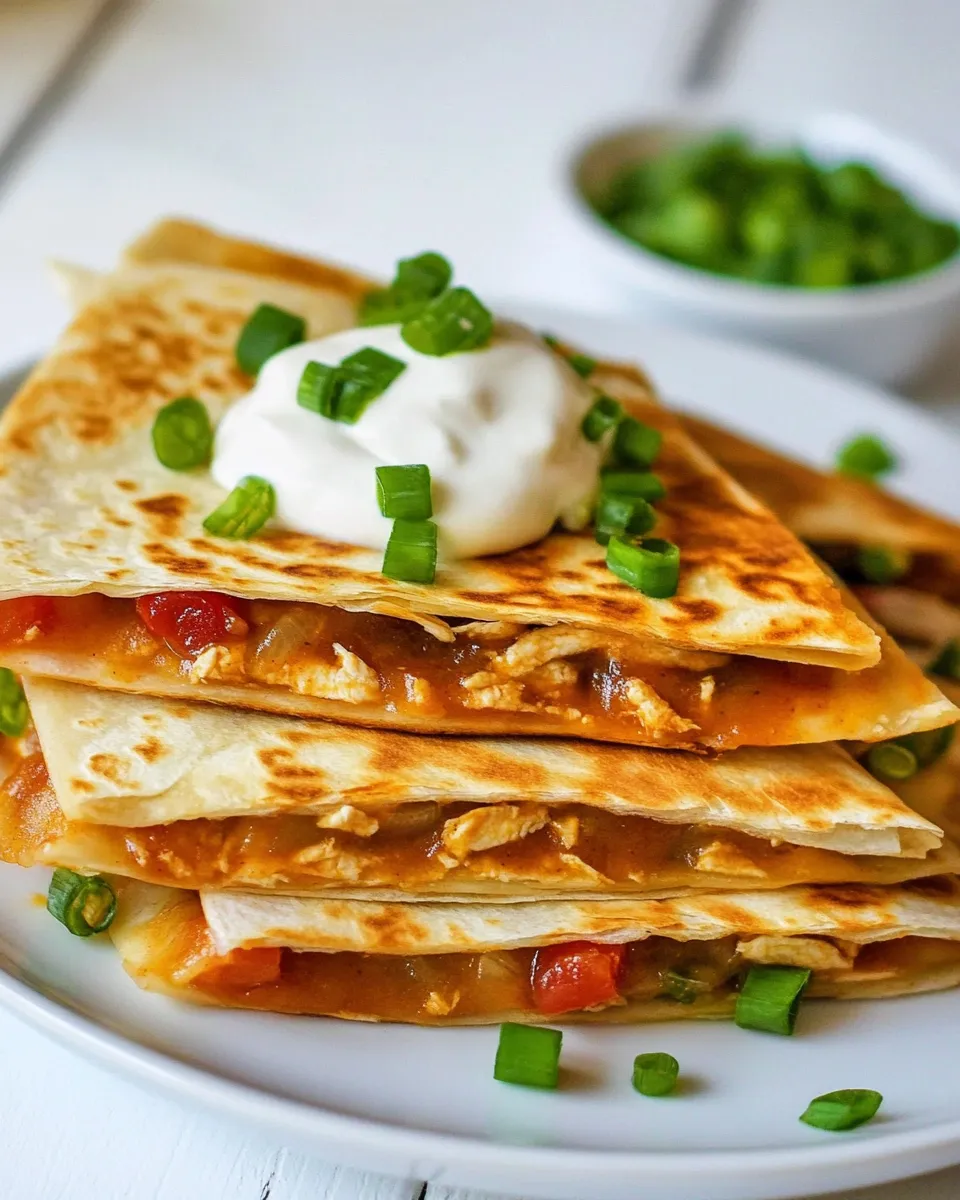
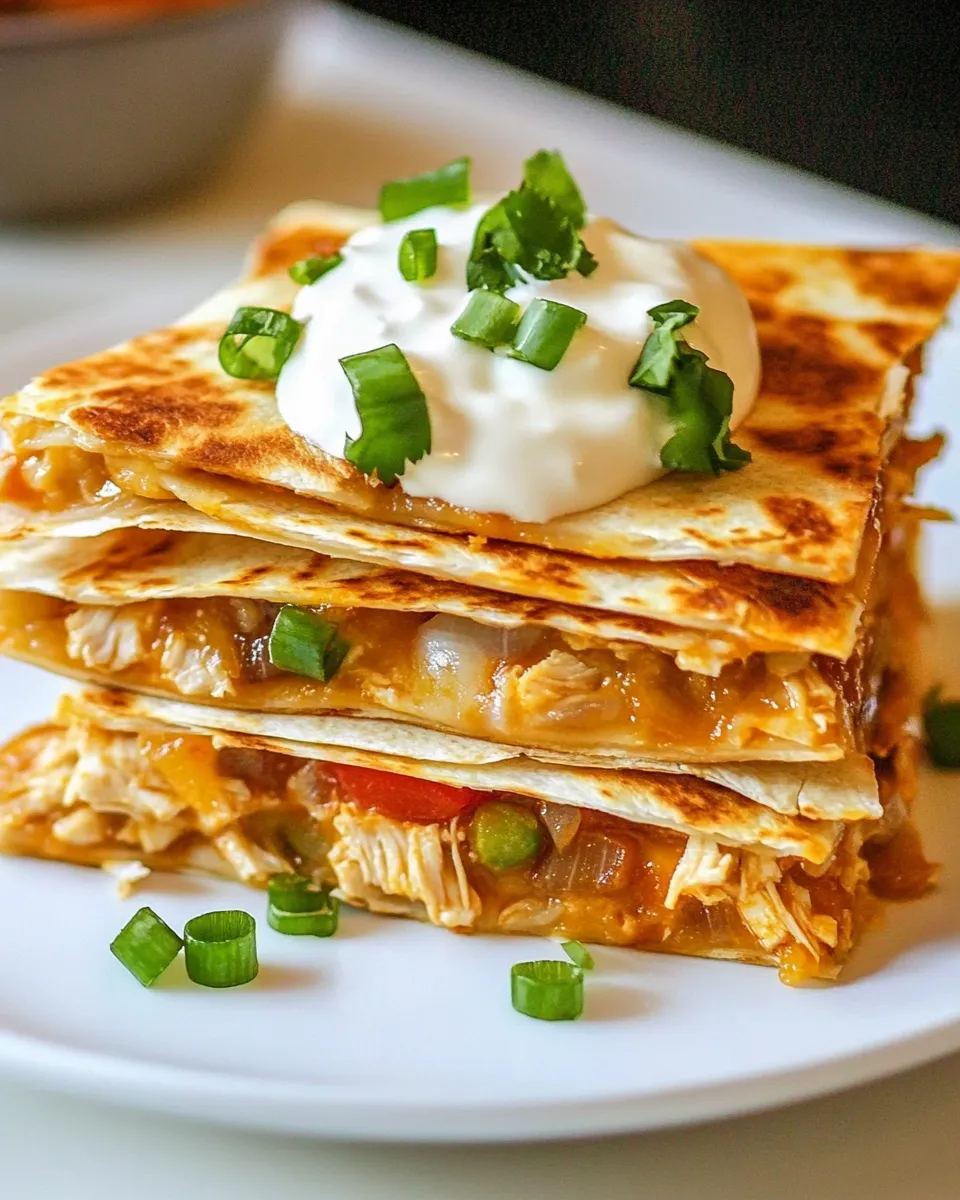
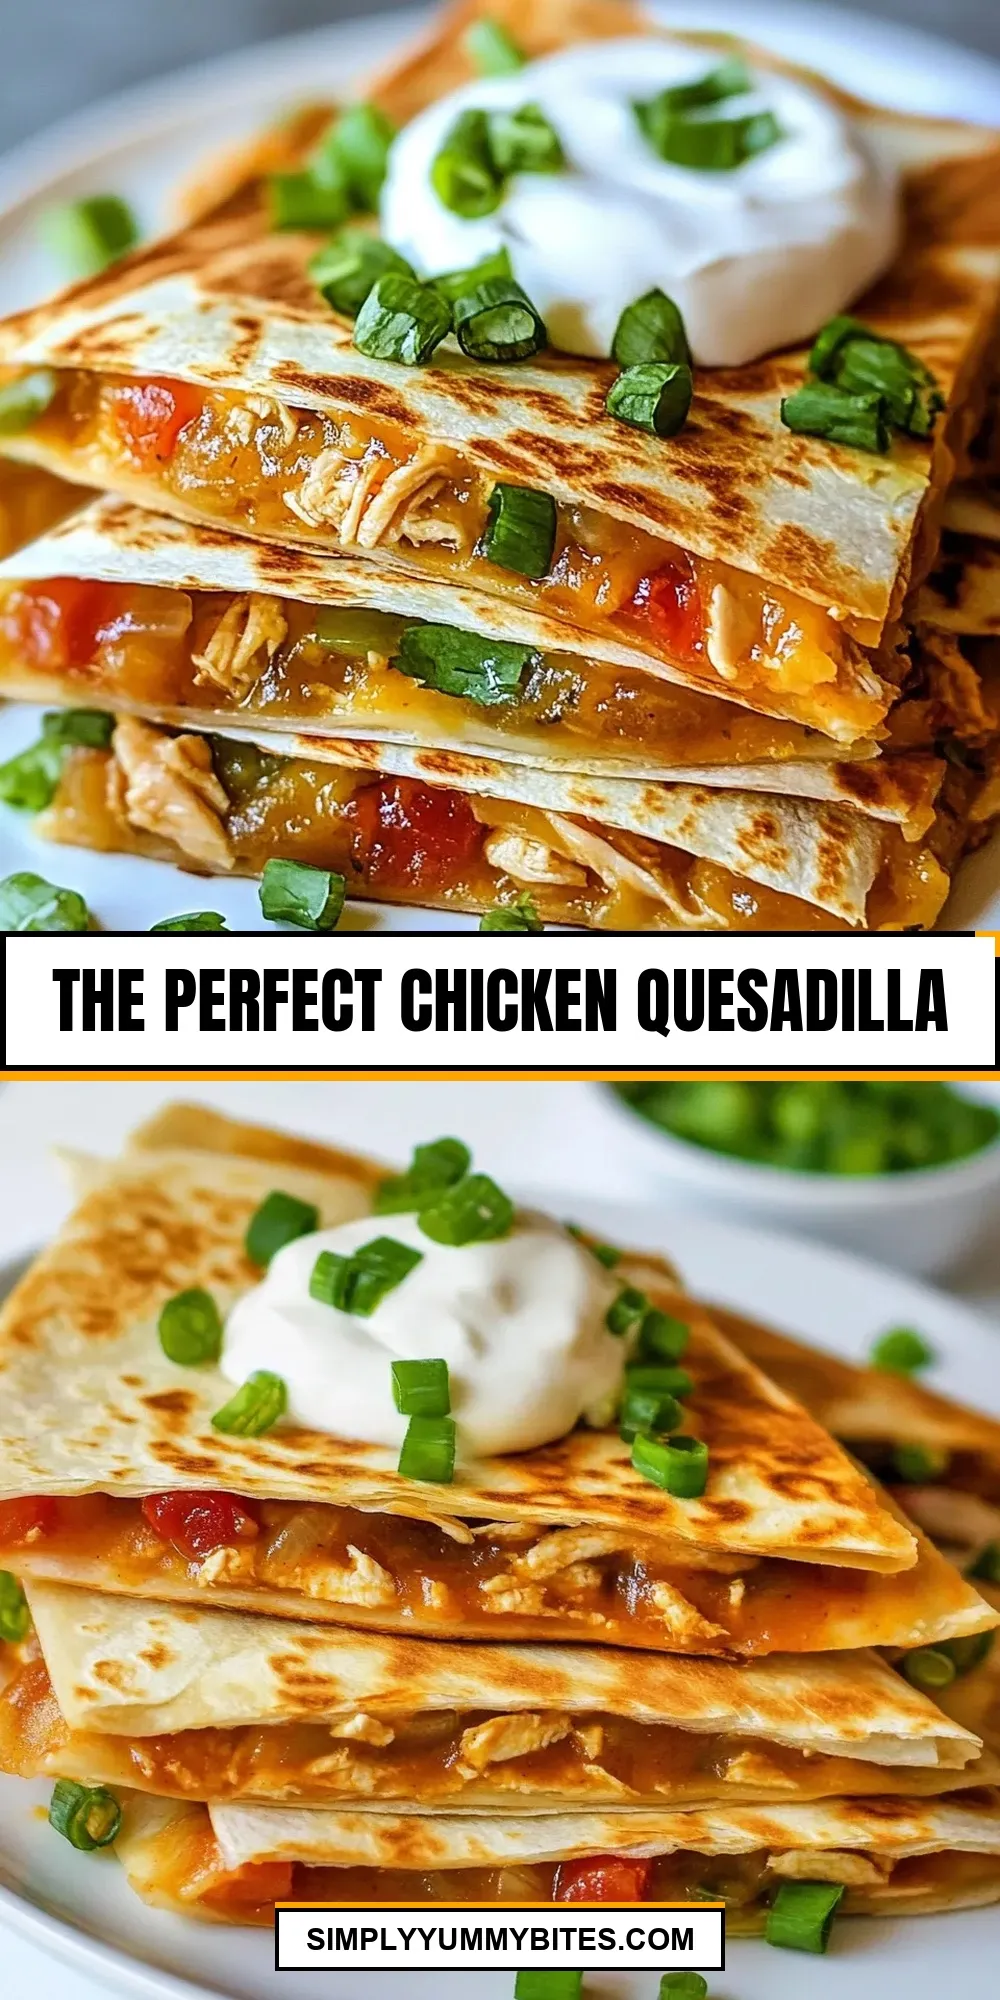
This is my go-to weeknight dinner: straightforward, forgiving, and reliably satisfying. It feeds a small crowd or two very hungry people, and it holds up well if you make a few ahead of time. The texture contrast — crisp tortilla, melty cheddar, tender sauced chicken — is exactly what I reach for when I want comfort without fuss.
I test recipes until they work every time, then I strip away anything unnecessary. This version leans on pantry-friendly staples and one little trick: keep cooked quesadillas warm in a low oven so everything stays melty while you finish the batch. It makes the cooking rhythm calm instead of frantic.
Below you’ll find the essentials, the exact step-by-step method I use in my kitchen, and practical tips for swapping things, avoiding common mistakes, and storing leftovers. No fluff — just what you need to make excellent Chicken Quesadillas tonight.
The Essentials
Quick facts
Serves: about 4 quesadillas (cut into fourths). Hands-on time is minimal; cooking happens in two stages: preparing the chicken and assembling/frying the quesadillas. The oven step keeps finished quesadillas warm so they stay crisp and melty when served.
Ingredients
- 1 tablespoon olive oil — for browning the chicken and building the base flavor.
- 1 lb chicken thighs, boneless, skinless, cut into bite-sized pieces — tender, forgiving meat that stays juicy during cooking.
- Salt and pepper — basic seasoning; salt enhances all other flavors.
- 4 tablespoon taco seasoning — concentrates the savory, slightly spicy profile in the chicken.
- 2 tablespoon flour — helps thicken the pan sauce so it clings to the chicken.
- 1 cup chicken stock — deglazes the pan and creates the finishing sauce.
- 4 tablespoon vegetable oil, or as needed — used for frying the tortillas so they crisp up evenly.
- 8 flour tortillas, soft taco size (medium) — the vehicle for the filling; opt for medium size for balanced portions.
- 4 cups cheddar cheese, shredded — melts beautifully and gives the quesadilla its gooey center.
- 4 scallions, chopped — a fresh onion note that brightens the filling.
- 1 15 oz. can green enchilada sauce — adds saucy tang and moisture inside the quesadilla.
- 1 4.5 oz. can green chiles, chopped, undrained — a mild heat and vegetal brightness distributed through the filling.
- 4 garlic cloves (we prefer using a garlic press to add the garlic, if you don’t have one, just mince the garlic) — presses a clean garlic punch into the assembled quesadilla.
- Restaurant-style salsa — for serving and adding a fresh, acidic contrast.
- Sour cream — cooling, creamy condiment for serving.
Build (Chicken Quesadilla) Step by Step
- Preheat the oven to 225°F and place a baking sheet inside to keep finished quesadillas warm.
- Heat 1 tablespoon olive oil in a large skillet over medium heat.
- Season the bite-sized chicken pieces with salt and pepper.
- Add the chicken to the skillet and cook, stirring occasionally, until no longer pink, about 8 minutes.
- Sprinkle the taco seasoning and the flour over the chicken and stir to coat evenly.
- Pour in the chicken stock and simmer, stirring occasionally, until the sauce is slightly thickened, about 8 minutes.
- Use a slotted spoon to transfer the cooked chicken to a medium bowl. Pour the remaining pan sauce into a separate bowl. Set both bowls aside.
- Wipe the skillet clean (or use a separate nonstick skillet) and heat it over medium. Add 1 tablespoon vegetable oil (use about 1 tablespoon per quesadilla as needed).
- Place one tortilla in the hot skillet. Assemble the quesadilla in this order on the tortilla: a portion of shredded cheddar, a sprinkle of chopped scallions, an even portion of the cooked chicken, a couple spoonfuls of the reserved pan sauce, a couple spoonfuls of the green enchilada sauce, and a small spoonful of the chopped green chiles. Press one garlic clove over the assembled ingredients using a garlic press; if you don’t have a press, mince garlic and sprinkle a small amount (about 1/4 teaspoon) over the top. Finish with more cheddar and top with a second tortilla. (Divide the chicken, cheese, scallions, sauce and chiles evenly among the 4 quesadillas.)
- Using a spatula and steady pressure on the top tortilla with your hand or the spatula, flip the assembled quesadilla so it cooks on the other side.
- Cook the quesadilla until golden brown and the cheese is melted, flipping as needed so both sides are nicely browned (about 2–3 minutes per side). Add more vegetable oil to the skillet between quesadillas if needed.
- Transfer the cooked quesadilla to the preheated baking sheet and keep warm in the oven. Repeat steps 8–11 to make the remaining 3 quesadillas.
- When all quesadillas are cooked and warm, cut each into fourths and serve with restaurant-style salsa and sour cream.
Why Chicken Quesadilla is Worth Your Time
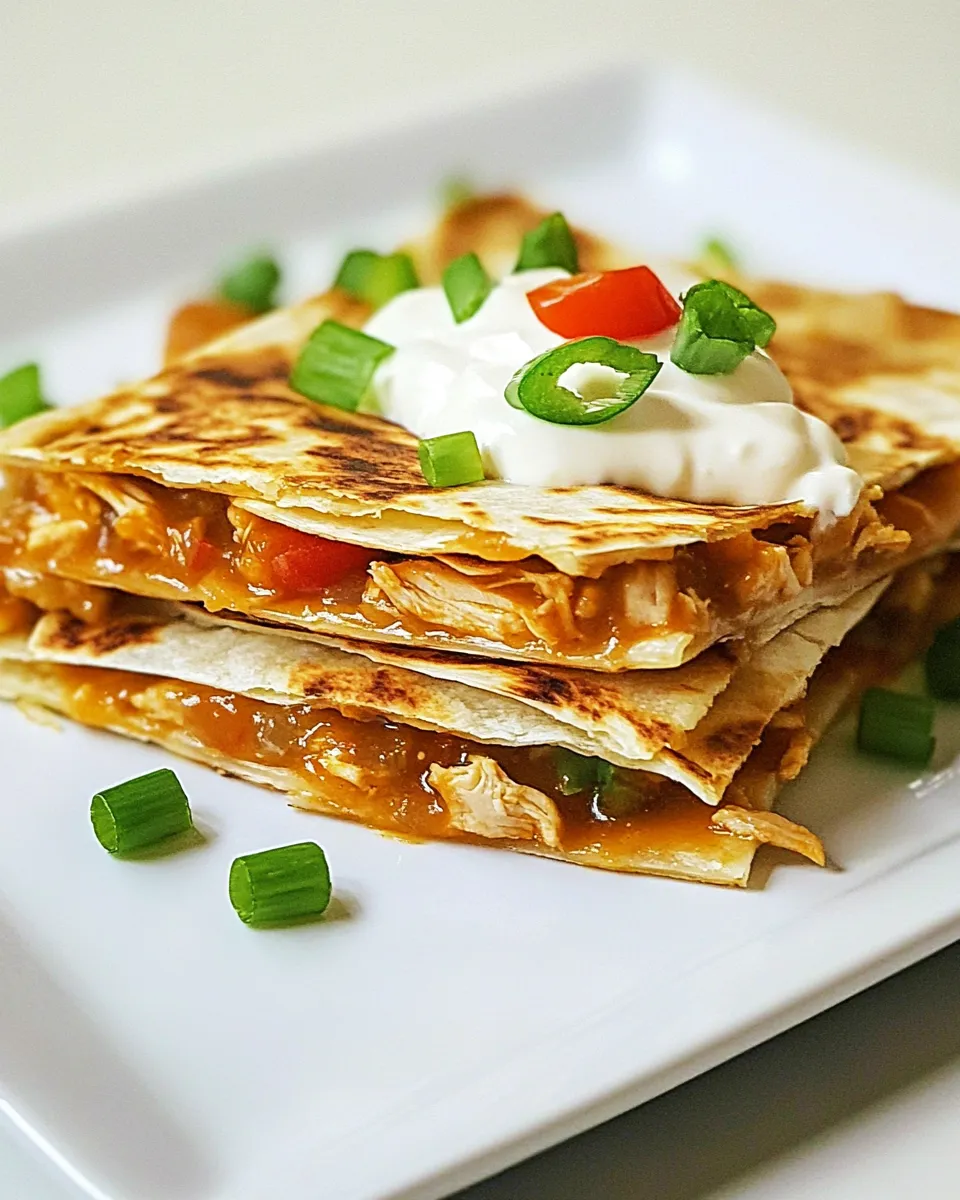
Because it gives you maximum flavor for minimal effort. The chicken is seasoned and simmered in a sauce that clings to each bite. Then it gets folded into the familiar, irresistible quesadilla format that delivers crunchy edges and molten cheese with every bite.
It also scales gracefully. Make one or four — the method doesn’t change. The oven holding step is a small, practical maneuver that keeps everything in serviceable windows: you can cook a batch, keep them warm, and plate when you’re ready, which is especially useful when you have guests or hungry kids.
And finally, the ingredient list is straight from the pantry: canned enchilada sauce and green chiles, taco seasoning, and staples like flour and stock. These details mean the recipe is approachable on busy nights without sacrificing the kind of layered flavor you’d expect from a longer cook.
Flavor-Forward Alternatives
If you want to nudge the flavor without changing the method, work with what’s already on the list:
- Turn up the scallions: add a few extra for a fresher, sharper finish.
- Use more of the reserved pan sauce for saucier filling if you like a looser bite.
- Layer the cheese more heavily on the outer edges to encourage a crisp, lacy corn around the tortilla rim.
- Distribute the green chiles unevenly for pockets of brightness rather than a uniform taste — little bursts are delightful.
Setup & Equipment
You don’t need fancy tools. I keep the process simple so anyone can replicate it.
- Large skillet — for cooking the chicken and building the pan sauce.
- Nonstick skillet or clean skillet — for frying tortillas and melting the quesadillas without sticking.
- Baking sheet and oven at 225°F — to hold finished quesadillas warm and crisp.
- Garlic press (optional) — for a clean, pressed garlic finish; mince if you don’t have one.
- Spatula — a sturdy one for flipping assembled quesadillas.
- Slotted spoon and medium bowls — to separate chicken from pan sauce and keep things organized.
Mistakes Even Pros Make
These are the real, repeatable missteps I see in busy kitchens:
- Overcrowding the skillet while browning chicken. That causes steaming instead of browning. Cook in a single layer or do it in batches.
- Skipping the reserved pan sauce. It’s a small finishing touch that makes the filling juicy and flavorful; don’t pour it away.
- Using too little oil when frying tortillas. A dry pan leads to uneven browning and sticking; add a bit between quesadillas as directed.
- Assembling too much filling. Keep amounts even; oversized quesadillas are hard to flip and won’t crisp properly.
- Removing quesadillas immediately from the pan. Give them a minute on the preheated baking sheet so cheese fully sets and the exterior stays crisp.
How to Make It Lighter
You can reduce richness while keeping the core experience intact.
- Trim how much cheddar you add; a slightly thinner cheese layer still melts and gives structure.
- Limit the vegetable oil used to fry the tortillas. Use just enough so they brown without absorbing excess fat.
- Drain any excess pan sauce into the reserved bowl and spoon only a couple of spoonfuls into each quesadilla — enough for moisture, not sogginess.
- Serve with smaller spoonfuls of sour cream or replace with a lighter dollop to cut calories.
Notes from the Test Kitchen
When I first assembled this, the quesadillas were floppy and the pan sauce pooled. The fix was simple: separate chicken from sauce with a slotted spoon and reserve the sauce for controlled additions. That keeps the chicken tender and prevents a soggy tortilla.
I also found that pressing the garlic over the filling before the top tortilla goes on makes the garlic flavor intimate and even. A large grate of cheddar on both tortillas helps the two shells glue together and browns into a satisfying crust.
Finally, the oven-holding step is non-negotiable if you’re making multiple quesadillas. Skipping it means the first ones get cold by the time you finish the batch. Low oven, baking sheet — that’s the small trick that keeps the experience consistent.
Storing Tips & Timelines
Leftovers are excellent if handled right.
- Refrigerate: store cooled quesadillas in an airtight container for up to 3–4 days. Reheat in a skillet over medium-low heat to re-crisp the tortillas and remelt the cheese, or use a 350°F oven for 8–10 minutes.
- Freeze: wrap individual cooled quesadilla quarters tightly in foil or plastic wrap and place in a freezer-safe bag. They keep well for up to 2 months. Reheat from frozen in a 350°F oven until warmed through, then pan-sear briefly to restore crispness.
- Sauces: keep salsa and sour cream separate until serving for best texture and flavor.
Popular Questions
Can I use a different cut of chicken?
The recipe lists boneless, skinless chicken thighs because they stay juicy, but the method works for any bite-sized cooked chicken you have on hand. If you swap in a different cut, watch the cooking time and adjust so the pieces are cooked through and tender.
What if I don’t have a garlic press?
No problem. Mince the garlic finely and scatter about 1/4 teaspoon across each quesadilla as noted in the instructions. The goal is a light, even garlic note.
How do I keep quesadillas from becoming soggy?
Drain the chicken on a slotted spoon, reserve the sauce, use only a couple spoonfuls per quesadilla, and keep the tortillas hot and crisp by transferring finished ones to the 225°F oven.
Can I make these ahead?
Yes. Cook the chicken and store it and the sauce separately. Assemble and pan-fry when ready to serve for the freshest texture, or fully cook and reheat as described in the storing tips.
Before You Go
Give this a try on a weeknight when you want something quick but satisfying. Follow the order: cook the chicken, reserve the sauce, assemble with intention, and keep finished quesadillas warm. Little details—like the reserved pan sauce and the oven-holding step—turn a good quesadilla into a great one.
If you make it, tell me how you adjusted the fillings or if you kept it exactly as written. I read every comment and I love hearing which small changes become your forever tweaks.
The Perfect Chicken Quesadilla
Ingredients
Ingredients
- 1 tablespoonolive oil
- 1 lbschicken thighsboneless skinless, cut into bite-sized pieces
- Salt and pepper
- 4 tablespoontaco seasoning
- 2 tablespoonflour
- 1 cupchicken stock
- 4 tablespoonvegetable oilor as needed
- 8 flour tortillassoft taco size medium
- 4 cupscheddar cheese shredded
- 4 scallionschopped
- 115 oz. cangreen enchilada sauce
- 14.5 oz. cangreen chileschopped undrained
- 4 garlic cloves we prefer using a garlic press to add the garlic, if you don’t have one, just mince the garlic
- Restaurant-style salsafor serving
- sour creamfor serving
Instructions
Instructions
- Preheat the oven to 225°F and place a baking sheet inside to keep finished quesadillas warm.
- Heat 1 tablespoon olive oil in a large skillet over medium heat.
- Season the bite-sized chicken pieces with salt and pepper.
- Add the chicken to the skillet and cook, stirring occasionally, until no longer pink, about 8 minutes.
- Sprinkle the taco seasoning and the flour over the chicken and stir to coat evenly.
- Pour in the chicken stock and simmer, stirring occasionally, until the sauce is slightly thickened, about 8 minutes.
- Use a slotted spoon to transfer the cooked chicken to a medium bowl. Pour the remaining pan sauce into a separate bowl. Set both bowls aside.
- Wipe the skillet clean (or use a separate nonstick skillet) and heat it over medium. Add 1 tablespoon vegetable oil (use about 1 tablespoon per quesadilla as needed).
- Place one tortilla in the hot skillet. Assemble the quesadilla in this order on the tortilla: a portion of shredded cheddar, a sprinkle of chopped scallions, an even portion of the cooked chicken, a couple spoonfuls of the reserved pan sauce, a couple spoonfuls of the green enchilada sauce, and a small spoonful of the chopped green chiles. Press one garlic clove over the assembled ingredients using a garlic press; if you don't have a press, mince garlic and sprinkle a small amount (about 1/4 teaspoon) over the top. Finish with more cheddar and top with a second tortilla. (Divide the chicken, cheese, scallions, sauce and chiles evenly among the 4 quesadillas.)
- Using a spatula and steady pressure on the top tortilla with your hand or the spatula, flip the assembled quesadilla so it cooks on the other side.
- Cook the quesadilla until golden brown and the cheese is melted, flipping as needed so both sides are nicely browned (about 2–3 minutes per side). Add more vegetable oil to the skillet between quesadillas if needed.
- Transfer the cooked quesadilla to the preheated baking sheet and keep warm in the oven. Repeat steps 8–11 to make the remaining 3 quesadillas.
- When all quesadillas are cooked and warm, cut each into fourths and serve with restaurant-style salsa and sour cream.
Equipment
- ▢Non-stick skilletlarge enough to hold a soft-shell sized tortilla
Notes
NOTE:
Watch the video near the top of the recipe for visual guidance.
The ingredients for the quesadilla can easily be adapted to your tastes. You will have some green enchilada sauce leftover. Save it to drizzle on scrambled eggs, or make chicken enchiladas!
Leftovers will keep in the fridge (covered) for a couple of days. Reheat in a hot skillet (with a little oil) until heated through. Or, nuke in the microwave until heated through.


