
Veal cutlets are one of those dishes that feel special without needing a parade of ingredients or hours at the stove. Thin, tender slices of meat get a crisp, golden crust and serve up quickly — which makes them perfect for weeknights and small dinner parties alike. The technique is straightforward: season, dredge, and fry. A few small details make a big difference in texture and flavor.
In this post I’ll take you through a reliable, no-nonsense method for perfectly crisp veal cutlets, plus practical tips for swaps, tools, and storage. You’ll find why this version works, what to watch for while cooking, and a few ideas to dress the finished cutlets for different seasons. Keep this recipe handy — it’s exactly the sort of go-to that saves the evening.
Short on time? These cutlets come together in under 30 minutes from start to finish if your mise en place is set. Taking the extra minute to pat the meat dry and measure the breadcrumbs will pay off in a crunchy crust and evenly cooked cutlets. Let’s get into the details.
What Goes In
Ingredients
- 1 1/4 pounds veal cutlets — thin slices are key for quick, even cooking.
- 1/2 teaspoon salt — seasons the meat; apply evenly to both sides.
- 1/2 teaspoon pepper — adds a basic bite; freshly ground is best.
- 1 tablespoon fresh thyme, finely chopped — herbs pressed into the surface brighten the flavor.
- 2 tablespoons parsley, finely chopped — fresh parsley adds color and a clean finish.
- 1/2 cup all-purpose flour — light dredging gives the egg something to cling to and helps the crust form.
- 3 large eggs — beaten, they act as the glue for breadcrumbs.
- 1/4 cup panko breadcrumbs or Italian breadcrumbs — panko yields extra crunch; Italian breadcrumbs give a finer crust.
- 1/3 cup Parmesan cheese, freshly grated — binds with crumbs and adds savory depth.
- 1/2 cup canola oil — neutral oil with a high smoke point for frying.*
Make Veal Cutlets: A Simple Method
- Pat the veal cutlets dry with paper towels. Season both sides evenly with the 1/2 teaspoon salt and 1/2 teaspoon pepper, then sprinkle the 1 tablespoon chopped fresh thyme and 2 tablespoons chopped parsley over both sides and press lightly to adhere.
- Set up three shallow dishes: place the 1/2 cup all-purpose flour in the first, beat the 3 large eggs in the second, and combine the panko or Italian breadcrumbs with the 1/3 cup freshly grated Parmesan cheese in the third.
- Working with one cutlet at a time, dredge each piece in the flour, shaking off any excess.
- Dip the floured cutlet into the beaten eggs, letting excess egg drip off.
- Press the cutlet into the breadcrumb-Parmesan mixture so the crumbs adhere evenly to both sides. Place coated cutlets on a plate and repeat with the remaining cutlets.
- Heat the 1/2 cup canola oil in a large skillet over medium-high heat until the oil is shimmering but not smoking.
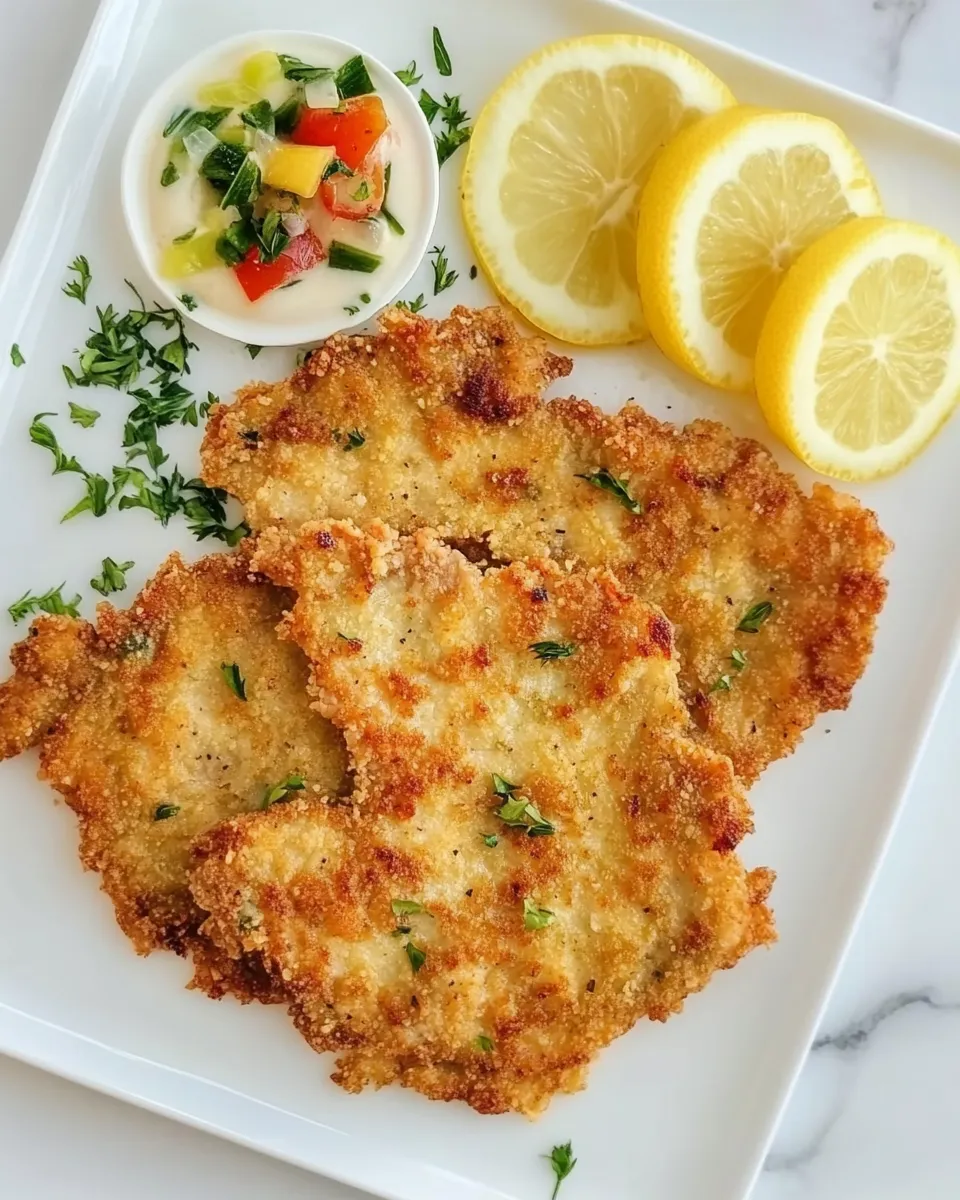
- Working in a single layer (cook in batches if necessary to avoid crowding), fry the cutlets 2–3 minutes per side, until golden brown and cooked through. Adjust time slightly for thickness.
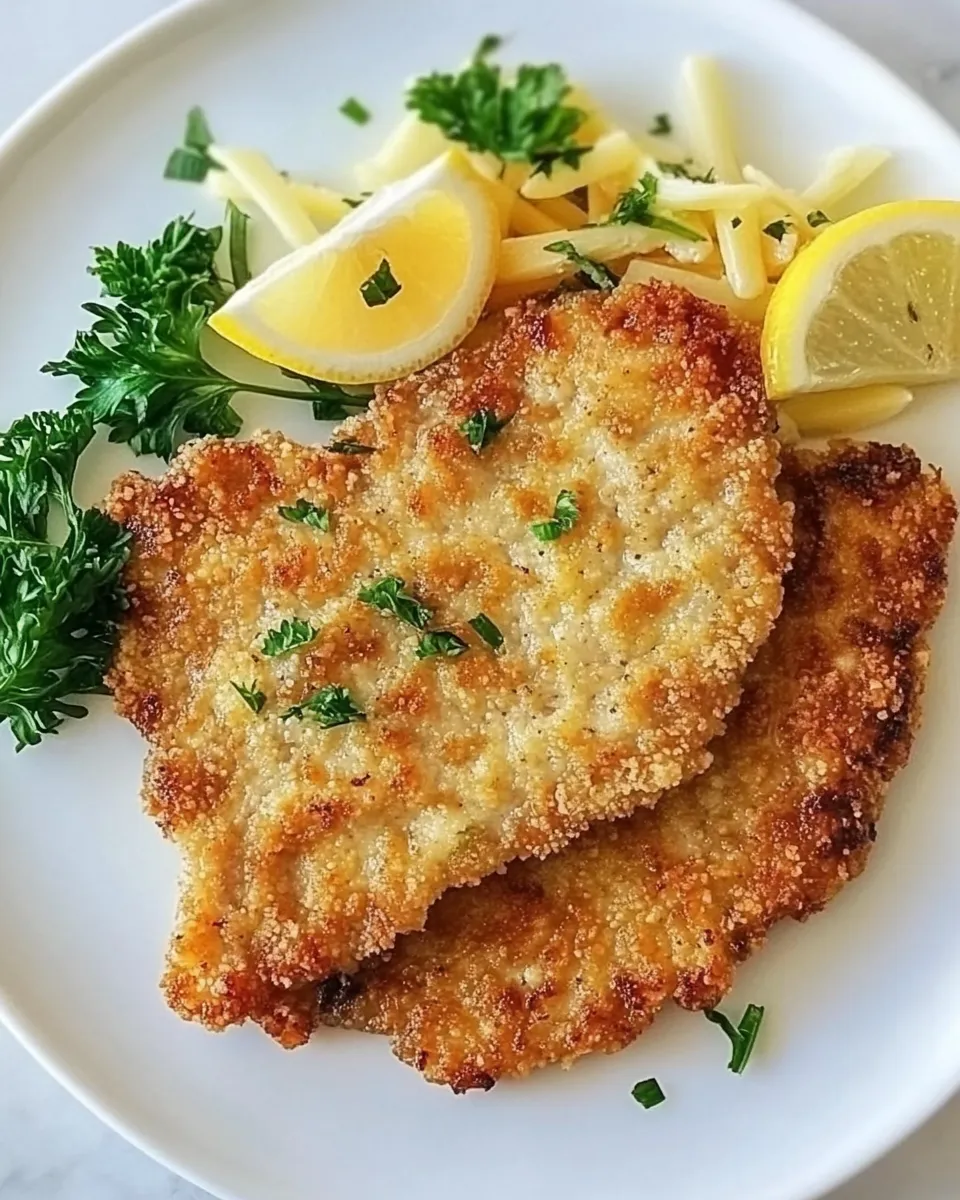
- Transfer cooked cutlets to a paper towel–lined plate to drain briefly, then serve immediately.
Why You’ll Keep Making It
The method is fast, predictable, and forgiving. Thin veal cutlets heat through quickly, so you don’t need to babysit the pan for long. The combination of egg and breadcrumbs with Parmesan guarantees a crisp, savory crust that contrasts with the tender meat inside. It’s an approach that translates well to other proteins — chicken, pork, even firm fish — so once you’ve mastered it you’ll rely on the technique again and again.
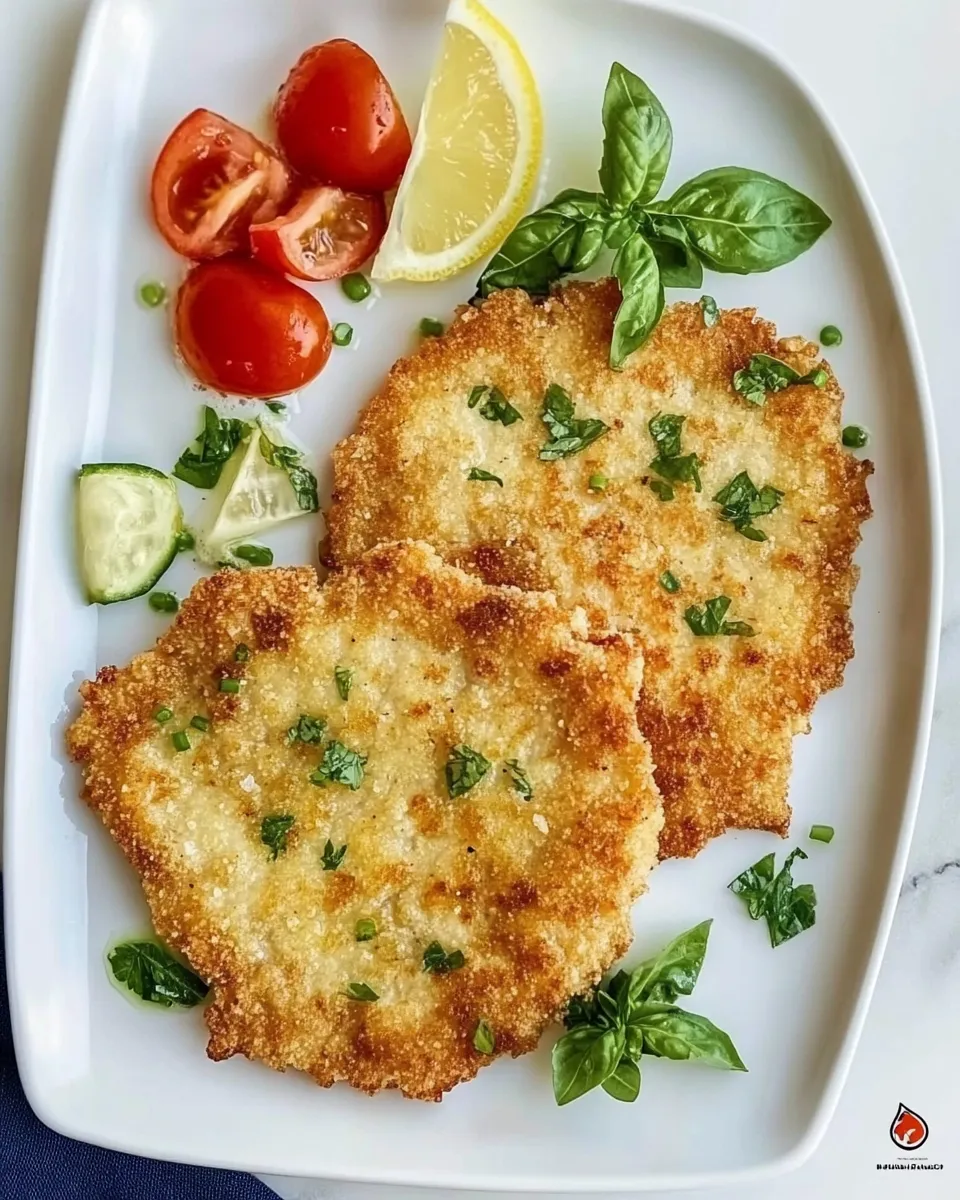
It also plays nice with different serving styles. Keep it classic with a squeeze of lemon and a simple arugula salad, or dress it up with a caper butter or tomato-concasse for a dinner party. Because cook time is short, the dish stays moist and delicate, which keeps guests impressed and satisfied without extra work.
Ingredient Swaps & Substitutions
Here are practical alternatives when you can’t source something or want a different texture.
- Veal — if veal isn’t available, use thinly sliced pork scaloppine or boneless chicken cutlets; adjust cooking time slightly for thicker pieces.
- Breadcrumbs — swap panko for Italian-style breadcrumbs if you want a finer crust; crushed cornflakes can add extra crunch in a pinch.
- Parmesan — Pecorino Romano is a saltier option; reduce added salt slightly if you use it.
- Oil — grapeseed or light olive oil work as substitutes for canola; avoid extra-virgin olive oil for high-heat frying because of its low smoke point.
- Herbs — if thyme isn’t on hand, use a little rosemary or oregano; fresh herbs are preferable for flavor brightness.
Prep & Cook Tools
You don’t need a fancy setup, but the right tools make the process smooth:
- Large skillet — heavy-bottomed is best for even heat; cast iron or stainless steel works well.
- Three shallow dishes — for flour, egg, and breadcrumb stations; pie plates work perfectly.
- Tongs or a spatula — to turn cutlets gently without knocking off the crust.
- Instant-read thermometer — useful if you’re unsure about doneness; veal cutlets should be cooked through and not served rare.
- Paper towels or wire rack — for draining fried cutlets; a rack keeps them crisp on both sides.
Avoid These Mistakes
Common missteps are easy to prevent. First: don’t overcrowd the pan. Crowding drops the oil temperature and yields soggy crusts. Fry in batches if necessary and keep finished cutlets on a warm plate in a single layer, not stacked.
Second: don’t skip drying the meat. Excess surface moisture prevents the flour from adhering properly and can cause uneven browning. Pat the cutlets until they’re just dry to the touch before seasoning.
Third: watch the oil temperature. If oil is smoking, it’s too hot and the exterior will burn before the inside cooks. If oil isn’t hot enough the cutlets will absorb more oil and feel greasy. You want the oil shimmering and ready.
Holiday & Seasonal Touches
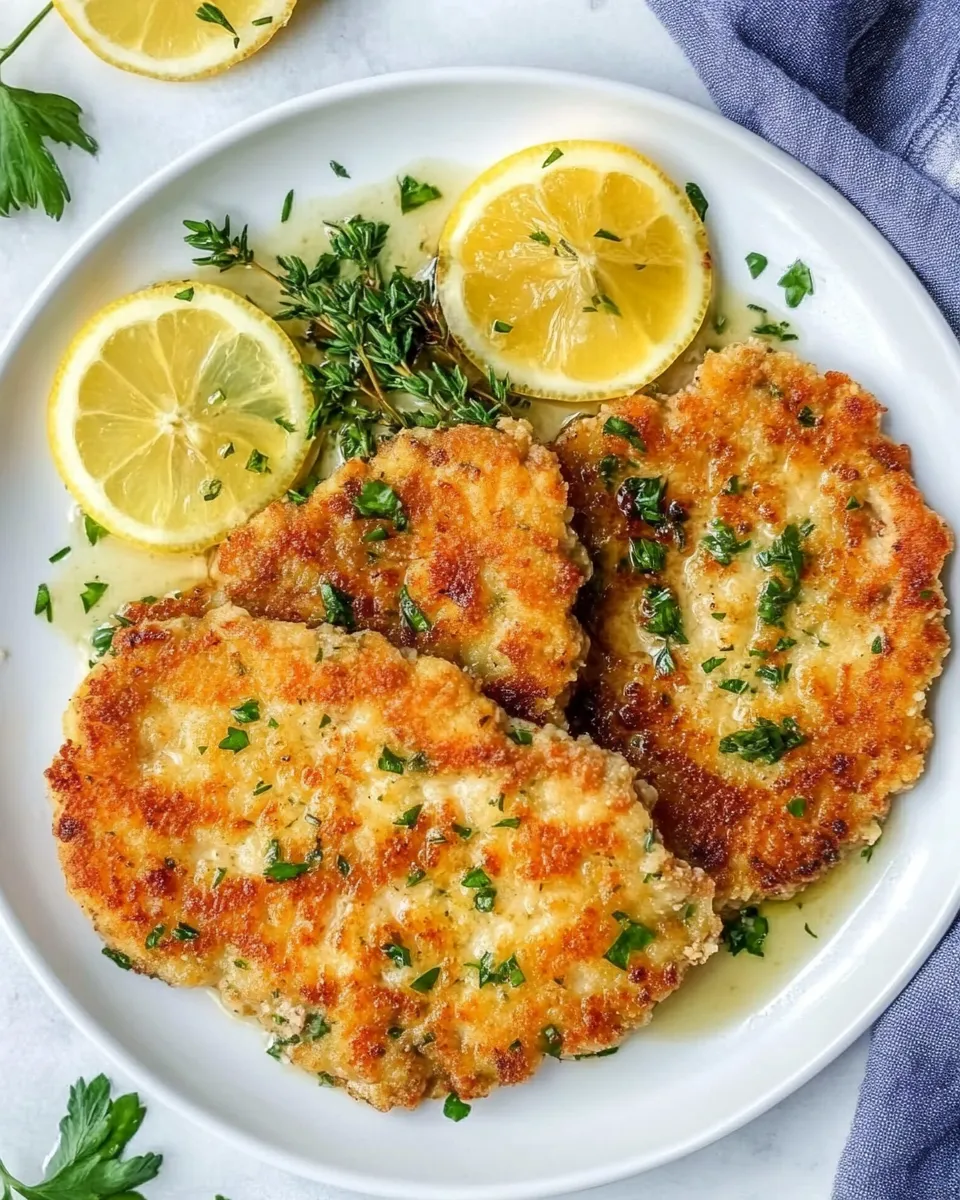
Veal cutlets are a versatile base for seasonal flavors. In spring, top the cutlets with a quick lemon-caper butter and a scatter of fresh herbs. The acidity brightens the meat and pairs nicely with new-season asparagus.
In summer, serve with a tomato and basil salad or spoon a warm, garlicky cherry tomato compote over the cutlets. In fall and winter, swap parsley for chopped sage and finish with a brown butter and sage sauce for deeper, richer notes that match the season.
Pro Perspective
From a pro’s point of view, texture balance is everything. The crust should be thin, uniform, and crisp without obscuring the delicate flavor of the veal. That’s why a light dusting of flour is the first step — it creates a base that lets the egg and crumbs do their job without building a thick batter.
Temperature control matters. Pros keep an eye on oil temperature and use a thermometer if needed. They also let the pan recover heat between batches, which helps each cutlet brown evenly. Finally, a quick rest on a rack preserves texture; plating too quickly on a soft surface will steam the crust.
Meal Prep & Storage Notes
If you want to prep ahead, assemble the breaded cutlets and separate them on a sheet pan lined with parchment; cover loosely and refrigerate for up to 12 hours. Frying from chilled is fine, but bring them close to room temperature before frying for even cooking.
Leftovers store well for 2 days in an airtight container in the refrigerator. Reheat under a low oven (about 325°F / 160°C) on a wire rack to revive the crust — 8–10 minutes should do depending on thickness. Microwaving will make the crust soggy, so avoid it if you care about texture.
Quick Q&A
Q: How do I know when the cutlets are done?
A: They’re thin, so 2–3 minutes per side is typical. Cut into one to check, or use an instant-read thermometer: the internal temperature should be cooked through (veal is not typically served rare).
Q: Can I bake these instead of frying?
A: Yes. Spray the cutlets with oil and bake at 425°F (220°C) for 8–12 minutes, flipping halfway. The crust will be lighter and less deep-fried but still tasty.
Q: What if my breadcrumbs fall off?
A: Make sure you shake off excess flour before dipping in egg and allow excess egg to drip off before pressing into crumbs. Pressing the crumbs firmly and letting the coated cutlets rest briefly before frying helps adhesion.
The Last Word
Veal cutlets are a quick, reliable dish that rewards attention to a few simple details: dry meat, properly set up dredging stations, and the right oil temperature. The result is a crisp, savory cutlet that’s at home on a weeknight table or a small celebration. Keep the technique in your repertoire — it adapts well, comes together fast, and always looks better than it is to make.
One last tip: taste as you go when you try variations. A little lemon or a sprinkle of finishing salt after frying can lift the whole dish without extra fuss. Enjoy the process and the crunchy payoff.

Veal Cutlets
Ingredients
Ingredients
- 1 1/4 poundsveal cutlets
- 1/2 teaspoonsalt
- 1/2 teaspoonpepper
- 1 tablespoonfresh thymefinely chopped
- 2 tablespoonsparsleyfinely chopped
- 1/2 cupall-purpose flour
- 3 largeeggs
- 1/14 cupspanko breadcrumbsor Italian breadcrumbs
- 1/3 cupparmesan cheesefreshly grated
- 1/2 cupcanola oil* See notes
Instructions
Instructions
- Pat the veal cutlets dry with paper towels. Season both sides evenly with the 1/2 teaspoon salt and 1/2 teaspoon pepper, then sprinkle the 1 tablespoon chopped fresh thyme and 2 tablespoons chopped parsley over both sides and press lightly to adhere.
- Set up three shallow dishes: place the 1/2 cup all-purpose flour in the first, beat the 3 large eggs in the second, and combine the panko or Italian breadcrumbs with the 1/3 cup freshly grated Parmesan cheese in the third.
- Working with one cutlet at a time, dredge each piece in the flour, shaking off any excess.
- Dip the floured cutlet into the beaten eggs, letting excess egg drip off.
- Press the cutlet into the breadcrumb-Parmesan mixture so the crumbs adhere evenly to both sides. Place coated cutlets on a plate and repeat with the remaining cutlets.
- Heat the 1/2 cup canola oil in a large skillet over medium-high heat until the oil is shimmering but not smoking.
- Working in a single layer (cook in batches if necessary to avoid crowding), fry the cutlets 2–3 minutes per side, until golden brown and cooked through. Adjust time slightly for thickness.
- Transfer cooked cutlets to a paper towel–lined plate to drain briefly, then serve immediately.
Equipment
- Large Skillet
- Three Shallow Dishes
- Paper Towels
- Plate
Notes
* You need enough oil to fill half an inch of the skillet.
To store
: Allow the cutlets to fully cool, then wrap each one in aluminum foil and store them in an airtight container in the fridge for 2 to 3 days.
To freeze
: The cooked cutlets also freeze well for up to 2 months. Let them thaw overnight in the fridge before reheating.
To reheat
: Lay the leftover cutlets on a baking sheet and reheat them in a 350ºF oven until they’re warmed through and crisp again. You can also reheat them in a skillet on the stove or in the air fryer.


