
These white chocolate cocoa bombs are a delightful little project that turns a simple cup of cocoa into a small, theatrical treat. They’re perfect for gifting, for an easy holiday party trick, or for nights when you want a sweet, melty addition to your hot chocolate. The technique is straightforward, and once you get the hang of forming shells, assembly goes quickly.
I focus on practical steps and real tips you can use the first time you try this. Below you’ll find a clear shopping guide, the exact stepwise method, ingredient notes, troubleshooting, and storage advice. I tested these repeatedly so I can tell you what to watch for and how to avoid common mistakes.
Keep a clean work surface, a little patience, and the right mold. This guide walks you through everything from melting the chocolate to sealing the shells and serving them. No fussy decorations required—just melt, fill, seal, and enjoy.
Your Shopping Guide
Shop with purpose: buy a good-quality white melting chocolate designed for molding. It melts smoothly and sets with a glossy finish, which matters when you’re forming neat hemispheres. Avoid couverture unless it’s labeled as easy to temper or melt—melting chocolate simplifies the process.
Choose a circle baking mold sized for single-serve cocoa bombs; 1.5 to 2 inches in diameter is typical. Check the mold material—silicone is forgiving for release, while rigid plastic needs more care when popping out halves. If the mold is rigid, chill the shells fully before attempting to release them.
Pick small, classic marshmallows unless you want to play with miniatures. Standard minis fit nicely and will dissolve or soften when the bomb melts. If you’re assembling several, buy a slightly larger bag; a few extras are handy for fixing gaps or topping a cup later.
White Chocolate Cocoa Bombs Made Stepwise
- Place your circle baking mold on a flat plate or baking sheet and have your white melting chocolate and marshmallows within reach.
- Put some white melting chocolate in a microwave‑safe bowl. Microwave in 30‑second intervals, stirring between each interval, until the chocolate is fully melted and smooth.
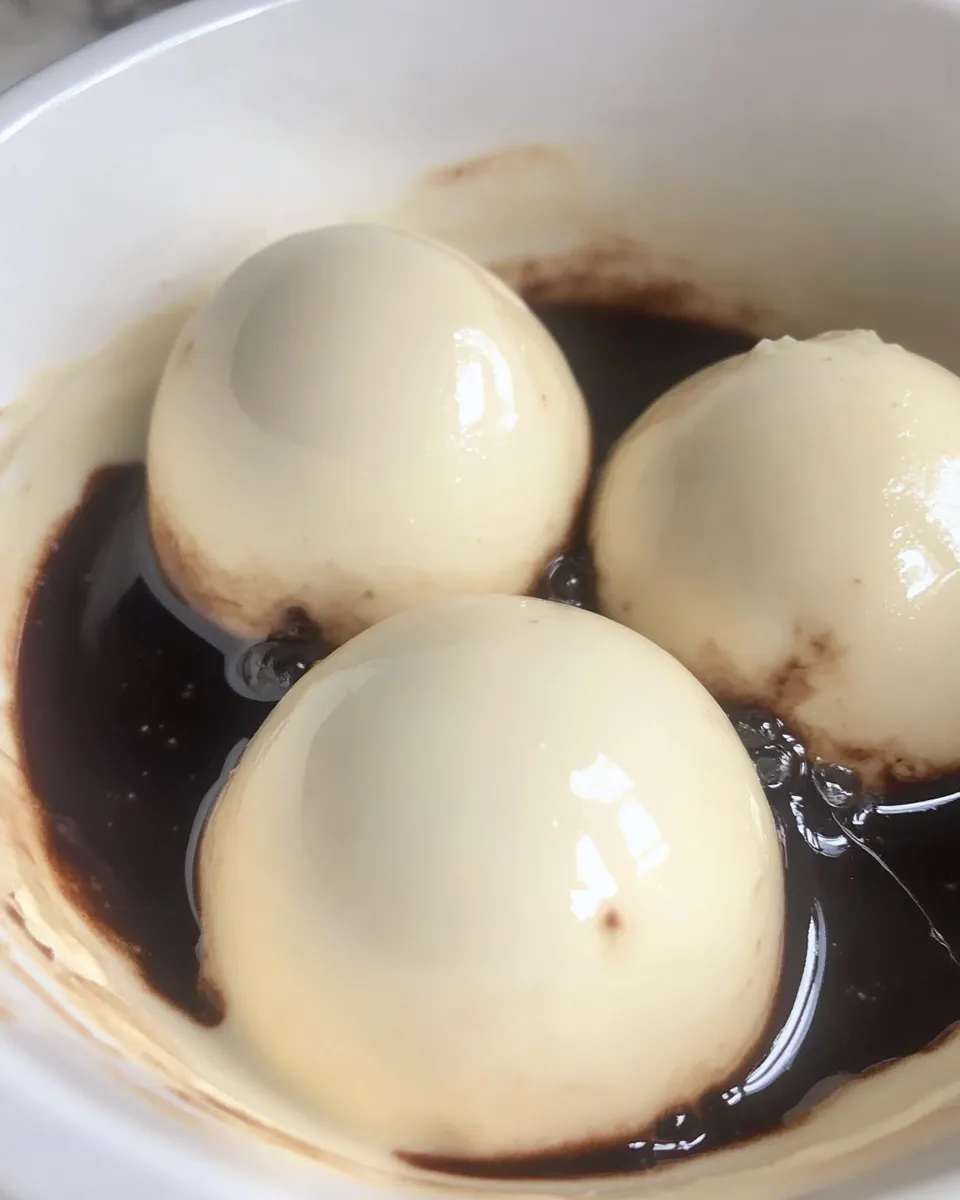
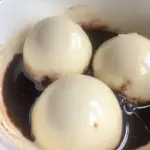
- Working one or a few cavities at a time, use a spoon or pastry brush to coat the inside of each mold cavity with a layer of melted chocolate. Make sure the sides and edge are covered so you form a shell; tap the mold gently to settle the chocolate and remove air pockets.
- Chill the coated mold in the freezer for about 10 minutes, or until the chocolate shells are fully set and firm.
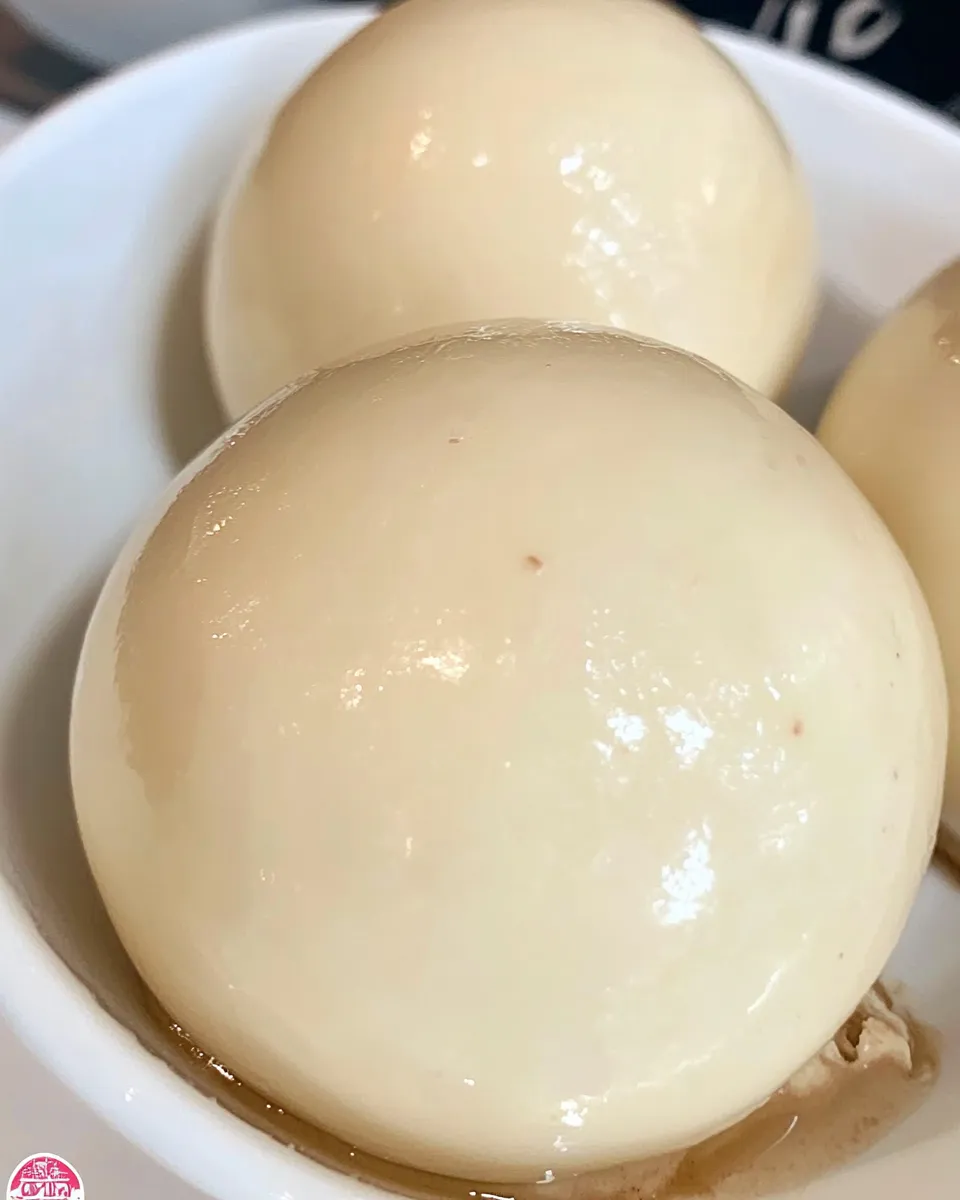
- Remove the mold from the freezer and carefully flex or peel the mold to release the chocolate hemispheres. Place the hemispheres on a plate with the open side up.
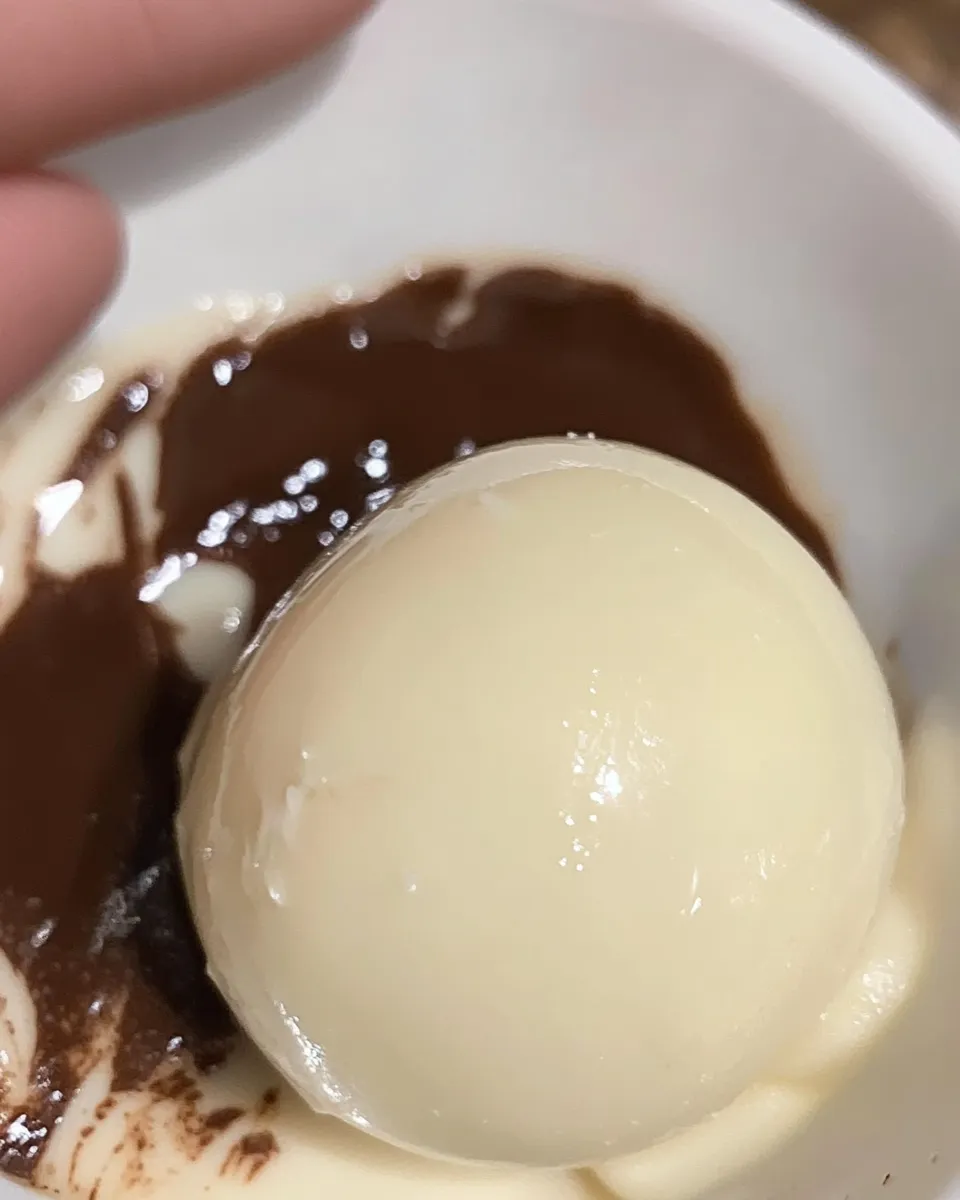
- If you need to smooth or fix uneven rims, melt a small spoonful of chocolate and use it as “glue” to fill gaps or even the edges. Work quickly while the chocolate is warm.
- Place marshmallows into half of the chocolate hemispheres. Do not overfill—leave a little space at the rim so halves can be joined.
- Warm the rim of an empty hemisphere slightly by brushing a very small amount of melted chocolate on the rim (this will act as the adhesive), then place it on top of a filled hemisphere and press gently to seal. Wipe away any excess chocolate and, if desired, use a little additional melted chocolate around the seam to smooth and secure the join.
- Chill the assembled cocoa bombs briefly (a few minutes) so the seam sets and the two halves bond firmly.
- To serve, drop a white chocolate cocoa bomb into a cup of hot cocoa or coffee and stir as the chocolate melts to release the marshmallows and any filling.
- Store finished cocoa bombs in a cool, dry place until ready to use.
Ingredients
- white melting chocolate — the primary material for shells; melts easily and sets firm for clean halves.
- circle baking mold — forms the hemispheres; silicone molds release more easily, plastic molds give sharper edges.
- marshmallows — the inner surprise that melts into the drink; use minis for even melting and a better fit.
Reasons to Love White Chocolate Cocoa Bombs
They elevate a plain hot drink without much extra effort. The reveal—dropping the bomb into hot liquid and watching it open—adds that small moment of joy you don’t get from stirring a packet of cocoa. Presentation matters, and these look special even with minimal decoration.
They’re intensely customizable. Use flavored white chocolate, add a pinch of spice into the shell, or include flavored marshmallows. You control sweetness, size, and presentation for gifting or a cozy night in.
Finally, they store well at cool room temperature for short periods and travel nicely in small boxes. That makes them great for little homemade gifts: wrap them up and they feel thoughtful without taking long to prepare.
Swap Guide
Want to change things up? Here are safe swaps and what to expect:
- White melting chocolate ↔ milk/dark melting chocolate: swapping to milk or dark changes flavor and sweetness. Dark will make the bombs less sweet and more cocoa-forward.
- Marshmallows ↔ mini marshmallows with flavored coatings: flavored marshmallows add a subtle twist—peppermint or caramelized varieties work well. Avoid oversized marshmallows; they can split the shell when sealing.
- Circle baking mold ↔ silicone candy molds in different shapes: you can use other round or novelty molds, but expect differences in release and seam alignment.
Cook’s Kit
Gather these tools before you start to keep the process smooth. A small microwave‑safe bowl, a spoon or pastry brush for coating, and a flat plate or baking sheet under the mold will keep your workspace organized. A bench scraper, offset spatula, or even a butter knife helps clean seams and trim excess chocolate.
Optional but helpful: a piping bag or small squeeze bottle for precise rim “glue” application, and a thermal thermometer if you want to get into tempering (not required for melting chocolate labeled for molds).
Avoid These Traps
Trap: overheating the chocolate. White chocolate burns easily and becomes grainy. Heat in short bursts and stir between intervals to distribute heat evenly. If it looks lumpy, don’t try to salvage it with more microwaving—fresh small batches are better.
Trap: thin, fragile shells. That happens when you don’t get an even coat on the sides and edges. Rotate the spoon or brush and tap the mold to settle chocolate. A second thin coat after the first chill often saves the shell.
Trap: overfilling. Marshmallows expand and melt; when you pack the hemisphere too full you won’t get a good seal. Leave a small lip so the top half can close without pressure.
Health-Conscious Tweaks
If you’re watching sugar or dairy, there are a few options, but proceed cautiously with substitutions. There are white chocolate alternatives made with sugar-free sweeteners or plant-based white chocolate substitutes; test one small batch first because melting and setting behaviors vary.
For a lower-sugar version, use a white chocolate alternative labeled reduced sugar, and choose sugar-free or low-sugar marshmallows if available. For dairy-free, select a plant-based white chocolate and vegan marshmallows. Again, melting properties differ, so tempering or additional chilling time may be required.
What I Learned Testing
Small changes in technique matter more than brand names. On my first attempt I rushed the melt and had grainy shells. After switching to 30-second intervals and stirring thoroughly, the finish improved dramatically. A gentle tap on the mold to pop air bubbles is a small step with big payoff.
Sealing is where many projects fail. Warm a thin bead of chocolate along the rim rather than slathering on chocolate. Pressing together while the glue is tacky gives a cleaner seam. Chill only briefly—long enough to set the seam—so the chocolate doesn’t bloom from temperature shock.
Finally, store the assembled bombs away from direct light and strong odors; white chocolate picks up scents and can discolor if exposed to heat or moisture.
Best Ways to Store
Store cocoa bombs in a cool, dry place away from heat and humidity—ideally 60–68°F (15–20°C). Avoid the refrigerator unless your kitchen is hot; condensation can form when you take a bomb out of the fridge and cause sugar bloom on the surface. If you must refrigerate, place the bombs in an airtight container with parchment between layers and bring them to room temperature before unwrapping.
For gifting, pack in single layers in small boxes or tins with crinkle paper to prevent movement. Label the box with a “keep cool” note if shipping locally or handing off outdoors on warmer days.
Quick Questions
Q: Can I temper white chocolate for a shinier finish?
A: Yes, tempering helps with gloss and snap but isn’t required if you use white melting chocolate formulated for molding. If you do temper, work quickly—white chocolate has a narrower working range.
Q: How long will they keep?
A: Stored properly in a cool, dry place, they’ll keep for a few weeks. Flavor and appearance are best within the first two weeks. Avoid extended storage in high humidity or heat.
Q: Can I add fillings?
A: Yes—small additions like a pinch of cocoa powder, flavored sprinkles, or a few mini chocolate chips work. Keep additions dry and small so the shell seals properly.
Serve & Enjoy
To serve, heat your milk or water until steaming—not boiling—then place one bomb in a mug and pour the hot liquid over it. Stir as the shell melts; the marshmallows will float and soften into the drink. Top with whipped cream or an extra marshmallow if you like.
These are simple enough for a quick treat and pretty enough to gift. Keep a batch on hand for busy mornings, a last-minute hostess present, or a small moment of self-care. Enjoy the slow melt and the little reveal—it’s worth the small effort.
White Chocolate Cocoa Bombs
Ingredients
Ingredients
- white melting chocolate
- circle baking mold
- marshmallows
Instructions
Instructions
- Place your circle baking mold on a flat plate or baking sheet and have your white melting chocolate and marshmallows within reach.
- Put some white melting chocolate in a microwave‑safe bowl. Microwave in 30‑second intervals, stirring between each interval, until the chocolate is fully melted and smooth.
- Working one or a few cavities at a time, use a spoon or pastry brush to coat the inside of each mold cavity with a layer of melted chocolate. Make sure the sides and edge are covered so you form a shell; tap the mold gently to settle the chocolate and remove air pockets.
- Chill the coated mold in the freezer for about 10 minutes, or until the chocolate shells are fully set and firm.
- Remove the mold from the freezer and carefully flex or peel the mold to release the chocolate hemispheres. Place the hemispheres on a plate with the open side up.
- If you need to smooth or fix uneven rims, melt a small spoonful of chocolate and use it as “glue” to fill gaps or even the edges. Work quickly while the chocolate is warm.
- Place marshmallows into half of the chocolate hemispheres. Do not overfill—leave a little space at the rim so halves can be joined.
- Warm the rim of an empty hemisphere slightly by brushing a very small amount of melted chocolate on the rim (this will act as the adhesive), then place it on top of a filled hemisphere and press gently to seal. Wipe away any excess chocolate and, if desired, use a little additional melted chocolate around the seam to smooth and secure the join.
- Chill the assembled cocoa bombs briefly (a few minutes) so the seam sets and the two halves bond firmly.
- To serve, drop a white chocolate cocoa bomb into a cup of hot cocoa or coffee and stir as the chocolate melts to release the marshmallows and any filling.
- Store finished cocoa bombs in a cool, dry place until ready to use.
Equipment
- White Dipping Chocolate
- Jet-Puffed Mini Marshmallows
- Silicone Circle Mold
Notes
Take care to get chocolate into the entire mold and up the sides. If you can see the mold itself too much, chocolate may be thin when you remove.
Its ok to have excess chocolate inside the mold, just scoop out any that seems that over the top so you have space for filling.The outside of the mold will be smooth.


