
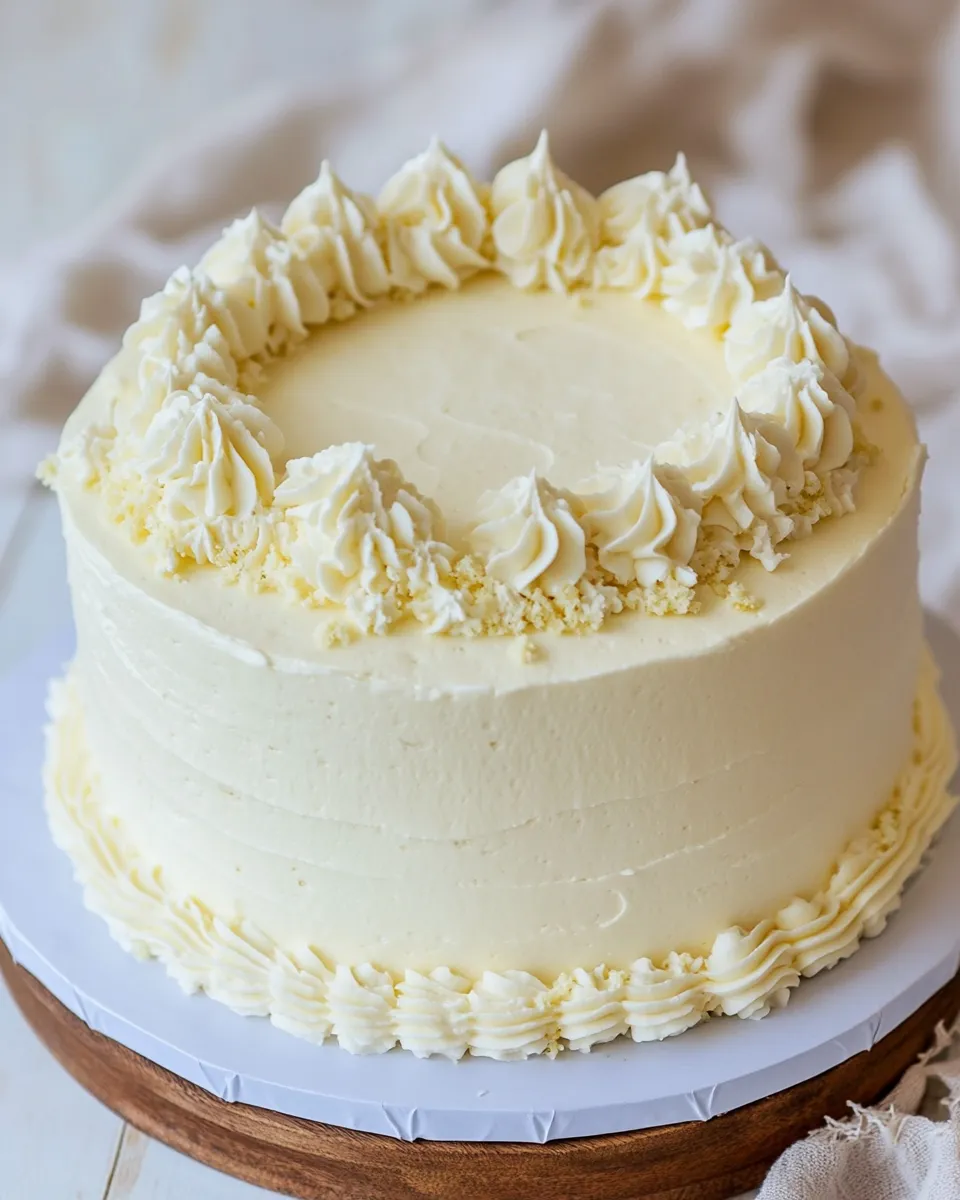
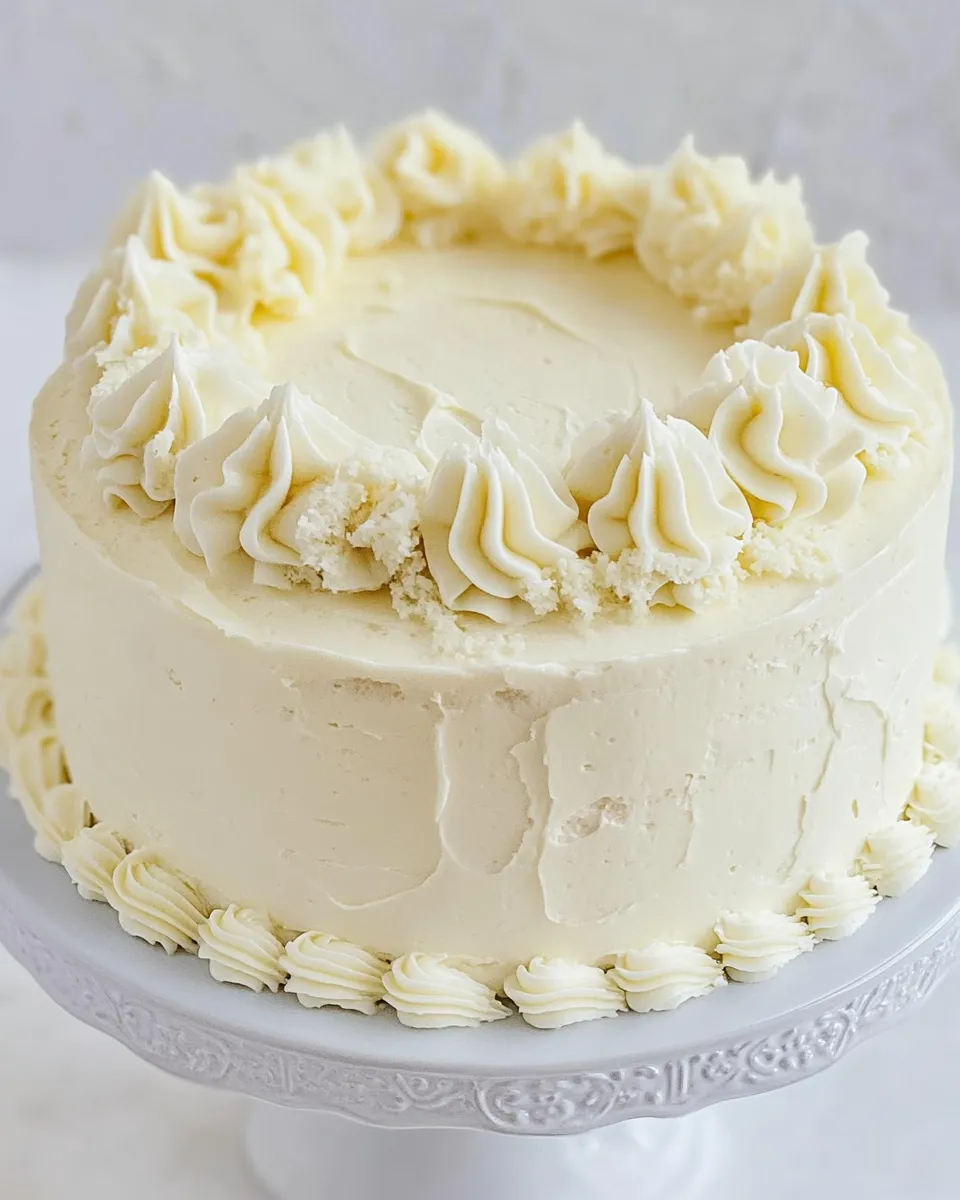
This White Wedding Cake is the kind of recipe that delivers exactly what you expect: soft, tall layers and a clean, classic buttercream. It starts with a boxed white cake mix fortified with flour and sugar for stability and finished with a rich, near-white frosting. No gimmicks—just reliable technique and a result that looks and tastes elegant.
Use this when you need a dependable showstopper that’s forgiving for home bakers. The ingredients list is straightforward and the steps are practical. I’ll walk you through what matters, how to avoid the usual pitfalls, and a few options to tweak the cake without compromising the structure.
Plan for cooling and chilling time. The cake and frosting are fast to make, but assembly and chilling take a little time if you want clean layers and neat piping. Read the notes, gather your tools, and you’ll have a white wedding cake that photographs beautifully and slices cleanly.
Ingredient Notes
These notes call out the purpose of a few key items and small tricks that make the whole baking and decorating process smoother. No substitutions here—just practical reasons and tips tied to the ingredients you’ll be using.
- One 15.25-ounce box white cake mix — the base of the cake; a modern time-saver that gives consistent structure. Make sure it is 15.25 ounces as noted; manufacturers sometimes shrink sizes.
- 1 cup all purpose flour — adds body and helps the cake hold its shape so layers stay tall and slice cleanly.
- 1 cup granulated white sugar — boosts sweetness and browning control; helps balance the boxed mix for texture.
- ¾ teaspoon salt — enhances flavor and rounds out sweetness.
- 1⅓ cups water — hydrates the batter; accurate liquid measurement keeps crumb tender rather than dense.
- 2 tablespoons vegetable or canola oil — keeps the crumb tender and adds moisture that boxed mixes sometimes lack.
- 1 teaspoon vanilla extract — flavor base for the cake; use clear vanilla if you want the crumb and frosting as white as possible.
- 1 cup sour cream — adds fat and acidity for a tender, fine crumb and prevents the cake from tasting too dry.
- 4 large egg whites — lighten the batter without adding yolk color; they help structure the layers while keeping them white.
- 4½ cups powdered sugar — primary sweetener for the buttercream; sift if you want the smoothest texture.
- 1½ cups (3 sticks) salted butter, at room temperature — the base of the frosting; room temperature is essential for smooth creaming.
- 1½ teaspoons vanilla extract — flavor for the frosting; use clear vanilla to keep the buttercream white.
- 3 to 4 tablespoons heavy whipping cream — thins the frosting to a spreadable consistency; add a little at a time to control texture.
White Wedding Cake Cooking Guide
- Preheat the oven to 325°F. Grease and flour three 8-inch round cake pans; line the bottoms with parchment rounds for easiest removal.
- In a large bowl, whisk together the 15.25-ounce box white cake mix, 1 cup all-purpose flour, 1 cup granulated sugar, and 3/4 teaspoon salt until evenly combined.
- Add 1 1/3 cups water, 2 tablespoons vegetable or canola oil, 1 teaspoon vanilla extract, 1 cup sour cream, and 4 large egg whites to the dry ingredients. Beat with a hand mixer (or stand mixer) on medium for 2 minutes, stopping once to scrape down the bowl so the batter is uniform.
- Divide the batter evenly among the three prepared pans. Leave about 3/4 to 1 inch of space between the batter and the top edge of each pan.
- Bake 35 to 45 minutes, checking at 35 minutes and then every 5 minutes, until a toothpick inserted into the center of each cake comes out clean or with a few moist crumbs. Exact time depends on your oven and pans.
- Remove the pans from the oven and let the cakes rest in the pans for about 10 minutes. Run a thin knife around the edges, invert each cake onto a cooling rack, remove the parchment, and let the layers cool completely before frosting.
- For the frosting: in a large bowl with a hand or stand mixer, add 1 1/2 cups (3 sticks) salted butter at room temperature. With the mixer on low, begin adding 4 1/2 cups powdered sugar gradually to prevent a sugar cloud; mix on low until mostly combined.
- After the powdered sugar is incorporated, increase the mixer speed to medium and beat the butter-and-sugar mixture for 3 minutes until light and smooth. Scrape the bowl and paddle as needed.
- Add 1 1/2 teaspoons vanilla extract (use clear vanilla if you prefer a whiter frosting) and 3 tablespoons heavy whipping cream. Beat on medium for 1 minute. If the frosting is too stiff for spreading or piping, add up to 1 more tablespoon of heavy cream (use a little at a time) until you reach the desired consistency.
- When the cake layers are completely cool, place one layer on your serving plate or turntable. Spoon a generous dollop of frosting onto the layer and spread evenly to the edges.
- Place the second cake layer on top of the frosted first layer. Spread a thin layer of frosting over the second layer (this can act as the filling). Add the third layer on top.
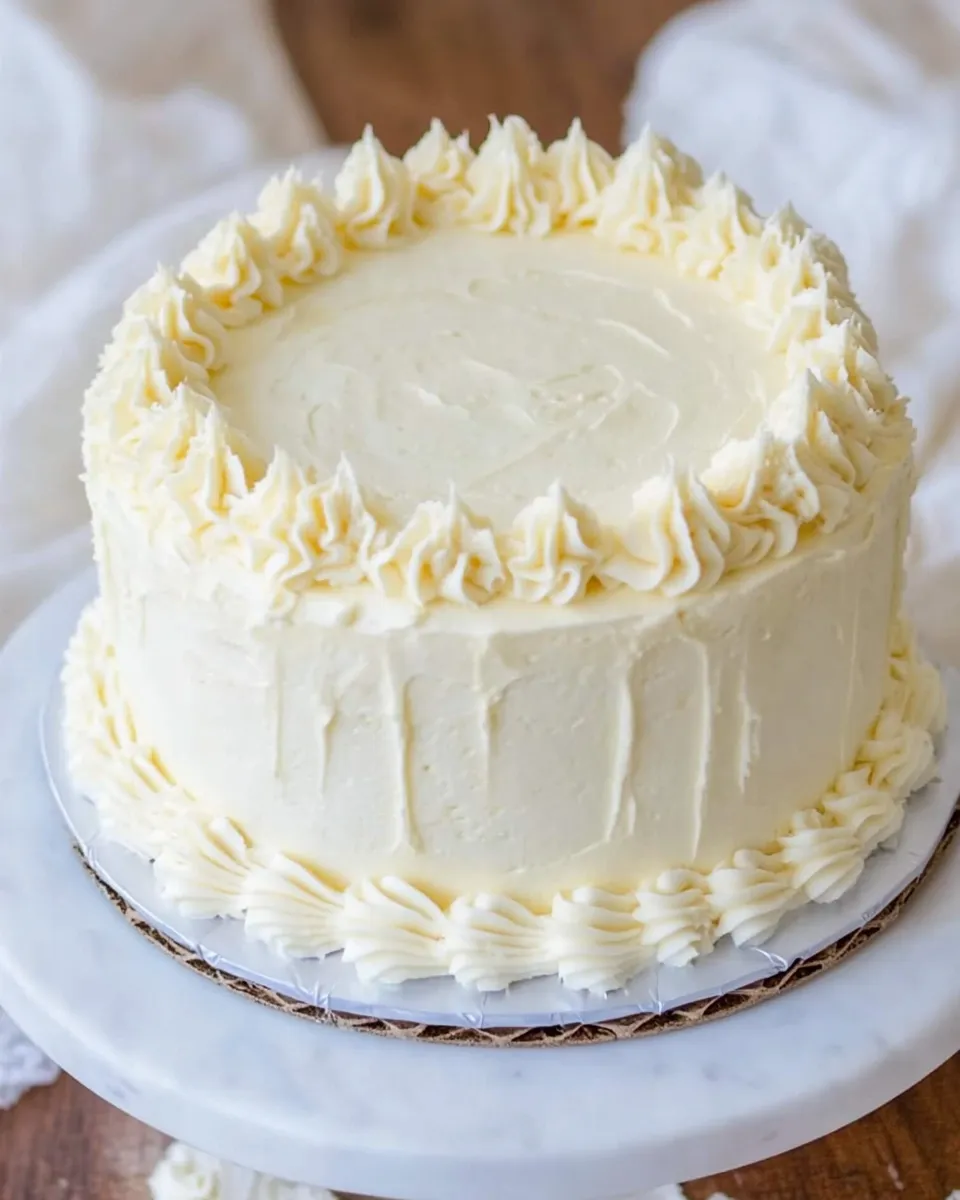
- Apply frosting to the top and sides of the stacked cake, smoothing as desired. If you want a neater finish, apply a thin crumb coat first, chill briefly, then finish with a final layer of frosting.
- Reserve some frosting for decoration, transfer it to a piping bag, and pipe decorative details as desired.
- Refrigerate the finished cake until ready to serve. The cake can be made and refrigerated up to one day ahead; cover it when chilling.
Why It Deserves a Spot
This version of White Wedding Cake earns its place because it balances convenience with a handmade touch. The boxed mix keeps results consistent; the added flour, sugar and sour cream improve texture and mouthfeel. Egg whites keep the layers pale and tall—exactly what you want for a wedding-style aesthetic.
It’s forgiving: batter tolerates small timing differences, and the stable buttercream is easy to spread and pipe. If you’re serving a crowd or need a cake that photographs well, this recipe is a practical choice that still tastes homemade.
Healthier Substitutions
If you want to shave calories or fat, there are a few swaps you can consider—but be cautious. This recipe relies on specific fats and sugars to keep a white color and structure.
- Use reduced-fat sour cream for a slightly lighter crumb, but expect a small change in richness and texture.
- Swap half the granulated sugar with a natural sugar alternative at your own risk—this will change browning and may affect rise.
- For the frosting, you can reduce butter by replacing up to half with a neutral-tasting margarine, but color and flavor will shift away from classic buttercream.
Overall: minor tweaks are possible, but major ingredient swaps can change how the cake sets and how white it looks.
Hardware & Gadgets
Good tools make the build and finish effortless. Here’s what I use and recommend:
- Three 8-inch round cake pans with straight sides — helps layers stack neatly.
- Parchment rounds — for clean, easy removal.
- Stand mixer or hand mixer — for even batter and a silky buttercream.
- Offset spatula and bench scraper — indispensable for smoothing frosting and getting sharp edges.
- Turntable — not required, but it speeds up finishing and makes the final cake look professional.
Troubles You Can Avoid
Common problems and simple fixes
- Dense layers — don’t overmix after adding wet ingredients; beat only as directed. Also be precise with the 1 1/3 cups water and avoid adding more liquid than called for.
- Cake sticking — grease, flour, and parchment are not optional here. Let cakes rest 10 minutes in pans before inverting.
- Frosting too soft — if butter isn’t fully at room temperature or you add too much cream, the frosting can go runny. Chill briefly and re-whip if needed.
- Not-white frosting — use clear vanilla and room-temperature butter that’s pale; darker vanilla or overbeating with brown-tinted butter will yellow the frosting.
- Uneven layers — level domes with a serrated knife once cool, or bake with cake strips for more even heat distribution.
Seasonal Spins
Small seasonal accents transform this classic into something festive without changing the core recipe. For spring, top with fresh edible flowers and thinly sliced strawberries under the final frosting layer. For summer, add a light layer of lemon curd between two layers (use sparingly to avoid sogginess). In fall or winter, pipe simple piped shells and dust with a tiny pinch of nutmeg on serving slices.
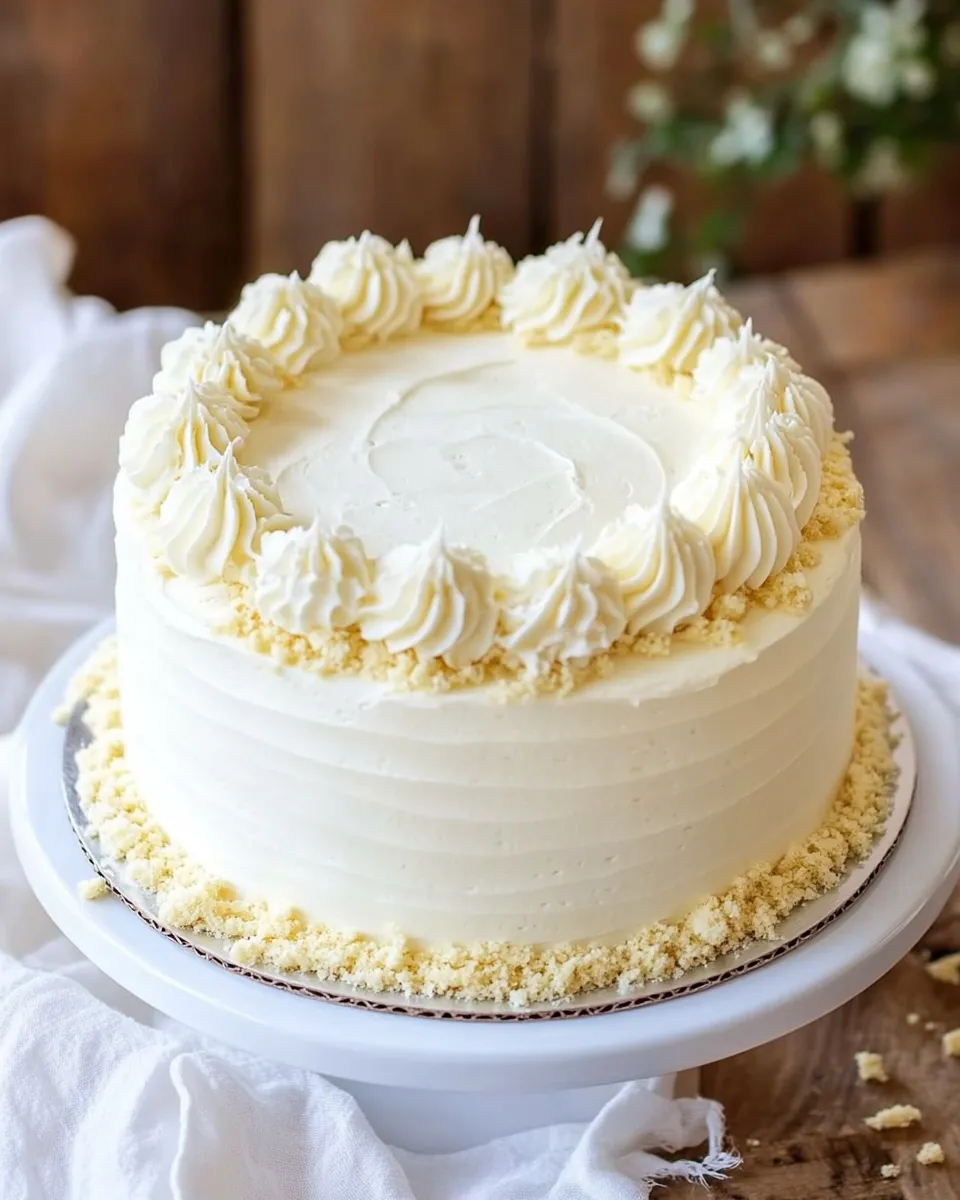
Keep decorations minimal if you want the pure white look to shine—seasonal fruits or a satin ribbon at the base go a long way.
Flavor Logic
The flavor choices in this cake are deliberate: vanilla and sour cream build a gentle, familiar profile; egg whites keep the crumb white and airy; buttercream uses salted butter because the touch of salt brightens the sweetness. Powdered sugar and cream control sweetness and spreadability. Each component supports structure, whiteness, or flavor without competing.
If you want more assertive flavor, add a teaspoon of almond extract in place of part of the vanilla, but do so sparingly—almond can quickly overpower.
Storing Tips & Timelines
Chill the assembled cake before serving. The recipe says you can refrigerate the finished cake up to one day ahead—cover it well to prevent the cake from absorbing fridge odors. For longer storage, wrap cooled frosted slices tightly in plastic and freeze up to one month; thaw in the fridge before serving.
If you bake layers in advance, cool completely, wrap in plastic, and freeze. Thaw overnight in the fridge before frosting; this helps retain moisture and makes crumb handling easier.
Ask the Chef
Q: Can I make this into a two-tiered cake? A: Yes. Use the same batter but adjust pan sizes and baking time. Keep in mind the structural needs of tall or stacked cakes—support with dowels and a sturdy base.
Q: Can I use salted vs. unsalted butter? A: The recipe calls for salted butter; if you prefer unsalted, add a pinch of salt to the frosting to balance sweetness.
If you have a specific question about oven differences, filling swaps, or how to get perfectly smooth sides, ask and I’ll give concrete, step-by-step tweaks.
Hungry for More?
If you liked this straightforward White Wedding Cake, try experimenting with small changes: white chocolate shavings for garnish, a whisper of citrus in the frosting, or even a thin fruit curd layer if you’ll serve the cake soon after assembly. For photos and piping ideas, scroll through the blog gallery—I post step-by-step finishing shots that make the process visual and approachable.
Ready to bake? Gather your pans, measure precisely, and follow the Cooking Guide above. This cake rewards careful assembly and a little patience in cooling and chilling. It’s a reliable, beautiful centerpiece for any celebration.

White Wedding Cake
Ingredients
Ingredients
- One15.25-ounce boxwhite cake mix NOTE: make sure the cake mix you buy is 15.25 ounces-- companies have been reducing the size
- 1 cupall purpose flour
- 1 cupgranulated white sugar
- 3/4 teaspoonsalt
- 1 1/3 cupswater
- 2 tablespoonsvegetable or canola oil
- 1 teaspoonvanilla extract
- 1 cupsour cream
- 4 largeegg whites
- 4 1/2 cupspowdered sugar
- 1 1/2 cups 3 stickssalted butter, at room temperature
- 1 1/2 teaspoonsvanilla extract use clear extract, if you really want it white
- 3 to 4 tablespoonsheavy whipping cream
Instructions
Instructions
- Preheat the oven to 325°F. Grease and flour three 8-inch round cake pans; line the bottoms with parchment rounds for easiest removal.
- In a large bowl, whisk together the 15.25-ounce box white cake mix, 1 cup all-purpose flour, 1 cup granulated sugar, and 3/4 teaspoon salt until evenly combined.
- Add 1 1/3 cups water, 2 tablespoons vegetable or canola oil, 1 teaspoon vanilla extract, 1 cup sour cream, and 4 large egg whites to the dry ingredients. Beat with a hand mixer (or stand mixer) on medium for 2 minutes, stopping once to scrape down the bowl so the batter is uniform.
- Divide the batter evenly among the three prepared pans. Leave about 3/4 to 1 inch of space between the batter and the top edge of each pan.
- Bake 35 to 45 minutes, checking at 35 minutes and then every 5 minutes, until a toothpick inserted into the center of each cake comes out clean or with a few moist crumbs. Exact time depends on your oven and pans.
- Remove the pans from the oven and let the cakes rest in the pans for about 10 minutes. Run a thin knife around the edges, invert each cake onto a cooling rack, remove the parchment, and let the layers cool completely before frosting.
- For the frosting: in a large bowl with a hand or stand mixer, add 1 1/2 cups (3 sticks) salted butter at room temperature. With the mixer on low, begin adding 4 1/2 cups powdered sugar gradually to prevent a sugar cloud; mix on low until mostly combined.
- After the powdered sugar is incorporated, increase the mixer speed to medium and beat the butter-and-sugar mixture for 3 minutes until light and smooth. Scrape the bowl and paddle as needed.
- Add 1 1/2 teaspoons vanilla extract (use clear vanilla if you prefer a whiter frosting) and 3 tablespoons heavy whipping cream. Beat on medium for 1 minute. If the frosting is too stiff for spreading or piping, add up to 1 more tablespoon of heavy cream (use a little at a time) until you reach the desired consistency.
- When the cake layers are completely cool, place one layer on your serving plate or turntable. Spoon a generous dollop of frosting onto the layer and spread evenly to the edges.
- Place the second cake layer on top of the frosted first layer. Spread a thin layer of frosting over the second layer (this can act as the filling). Add the third layer on top.
- Apply frosting to the top and sides of the stacked cake, smoothing as desired. If you want a neater finish, apply a thin crumb coat first, chill briefly, then finish with a final layer of frosting.
- Reserve some frosting for decoration, transfer it to a piping bag, and pipe decorative details as desired.
- Refrigerate the finished cake until ready to serve. The cake can be made and refrigerated up to one day ahead; cover it when chilling.
Equipment
- three 8-inch round cake pans
- parchment rounds
- Mixing bowls
- Hand mixer or stand mixer
- Spatula
- Cooling rack
- Piping Bag
Notes
*You can also use this mix to make cupcakes. Pour into cupcake liners and bake for about 18 minutes. It will make about 36 cupcakes.
*I've made this into a large 14-inch round cake too!
*If you want a bigger cake and thicker layers, use 9-inch pans and double the recipe. You won't use all of the batter, but you will be able to get thicker layers.


