
There are recipes that demand time, technique, and a laundry list of specialty ingredients — and then there’s this one. Two-Ingredient Fudge is exactly what it promises: fast, forgiving, and oddly elegant for the effort it requires. I reach for it when I need a guaranteed treat with zero fuss, whether it’s for a last-minute hostess gift or a quick dessert that still looks intentional.
What I love most is the predictability. With just a bag of chips and a tub of frosting, the method is straightforward. Melt, stir, press, chill. Done. It’s a tiny kitchen miracle that lets you focus on presentation rather than panicking over tempering chocolate or precise timing.
Below you’ll find everything you need to shop, prep, and finish this fudge like someone who makes it every holiday — even if it’s your first time. Clear instructions, practical swaps, and troubleshooting notes are included so you get consistent results.
What to Buy
Buy a decent-quality bag of chocolate chips — the better the chip, the smoother the flavor. You don’t need premium couverture for this, but avoid the very cheapest chips if you want a pleasant texture and taste. Decide whether you want white chocolate or regular chocolate; the recipe works the same with either.
For the frosting, any flavor will do because it both sweetens and helps with the fudgy texture. Pick a flavor that complements your chips: vanilla, chocolate, or cream cheese-style frostings are safe bets. If you’re making these for a crowd, buy a tub size that matches the recipe quantities so you don’t have to eyeball measurements.
Ingredients
- 112 ounce bag white chocolate chips or chocolate chips — provides the chocolate base and texture; choose white or regular to change the final flavor.
- 116 ounce tub frosting (any flavor) — acts as the sweetening and binding agent; the frosting flavor will influence the overall taste.
2-Ingredient Fudge: From Prep to Plate
- Line an 8-inch square pan with foil, leaving foil overhanging on two opposite sides; spray the foil with cooking spray.
- Place the bag of chocolate chips (white or regular) in a large microwavable bowl. Microwave uncovered on High for 1 minute.
- Spoon the tub of frosting (any flavor) over the chips. Microwave on High for 30 seconds.
- Stir the chips and frosting together until as smooth as possible, scraping the sides and bottom of the bowl. If the mixture is not smooth, continue microwaving in 15-second increments on High, stirring after each increment, until the mixture is fully smooth and pourable.
- Spread the mixture evenly in the prepared pan, smoothing the top with a spatula.
- Refrigerate uncovered until set, about 1 hour.
- Remove the fudge from the pan by lifting the foil overhang; peel the foil away. Cut into 8 rows by 8 rows.
- Store the fudge covered in the refrigerator.
Why It’s Crowd-Pleasing
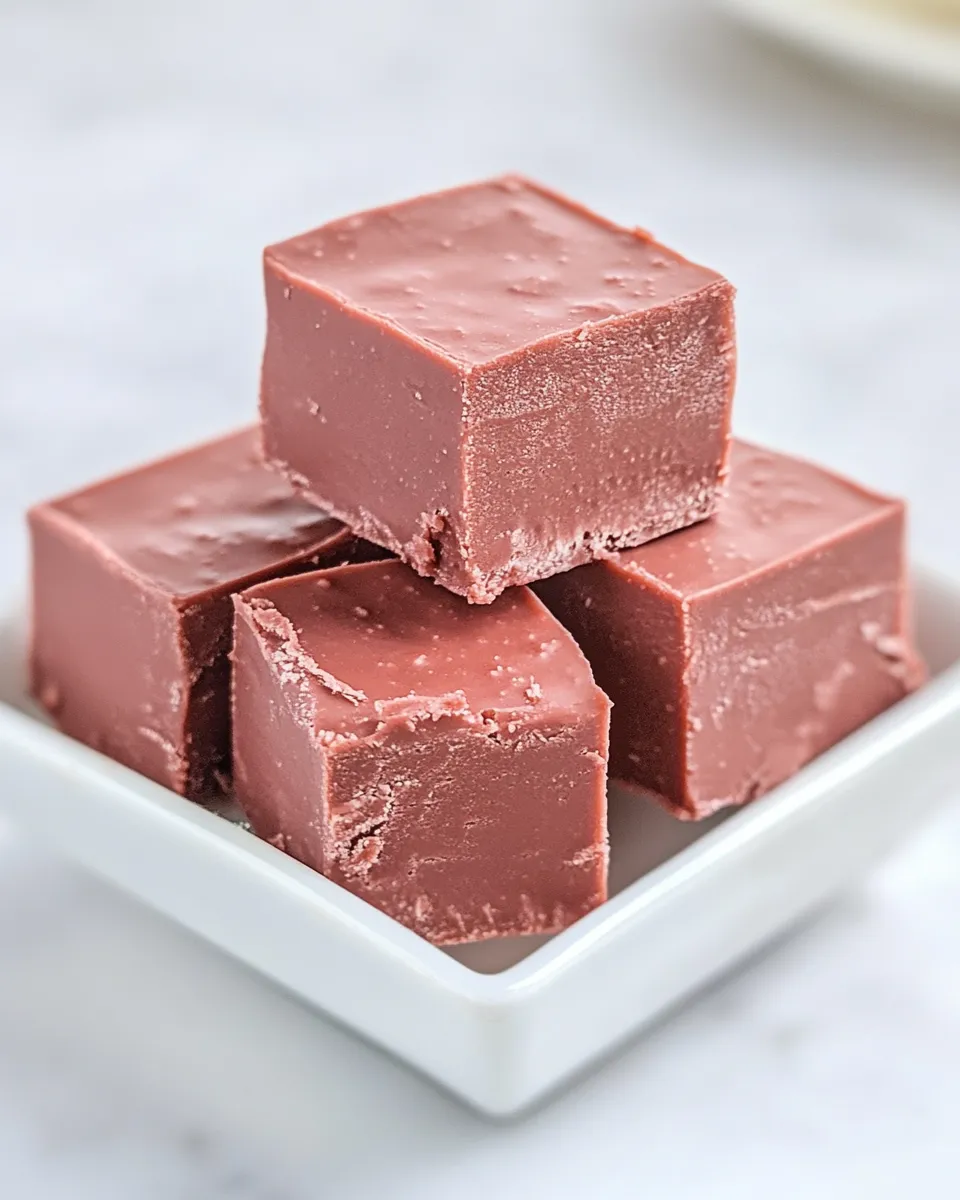
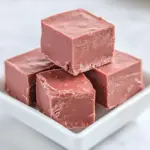
This fudge checks the boxes people care about: rich flavor, familiar sweetness, and a texture that satisfies without being chewy or rock-hard. The frosting adds body and shine so the fudge looks and feels homemade rather than thrown together. Because the flavors are familiar — chocolate and frosting — people rarely dislike it; it’s an easy crowd-pleaser.
It also hits the “wow” factor for presentation. Cut into uniform squares and arranged on a platter, these pieces read as thoughtful and homemade. For parties and potlucks, that visual matters almost as much as taste.
Easy Ingredient Swaps
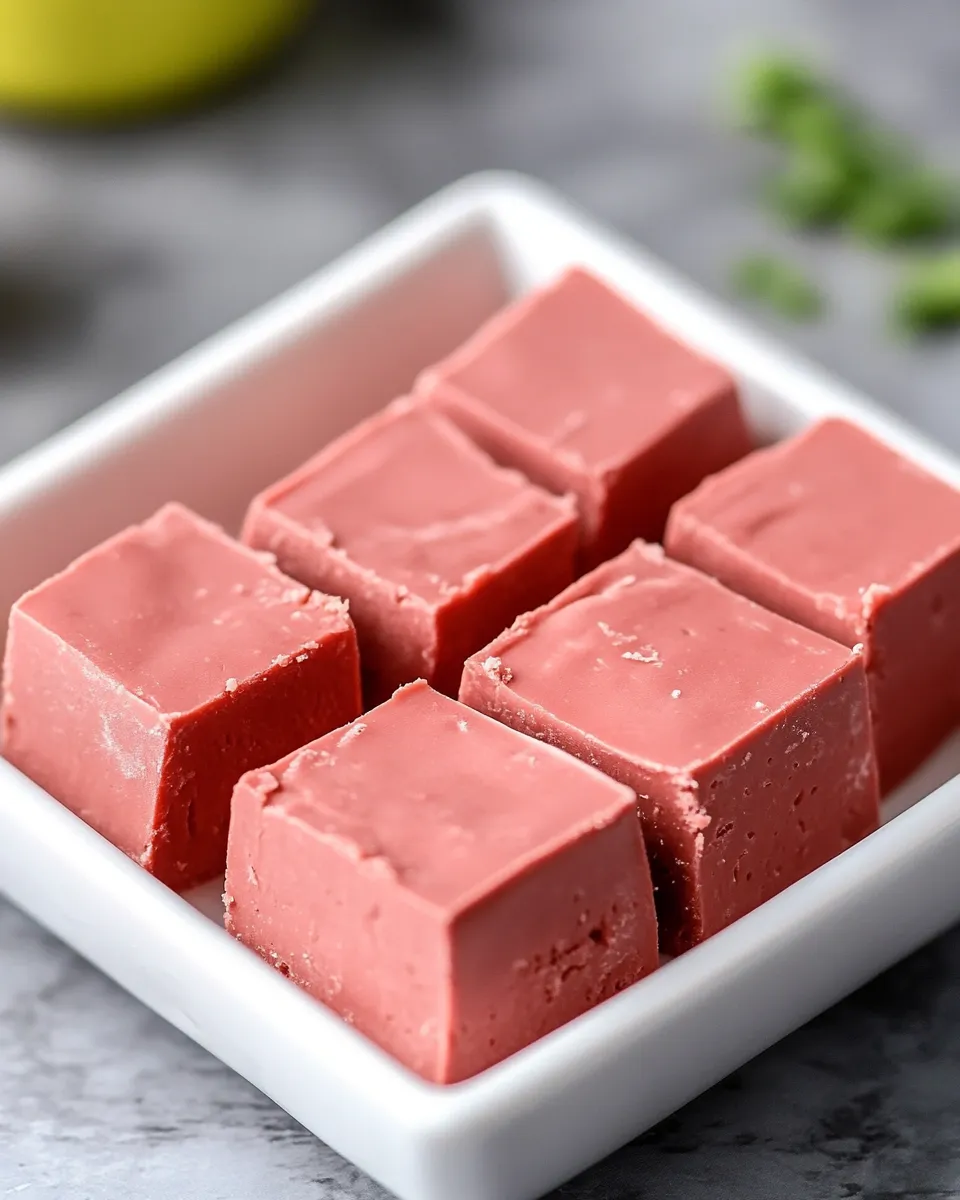
There’s surprising flexibility here because you’re working with two components only. Swap white chips for regular chocolate chips, or vice versa, to change the base flavor. Choose different frosting flavors to steer the profile: chocolate frosting for an extra chocolate punch, vanilla or cream-cheese frosting for a mellow balance, or a citrus frosting if you want a sharp contrast.
If you prefer less sweetness, select a darker chocolate chip option rather than milk chocolate. The texture stays the same — the flavor shifts to match your preference.
Cook’s Kit
Minimal tools are required. Here’s what I use every time:
- 8-inch square pan (important for the set and thickness)
- Aluminum foil (for an easy lift-out)
- Large microwavable bowl (big enough to stir without spilling)
- Spatula for scraping and smoothing
- Sharp knife for clean cuts
- Cooking spray to prevent sticking
That’s it. No thermometer, no candy pot, and no double boiler. You can assemble the whole thing on a busy counter in under 15 minutes active time.
Avoid These Traps
Heat is the main enemy here. Overheating the chips will seize the chocolate and make the mix grainy. If the mixture isn’t smooth after the initial microwaving, use short 15-second bursts and stir thoroughly between each one. Patience here pays off.
Another common mistake is underlining the pan incorrectly. Make sure the foil overhangs on two opposite sides so you can lift the fudge out cleanly once set. Without that overhang, you’ll wrestle with the pieces and likely make a mess.
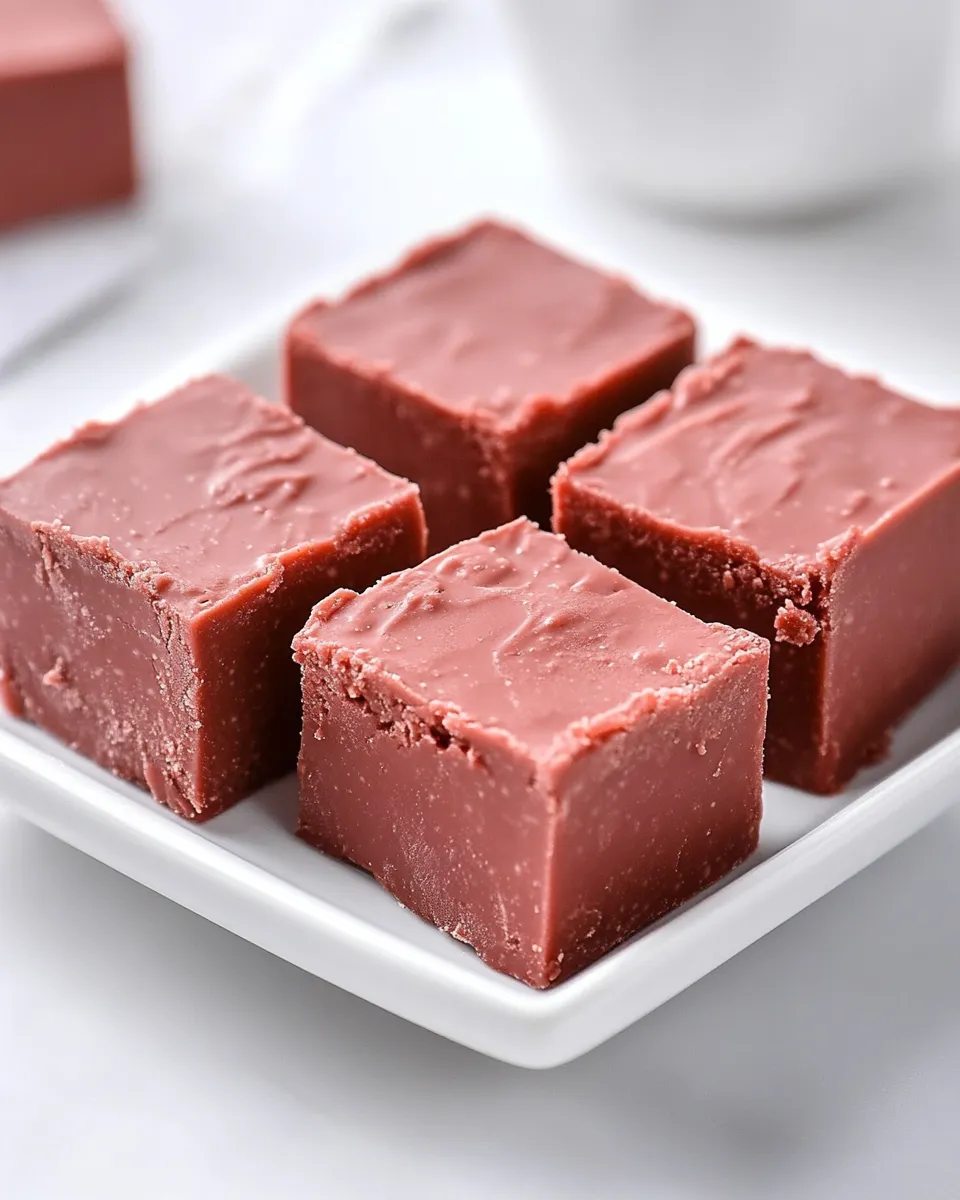
Finally, cutting warm fudge leads to ragged edges. Chill it fully until firm before slicing, and use a sharp knife wiped clean between cuts for tidy squares.
Holiday-Friendly Variations
Flavor-focused swaps
Change the mood simply by switching the frosting flavor. For holiday gatherings, chocolate or peppermint frostings pair well with chocolate chips. White chips with a citrus or vanilla frosting create a lighter, festive-looking treat.
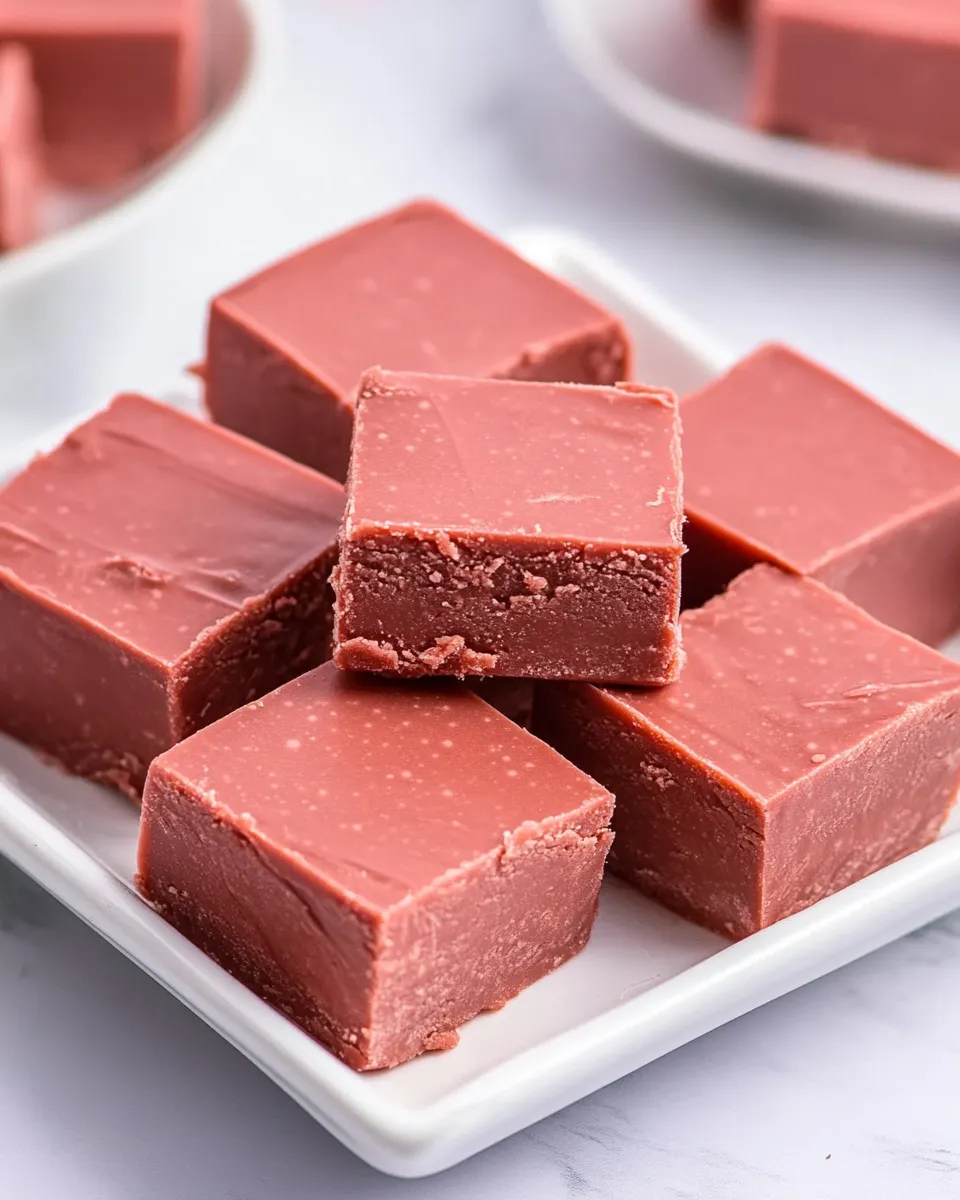
Presentation ideas
For a holiday platter, cut into uniform squares and alternate chip types (if you make batches) for visual contrast. Line the tray with parchment or doilies, and arrange the pieces in neat rows — presentation elevates the simple recipe into something special.
Pro Tips & Notes
Melting technique
Use the microwave in short increments and stir thoroughly. Chocolate retains heat and continues to melt as you stir; over-microwaving leads to graininess. If you see tiny unmelted specks, keep stirring — they often disappear with continued stirring and residual heat.
Texture control
The frosting controls much of the final texture. A thicker frosting gives a firmer bite; a softer, lighter frosting makes the fudge a touch more tender. If you prefer a firmer set, ensure the pan is chilled in a colder part of the fridge if you have room.
Cutting neatly
Use a large, sharp chef’s knife. Warm the blade under hot water, dry it completely, then make smooth, decisive cuts. Wipe the blade between cuts for the cleanest edges.
Cooling, Storing & Rewarming
Set the pan uncovered in the refrigerator until fully firm. The recipe’s steps call for about an hour of chilling; colder fridges or thicker mixtures may require a bit longer. I don’t recommend trying to speed this up by freezing — that can change the texture.
Store the fudge covered in the refrigerator. A shallow airtight container or a plate covered tightly with plastic wrap works fine. For the best texture, let pieces sit at room temperature for 10–15 minutes before serving so they soften slightly — but keep them refrigerated between servings to maintain freshness.
Your Questions, Answered
Can I double the recipe?
Yes. Use a larger pan or two pans so the thickness stays similar. If you double in a single pan that’s too big, the fudge will be thinner and will set faster.
Can I use a different pan size?
An 8-inch square pan yields a particular thickness I like. If you use a smaller pan, expect thicker pieces; a larger pan gives thinner squares. Adjust your expectations rather than the ingredient amounts for consistent texture.
Is microwave the only option?
Microwave is the quickest and simplest. You could melt chips gently in a double boiler and then stir in the frosting off heat, but the microwave is the method in this recipe and the one that keeps it fast.
Bring It Home
Two-Ingredient Fudge is my go-to when I need dessert with zero drama and maximum satisfaction. It’s fast, forgiving, and easily tailored to the occasion with a quick frosting swap. Make a batch, cut it into tidy squares, and you’ve got a dessert that looks like you spent more time than you did — which, honestly, is one of cooking’s best little magic tricks.
Once you’ve tried the basic method, you’ll find the simple rules that make it work: gentle heat, thorough stirring, and a full chill before cutting. Keep those in mind and the rest is easy. Happy fudging.
2-Ingredient Fudge
Ingredients
Ingredients
- 112 ounce bag white chocolate chips or chocolate chips
- 116 ounce tub frosting any flavor
Instructions
Instructions
- Line an 8-inch square pan with foil, leaving foil overhanging on two opposite sides; spray the foil with cooking spray.
- Place the bag of chocolate chips (white or regular) in a large microwavable bowl. Microwave uncovered on High for 1 minute.
- Spoon the tub of frosting (any flavor) over the chips. Microwave on High for 30 seconds.
- Stir the chips and frosting together until as smooth as possible, scraping the sides and bottom of the bowl. If the mixture is not smooth, continue microwaving in 15-second increments on High, stirring after each increment, until the mixture is fully smooth and pourable.
- Spread the mixture evenly in the prepared pan, smoothing the top with a spatula.
- Refrigerate uncovered until set, about 1 hour.
- Remove the fudge from the pan by lifting the foil overhang; peel the foil away. Cut into 8 rows by 8 rows.
- Store the fudge covered in the refrigerator.
Equipment
- 8-inch square pan
- Foil
- Cooking spray
- large microwavable bowl
- Spatula
- Microwave
- Refrigerator
Notes
Use any kind of chocolate chips and any flavor frosting!


