

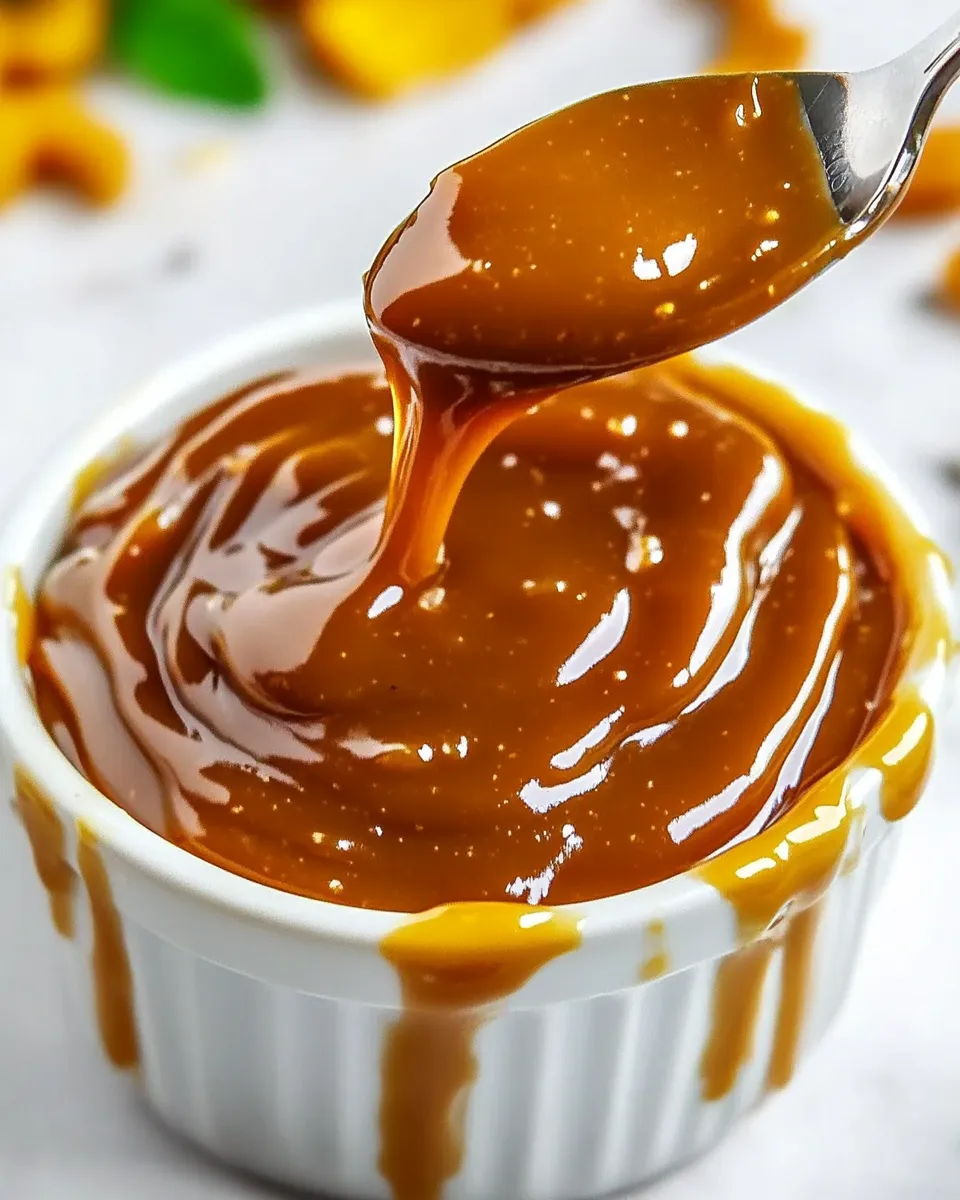
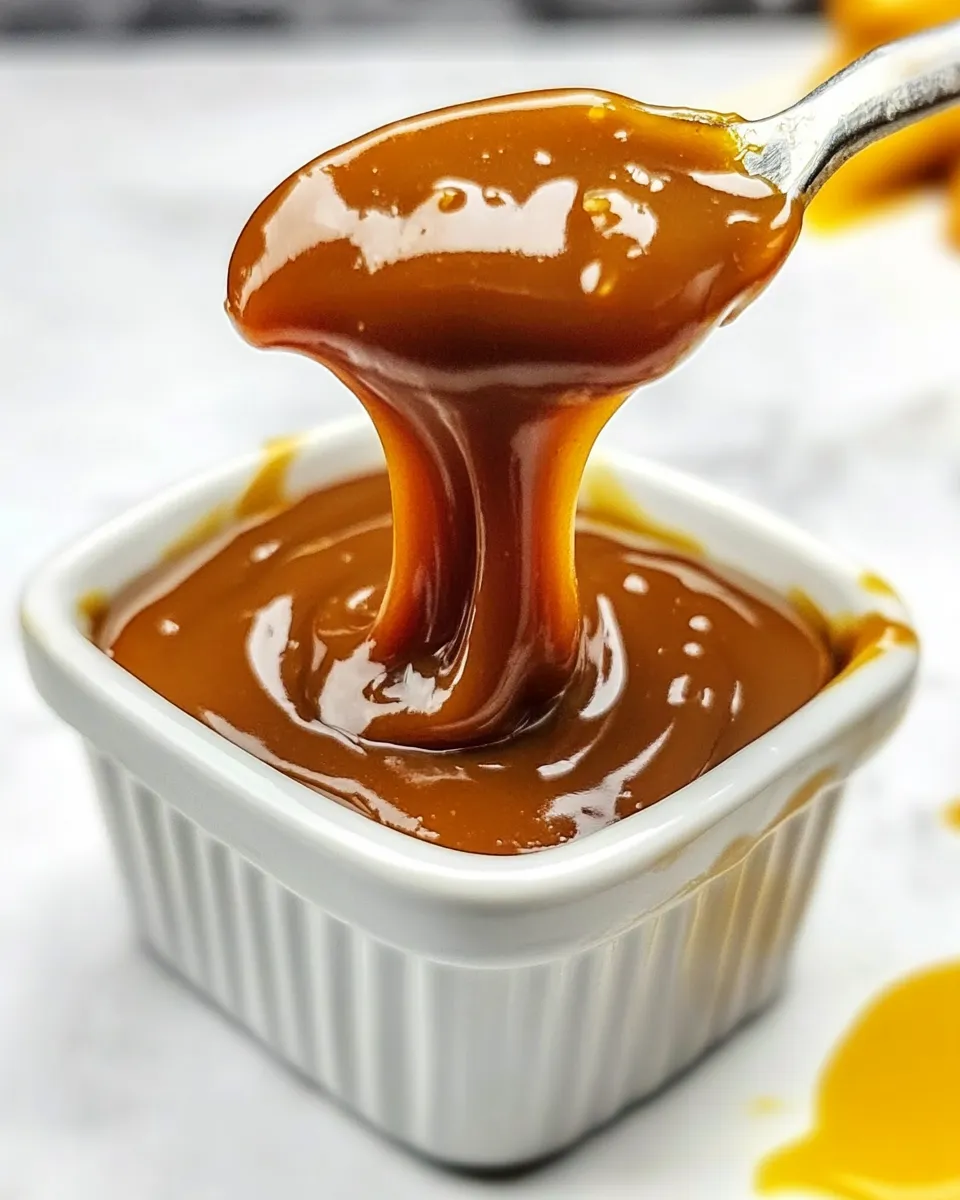
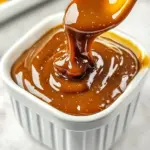
There’s a reason I keep a jar of this caramel in the fridge at all times. It’s fast, forgiving, and ridiculously useful — spoon it over ice cream, swirl it into coffee, or use it as a dip for apple slices. No candy thermometer, no tempering, no fuss. Three ingredients, one pan, and you have a glossy, scoopable sauce in minutes.
I like recipes that respect your time and deliver dependable results. This one does exactly that: unwrapped soft caramels, a splash of water to help them melt evenly, and a little half-and-half to bring the texture together. The technique is simple, so small details — heat level and constant stirring — matter more than complicated steps.
If you’re short on time but want a homemade finish that tastes far better than jarred sauces, this is the recipe to keep on hand. I’ll walk you through shopping, the exact steps, troubleshoot common problems, and offer practical swaps and storage tips so your caramel behaves every time.
Your Shopping Guide
Buy the right caramels. The recipe specifies a 110.8 ounce package of Werther’s Soft Caramels. That’s a large bag, often sold for catering or family-sized use. If you don’t need that much, consider splitting a bag with a friend or refrigerating the unopened portion to preserve freshness. Soft caramels melt more evenly than harder candies, which helps avoid grainy spots.
Half-and-half is listed here for richness and for a smooth, pourable finish. It’s lighter than heavy cream, so the sauce sets a bit softer as it cools. You’ll also need two tablespoons of water—just enough to keep the caramels from sticking and to help them soften while heating.
Finally, check labels if you have dietary constraints. Werther’s often contains dairy. If you’re shopping for gluten-free or dairy-free alternatives, read the ingredient list carefully (more on swaps below). And grab a medium saucepan that conducts heat evenly; it matters for a lump-free result.
Ingredients
- 110.8 ounce package Werther’s Soft Caramels, unwrapped — the base of your sauce; soft caramels melt smoothly and give that classic caramel flavor.
- 2 tablespoons water — helps the caramels soften and prevents sticking while they heat.
- 1/3 cup half and half — adds creaminess and thins the caramel to a pourable consistency when stirred in off heat.
Step-by-Step: 3 Ingredient Caramel Sauce
- Place the unwrapped caramels from the 110.8 ounce package and 2 tablespoons water in a medium saucepan.
- Heat over medium-low, stirring frequently; as the caramels soften, continue stirring until they are completely melted and the mixture is smooth with no lumps.
- Remove the saucepan from the heat and stir in 1/3 cup half and half until fully combined and smooth.
- Pour the caramel sauce into a jar and let cool to room temperature before using.
- Store any leftover sauce in an airtight container in the refrigerator for up to 2 weeks.
Why You’ll Keep Making It
It’s fast and reliable. There’s little skill required beyond keeping the heat low and stirring patiently. The flavor is familiar and comforting: butter, brown sugar notes, and a light chew from the original caramels. Since the base is pre-made candy, the caramel flavor is consistent every time.
Versatility is another reason. Use this sauce as a topping, a filling, or a finishing glaze. It’s much more flexible than store-bought jarred caramel because it softens and re-melts smoothly. And because it stores well in the fridge, you can batch-make it and reach for it whenever you want a quick upgrade to desserts or drinks.
Dairy-Free/Gluten-Free Swaps
Dairy-free options:
- Look for soft caramels labeled dairy-free. Some specialty brands make plant-based caramels that behave similarly when melted. If you use those, substitute an equal amount and proceed the same way.
- If you have dairy-free caramels but still want extra creaminess, stir in a tablespoon or two of full-fat coconut milk instead of half-and-half. Add off heat, as with the original instruction.
Gluten-free notes:
- Many caramel candies are naturally gluten-free, but cross-contamination or flavorings can introduce gluten. Always check the label if gluten is a concern. If the caramels are certified gluten-free, the recipe needs no other changes.
Gear Checklist
- Medium saucepan — choose one with a thick bottom for even heat distribution and to reduce hot spots that can scorch the candy.
- Wooden spoon or heatproof silicone spatula — for constant stirring; metal spoons work but can be slippery when the caramel is glossy.
- Measuring tools — tablespoon for the water and a 1/3-cup measure for the half-and-half.
- Jar or airtight container — for cooling and storing the finished sauce. A wide-mouth jar makes scooping easier.
Avoid These Mistakes
- Using high heat — caramel burns quickly. Medium-low keeps the melt steady and prevents scorching. If you see darkening or smell burning, toss that batch and start again.
- Walking away — stay attentive and stir frequently. Caramels can cling to the pan and form lumps if left unstirred.
- Adding the half-and-half on the burner — always remove the saucepan from heat before adding the cream. Adding it over heat can cause bubbling or a grainy texture.
- Using the wrong caramels — hard candies won’t melt into a smooth sauce the same way. Soft caramels are key for even melting and a glossy finish.
Make It Diet-Friendly
If you’re watching calories, portion control is your friend. A little caramel goes a long way: a tablespoon adds rich flavor without a huge calorie load. Try using small drizzles instead of generous pours.
For a lighter mouthfeel, use half-and-half as directed rather than heavy cream. You can also make a thinner sauce by increasing half-and-half slightly, but that will dilute the caramel intensity. Another approach is to pair a small amount of caramel with fresh fruit rather than with heavier desserts; the brightness of fruit makes the sauce feel more indulgent without requiring as much.
Pro Perspective
Texture and gloss are the markers of success here. The sauce should be shiny and pourable when warm, and set slightly as it cools. If it firms too much after refrigeration, gently rewarm small portions in the microwave for 10–15 seconds, stir, and use.
Flavor-wise, the choice of caramel brand matters. Werther’s offers a classic, buttery profile. If you switch brands, taste as you go — some caramels are sweeter or more buttery than others. If a batch tastes too sweet, a tiny pinch of sea salt stirred in off heat can balance it beautifully.
Freezer-Friendly Notes
You can freeze caramel sauce, but texture changes are possible. Freeze in small portions — ice cube trays, silicone molds, or small airtight containers work best. Thaw in the refrigerator overnight and rewarm gently on the stove or in short microwave bursts, stirring to reincorporate any separated fat.
Stored properly, frozen caramel can last several months, but plan to use thawed sauce within a week for best texture and flavor. If you notice separation after thawing, whisk or stir over low heat to bring it back together.
Handy Q&A
- Q: My caramel looks grainy. What happened?
A: Graininess usually means the caramels were overheated or stirred too vigorously at high heat. Rewarm gently and stir; sometimes a splash more heat and stirring will smooth it. If not, consider starting a fresh small batch to mix with the grainy batch until smooth. - Q: Can I double or halve the recipe?
A: Yes. The method scales easily. If halving, use a smaller saucepan so the candy isn’t spread too thin. If doubling, use a larger pan to ensure even heating and still stir frequently. - Q: How long does it last in the fridge?
A: Up to two weeks in an airtight container, as the recipe specifies. Always give it a smell and quick taste before using if it’s been stored for a while. - Q: Can I use heavy cream instead of half-and-half?
A: Yes. Heavy cream will make a richer, slightly firmer sauce. Add it off the heat just like in the original step. - Q: Will this burn my candy pan?
A: Not if you keep the heat at medium-low and stir often. Use a pan with a good base and monitor closely.
Final Bite
This 3-ingredient caramel sauce wins because it’s predictable and quick. The technique is forgiving, and the payoff is a versatile pantry staple that makes everyday desserts feel special. Keep a jar in the fridge, and you’ll find dozens of good reasons to spoon it out.
Small, consistent steps — low heat, frequent stirring, and adding the cream off the heat — are all you need. Make a batch, taste as you go, and learn how your favorite caramel brand behaves. You’ll be surprised how often this little jar becomes your secret weapon for elevating simple treats.
3 Ingredient Caramel Sauce
Ingredients
Ingredients
- 110.8 ounce packageWerther’s Soft Caramels unwrapped
- 2 tablespoonswater
- 1/3 cuphalf and half
Instructions
Instructions
- Place the unwrapped caramels from the 110.8 ounce package and 2 tablespoons water in a medium saucepan.
- Heat over medium-low, stirring frequently; as the caramels soften, continue stirring until they are completely melted and the mixture is smooth with no lumps.
- Remove the saucepan from the heat and stir in 1/3 cup half and half until fully combined and smooth.
- Pour the caramel sauce into a jar and let cool to room temperature before using.
- Store any leftover sauce in an airtight container in the refrigerator for up to 2 weeks.
Equipment
- Medium Saucepan
- Jar
- Spoon


