
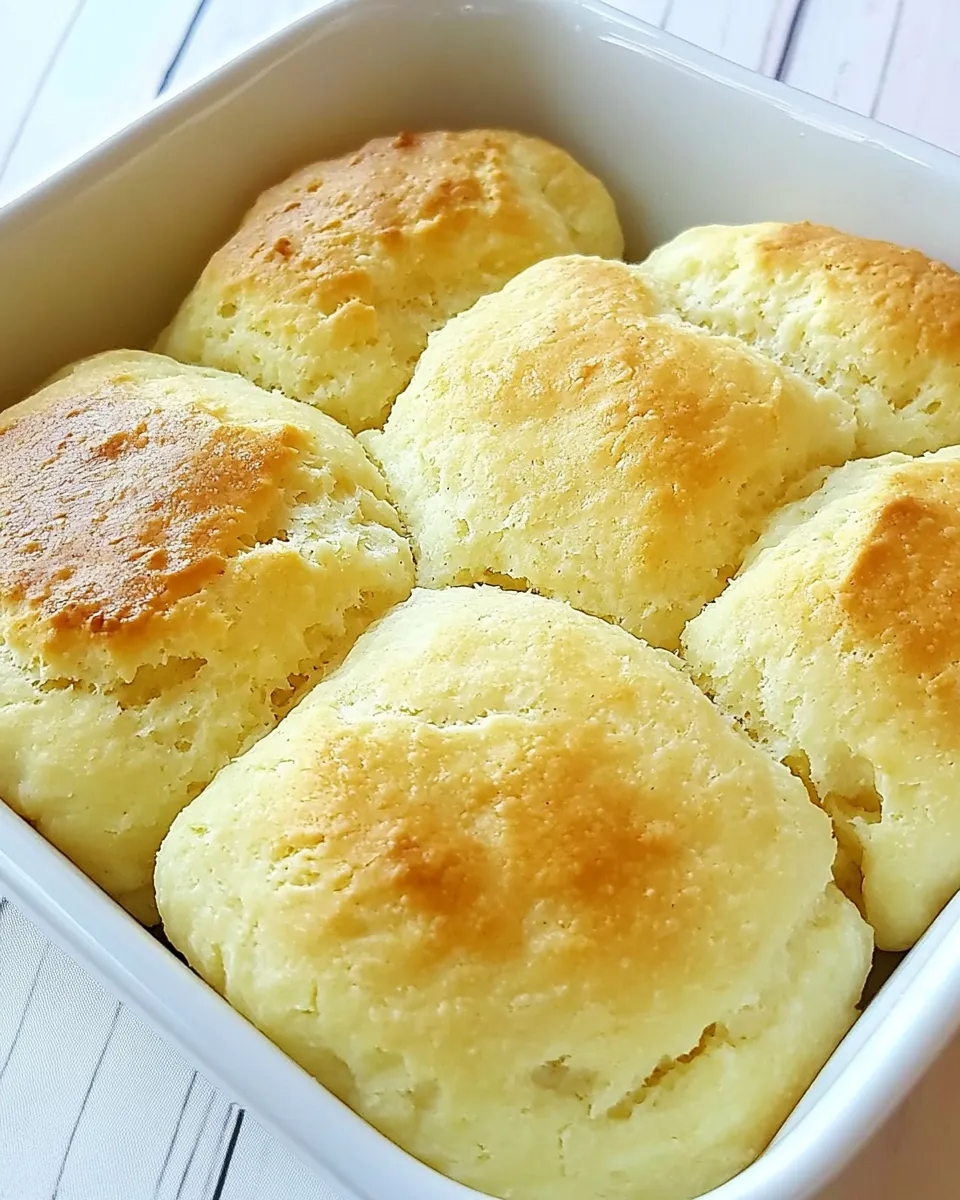
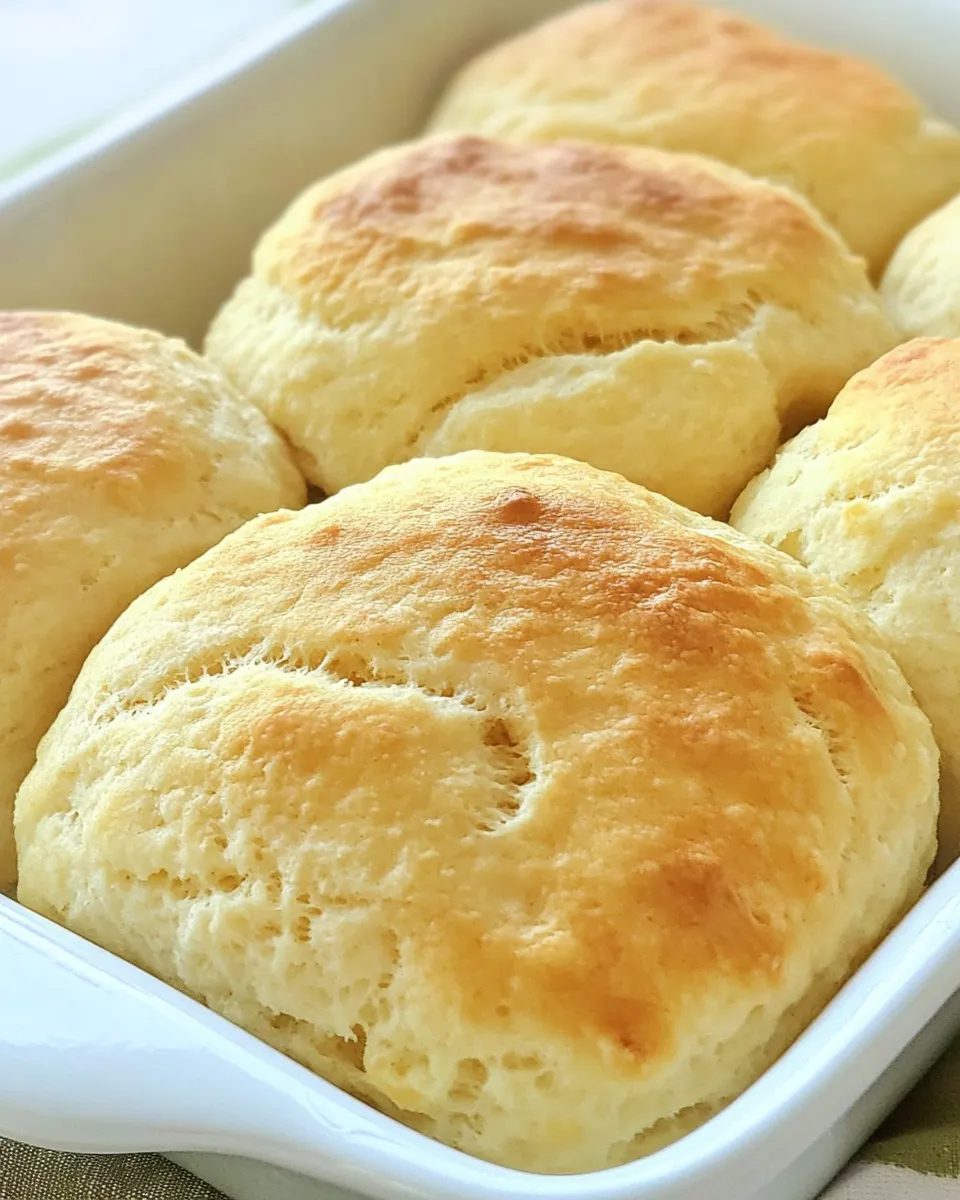
These 7-UP Biscuits are one of those recipes that feel like a shortcut to homemade comfort without sacrificing flavor. They rely on a simple baking mix, sour cream for richness, and a splash of 7-Up for lift. The trick that sets them apart is pouring hot butter into the pan so the bottoms finish with a buttery, slightly crisp edge.
They come together fast and tolerate a little impatience. You don’t need to fuss over perfect laminations or chilling times. The dough is sticky, so a light dusting of flour and gentle handling are your friends. Bake them until golden, and serve warm—right out of the dish.
What You’ll Gather

- 1 stick butter, melted — poured into the baking dish to brown the biscuit bottoms and add a buttery finish.
- 4 cups Baking Mix (Bisquick or Jiffy Baking Mix) — the structural base; provides leavening and the classic biscuit crumb.
- 1 cup Sour Cream — adds moisture and tenderness; cuts richness and keeps the interior soft.
- 1 cup 7-Up Soda — gives lift and a light crumb; the carbonation helps leaven without extra work.
- All Purpose Flour — a pinch to help with sticky dough; you can also use a bit of extra baking mix instead.
From Start to Finish: 7-UP Biscuits
- Preheat oven to 425°F.
- Melt the 1 stick of butter (microwave or stovetop) and pour the hot melted butter into the bottom of a 9 x 13 baking dish; set the dish aside.
- In a mixing bowl, add 4 cups Baking Mix and 1 cup sour cream.
- Use a pastry blender to cut the sour cream into the baking mix until the mixture is evenly moistened and resembles coarse crumbs.
- Stir in 1 cup 7-Up just until the dough comes together. Do not overmix.
- Sprinkle a pinch of all-purpose flour onto a clean, flat surface. Turn the sticky dough onto the floured surface. If the dough is too sticky to handle, sprinkle a little more flour on top.
- Gently pat the dough to about 1 inch thickness; avoid overworking it.
- Use a 3-inch round biscuit cutter (or the bottom of a glass) to cut biscuits. Place the cut biscuits into the prepared buttered 9 x 13 dish. Gather scraps, gently press together, pat to 1 inch, and cut additional biscuits as needed.
- Bake in the preheated oven for 20–25 minutes, checking at 20 minutes. Bake until the biscuit tops are golden brown.
- Remove from oven and serve warm.
Why It Works Every Time
The formula here is deliberately simple, and each element has a clear job. The baking mix brings leavening agents and a consistent flour/fat ratio so you get repeatable rise without measuring multiple dry ingredients. Sour cream supplies fat and acid, which tenderize the gluten and keep the crumb soft. The 7-Up contributes carbonation and a touch of sweetness, creating lift and a lighter texture than an otherwise dense drop biscuit.
Pouring hot melted butter into the baking dish before adding the biscuits is a small move with a big payoff. The butter immediately starts to sizzle under the dough, producing a slightly crisp, buttery underside without frying the biscuit. Finally, minimal handling preserves the airy pockets created by the baking mix and soda; overworking the dough squeezes those pockets out, and you end up with dense biscuits.
Low-Carb/Keto Alternatives
This recipe relies on baking mix and 7-Up, both of which contain carbs. If you’re aiming low-carb, keep technique more than exact ingredients: use a higher-fat binder like full-fat sour cream or cream cheese, and a low-carb baking mix made with almond and coconut flours that includes baking powder. For the lift that 7-Up provides, swap in a zero-calorie lemon-lime soda (diet 7-Up) or plain club soda to keep carbonation without added sugar.
Note: low-carb flour blends behave differently. They often require more eggs or a binder to hold the dough. Expect a different texture than the original—still good, but denser and more cake-like than biscuit-traditional.
Gear Up: What to Grab
- 9 x 13 baking dish — specified in the recipe so the butter pools correctly and biscuits bake evenly.
- Mixing bowl — large enough to combine the baking mix and sour cream comfortably.
- Measuring cups — to measure 4 cups baking mix, 1 cup sour cream, and 1 cup 7-Up accurately.
- Pastry blender — for cutting the sour cream into the baking mix; a fork or two knives will work in a pinch.
- 3-inch biscuit cutter or the bottom of a glass — for clean rounds and even baking.
- Ruler or your eye — to pat dough to about 1 inch thickness.
- Oven mitts and cooling rack — for safe handling and to rest the dish briefly before serving.
Problems & Prevention
Sticky dough: This recipe intentionally produces sticky dough. Prevent frustration by lightly flouring your work surface and cutter. If the dough clings excessively, dust the top with a pinch more flour. Avoid adding too much flour; it will dry the biscuits out.
Flat or dense biscuits: Overmixing after adding the 7-Up or overworking the dough during cutting/pressing compresses the air pockets and deactivates the soda’s lift. Stir until the dough just comes together and pat gently to shape.
Uneven browning or soggy bottoms: If your oven runs hot or heats unevenly, rotate the dish halfway through baking. If bottoms are soggy, make sure the melted butter in the pan is hot when you place the biscuits in—this helps crisp the base immediately.
Fit It to Your Goals
Speed: This is a quick recipe. Preheat first, melt the butter while the oven comes up to temperature, and you can be placing biscuits in the dish in ten minutes.
Feeding a crowd: The 9 x 13 fits about a dozen 3-inch biscuits depending on how you cut them. To make more, double the recipe and use two dishes. For larger batches, stagger baking so each pan gets even oven heat.
Pairings: These biscuits work with anything from a simple honey butter to hearty gravies. Serve alongside a bowl of soup, a skillet of fried chicken, or split them and fill with ham and cheese for a quick sandwich.
Insider Tips
Cut straight down. Don’t twist the cutter. Twisting seals the edges and inhibits rise. Press straight down and lift straight up for clean sides.
Keep it loose. When gathering scraps, press them together gently; don’t knead. Kneading develops gluten, which toughens biscuits. A gentle press and pat are enough to recombine scraps.
Use a light hand with flour. The dough should be tacky but manageable. A dusting on the board and the cutter will keep things from sticking without adding too much extra dry ingredient.
Check at 20 minutes. Ovens vary. Start checking at 20 minutes and pull them when tops are golden. Overbaked biscuits lose their tenderness quickly.
Make-Ahead & Storage
To make ahead: Mix and shape the biscuits, place them in the buttered 9 x 13 dish, cover tightly with plastic wrap, and refrigerate for up to 24 hours. Add a few extra minutes to baking time if they’re cold going into the oven.
To freeze: After cutting, lay the biscuits on a parchment-lined sheet pan until firm in the freezer. Then transfer to a freezer bag. Bake from frozen; add 5–8 minutes to the bake time and watch for golden tops.
Storage: Store leftovers in an airtight container at room temperature for up to two days, or in the fridge for up to five. Reheat gently in a 300°F oven for 8–10 minutes or in the microwave for 20–30 seconds until warm. Re-crisp the bottom for a minute if needed by placing on a hot skillet or under the broiler for a very short time—watch closely.
Your Questions, Answered
Can I use diet 7-Up or lemon-lime soda? Yes—diet lemon-lime soda will keep the carbonation and flavor without added sugar. The texture will be essentially the same.
Can I sub buttermilk for sour cream? This recipe expects the texture and fat that sour cream gives. Buttermilk is thinner and will change dough consistency; if you substitute buttermilk, reduce the added liquid slightly or increase the baking mix a bit to compensate.
Why pour butter into the dish instead of melting it into the dough? Melting butter into the dish creates a hot fat layer that crisps the biscuit bottoms and keeps them from sticking, while also giving that rich, almost pan-fried flavor without frying each biscuit.
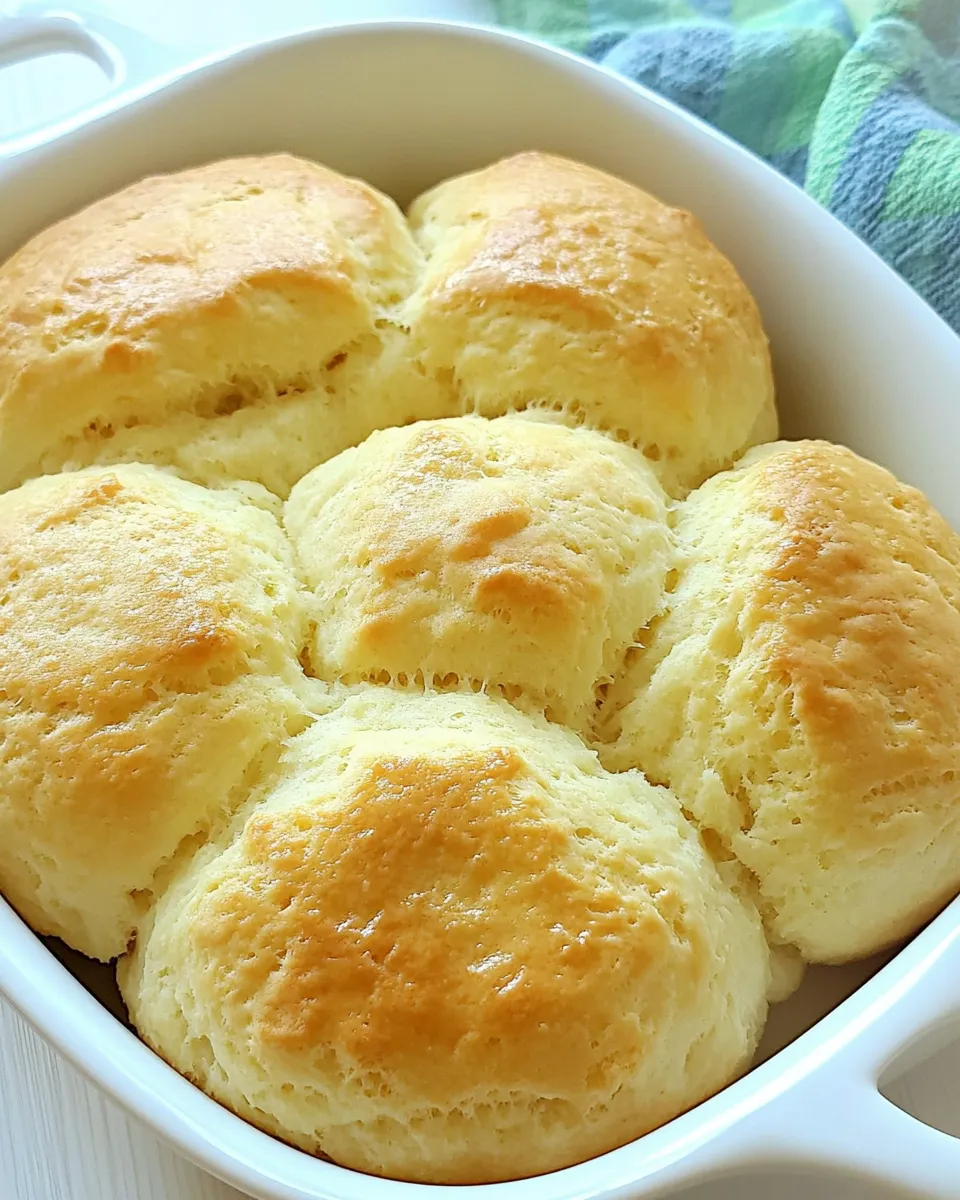
Are these biscuits flaky like laminated biscuits? No. These are tender, slightly crumbly, and soft inside—not layered like puff pastry or a classic flaky biscuit made with cold butter and folding. They’re quick and reliably tender.
That’s a Wrap
7-UP Biscuits are a fast, forgiving way to get warm, buttery biscuits on the table with minimal effort. Keep the steps simple: mix, press, cut, and bake. A hot buttered pan, minimal handling, and a careful eye in the oven will reward you with a tray of biscuits that are golden on top, buttery underneath, and soft inside.
Make them for a weeknight dinner, a lazy weekend brunch, or whenever you need a reliable, delicious bread on the table. Keep the ingredients stocked and the pastry blender handy—this one’s a keeper.

7-UP Biscuits
Ingredients
Ingredients
- 1 stickbuttermelted down
- 4 cupsBaking MixBisquick or Jiffy Baking Mix
- 1 cupSour Cream
- 1 cup7-Up Soda
- All Purpose Flourpinch to help with sticky dough – you can also use a bit of extra bisquick mix instead
Instructions
Instructions
- Preheat oven to 425°F.
- Melt the 1 stick of butter (microwave or stovetop) and pour the hot melted butter into the bottom of a 9 x 13 baking dish; set the dish aside.
- In a mixing bowl, add 4 cups Baking Mix and 1 cup sour cream.
- Use a pastry blender to cut the sour cream into the baking mix until the mixture is evenly moistened and resembles coarse crumbs.
- Stir in 1 cup 7-Up just until the dough comes together. Do not overmix.
- Sprinkle a pinch of all-purpose flour onto a clean, flat surface. Turn the sticky dough onto the floured surface. If the dough is too sticky to handle, sprinkle a little more flour on top.
- Gently pat the dough to about 1 inch thickness; avoid overworking it.
- Use a 3-inch round biscuit cutter (or the bottom of a glass) to cut biscuits. Place the cut biscuits into the prepared buttered 9 x 13 dish. Gather scraps, gently press together, pat to 1 inch, and cut additional biscuits as needed.
- Bake in the preheated oven for 20–25 minutes, checking at 20 minutes. Bake until the biscuit tops are golden brown.
- Remove from oven and serve warm.
Equipment
- 9 x 13 Baking Dishor large cast iron pan
Notes
Biscuits can also be placed into a cast iron pan by following the same instructions. Pour melted butter and add biscuits in a 12-inch round cast iron pan. Just note that cast iron pans heat up really hot, and the bottoms of the biscuits may brown quickly.
It’s also important to note that baking is not quite like cooking. Baking is more precise, so do not over-pour sour cream or 7-up. It should be measured as exactly as possible.
This dish uses a Bisquick baking mix (or Jiffy Baking Mix), and in some cases, you may want to add up to 1/4th more mix for a total of 4 1/4th cups. The dough is intended to be a bit sticky; add a tiny bit of flour as you mold it to 1-inch thickness and place into dish.


