
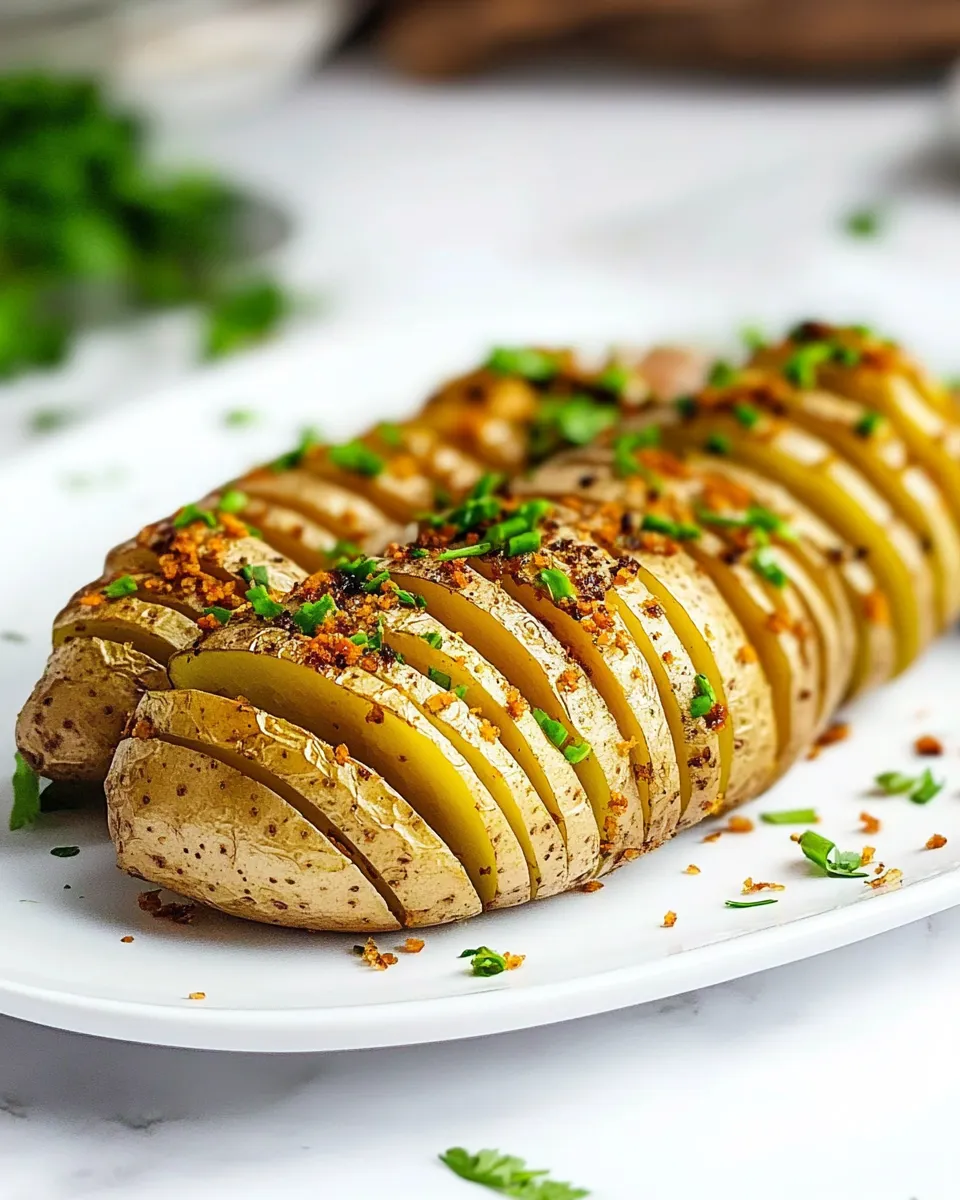
I love how a simple technique can make an ordinary potato feel thoughtful and special. Hasselback potatoes get their magic from thin, repeated slices that expose more surface area to heat, so you end up with crisp, lacy edges and a tender interior. The air fryer does this quickly and cleanly—less oil, less babysitting, and reliably even browning.
This recipe is straightforward: basic pantry seasoning, a careful slicing technique, and a short window of hands-on time before the air fryer takes over. The result is a side dish that pairs with weeknight proteins or stands on its own as an impressive centerpiece for a casual meal. I’ll walk you through the exact steps, the small traps I see most home cooks hit, and practical storage and reheating notes so nothing goes to waste.
Expect a crisp exterior, a soft interior, and the ability to tweak seasoning between the slices. Keep your knife steady, give the potatoes room to breathe in the basket, and follow the timing below. Let’s get into it.
Gather These Ingredients
Ingredients
- 4 medium russet potatoes — the starchy texture crisps nicely and holds up to slicing; pick similarly sized potatoes for even cook time.
- 2 tablespoons olive oil — coats the surface and helps the edges brown; use enough so it seeps between the slices.
- 1 teaspoon garlic powder — adds savory depth without fresh garlic overpowering the delicate slices.
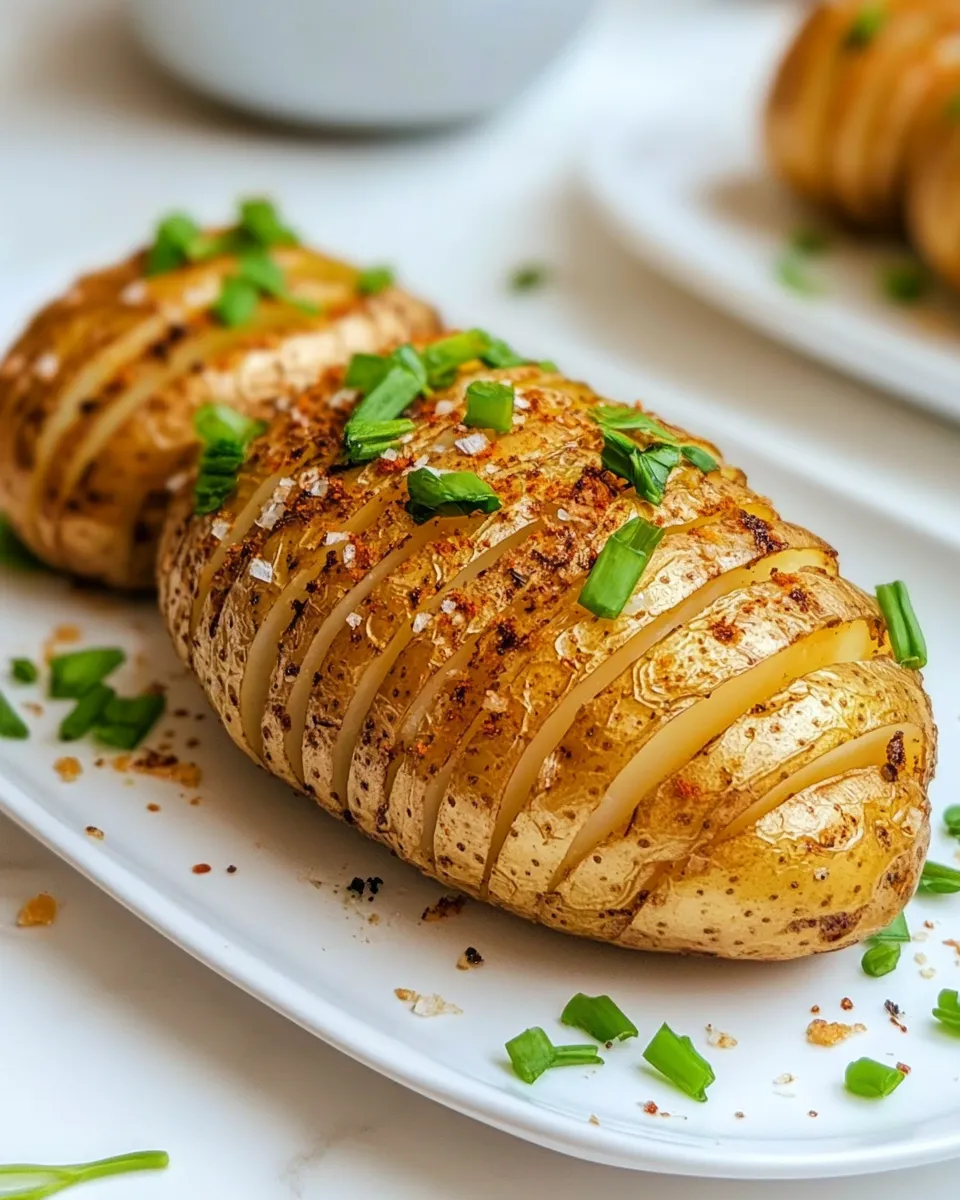
- 1/2 teaspoon smoked paprika — brings mild warmth and color; adjust if you prefer less smokiness.
- Salt — to taste — seasons both the surface and the inner layers when it reaches between the cuts.
- Black pepper — to taste — freshly cracked if you like a little bite.
- Fresh parsley — chopped for garnish (optional) — brightens the finished potatoes when sprinkled just before serving.
Air-Fryer Hasselback Potatoes — Do This Next
- Preheat the air fryer to 400°F (200°C).
- Rinse the 4 medium russet potatoes and pat them dry with a towel.
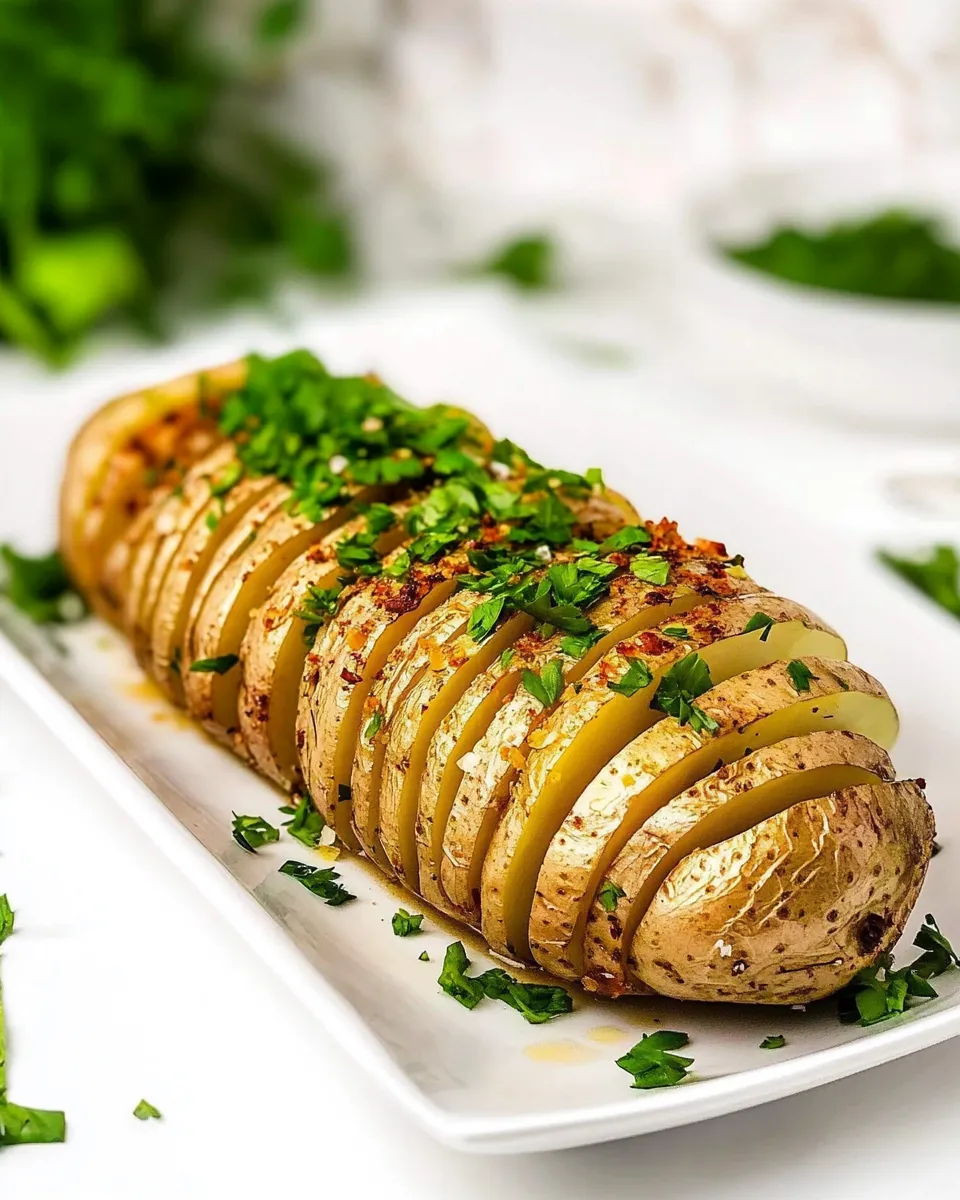
- Place one potato on a cutting board. Make thin parallel slices about 1/8–1/4 inch apart, slicing down toward the board but stopping about 1/4 inch from the bottom so the potato stays intact at the base. Repeat with the remaining potatoes.
- In a small bowl, combine 2 tablespoons olive oil, 1 teaspoon garlic powder, 1/2 teaspoon smoked paprika, and salt and black pepper to taste; stir to blend.
- Using a brush or spoon, coat each potato with the seasoned oil, making sure some oil and seasoning get between the slices.
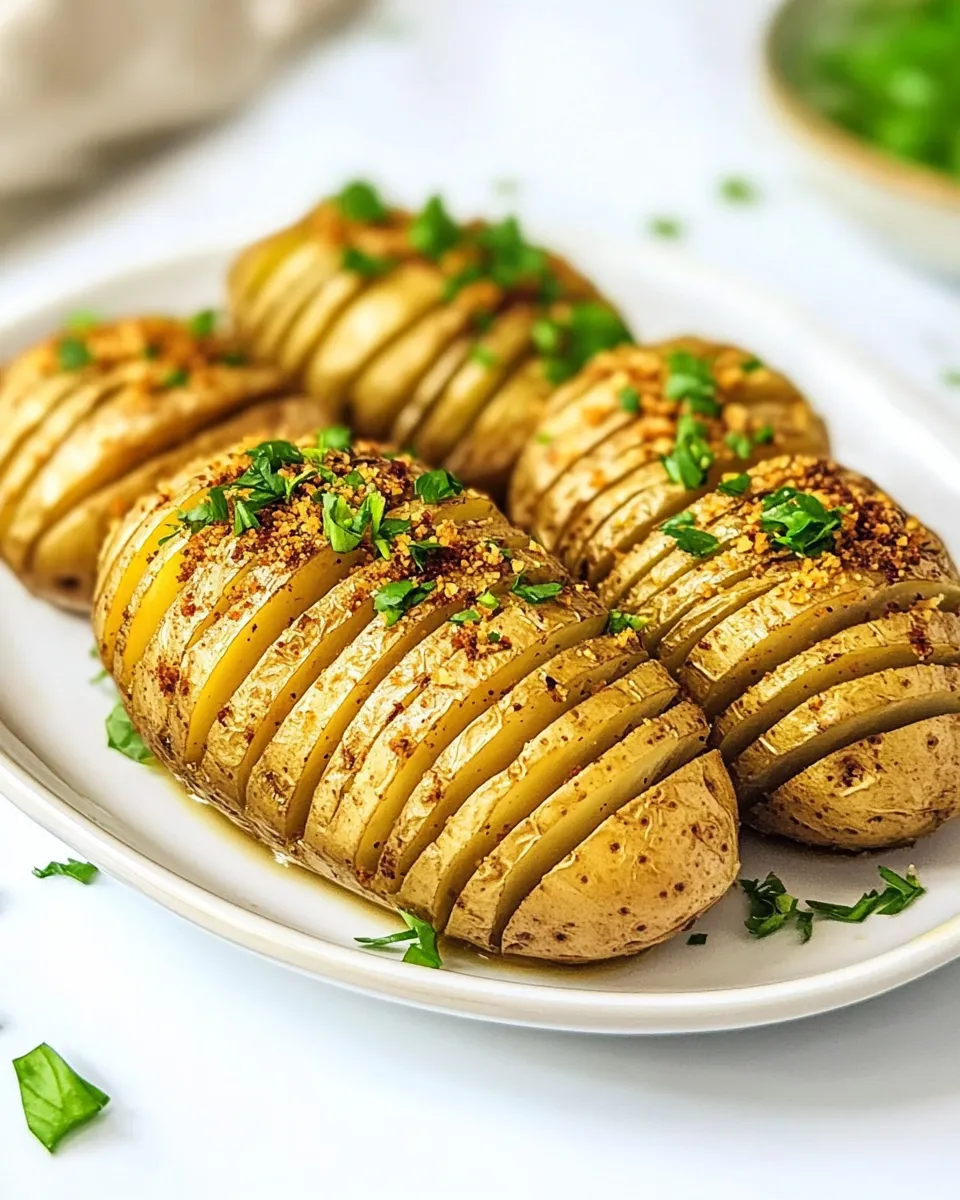
- Place the potatoes in a single layer in the air-fryer basket with space between them for air circulation.
- Cook at 400°F for 30–40 minutes, checking at about 15–20 minutes and rotating or flipping the potatoes if they are browning unevenly. They are done when the edges are crisp and a knife slides easily into the center.
- Remove the potatoes from the air fryer, let rest for 2–3 minutes, garnish with chopped fresh parsley if desired, and serve hot.
Top Reasons to Make Air-Fryer Hasselback Potatoes
They look more elaborate than they are. The thin slices create more crispy edges than a standard roasted potato, giving a contrast of textures that’s visually appealing and satisfying to eat.
They’re efficient. Using the air fryer shortens active time and uses less oil than traditional oven roasting, which keeps cleanup quick and the finish light.
They’re flexible. This basic seasoning is a clean framework—you can keep it as written or adjust the garlic and paprika levels to match the rest of your meal. The parsley garnish adds freshness without masking the roasted flavor.
Budget & Availability Swaps
If the exact ingredients aren’t available, focus on the function rather than a specific label. The recipe calls for a starchy, medium-sized potato; any similar, all-purpose or starchy potato will behave similarly in the air fryer. For oil, a neutral or mild-flavored oil that browns well will do the job if olive oil isn’t on hand.
If fresh parsley is not available, skip the garnish or finish with a neutral aromatic you already have; the dish doesn’t depend on the parsley but benefits from a fresh finish when possible.
What You’ll Need (Gear)
- Air fryer — the main cooking tool; size determines whether you need to work in batches.
- Sharp chef’s knife — essential for controlled, thin slices without crushing the potato.
- Cutting board — sturdy and stable while you slice.
- Small bowl and spoon — to mix the oil and seasonings.
- Basting brush or spoon — to get oil and seasoning between the slices.
- Tongs or a spatula — helpful when rotating or removing the potatoes from the basket.
Frequent Missteps to Avoid
Slicing too deep. If your cuts go all the way through, you’ll lose the finished “fan” and the potato can fall apart. Stop about 1/4 inch from the bottom as the instructions say.
Using uneven potatoes. Different sizes will require different cook times. Pick potatoes that are similar in size to ensure everything finishes together.
Overcrowding the basket. Air needs to circulate to crisp the edges. If the potatoes touch, you’ll slow browning and end up steaming the surfaces instead of crisping them.
Skipping the mid-cook check. Air fryers vary. Check at 15–20 minutes and rotate or flip if one side is browning faster. That small check prevents burning and gets you even color.
Seasonal Ingredient Swaps
When parsley is in season, use it for a bright finish. If fresh herbs are out of season or unavailable, it’s fine to omit the garnish entirely—the seasoned oil and crisp edges carry the flavor.
Adjust the smoked paprika amount depending on the time of year and the rest of your menu. In warmer months, keep it lighter; in colder months you might desire the extra warmth the paprika provides.
Cook’s Notes
Slicing technique
To keep the slices even, steady the potato between your palm and the board and make deliberate, shallow cuts. If you’re nervous about depth, lay chopsticks or the handles of wooden spoons along each side of the potato and slice until the knife hits the guide. That’s an easy way to protect the bottom.
Seasoning between the slices
Make sure the seasoned oil reaches between cuts. Use a slim brush, or spoon small amounts of oil into the crevices while you work. The seasoning inside the slits is what flavors the inner layers as they cook.
Temperature and timing
The recipe gives a 30–40 minute window at 400°F (200°C). Expect closer to 30 minutes for smaller potatoes and toward 40 minutes for larger ones. The visual and tactile tests—crisp edges and a knife sliding into the center—are the final signals.
Best Ways to Store
Cool the potatoes to room temperature for no more than two hours, then store in an airtight container in the refrigerator for up to 3 days. The crisp edges will soften in storage; reheating in the air fryer for a few minutes at 375°F will revive the texture.
If you plan to eat them cold, store as above and serve chilled or gently warmed. Avoid long-term freezer storage for best texture—the slices are delicate and do not freeze and thaw well without losing structure.
Ask & Learn
Q: Can I prepare these ahead of time?
A: Yes. You can slice the potatoes and store them in cold water in the refrigerator for a few hours to prevent browning; pat thoroughly dry before proceeding with the oil and seasoning. Cook as directed when you’re ready.
Q: My potatoes browned unevenly. What now?
A: Rotate or flip them at the 15–20 minute check. If your air fryer has a hot spot, moving them will even out the color. Also double-check that they’re not touching, which can prevent direct airflow and crisping.
Q: How thin should the slices be?
A: The recipe suggests about 1/8–1/4 inch apart. Thinner slices yield more crisp edges; thicker slices give a chunkier, less lacy finish. Aim for consistency between slices so they cook at the same rate.
Serve & Enjoy
Serve these potatoes hot, right after the 2–3 minute rest. Finish with a sprinkle of chopped fresh parsley and a last-minute drizzle of the remaining olive oil if you like a glossy look. The combination of crisp ridges and tender centers benefits from the simple seasoning—no heavy sauces are required.
This dish works as a weeknight side or a low-effort showstopper for guests. Keep the seasoning modest and let the texture do the talking: a little patience while slicing goes a long way toward a satisfying final plate. Enjoy.

Air-Fryer Hasselback Potatoes
Ingredients
Ingredients
- 4 medium russet potatoes
- 2 tablespoonsolive oil
- 1 teaspoongarlic powder
- 1/2 teaspoonsmoked paprika
- Saltto taste
- Black pepperto taste
- Fresh parsleychopped for garnish optional
Instructions
Instructions
- Preheat the air fryer to 400°F (200°C).
- Rinse the 4 medium russet potatoes and pat them dry with a towel.
- Place one potato on a cutting board. Make thin parallel slices about 1/8–1/4 inch apart, slicing down toward the board but stopping about 1/4 inch from the bottom so the potato stays intact at the base. Repeat with the remaining potatoes.
- In a small bowl, combine 2 tablespoons olive oil, 1 teaspoon garlic powder, 1/2 teaspoon smoked paprika, and salt and black pepper to taste; stir to blend.
- Using a brush or spoon, coat each potato with the seasoned oil, making sure some oil and seasoning get between the slices.
- Place the potatoes in a single layer in the air-fryer basket with space between them for air circulation.
- Cook at 400°F for 30–40 minutes, checking at about 15–20 minutes and rotating or flipping the potatoes if they are browning unevenly. They are done when the edges are crisp and a knife slides easily into the center.
- Remove the potatoes from the air fryer, let rest for 2–3 minutes, garnish with chopped fresh parsley if desired, and serve hot.
Equipment
- Air Fryer
- Cutting Board
- Knife
- Small Bowl
- Brush or spoon
Notes
Check at 15–20 minutes and rotate or flip potatoes if they brown unevenly.


