
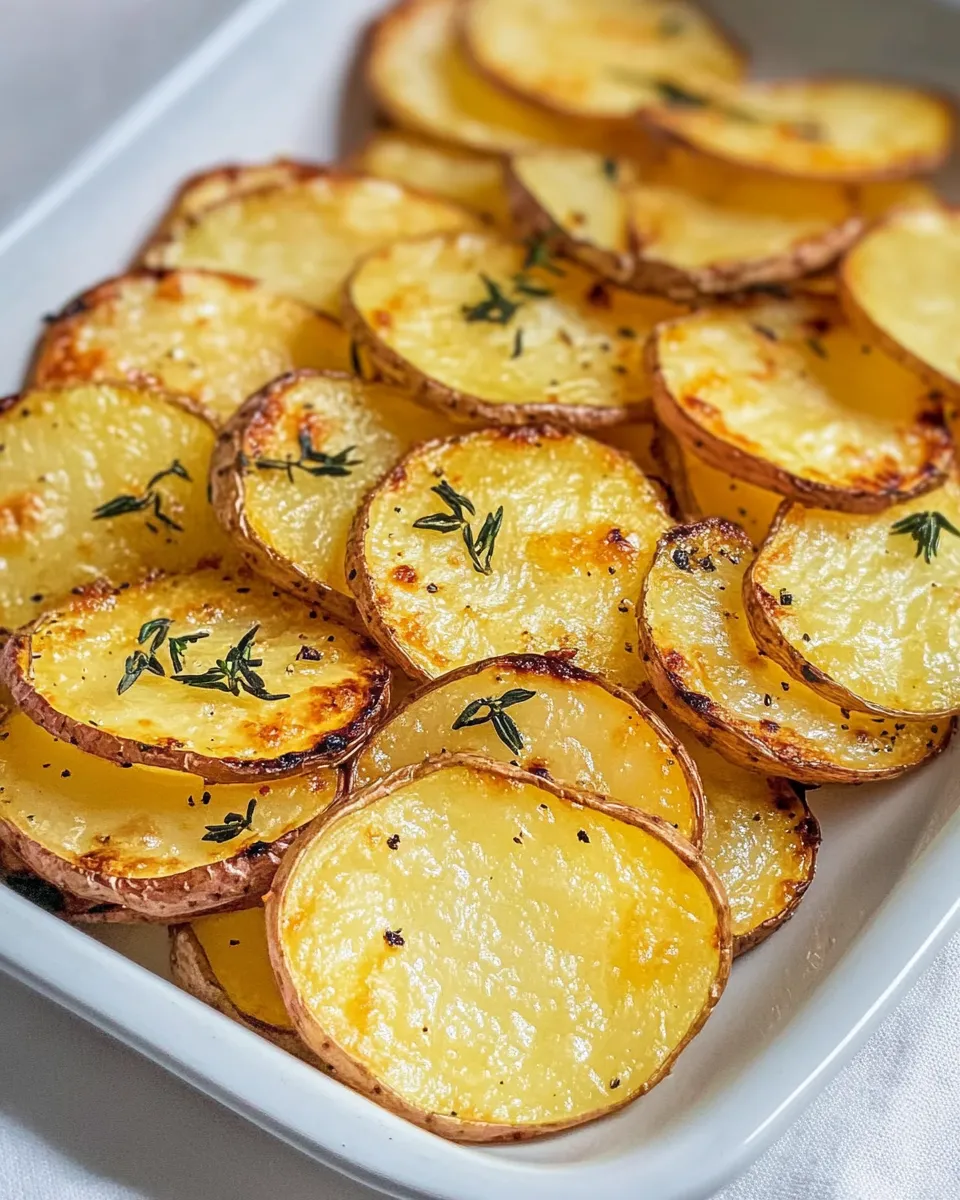
I love this recipe because it does exactly what it promises: thin, crisp-edged potato rounds that are simple to make and hard to stop eating. There’s nothing fussy here—no batter, no frying—just potatoes, a touch of oil, salt, and heat. The result is a snack or side that feels homemade and familiar, but with a crunch that competes with store-bought chips.
This version is straightforward enough for a weeknight and forgiving enough to teach your guests a tiny kitchen trick: even slices and a single flip make all the difference. I’ll walk you through the exact steps I use, how to prevent soggy rounds, and a few variations so you can tailor the slices to whatever you’ve got in the pantry.
Keep a mandoline or a sharp knife ready, and plan for a short bake time so you don’t overcook. You’ll need just one baking sheet and parchment—no extra pans, no draining. Let’s get to it and make oven-baked potato slices that come out crisp, golden, and reliably delicious.
The Essentials
What you need to know at a glance: choose medium russets for a dry, starchy center that crisps well. Thin, uniform slices (about 1/8 inch) are the key to even cooking. A light drizzle of oil and a sprinkle of salt are all the flavor you technically need; cracked pepper adds a pleasant bite.
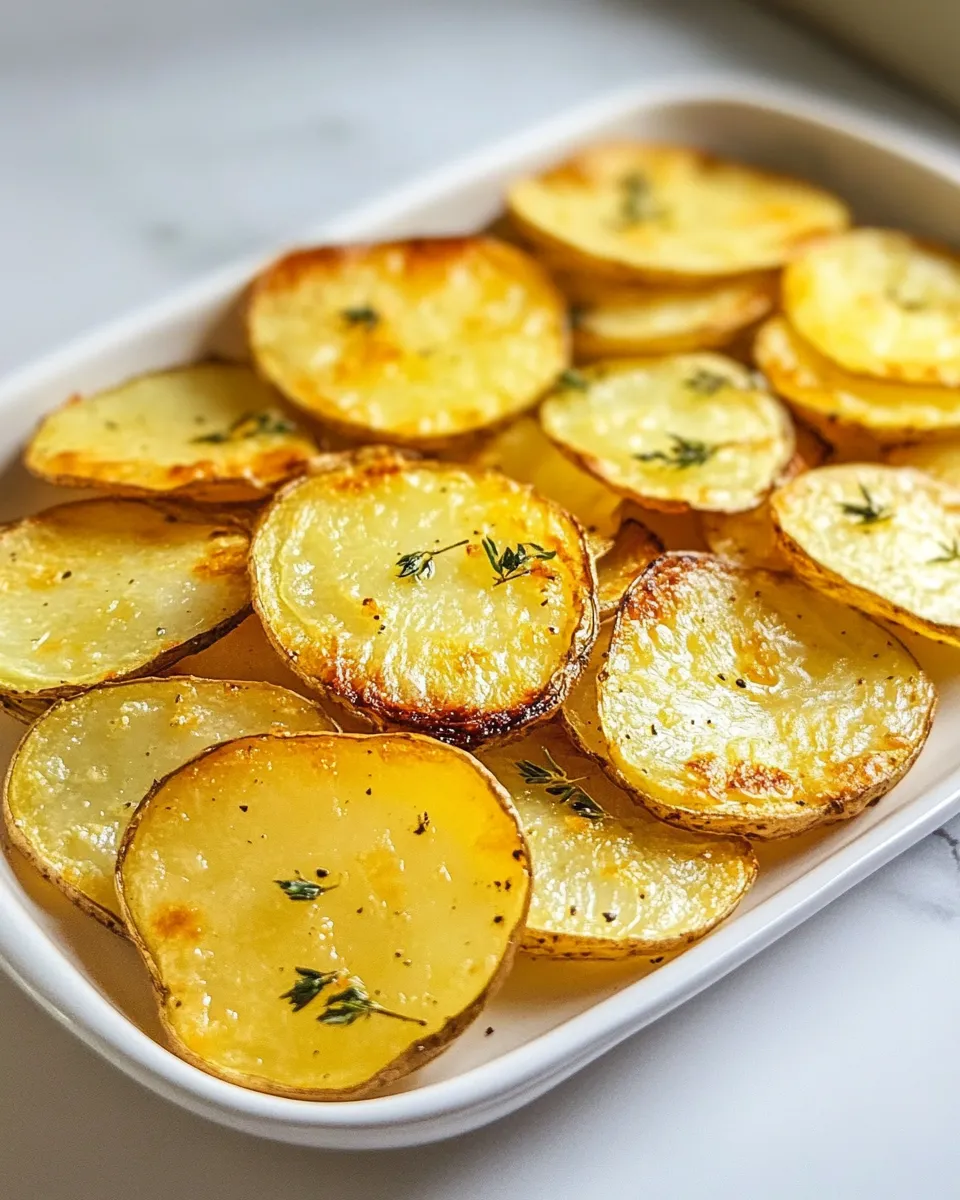
Preheat the oven and arrange the slices in a single layer so air circulates around each round. Flip once about halfway through the short bake time for browning on both sides. Let the slices rest briefly after they come out so they firm up a touch—the edges will crisp as they cool.
Ingredients
- 4 medium russet potatoes — starchy potatoes are best for crisping; peel for a uniform texture.
- 2 teaspoons olive oil — a light coating promotes browning without making the slices greasy.
- 1/4 teaspoon salt — seasons the potatoes; adjust if you’re adding salty toppings later.
- Cracked pepper to taste — adds fresh, bright heat; grind right before using for best flavor.
Stepwise Method: Baked Potato Slices
- Position an oven rack in the middle of the oven and preheat to 400°F.
- Line a baking sheet with parchment paper and set it aside.
- Peel the 4 medium russet potatoes, rinse them thoroughly, and pat them dry with a clean towel to remove excess moisture.
- Using a mandoline slicer or a sharp knife, slice the potatoes into even rounds about 1/8 inch thick. Keep the slices as uniform as possible.
- Arrange the potato slices in a single layer on the prepared baking sheet(s) so they do not overlap. Use more than one sheet if needed to keep a single layer.
- Drizzle 2 teaspoons olive oil evenly over the arranged slices. Sprinkle 1/4 teaspoon salt and cracked pepper to taste over the slices, then gently turn or brush the slices so they are lightly and evenly coated.
- Bake in the preheated oven for a total of 15–20 minutes, flipping each slice once about halfway through (after roughly 8–10 minutes), until the edges are golden brown and crispy.
- Remove the baking sheet from the oven and let the potato slices cool slightly on the sheet for a few minutes before serving.
Why It’s Crowd-Pleasing
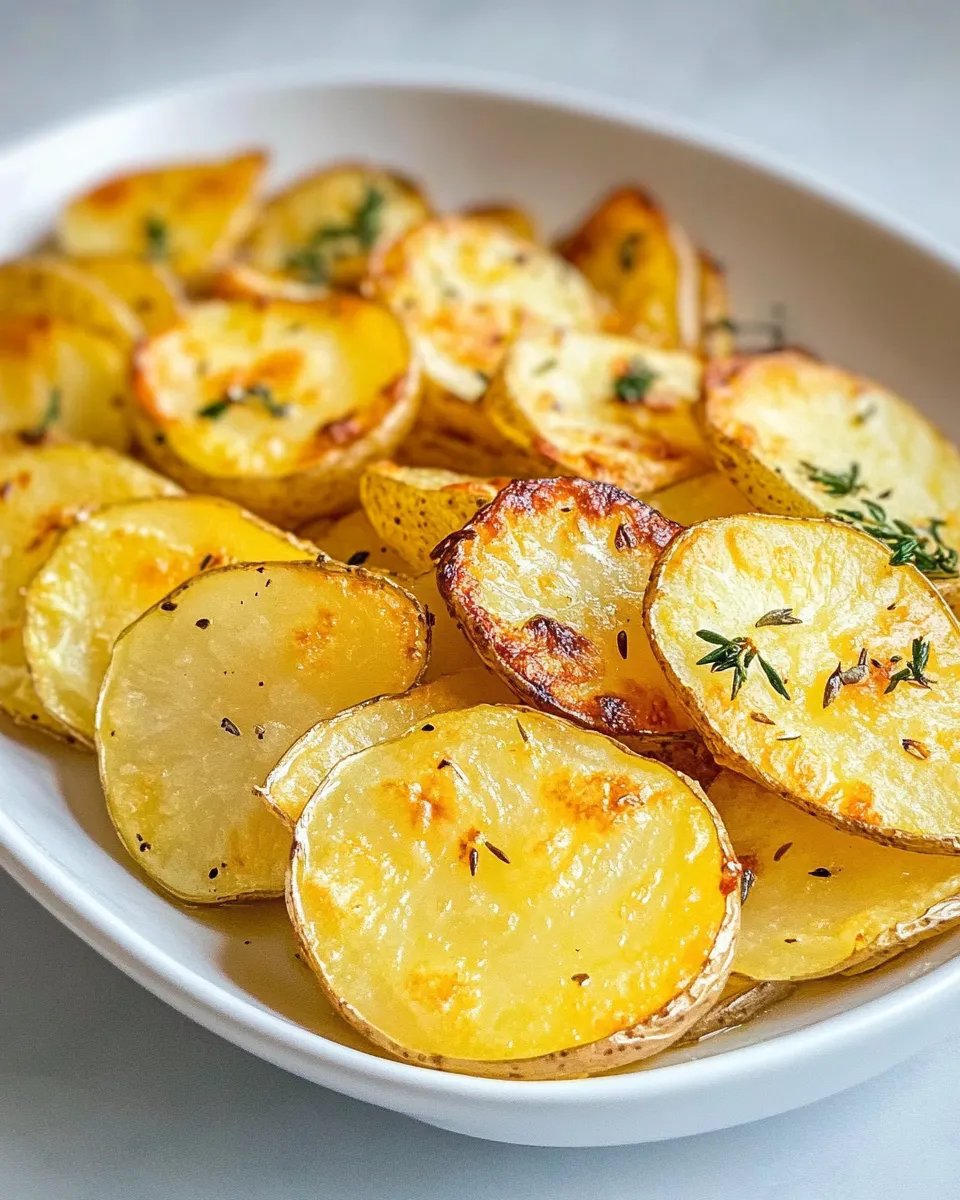
These potato slices hit the basic pleasure points: crunch, salt, and satisfying potato flavor. They’re familiar enough to be universally liked but interesting enough to serve alongside a composed meal or as party finger food. Compared with fries, they feel a bit more elegant; compared with chips, they hold up warm and still taste homemade.
Because they’re baked, the slices feel lighter than fried snacks, which makes them easier to eat in larger quantities at gatherings. They also pair well with dips, cheeses, and condiments, making them versatile for mixed-appetizer spreads.
Ingredient Flex Options
- Potato type swap: If you don’t have russets, you can try Yukon Gold. They won’t crisp as much but will give a creamier interior.
- Oil choices: Olive oil is called for, but a neutral oil like avocado or grapeseed works if you prefer less olive flavor.
- Seasoning ideas: Stick to the base of salt and pepper, or add garlic powder, smoked paprika, or onion powder before baking for an extra layer of flavor.
- Toppings after baking: Sprinkle grated Parmesan, chopped fresh herbs, or a squeeze of lemon for brightness right after they come out of the oven.
What You’ll Need (Gear)
- Baking sheet — a rimmed sheet keeps slices from sliding and collects any oil.
- Parchment paper — prevents sticking and makes cleanup simple.
- Mandoline or sharp chef’s knife — a mandoline assures uniform 1/8-inch slices; a steady hand with a knife will do in a pinch.
- Peeler and clean towel — for peeling and drying the potatoes thoroughly before slicing.
- Tongs or a thin spatula — for flipping the slices halfway through baking without tearing.
Things That Go Wrong
Common issues and fixes
- Soggy slices: This happens if the potatoes are too thick or still moist. Fix: dry them thoroughly after rinsing and slice thinner—aim for 1/8 inch.
- Uneven browning: Caused by irregular slice thickness or overcrowding the pan. Fix: keep slices uniform and use more than one sheet if they start to touch.
- Burned edges: If your oven runs hot or your slices are too thin, the edges can darken quickly. Fix: check at the 15-minute mark and remove thinner, crisped slices earlier.
- Sticking to the pan: Happens without parchment or inadequate oil. Fix: always use parchment and lightly brush or turn slices so oil covers both sides.
Seasonal Serving Ideas
Spring: Top warm slices with a dollop of herbed ricotta and chopped chives for a fresh, bright bite.
Summer: Serve alongside grilled meats and a tomato-cucumber salad; add a squeeze of lemon and flaky sea salt.
Fall: Sprinkle with grated aged cheddar and pop under the broiler for 30–60 seconds for a cheesy finish.
Winter: Use as a crunchy base for smoked salmon and crème fraîche or a warm mushroom ragout.
Flavor Logic
The recipe keeps the seasoning minimal because potato flavor is delicate and responds well to subtle enhancements. Olive oil promotes browning through the Maillard reaction without overpowering the potato’s natural starchiness. Salt draws out a touch of moisture and seasons the surface so the exterior crisps while the center stays tender.
Flavors added before baking—like smoked paprika or garlic powder—will meld into the surface during the short roast. Flavors added after baking—fresh herbs, cheese, citrus—stand out and provide contrast: bright, salty, or creamy notes against the crisp, starchy base.
Make-Ahead & Storage
Make-ahead note: these are best eaten the day they’re baked. The texture softens with time as the crisps reabsorb moisture. If you need to prepare in advance, bake the slices fully, cool completely on a rack, then store in a single layer in an airtight container with a paper towel to absorb moisture. Re-crisp in a 400°F oven for 5–8 minutes before serving.
Leftovers: Keep them refrigerated up to 2 days. For the best texture, reheat on a baking sheet in a hot oven rather than in the microwave. The oven will restore some of the crunch without drying them out.
Frequently Asked Questions
- Can I leave the skins on? Yes. The recipe calls for peeled russets for a consistent, smooth texture, but leaving the skins on saves prep time and adds a rustic chew. Note: skin-on slices may need slight adjustments in bake time.
- Can I make them thicker? You can, but thicker slices will be less crisp and require longer baking. If you go thicker, expect a longer total time and watch for uneven browning.
- Do I have to flip them? Flipping about halfway through ensures even browning on both sides. If you don’t flip, you’ll get browner edges but a softer top surface.
- Can I season after baking? Absolutely. Finishing touches like grated cheese, fresh herbs, or a drizzle of flavored oil work best right after they come out of the oven.
Serve & Enjoy
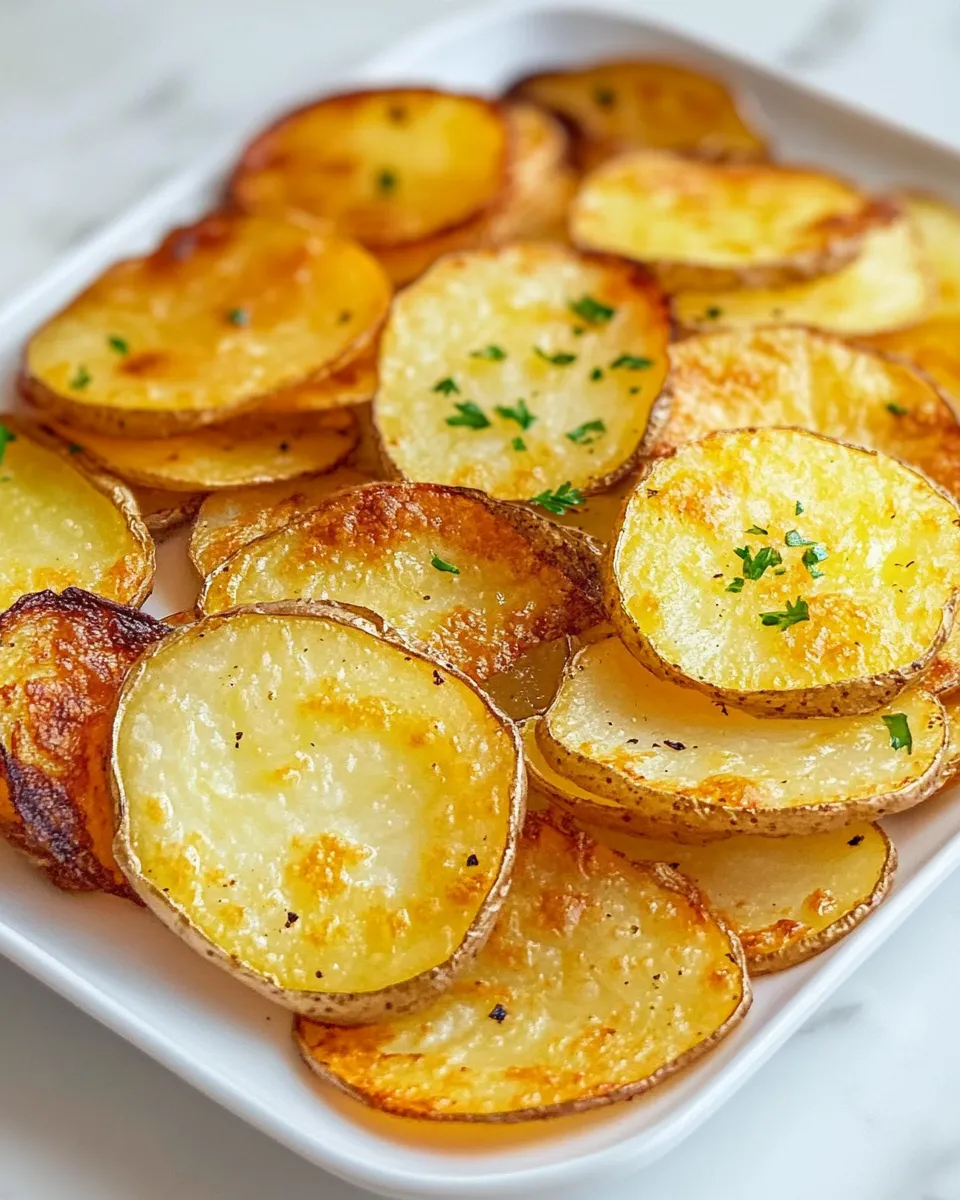
Serve these baked potato slices while they’re still warm, right from the sheet. Arrange them on a platter, sprinkle a touch more cracked pepper or flaky salt if needed, and offer small bowls of mustard, sour cream, or aioli for dipping. They bridge snack and side effortlessly—great with a bowl of soup, alongside roasted proteins, or as a finger food on game day.
They’re simple, satisfying, and forgiving. Once you get the timing down, you’ll find yourself making them as often as chips or fries. Enjoy the crunch, and don’t forget to taste and adjust the seasoning right before serving—the last pinch of salt makes the flavor pop.

Baked Potato Slices
Ingredients
Ingredients
- 4 medium russet potatoes
- 2 teaspoonsolive oil
- 1/4 teaspoonsalt
- Cracked pepperto taste
Instructions
Instructions
- Position an oven rack in the middle of the oven and preheat to 400°F.
- Line a baking sheet with parchment paper and set it aside.
- Peel the 4 medium russet potatoes, rinse them thoroughly, and pat them dry with a clean towel to remove excess moisture.
- Using a mandoline slicer or a sharp knife, slice the potatoes into even rounds about 1/8 inch thick. Keep the slices as uniform as possible.
- Arrange the potato slices in a single layer on the prepared baking sheet(s) so they do not overlap. Use more than one sheet if needed to keep a single layer.
- Drizzle 2 teaspoons olive oil evenly over the arranged slices. Sprinkle 1/4 teaspoon salt and cracked pepper to taste over the slices, then gently turn or brush the slices so they are lightly and evenly coated.
- Bake in the preheated oven for a total of 15–20 minutes, flipping each slice once about halfway through (after roughly 8–10 minutes), until the edges are golden brown and crispy.
- Remove the baking sheet from the oven and let the potato slices cool slightly on the sheet for a few minutes before serving.
Equipment
- Oven
- Baking Sheet
- Parchment Paper
- mandoline or sharp knife


