
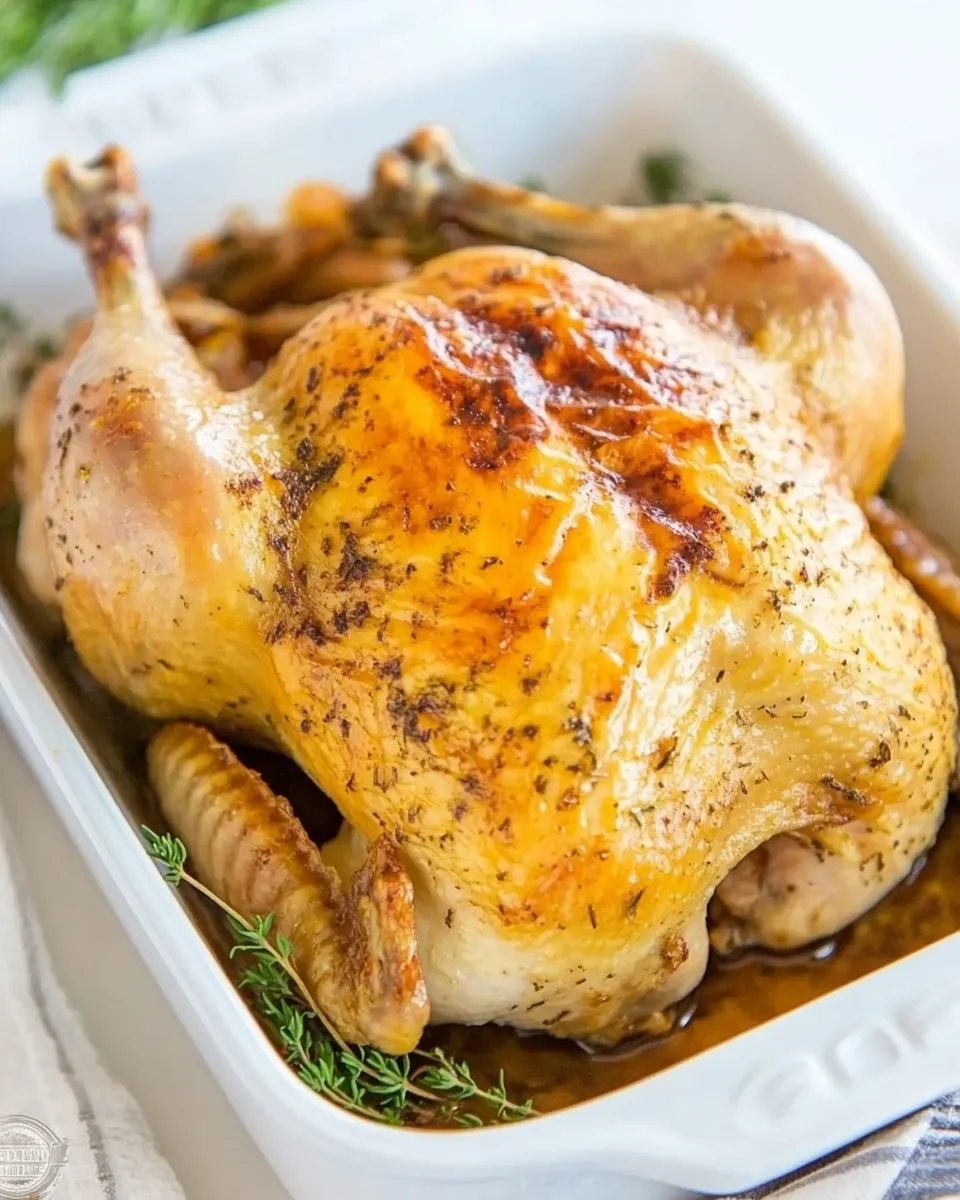
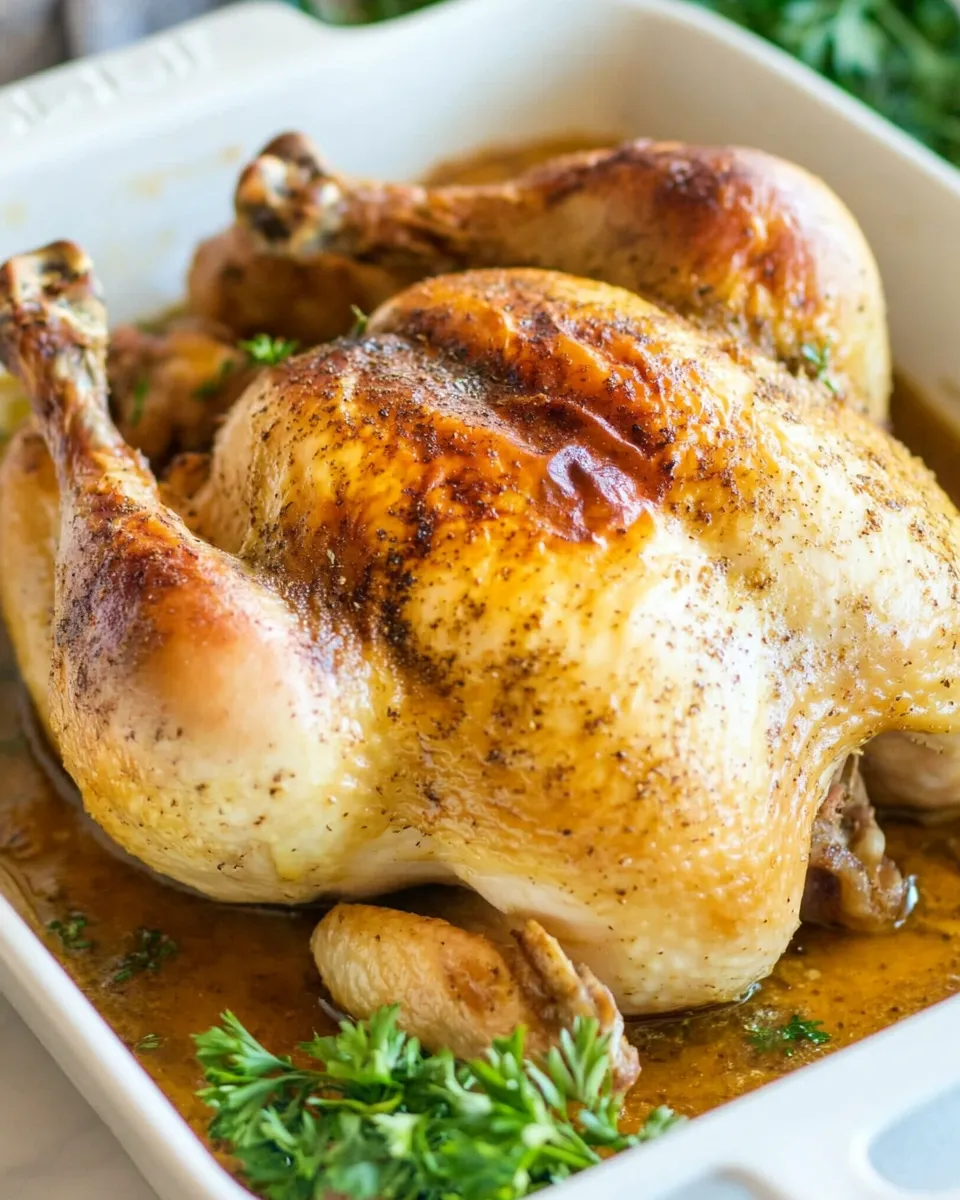
I make this oven “rotisserie” chicken every few weeks. It’s the same comforting roast chicken you’d buy at the deli, but done low and slow in the oven so the meat stays unbelievably tender and the skin gets a gentle, savory roast. No spit, no rotisserie mechanism—just temperature control, onions for a tiny steam bath, and a simple rub that does the heavy lifting.
This method is forgiving. It works for weeknight dinners when you need hands-off cooking and for a more deliberate Sunday roast when you want leftovers to stretch into sandwiches and soups. The long, low bake extracts flavor and keeps the thighs moist, while the resting step locks in the juices so carving doesn’t dry the breast meat.
I’ll walk you through what to expect, the exact ingredients and directions, and the small choices that make this dish reliable. You’ll also get troubleshooting tips and ideas for seasons and leftovers. Bring a baking dish, a meat thermometer, and a little patience—this chicken will reward you.
The Essentials
This recipe is about trust: trust the temperature, trust the resting time, and trust the thermometer. You don’t need fancy equipment—just a 9×13-inch baking dish, a rack in the middle of the oven, and a 4-pound whole chicken. The slow 275°F roast gives the texture closest to a classic rotisserie chicken, but done in a conventional oven.
Key takeaways before you start: pat the bird dry, rub it with oil so the seasoning sticks, use onions tucked in the cavity to add moisture and a base for the bird to sit on, and verify doneness with a thermometer in the thigh (not the breast). Tent with foil and rest—this step is non-negotiable for juicy meat.
Ingredients
- 4-pound whole chicken — the center of the dish; a 4-pound bird fits a 9×13 pan and cooks evenly at low temperature.
- 1 tbsp olive oil — helps the seasoning adhere and promotes browning of the skin.
- 1–2 onions, quartered — one or two go into the cavity and the rest under the bird to add moisture and flavor while it roasts.
- 2 teaspoons salt — essential for seasoning the meat throughout; sprinkle evenly and rub in.
- 1 teaspoon paprika — adds color and a subtle smoky warmth to the skin.
- 1/2 teaspoon onion powder — deepens the onion flavor without extra liquid.
- 1/2 teaspoon dried thyme — a savory herb note that pairs well with roast chicken.
- ½ teaspoon black pepper — fresh or pre-ground works; adds a mild bite.
- ½ teaspoon garlic powder — rounds out the rub with gentle garlic flavor.
Mastering Baked Rotisserie Chicken: How-To
- Preheat the oven to 275°F and place a rack in the middle of the oven.
- In a small bowl, mix the 2 teaspoons salt, 1 teaspoon paprika, 1/2 teaspoon onion powder, 1/2 teaspoon dried thyme, 1/2 teaspoon black pepper, and 1/2 teaspoon garlic powder until combined.
- Remove the 4-pound whole chicken from its packaging. Remove and discard the neck and gizzards from the cavity. Pat the chicken dry with paper towels.
- Rub the outside of the chicken all over with the 1 tablespoon olive oil. Sprinkle the seasoning mixture evenly over the chicken and rub it into the skin (and inside the cavity if desired).
- Lightly oil a 9×13-inch baking dish (use a small amount of the olive oil if available). Place 1–2 quartered onions into the cavity of the chicken; place any remaining quartered onions in the bottom of the prepared baking dish.
- Set the chicken breast-side up on top of the onions in the dish.
- Bake the chicken in the preheated oven for 3 to 4 hours, or until a meat thermometer inserted into the thickest part of the thigh (without touching bone) reads 165°F.
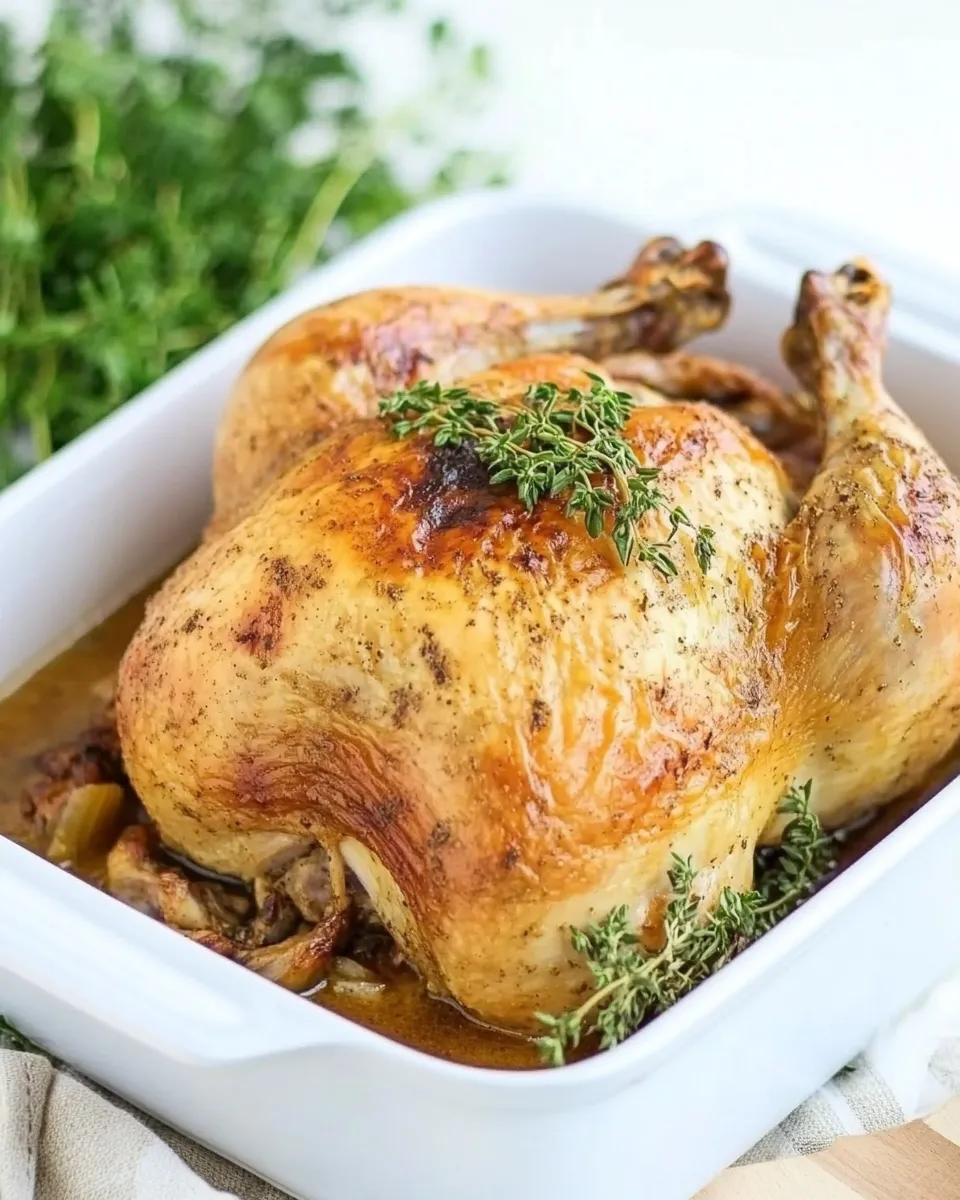
- Remove the chicken from the oven and tent loosely with foil. Let rest 10–15 minutes before carving and serving.
Why It’s My Go-To
This recipe combines convenience and predictability. The low oven temperature reduces the risk of drying out the thighs and breasts. The long cook time converts connective tissue slowly, so the meat becomes tender without tasting “roasted to death.” I rely on it when I want a piece of comfort that also feeds into other meals—shredded for tacos, sliced for salads, or simply served with roasted potatoes.
It scales well for a family or a small gathering and needs almost no babysitting. The flavorful skin and the gentle onion steam create depth without complicated basting or flipping. For anyone who values both texture and ease, this is a dependable method.
What to Use Instead
If you don’t have a 4-pound whole chicken, you can adapt with caution. Larger birds will need longer cooking; smaller birds will finish sooner—always rely on the thermometer rather than clock time. If you prefer darker meat only, you can roast just bone-in thighs and legs; they will reach the target temperature faster and stay juicy.
No olive oil? Use any neutral oil you have on hand. No dried thyme? Substitute with dried rosemary or oregano at the same volume, but know the flavor will change slightly. If you don’t want to use onions, replace them with halved lemons or carrots to provide a different aromatics base.
Appliances & Accessories
These are the tools that make the method simple:
- Conventional oven — the heart of the method; maintain steady 275°F.
- 9×13-inch baking dish — fits a 4-pound bird and holds the onions and juices.
- Instant-read meat thermometer — indispensable; check the thigh for 165°F.
- Paper towels — for patting the chicken dry so the skin crispness improves.
- Kitchen twine (optional) — you can tie legs together for tidy presentation, but it’s not required for cooking.
Watch Outs & How to Fix
Undercooked center
Watch out for relying on time alone. If the thermometer shows under 165°F in the thigh, return the chicken to the oven and keep checking every 10–15 minutes. Low-and-slow takes time; patience prevents raw spots.
Dry breast meat
If the breast is dry but the thighs are done, the bird may have been exposed to too-high heat at first or cooked unevenly. For next time, ensure the oven rack is centered and the oven temperature is accurate (use an oven thermometer). For the current roast, slice the breasts thin and serve immediately with pan juices or a sauce to restore moisture.
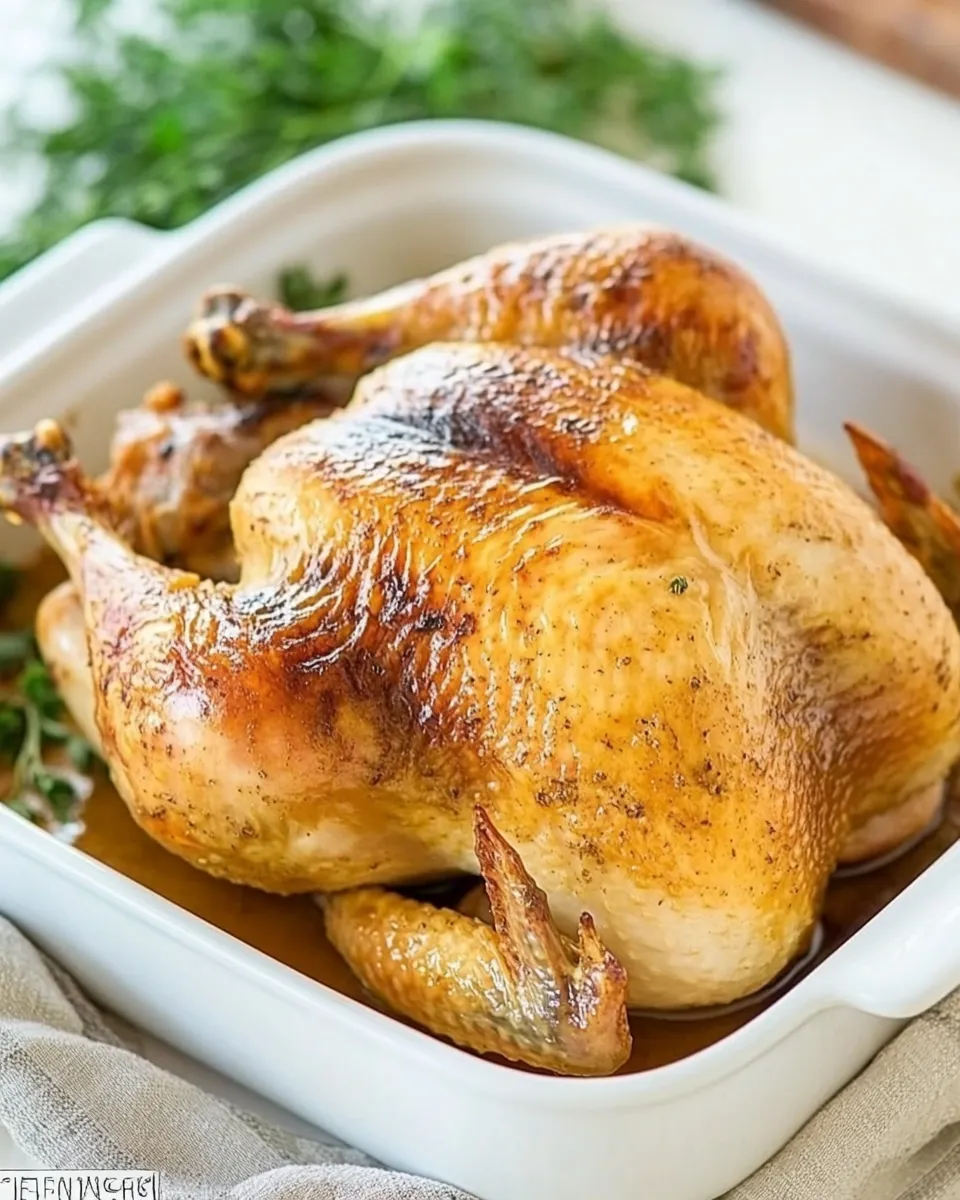
Skin not browned enough
This long, low roast won’t always deliver very crisp, deeply browned skin. If you want a crisper finish, after the chicken reaches 165°F, remove the foil (if tented), crank the oven to 425°F or use the broiler for 3–5 minutes while watching closely to avoid burning. This step is optional and quick.
Spring–Summer–Fall–Winter Ideas
Spring
Serve sliced Baked Rotisserie Chicken over a bed of lightly dressed arugula, with peas and radishes. Bright herbs like parsley and tarragon freshen the flavor.
Summer
Use leftovers for cold chicken salad with celery, grapes, and a yogurt-mustard dressing. Or shred and toss into corn and tomato salads for backyard meals.
Fall
Plate the chicken with roasted root vegetables and a simple gravy or pan sauce made from the drippings. Add thyme and a splash of apple cider to deepen autumn flavors.
Winter
Turn leftovers into a cozy pot of chicken and rice soup with carrots, onions, celery, and thyme. The slowly roasted bird translates into deeply flavored broth.
Little Things that Matter
- Pat the skin thoroughly dry — removing surface moisture helps the seasoning stick and improves the skin’s texture.
- Rub the seasoning well — work it into crevices and under the breast skin if you like more flavor directly on the meat.
- Keep a tight tent of foil during rest — it keeps the bird warm while juices redistribute, preventing them from running out when you carve.
- Use the onions as a rack — they elevate the bird slightly and catch drippings that you can use for quick pan sauce or gravy.
Storage & Reheat Guide
Cool leftover chicken to room temperature (no more than two hours at room temp), then refrigerate in airtight containers. Stored properly, cooked chicken keeps 3–4 days in the fridge. Freeze shredded or sliced pieces in freezer bags for up to 3 months.
To reheat without drying: gently warm in a 325°F oven, covered with foil, until heated through (about 15–20 minutes for pieces). For slices, place in a skillet with a tablespoon of broth, cover, and warm on low until hot. Microwaving works in a pinch—cover the chicken and add a splash of water or stock to preserve moisture, reheating in short intervals.
Your Top Questions
Can I roast at a higher temperature for less time?
Yes, but the texture will change. Higher heat (375–425°F) gives faster cooking and crisper skin but increases the risk of dry breast meat. The 275°F method prioritizes tenderness and even cooking.
How do I know when it’s safe to eat?
Follow the thermometer. The thigh should read 165°F when inserted into the thickest part without touching bone. That temperature ensures safety and good texture for this recipe.
Can I spatchcock the chicken for faster cooking?
Spatchcocking (butterflying) reduces time and can improve evenness, but it’s a different technique and will not replicate the same slow-roast rotisserie texture. If you spatchcock, expect a shorter cook time and watch the thermometer carefully.
Do I need to baste the chicken?
No. Basting is optional. The low-heat method keeps meat moist without regular basting. If you like, spoon pan juices over the bird once or twice toward the end for extra sheen.
Next Steps
Gather your ingredients and set your oven to 275°F. Follow the exact steps above and keep a thermometer handy. Carve after the 10–15 minute rest and use the leftovers creatively over the week. If you enjoyed this method, try experimenting with different dried herbs in the seasoning mix—rosemary or sage are great fall choices.
Share what worked and what you tweaked. Small adjustments—an extra onion, a quick broil at the end, or a different herb—make this recipe yours while preserving the easy, dependable technique that makes it a keeper.
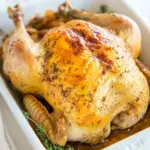
Baked Rotisserie Chicken made in the Oven
Ingredients
Ingredients
- 4 poundwhole chicken
- 1 tbspolive oil
- 1-2 onions quartered
- 2 teaspoonssalt
- 1 teaspoonspaprika
- 1/2 teaspoononion powder
- 1/2 teaspoondried thyme
- 1/2 teaspoonblack pepper
- 1/2 teaspoongarlic powder
Instructions
Instructions
- Preheat the oven to 275°F and place a rack in the middle of the oven.
- In a small bowl, mix the 2 teaspoons salt, 1 teaspoon paprika, 1/2 teaspoon onion powder, 1/2 teaspoon dried thyme, 1/2 teaspoon black pepper, and 1/2 teaspoon garlic powder until combined.
- Remove the 4-pound whole chicken from its packaging. Remove and discard the neck and gizzards from the cavity. Pat the chicken dry with paper towels.
- Rub the outside of the chicken all over with the 1 tablespoon olive oil. Sprinkle the seasoning mixture evenly over the chicken and rub it into the skin (and inside the cavity if desired).
- Lightly oil a 9×13-inch baking dish (use a small amount of the olive oil if available). Place 1–2 quartered onions into the cavity of the chicken; place any remaining quartered onions in the bottom of the prepared baking dish.
- Set the chicken breast-side up on top of the onions in the dish.
- Bake the chicken in the preheated oven for 3 to 4 hours, or until a meat thermometer inserted into the thickest part of the thigh (without touching bone) reads 165°F.
- Remove the chicken from the oven and tent loosely with foil. Let rest 10–15 minutes before carving and serving.
Equipment
- Oven
- Small Bowl
- 9x13 inch Baking Dish
- Meat Thermometer
- Paper Towels
- Foil
- oven rack
Notes
Alternate method:
To get the skin crispy all the way around, you can place the onions at the bottom of the bundt pan, then place the chicken cavity over the “hole” of the bundt pan on end. Place the bundt pan on a foil lined baking sheet and place in the oven. You can rotate the bundt pan half way through if your oven has “hot spots.”


