
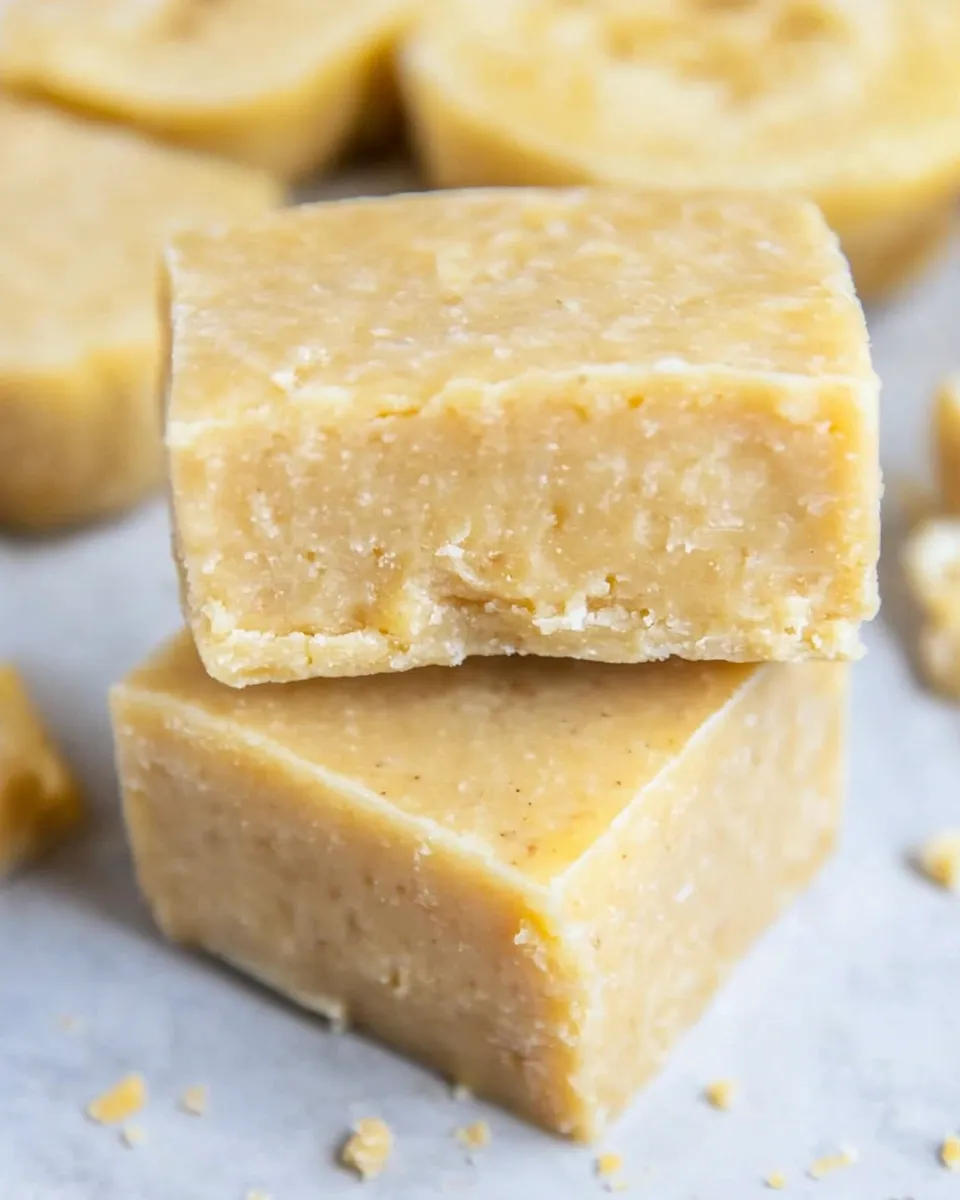
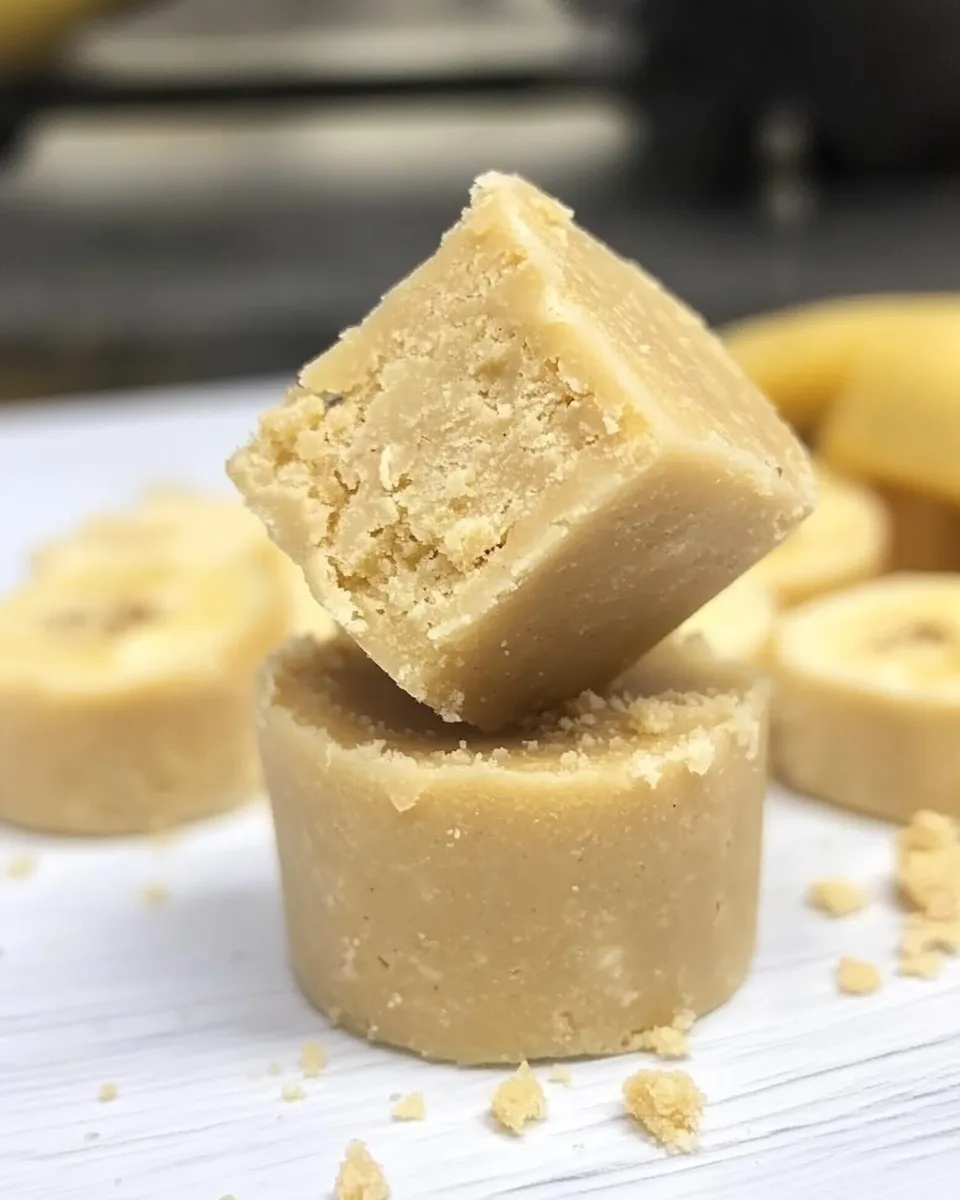
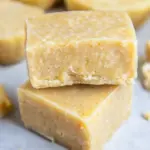
This Banana Fudge is one of those recipes I keep coming back to when I want something fast, satisfying, and a little nostalgic. It feels indulgent without a long ingredient list or a tray of dirty pans. Ripe bananas, peanut butter and coconut oil come together into a creamy, set-and-forget treat that’s perfect for lunchboxes, an afternoon sweet fix, or a quick dessert after dinner.
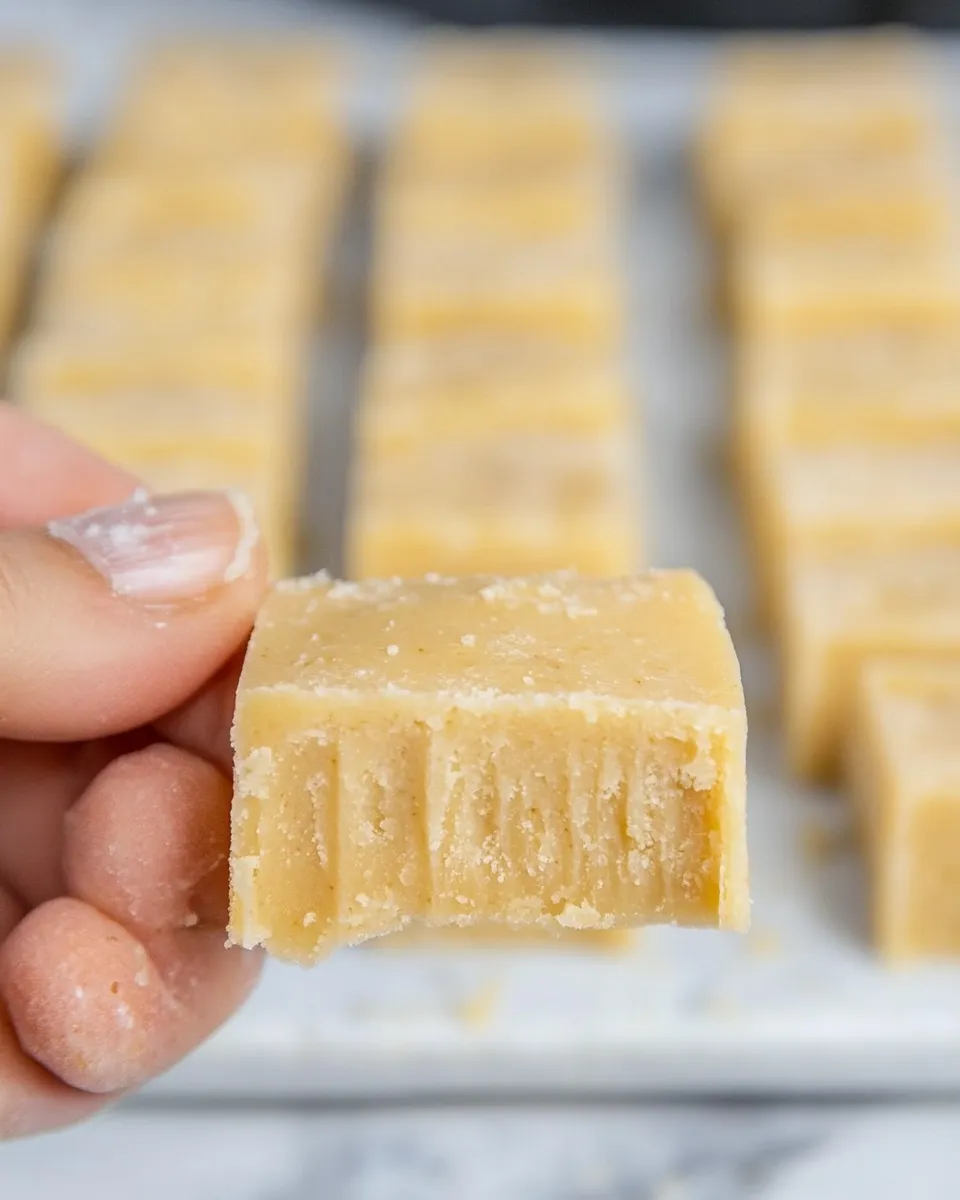
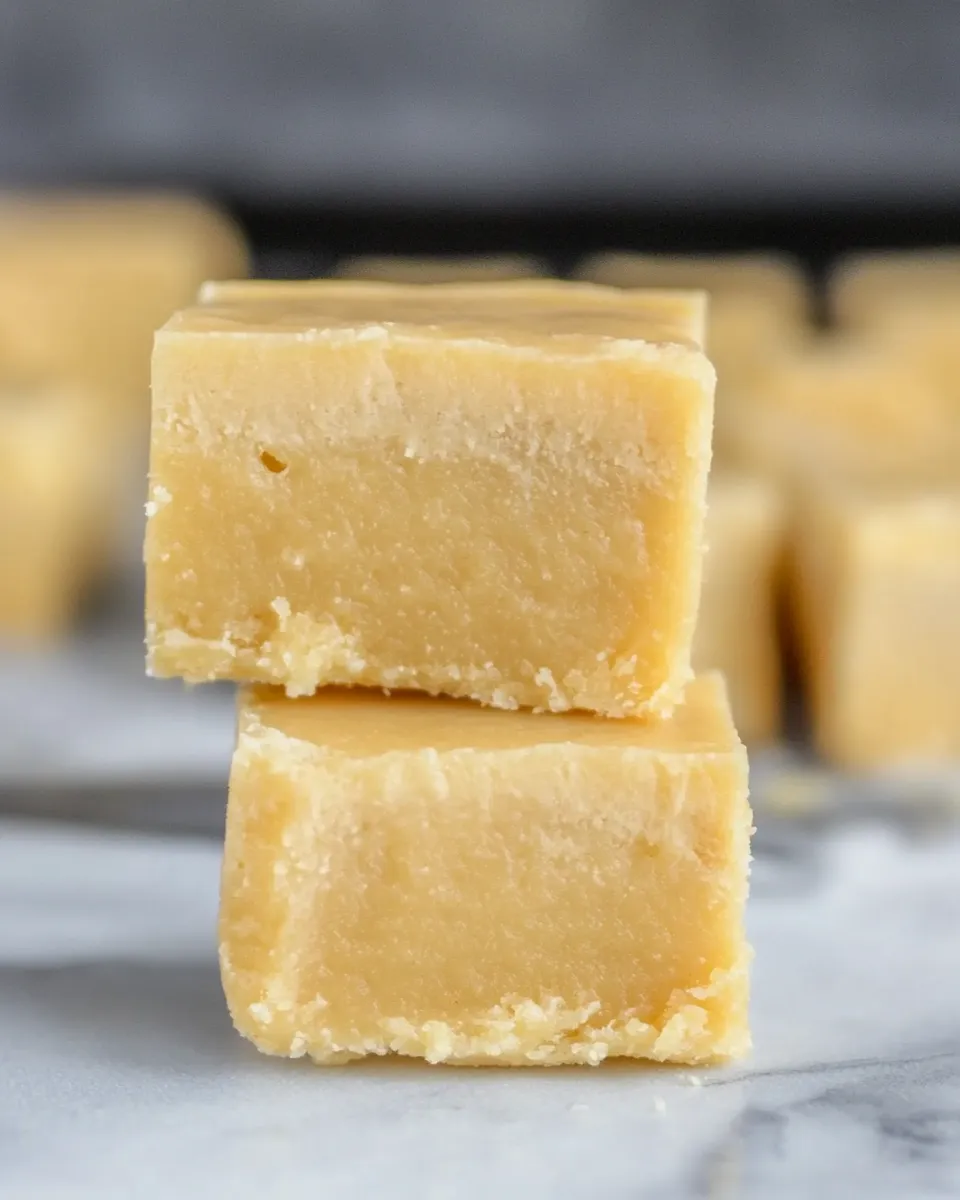
I like how forgiving it is: you mash, melt, mix, and chill. The texture is silky and dense, with a clear banana note that pairs beautifully with peanut butter. You don’t need tempering, frosting, or an oven—just a muffin tray and some patience while it firms up in the fridge or freezer.
Below I give you the exact ingredients and steps I use, plus practical notes on swaps, equipment, and the small things that can make or break the final texture. Read through the short ingredient list, follow the steps, and you’ll have 12 perfect Banana Fudge bites ready within an hour.
Ingredients
- 2 large bananas, mashed — provides natural sweetness and the banana flavor base; use very ripe bananas for best flavor and easier mashing.
- 1 cup peanut butter — adds creaminess, fat, and structure; can sub for another nut butter or a nut-free alternative if needed.
- 1/4 cup coconut oil — helps the fudge set and gives a smooth mouthfeel; keeps the mixture firm when chilled.
What We’re Using
Tools are minimal. This recipe was built to be approachable in any kitchen, so expect to reach for basics rather than specialized gear. Here’s what I used and why each item matters.
- 12-count muffin tray — divides the batter into evenly sized portions and makes removal easy when using liners.
- Muffin liners — prevent sticking and simplify cleanup. Paper liners make it easier to pop the fudge out; silicone works too if you plan to reuse the tray.
- Large mixing bowl — for mashing the bananas and combining ingredients; choose one that’s big enough to stir without spilling.
- Microwave-safe bowl or small saucepan — for melting peanut butter and coconut oil together. Either method works; pick based on your preference.
- Spoon or spatula — for mixing and dividing the mixture evenly into liners.
Banana Fudge in Steps
- Line a 12-count muffin tray with muffin liners and set aside.
- Peel the 2 large bananas and mash them in a large mixing bowl until mostly smooth.
- Combine 1 cup peanut butter and 1/4 cup coconut oil in a microwave-safe bowl or small saucepan. If using a microwave, heat in 20–30 second intervals, stirring between each, until melted and smooth. If using the stovetop, melt over low heat, stirring, until smooth.
- Pour the melted peanut butter and coconut oil into the bowl with the mashed bananas. Stir until the mixture is fully combined and uniform in texture.
- Divide the mixture evenly among the 12 prepared muffin liners.
- Refrigerate until firm (about 30–60 minutes) or freeze until firm (about 15–30 minutes). Remove from liners before serving.
Why Banana Fudge is Worth Your Time
This recipe is worth making because it delivers a rich-feeling treat in a fraction of the time traditional fudge takes. There’s no boiling sugar, no candy thermometer, and no tempering. The flavor is straightforward—real banana with peanut butter richness—so it satisfies a sweet tooth without feeling artificial.
The minimal ingredient list is another win. You likely have everything on hand already: bananas, peanut butter, and coconut oil. The method is also forgiving. If your bananas are extra ripe, they’ll be sweeter and mash more smoothly. If your peanut butter is thicker, a few extra seconds of gentle heat will make it cooperative.
Finally, the portability and portion control are excellent. You get 12 individual bites that travel well, freeze cleanly, and fit into a small snack container for later. They’re kid-friendly and sturdy enough for lunchboxes.
Budget & Availability Swaps
Ingredient shortages or budget constraints? No problem. The recipe scales in spirit even if you want to swap to a more economical option.
- Peanut butter swaps — if peanut butter is expensive or someone has an allergy, use sunflower seed butter or soy-based spreads. The texture will be similar; taste will vary.
- Coconut oil alternatives — coconut oil gives a clean set because it’s solid when chilled. If you don’t have it, try using a firm vegetable shortening in the same amount. Note: flavor and mouthfeel will change slightly.
- Banana ripeness — ripe bananas are sweeter and more aromatic. If yours are still greenish, let them ripen on the counter a day or two for better flavor.
Tools & Equipment Needed
Here’s a short checklist so you can prep the night before or head to the store with a clear list.
- 12-count muffin tray
- Muffin liners (paper or silicone)
- Large mixing bowl
- Microwave-safe bowl or small saucepan
- Spoon or spatula for mixing
None of these are fancy. The stovetop method requires a sturdy small saucepan and attention to low heat. The microwave method is the fastest; just heat in short intervals and stir so the peanut butter doesn’t scorch.
Easy-to-Miss Gotchas
Here are the small mistakes that change the outcome. I learned these the hard way so you don’t have to.
- Not mashing the bananas enough: Large lumps can make the texture inconsistent. Aim for mostly smooth; a few small chunks are fine but don’t leave big pieces.
- Overheating the peanut butter: Heat it gently. Microwaving in 20–30 second bursts and stirring between intervals prevents hot spots and burning.
- Using runny peanut butter: Some natural peanut butters separate and become very oily. Stir thoroughly before measuring. If the oil is extremely loose, the final texture may be oily; a brief chill in the fridge before mixing can help.
- Skipping liners with paper trays: If you don’t use silicone muffin liners and don’t grease, the fudge can stick. Use liners or a light spray.
- Not chilling long enough: For a clean cut and firm texture, follow the recommended chill or freeze times. Freezing gives the quickest set; refrigeration gives a softer bite.
Make It Diet-Friendly
Small swaps make this recipe work for various diets while keeping the steps the same.
- Nut-free: Use sunflower seed butter instead of peanut butter.
- Lower sugar: The recipe relies on bananas for sweetness; use very ripe bananas to maximize natural sugars. There’s no added sugar to remove.
- Vegan: The base ingredients are already vegan if your peanut butter is vegan and you use plant-based coconut oil, so no changes required.
- Paleo-friendly: Use a paleo-approved nut butter and ensure your coconut oil is unrefined if that matters for your preferences.
Notes from the Test Kitchen
When I first tried this recipe I made a few tweaks to get the texture I wanted. The key trade-off is firmness versus spreadability. More coconut oil yields a softer, silkier bite at room temperature but can be slightly more fragile. Less coconut oil makes a denser, more fudge-like texture but can dry out the flavor a touch.
I also tested different banana ripeness. Very ripe bananas (lots of brown speckles) give the most pronounced banana flavor but can thin the mixture slightly. If your bananas are very juicy when mashed, drain a touch of liquid or use slightly firmer bananas so the mixture isn’t overly wet. The recipe as written handles typical ripe bananas well.
Finally, if you like contrasts, add a small sprinkle of flaky sea salt on top after dividing the mixture into liners and before chilling. It brightens the flavors without any additional steps during cooking.
Cooling, Storing & Rewarming
Chill time is simple. Refrigerate for 30–60 minutes for a firm, sliceable fudge, or freeze for 15–30 minutes if you want it fast and very firm. If you freeze, give the cups about 5–10 minutes at room temperature before unwrapping so they release cleanly.
Storage: Keep Banana Fudge refrigerated in an airtight container for up to 5 days. For longer storage, freeze them in a single layer on a tray until solid, then transfer to a freezer-safe bag for up to 2 months. Thaw in the fridge for a few hours before serving.
Rewarming: You don’t need to rewarm these. If you like them softer, leave them at room temperature for 10–15 minutes or pop them into the microwave for 5–10 seconds on low—just enough to soften, not melt completely.
Quick Q&A
- Can I double the recipe? Yes. Use two muffin trays or make in batches. Keep the ingredient ratios the same.
- Can I use crunchy peanut butter? Yes. The crunch will change texture but it’s a fine choice if you like a bit of bite.
- What if my mixture is oily? That usually means the peanut butter separated. Stir well and chill immediately; the oil will firm up with the coconut oil. If it remains overly oily, try a firmer nut butter next time.
- Can I add chocolate? You can drizzle melted chocolate over each cup after they’re set. That’s an add-on—skip it if you want the recipe as written.
Hungry for More?
If you enjoyed this Banana Fudge, try swapping the peanut butter for almond or sunflower seed butter for a different profile. You can also experiment with mix-ins like chopped nuts or shredded coconut—just fold no more than a tablespoon into the batter so the texture stays consistent.
For more quick, pantry-friendly treats, I keep a short list of no-bake recipes that use the same idea: melt a fat, combine with a binder, and chill. These are great when you want dessert without turning on the oven. If you want, I’ll share a trio of variations next: chocolate-banana, date-sweetened, and a nut-free version—each tailored to common pantry staples.
Banana Fudge
Ingredients
Ingredients
- 2 largebananasmashed
- 1 cuppeanut buttercan sub for another nut butter or nut free alternative
- 1/4 cupcoconut oil
Instructions
Instructions
- Line a 12-count muffin tray with muffin liners and set aside.
- Peel the 2 large bananas and mash them in a large mixing bowl until mostly smooth.
- Combine 1 cup peanut butter and 1/4 cup coconut oil in a microwave-safe bowl or small saucepan. If using a microwave, heat in 20–30 second intervals, stirring between each, until melted and smooth. If using the stovetop, melt over low heat, stirring, until smooth.
- Pour the melted peanut butter and coconut oil into the bowl with the mashed bananas. Stir until the mixture is fully combined and uniform in texture.
- Divide the mixture evenly among the 12 prepared muffin liners.
- Refrigerate until firm (about 30–60 minutes) or freeze until firm (about 15–30 minutes). Remove from liners before serving.
Equipment
- 12-count muffin tray
- Muffin liners
- Mixing Bowl
- microwave-safe bowl or small saucepan
Notes
You can use a mini muffin tin for smaller cups.
TO STORE:
Fudge is best stored in the refrigerator in an air-tight container. The fudge will keep fresh for up to 4 weeks.
TO FREEZE:
Place fudge in a ziplock bag or shallow container and store in the freezer for up to 6 months.


