
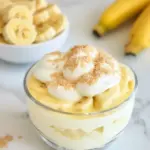
I love a dessert that feels like a warm hug and doesn’t rely on a box mix. This banana pudding is exactly that — classic, straightforward, and built from real ingredients you likely already have on hand. It’s the kind of thing I make when friends drop by or when I want a reliable crowd-pleaser for a potluck.
The texture here matters: silky vanilla pudding folded with softly whipped cream, layered with bananas and vanilla wafers that soften as the dessert rests. You get contrast — creamy pudding, tender banana, and hint of cookie — without any complicated steps. The method below walks you through each stage so nothing gets rushed.
Make it the night before if you can. The flavors relax, the wafers soften just right, and the pudding sets with a perfect spoonable consistency. If you want to know why each ingredient matters or how to fix common slip-ups, I’ve included practical notes and fixes that I use in my kitchen every time.
Ingredients
- 2/3 cup granulated sugar — sweetens and helps the pudding set.
- 3 tablespoons cornstarch — the thickening agent that creates a smooth custard.
- 1/4 teaspoon salt — balances sweetness and rounds flavors.
- 2 cups whole milk — provides creaminess and body to the pudding.
- 2 large egg yolks — enrich the custard and give it a silky texture.
- 1 1/2 teaspoons vanilla extract — primary flavor; use good-quality vanilla.
- 1 cup heavy whipping cream — whipped and folded in for lightness and stability.
- 2 large bananas for slicing, firm, yet ripe — sweet flavor and soft texture; slice evenly.
- Lemon juice for dipping bananas — prevents browning and adds a subtle bright note.
- 24-36 vanilla wafers — texture and nostalgic flavor; number varies by layering preference.
Ingredient Breakdown
This section explains what each core component does so you can make small changes with confidence. I keep it practical — no science class, just the kitchen logic you need.
Sugar and cornstarch are the base of the pudding; sugar sweetens while cornstarch thickens without the need to bake. The egg yolks add richness and help the pudding set more like a custard than a pudding made solely with starch. Whole milk gives the right fat content to carry flavor and balance the richness of the yolks. Heavy cream is whipped and folded in to lighten the mixture and create a texture that’s closer to a mousse — without losing the pudding’s body.
Bananas and vanilla wafers are the texture contrast and nostalgic flavor. Bananas should be ripe but still firm so they hold their shape in slices. Dip the slices briefly in lemon juice so they stay fresh-looking and don’t turn brown before you layer them. Vanilla extract is straightforward but deserves quality — it’s the flavor anchor.
The Method for Banana Pudding from Scratch
- In a medium saucepan, whisk together 2/3 cup granulated sugar, 3 tablespoons cornstarch, and 1/4 teaspoon salt until evenly combined.
- Very slowly drizzle in 2 cups whole milk while whisking constantly to form a smooth mixture with no lumps.
- Add 2 large egg yolks to the milk mixture and whisk until fully incorporated and smooth.
- Place the saucepan over medium-low heat. Cook, whisking frequently and scraping the bottom and sides, until the mixture becomes bubbly throughout and begins to thicken, about 6–8 minutes. Once it is bubbling, continue whisking and cook 1–2 more minutes until the mixture coats the back of a spoon.
- Remove the saucepan from the heat and stir in 1 1/2 teaspoons vanilla extract.
- Strain the pudding through a fine-mesh strainer into a mixing bowl to remove any bits, then press plastic wrap directly onto the surface of the pudding to prevent a skin from forming. Refrigerate until chilled, about 30 minutes.
- While the pudding chills, pour 1 cup heavy whipping cream into a large mixing bowl or the bowl of a stand mixer and beat on medium-high speed until soft peaks form.
- Gently fold the whipped cream into the chilled vanilla pudding until mostly uniform—do not overmix.
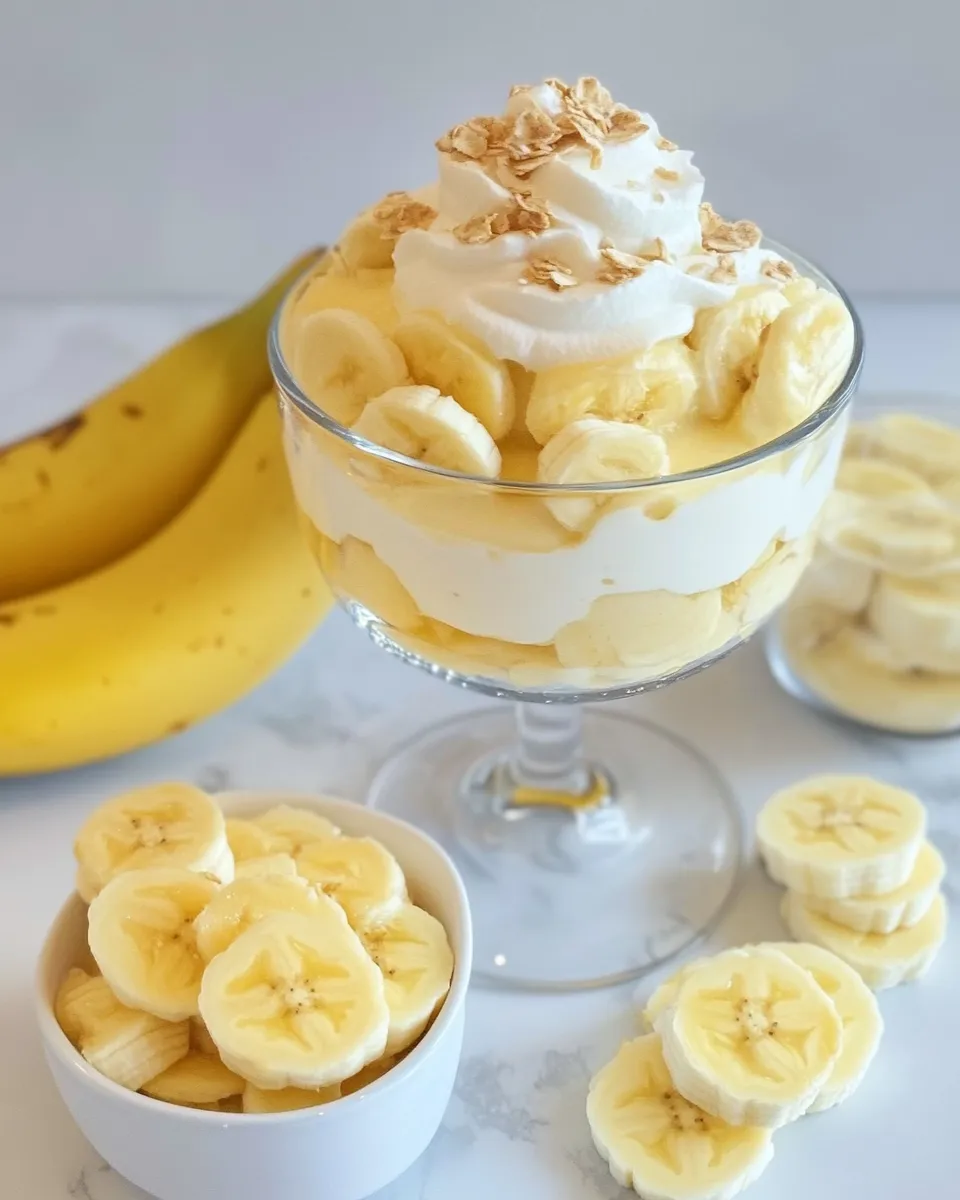
- Slice the 2 large bananas into 1/2-inch-thick slices and gently dip each slice in lemon juice to prevent browning.
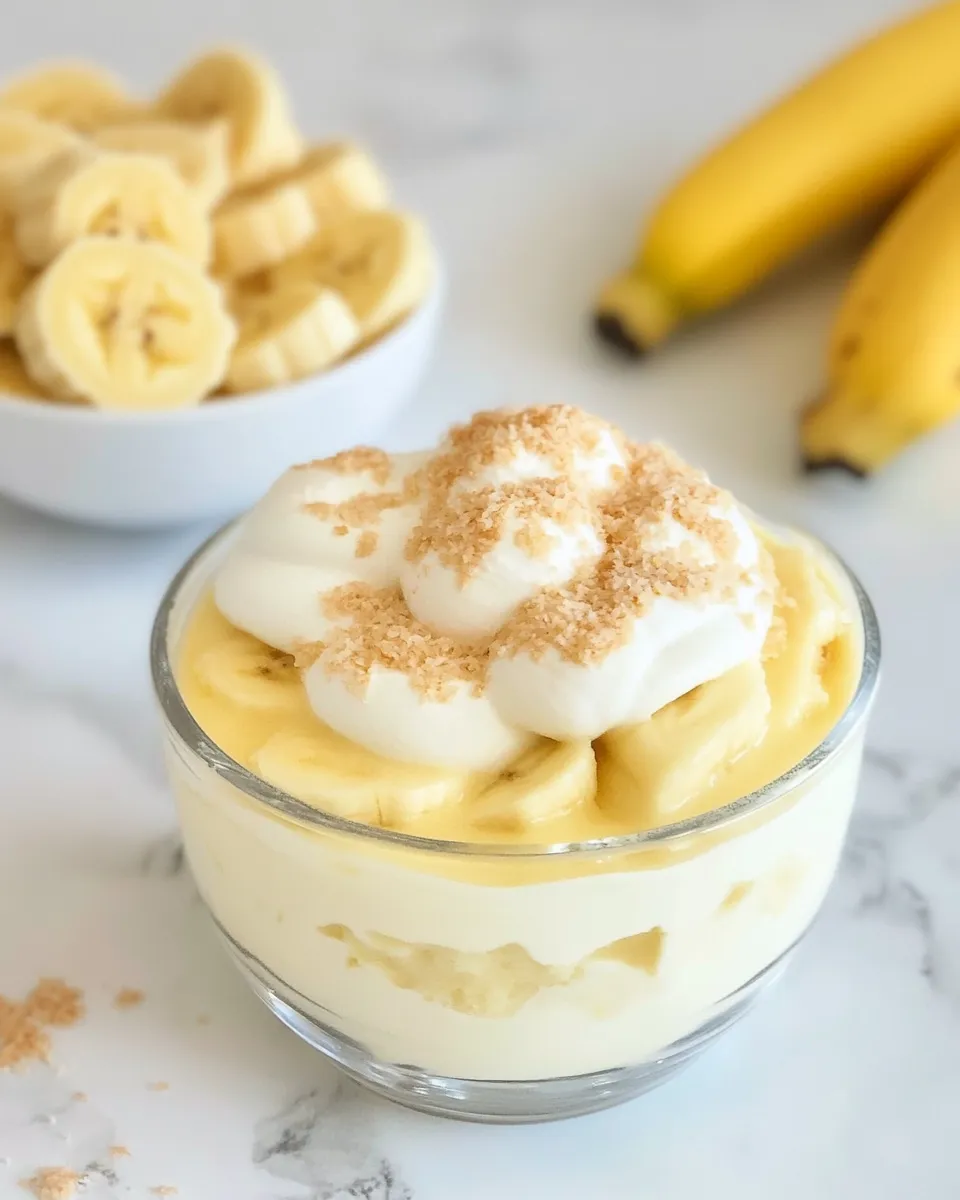
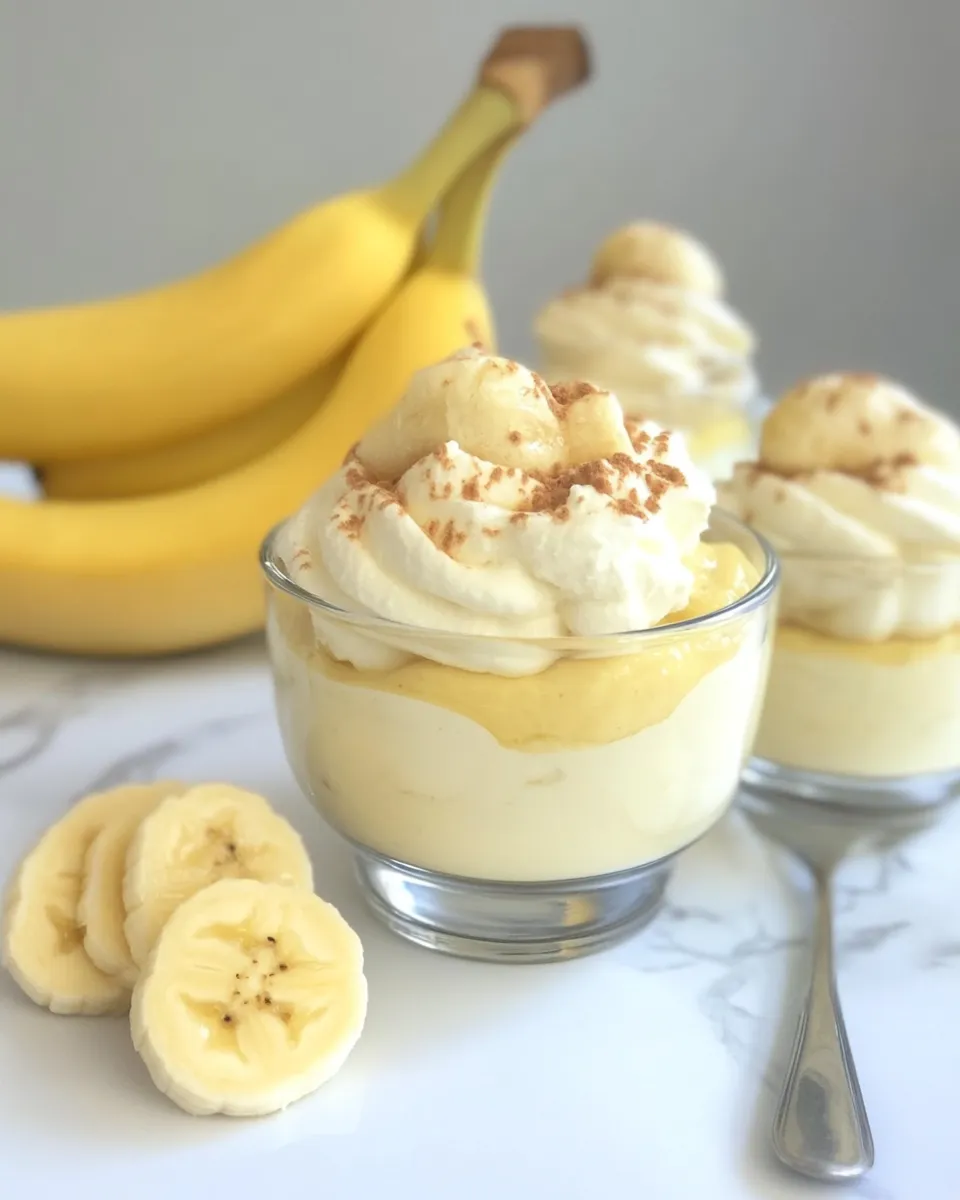
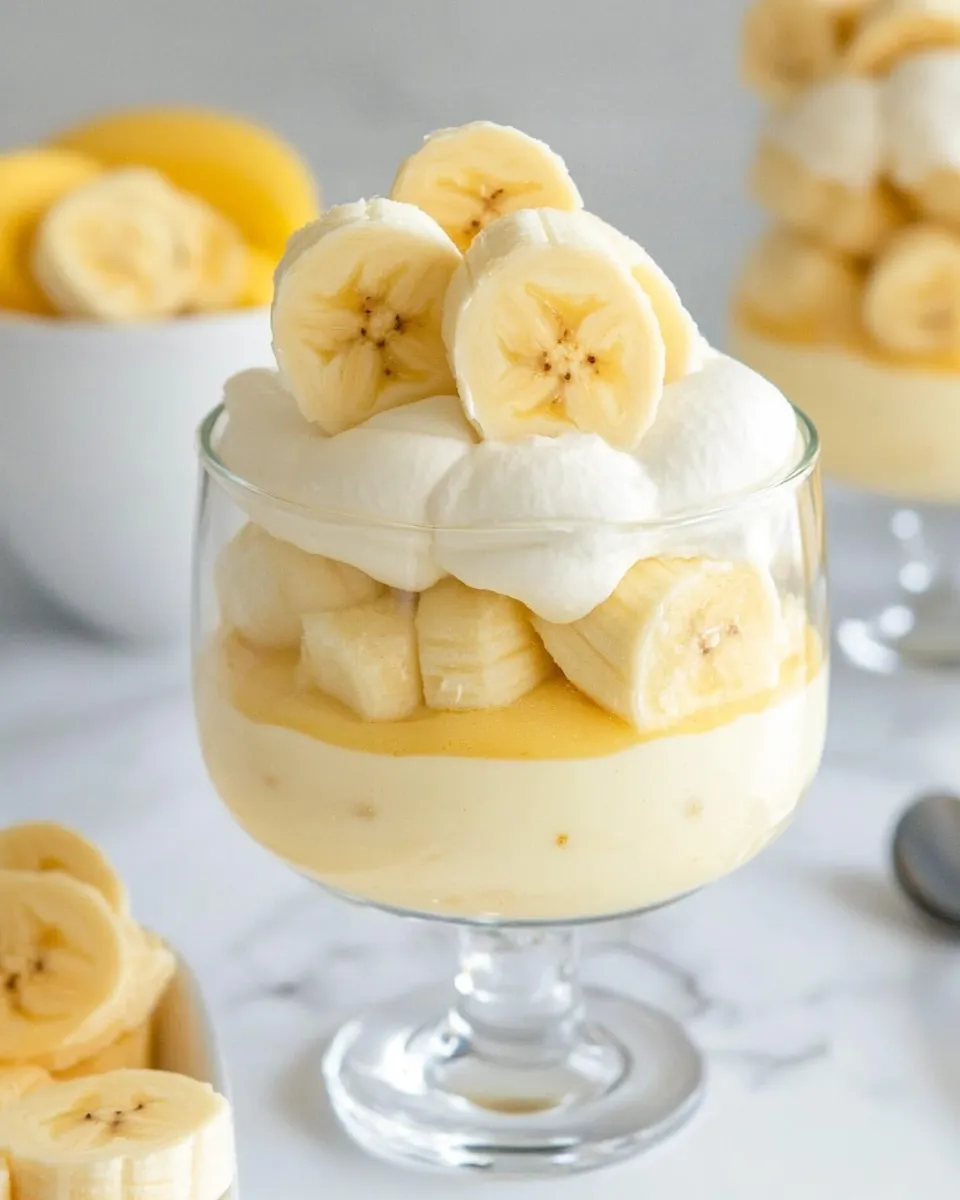
- In a 2-quart trifle dish (or individual serving dishes), layer the dessert as follows: spread 1/3 of the pudding mixture in the bottom, top with about half the vanilla wafers (enough to cover the pudding), then arrange half the banana slices over the wafers. Repeat with another 1/3 of the pudding, the remaining vanilla wafers, and the remaining banana slices. Finish by spreading the final 1/3 of the pudding on top.
- Cover the assembled dish and chill for at least 4 hours to set (overnight recommended). The wafers will soften as it chills.
- Serve within 2 days of preparing for best texture and flavor.
Why This Recipe is a Keeper
This version balances flavor, texture, and ease. You get a real custard made from milk and egg yolks — not a powdered mix — and folding in whipped cream lifts the pudding from dense to spoonable without losing structure. The assembly is forgiving: the wafers will soften over time and meld with the pudding, so minor differences in layering won’t ruin the result.
I also like that timing is flexible. Chill the pudding for 30 minutes before folding in the cream, then assemble and let it rest for hours or overnight. That hands-off waiting period does all the work for you: flavors meld, wafers soften, and the whole dessert becomes more cohesive.
Ingredient Flex Options
Small swaps and choices you can make depending on pantry items and preference:
- Fewer wafers — use 24 if you prefer more pudding between layers; up to 36 if you want thicker cookie layers.
- Lemon juice — just a quick dip for the banana slices keeps them looking fresh; a light touch is enough.
- Vanilla strength — if your vanilla is particularly bold, you can dial it back slightly. If it’s mild, stick to the 1 1/2 teaspoons for good flavor.
Recommended Tools
Nothing fancy required, but these tools make the process smoother and the results consistent:
- Medium saucepan — for even heating and good control while thickening the custard.
- Whisk — essential to avoid lumps and to keep the mixture smooth while heating.
- Fine-mesh strainer — catches any cooked egg bits and guarantees a silky pudding.
- Stand mixer or hand mixer — for whipping the cream quickly to soft peaks.
- 2-quart trifle dish or individual serving dishes — for layered presentation and even chilling.
Missteps & Fixes
Here are common problems and how to fix them without starting over:
Grainy or lumpy pudding
If lumps appear while cooking, whisk vigorously and keep cooking a bit longer — most lumps come from uneven heating or insufficient whisking. Straining the cooked pudding through a fine-mesh strainer removes stubborn bits and gives you a smooth finish.
Pudding too thin
If the pudding never thickens, it may be undercooked or the heat was too low. Return the pan to medium-low and whisk until it reaches the bubble-and-thicken stage described in the method. If it’s still loose after finishing, a small slurry of cornstarch and cold milk whisked in and briefly brought to a simmer will rescue it; add it sparingly.
Bananas brown before serving
Dip the banana slices in lemon juice right after slicing. Do this just before assembling when possible. If browning happens, trim the browned edges for a fresher appearance — they’ll still taste fine.
Whipped cream deflates when folded
Fold gently with a spatula in large strokes. If you overmix and the mixture thins, chill it briefly to help it firm up again before assembling.
Adaptations for Special Diets
I’ll keep these notes practical and method-focused so you can adapt sensibly.
- Lower-fat option: Use a lower-fat milk in place of whole milk, knowing the pudding will be less rich. You may find it sets slightly softer; chilling time can help.
- Less sugar: Reduce the granulated sugar slightly if you prefer a less-sweet dessert. Be mindful that sweetness also balances the flavor profile, so reduce in small increments.
- Egg-free approaches: This recipe relies on egg yolks for richness and structure. If you need to omit eggs, you’ll need a different thickening approach; consider recipes specifically built without eggs to get the best texture.
Flavor Logic
Understanding why things are combined the way they are helps when you want to tweak. Cornstarch thickens by absorbing liquid and swelling when heated; combining it with sugar and salt first ensures even distribution. Temperatures matter: cook over medium-low so the eggs and starch have time to thicken without scrambling or clumping.
Egg yolks add fat and emulsifying proteins that lead to a richer mouthfeel than starch alone. The whipped cream folded in aerates the pudding slightly and keeps it from feeling heavy. Vanilla pull all the flavors together, and lemon juice on the bananas provides a small acidic lift that keeps the fruit tasting fresh against the sweet custard.
Keep-It-Fresh Plan
This pudding keeps best refrigerated and should be eaten within 2 days for optimal texture and flavor. Store tightly covered so the bananas don’t dry out or absorb fridge odors. If you assemble into individual cups, they chill faster and are convenient for transporting; the same 2-day guideline applies.
If you need to make parts ahead: you can make the pudding and the whipped cream a day ahead, keep them chilled separately, then fold and assemble with fresh banana slices just before the final chill. This keeps the banana from softening too much and preserves more texture.
Frequently Asked Questions
Q: Can I make this without eggs?
A: This exact method uses egg yolks for texture and flavor. If you must avoid eggs, look for a recipe that uses only starch or a formulated egg-free custard base; the texture will differ.
Q: How ripe should the bananas be?
A: Firm yet ripe — they should be sweet and fragrant but still hold their shape when sliced into 1/2-inch rounds.
Q: Can I freeze banana pudding?
A: Freezing is not recommended; bananas become mushy and the texture of the pudding changes unfavorably when thawed.
Q: Can I assemble individual portions instead of a trifle dish?
A: Yes. Individual dishes chill faster and make serving easy. Layer in jars or small bowls the same way as the trifle dish.
Hungry for More?
If you liked this banana pudding, try a few simple riffs: skip the wafers for a gluten-free layer of choice, or add a thin layer of caramel between pudding and wafers for a richer finish. Assemble ahead and garnish with freshly sliced banana and a few crushed wafers right before serving for a pretty presentation.
Thanks for reading — I hope this method gives you a reliable, homemade banana pudding that feels nostalgic and fresh at the same time. Let me know how yours turns out and what tiny changes you made in the comments; I read them all and love hearing your variations.
Banana Pudding from Scratch
Ingredients
Ingredients
- 2/3 cupgranulated sugar
- 3 tablespoonscornstarch
- 1/4 teaspoonsalt
- 2 cupswhole milk
- 2 largeegg yolks
- 1 1/2 teaspoonvanilla extract
- 1 cupheavy whipping cream
- 2 largebananas for slicing firm, yet ripe
- Lemon juice for dipping bananas
- 24-36 vanilla wafers
Instructions
Instructions
- In a medium saucepan, whisk together 2/3 cup granulated sugar, 3 tablespoons cornstarch, and 1/4 teaspoon salt until evenly combined.
- Very slowly drizzle in 2 cups whole milk while whisking constantly to form a smooth mixture with no lumps.
- Add 2 large egg yolks to the milk mixture and whisk until fully incorporated and smooth.
- Place the saucepan over medium-low heat. Cook, whisking frequently and scraping the bottom and sides, until the mixture becomes bubbly throughout and begins to thicken, about 6–8 minutes. Once it is bubbling, continue whisking and cook 1–2 more minutes until the mixture coats the back of a spoon.
- Remove the saucepan from the heat and stir in 1 1/2 teaspoons vanilla extract.
- Strain the pudding through a fine-mesh strainer into a mixing bowl to remove any bits, then press plastic wrap directly onto the surface of the pudding to prevent a skin from forming. Refrigerate until chilled, about 30 minutes.
- While the pudding chills, pour 1 cup heavy whipping cream into a large mixing bowl or the bowl of a stand mixer and beat on medium-high speed until soft peaks form.
- Gently fold the whipped cream into the chilled vanilla pudding until mostly uniform—do not overmix.
- Slice the 2 large bananas into 1/2-inch-thick slices and gently dip each slice in lemon juice to prevent browning.
- In a 2-quart trifle dish (or individual serving dishes), layer the dessert as follows: spread 1/3 of the pudding mixture in the bottom, top with about half the vanilla wafers (enough to cover the pudding), then arrange half the banana slices over the wafers. Repeat with another 1/3 of the pudding, the remaining vanilla wafers, and the remaining banana slices. Finish by spreading the final 1/3 of the pudding on top.
- Cover the assembled dish and chill for at least 4 hours to set (overnight recommended). The wafers will soften as it chills.
- Serve within 2 days of preparing for best texture and flavor.
Equipment
- Medium Saucepan
- Whisk
- Fine-mesh strainer
- Mixing Bowl
- Plastic Wrap
- stand mixer or electric mixer
- 2-quart trifle dish or individual serving dishes
Notes
Milk:
Feel free to use skim or 2% milk in the vanilla custard, but whole milk will produce the richest creamiest results.
Straining the Pudding
: Do not be tempted to skip straining the vanilla pudding mixture, this will keep the final results creamy and smooth.
Cornstarch:
To thicken the pudding, a bit of cornstarch is needed. If you happen to have a corn allergy, substitute the cornstarch with equal amounts of arrowroot powder or tapioca starch.
Storage
: Leftover banana pudding should be stored in an airtight container, or well-covered with plastic wrap in the refrigerator. It is best enjoyed within 48 hours. After 2 days, the whipped cream begins to wilt and the bananas turn to mush.


