

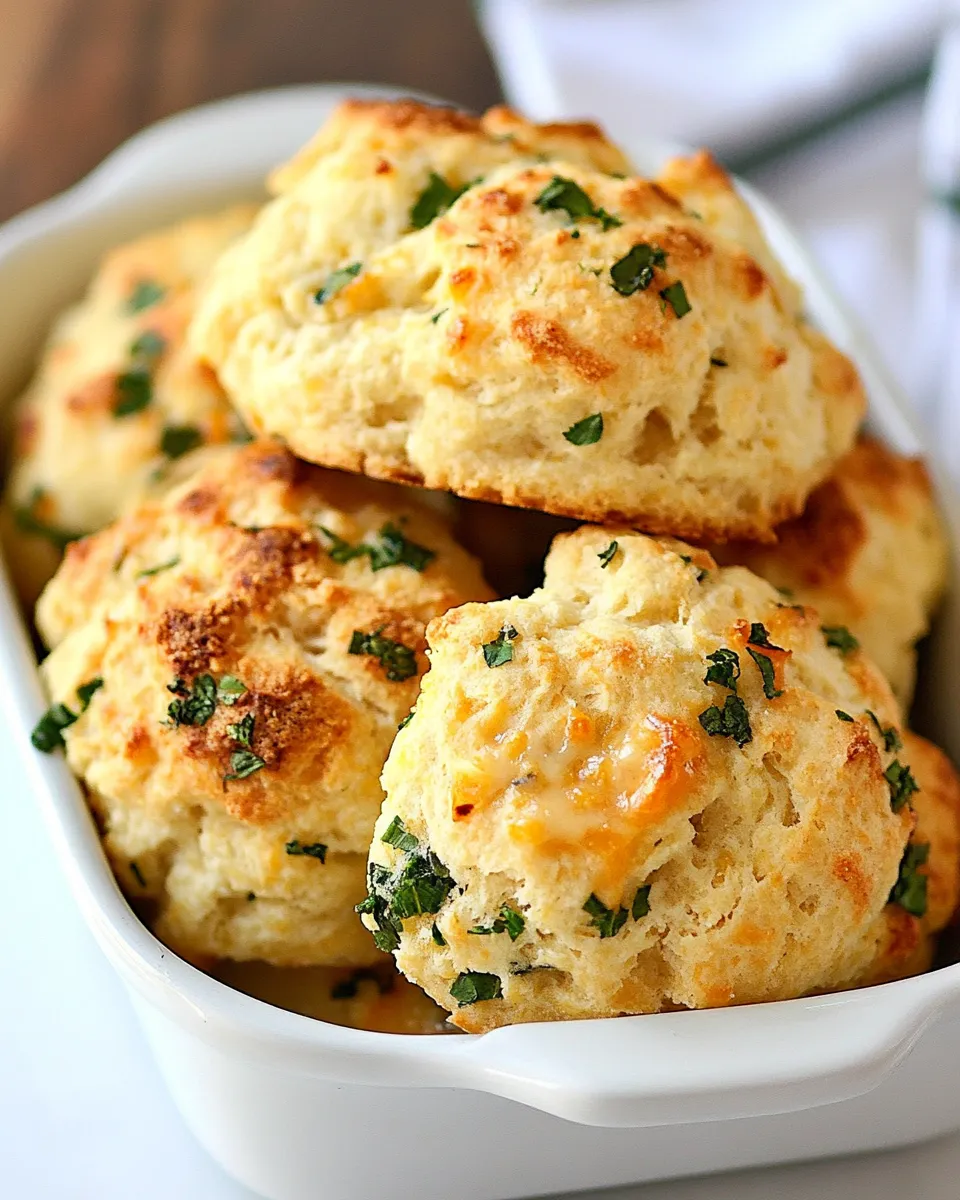
These biscuits are the sort of thing you make when you want something comforting on the table in under 30 minutes without dialing up a complicated recipe. They come together fast because the Bisquick mix does the heavy lifting for structure and rise; the garlic, cheddar, and parsley turn a pantry shortcut into something that smells — and tastes — like you baked them from scratch.
I’ll be blunt: this is a practical recipe. No fuss, no special techniques, just a few clear steps and small tricks that make each biscuit flaky and lightly golden. The method keeps the batter slightly lumpy and the biscuits tender; a quick brush of butter after the first bake gives the tops that glossy, soft finish everyone reaches for first.
If you like a savory quick bread that pairs well with soup, a breakfast skillet, or a simple roast chicken, these are the biscuits you’ll find yourself making repeatedly. Below you’ll find the ingredients, exact method, swaps, and storage advice so you can bake them confidently whenever the craving hits.
Ingredients at a Glance
- 2 tablespoons butter, melted — provides richness and a buttery finish when brushed on; reserve 1 tablespoon for later brushing.
- 2 cloves garlic, minced — fresh garlic gives a bright, aromatic kick; the recipe splits it so some is sautéed and some goes straight into the batter.
- 2 tablespoons fresh chopped parsley — adds a fresh herb note and color; finely chop so it folds evenly into the butter and batter.
- 2 cups Heart Smart Bisquick — the base for rise and structure; measure by spooning into the cup and leveling for accuracy.
- 3 1/2 oz shredded sharp Cheddar cheese, Cabot 50% reduced fat — gives sharp, melty flavor; shredded cheese disperses best when cold.
- 2/3 cup fat free milk — hydrates the dough and activates the leavening in the mix; keep it cold to avoid over-softening the butter early.
Make Bisquick Garlic Cheddar Biscuits: A Simple Method
- Preheat oven to 400°F. Line a sheet pan with parchment paper.
- Melt the 2 tablespoons butter in a small skillet over low heat. Immediately remove about 1 tablespoon of the melted butter and set it aside for brushing the biscuits later.
- To the butter remaining in the skillet, add half the minced garlic (1 clove) and sauté on low for about 1 minute, until lightly golden and fragrant. Remove the skillet from the heat and stir in the chopped parsley. Transfer this garlic-parsley butter to a small bowl.
- In a large bowl, combine 2 cups Heart Smart Bisquick, 3 1/2 oz shredded sharp Cheddar cheese, and the remaining minced garlic (1 clove).
- Stir in 2/3 cup fat free milk until just combined; do not overmix. The batter should be thick and slightly lumpy.
- Drop the batter by heaping tablespoonfuls onto the prepared sheet pan, spacing the biscuits about 2 inches apart.
- Bake for 10 minutes. Remove the pan, brush the tops of the biscuits with the reserved melted butter, then return to the oven and bake an additional 5 minutes, or until the bottoms are lightly browned.
- Remove the biscuits from the oven and transfer to a rack to cool briefly before serving.
Why You’ll Keep Making It
These biscuits are fast, forgiving, and reliably tasty. The Bisquick base shortens prep time and removes the need to measure leavening or fuss with cold butter cutting. The garlic-parsley butter gives them an aromatic lift that makes them feel elevated, and adding cheddar gives the crumb both flavor and structure—cheese melts into pockets that make each bite more interesting.
Once you know the timing, it’s easy to have these on the table while a soup simmers or when you need a quick side for weeknight dinners. They also work as part of a brunch spread — warm, cheesy biscuits are always a hit.
Easy Ingredient Swaps
- Butter — you can use unsalted or salted; if you use salted butter, skip any added salt elsewhere (this recipe doesn’t call for additional salt).
- Garlic — garlic powder (1/2 tsp) can replace fresh if you’re out, but the flavor will be milder and less bright.
- Parsley — swap with chives, basil, or a small amount of oregano for a different herb note.
- Bisquick — other baking mixes with a similar ratio will work, but results may vary slightly in texture; do not substitute plain flour without adjusting leavening.
- Cheddar — any sharp or medium cheddar works; pepper jack adds a spicy note, while a milder cheese yields a less assertive flavor.
- Milk — low-fat or whole milk can be used; plant milks will work in a pinch but may change browning and texture slightly.
Tools & Equipment Needed

- Sheet pan (rimmed) lined with parchment paper — for even baking and easy cleanup.
- Small skillet — to melt butter and sauté the garlic briefly.
- Large mixing bowl — for combining Bisquick, cheese, and milk.
- Measuring cups and spoons — accurate measures keep the batter consistent.
- Tablespoon or small scoop — to drop evenly sized biscuits onto the pan.
- Cooling rack — lets the bottoms stay crisp while you brush and serve.
Pitfalls & How to Prevent Them
- Overmixing the batter — problem: dense biscuits. Prevention: stop stirring as soon as the dry ingredients are moistened; a slightly lumpy batter is correct.
- Using warm milk or warm cheese — problem: less rise and greasy texture. Prevention: keep milk and shredded cheese cold until you add them.
- Skipping the reserved butter — problem: dry tops. Prevention: reserve and brush the biscuits after 10 minutes of baking to add moisture and sheen.
- Baking too long before checking bottoms — problem: overbrowned bottoms. Prevention: follow the two-stage bake (10 minutes, brush, then 5 minutes) and check that bottoms are lightly browned before removing.
- Placing biscuits too close together — problem: they won’t brown on the sides or form individual crusts. Prevention: space about 2 inches apart on the pan.
Seasonal Serving Ideas
- Winter — serve alongside a hearty vegetable soup or beef stew for cozy dinners.
- Spring — pair with a light asparagus or pea soup and a simple salad tossed with lemon vinaigrette.
- Summer — serve warm with cold tomato basil soup or as a base for mini breakfast sandwiches with tomato and bacon.
- Fall — great with roasted squash and a spiced apple chutney; the cheddar and garlic complement roasted flavors.
Chef’s Rationale
Why this method? Bisquick contains a balance of flour, fat, salt, and leavening agents engineered to give quick breads a dependable rise without kneading. By keeping the batter slightly lumpy and using minimal mixing, you avoid developing gluten that would make the biscuits tough. The two-stage baking (partial bake, butter brush, finish bake) ensures the interior sets while the top gets a buttery, flavorful finish and attractive sheen.
Sautéing half the garlic in butter mellows its raw edge and infuses the butter with flavor and color. Stirring parsley into that butter spreads the herb’s freshness evenly. The remaining raw garlic folded into the dry mix maintains a bright garlic hit inside the biscuit—this balance prevents a one-dimensional garlic flavor and gives layers of aroma.
Refrigerate, Freeze, Reheat
- Refrigerate — store cooled biscuits in an airtight container for up to 3 days. Reheat in a 325°F oven for 8–10 minutes to regain texture.
- Freeze — cool completely, then freeze in a single layer on a sheet pan until firm. Transfer to a freezer bag for up to 2 months. Reheat from frozen at 350°F for 12–15 minutes, or thaw in the fridge and reheat at 325°F for 10 minutes.
- Microwave — quick option for one biscuit: wrap loosely in a damp paper towel and microwave on medium for 20–30 seconds. The crust won’t be crisp, so use the oven if you want a crisper exterior.
Common Qs About Bisquick Garlic Cheddar Biscuits
- Q: Can I make these bigger or smaller?
A: Yes. Using a larger scoop increases bake time by a few minutes; check for lightly browned bottoms. Smaller biscuits will bake faster, so watch closely after the first 8–10 minutes. - Q: Can I omit the parsley?
A: Yes. Parsley is a freshness component; if you omit it, consider adding a pinch of dried herbs or a few snips of chive for color. - Q: Will using a different cheese change the outcome?
A: Flavor and meltability will vary. A very high-moisture cheese can make the batter wetter, while very dry cheeses might not melt as smoothly. Stick to similar-sharp cheddars for the closest result. - Q: Can I prepare the garlic-parsley butter ahead?
A: Yes. Make it a day ahead and store in the fridge, then warm gently before using. If the butter solidifies, gently reheat until just melted. - Q: Do I need to let the biscuits cool before serving?
A: Just a brief rest on a rack—2–3 minutes—to let steam release and the crumb set slightly. They’re best served warm but not piping hot.
Wrap-Up
These Bisquick Garlic Cheddar Biscuits are a practical, flavorful shortcut that still feels homemade. The recipe balances quick convenience with thoughtful details—sautéed garlic for depth, fresh parsley for brightness, and a two-stage bake for finish. Keep the ingredients handy and you’ll have a reliable, crowd-pleasing side on the table in about half an hour.
When you make them, focus on gentle mixing and the butter brush after the first bake. Those small steps are what turn a convenience mix into a biscuit you’ll actually reach for at dinner parties and weeknight meals alike. Happy baking.

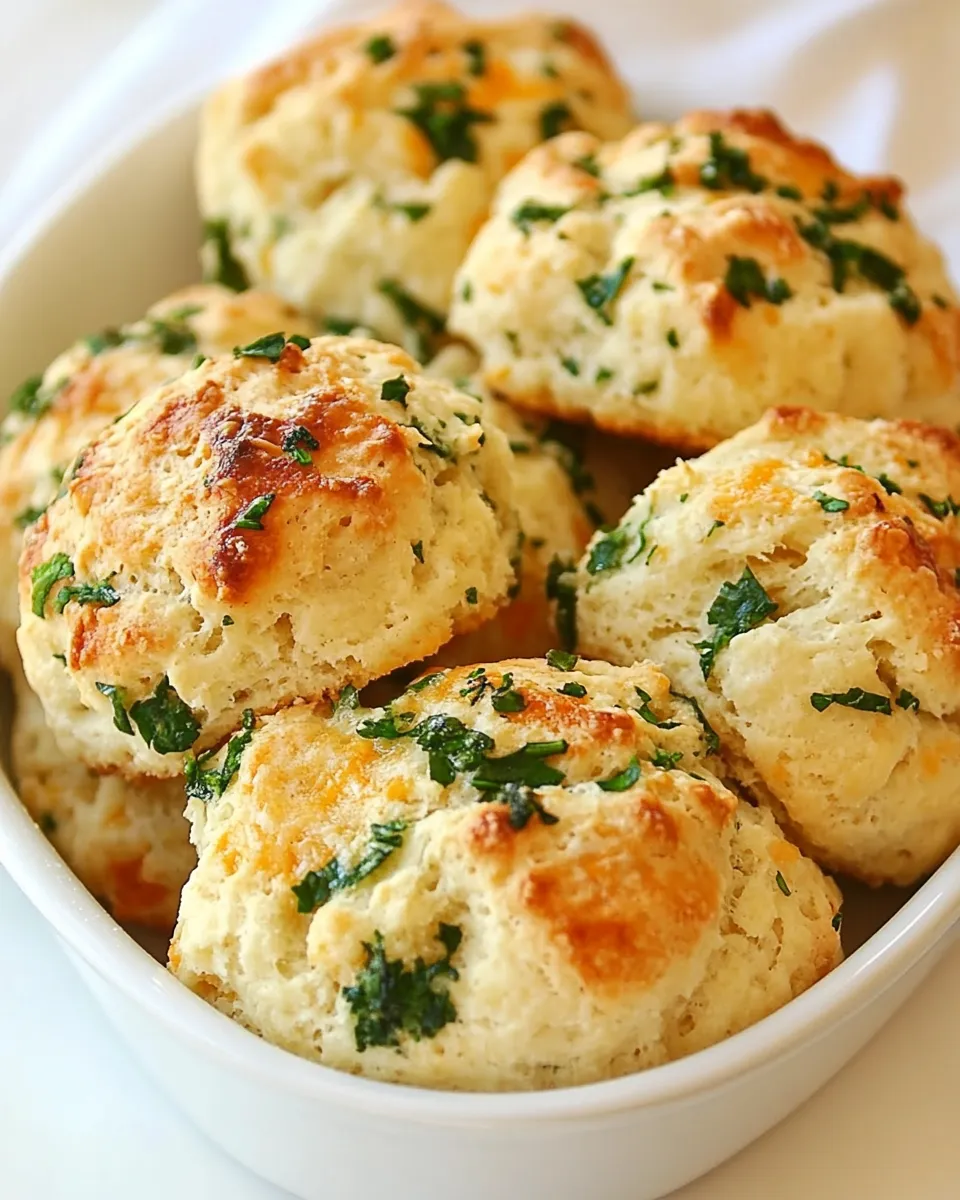
Bisquick Garlic Cheddar Biscuits
Ingredients
Ingredients
- 2 tablespoonsbutter melted
- 2 clovesgarlic minced
- 2 tablespoonsfresh chopped parsley
- 2 cupsHeart Smart Bisquick
- 3 1/2 ozshredded sharp Cheddar cheese Cabot 50% reduced fat
- 2/3 cupfat free milk
Instructions
Instructions
- Preheat oven to 400°F. Line a sheet pan with parchment paper.
- Melt the 2 tablespoons butter in a small skillet over low heat. Immediately remove about 1 tablespoon of the melted butter and set it aside for brushing the biscuits later.
- To the butter remaining in the skillet, add half the minced garlic (1 clove) and sauté on low for about 1 minute, until lightly golden and fragrant. Remove the skillet from the heat and stir in the chopped parsley. Transfer this garlic-parsley butter to a small bowl.
- In a large bowl, combine 2 cups Heart Smart Bisquick, 3 1/2 oz shredded sharp Cheddar cheese, and the remaining minced garlic (1 clove).
- Stir in 2/3 cup fat free milk until just combined; do not overmix. The batter should be thick and slightly lumpy.
- Drop the batter by heaping tablespoonfuls onto the prepared sheet pan, spacing the biscuits about 2 inches apart.
- Bake for 10 minutes. Remove the pan, brush the tops of the biscuits with the reserved melted butter, then return to the oven and bake an additional 5 minutes, or until the bottoms are lightly browned.
- Remove the biscuits from the oven and transfer to a rack to cool briefly before serving.
Equipment
- Sheet Pan
- Parchment Paper
- Small Skillet
- Large Bowl
- rack


