
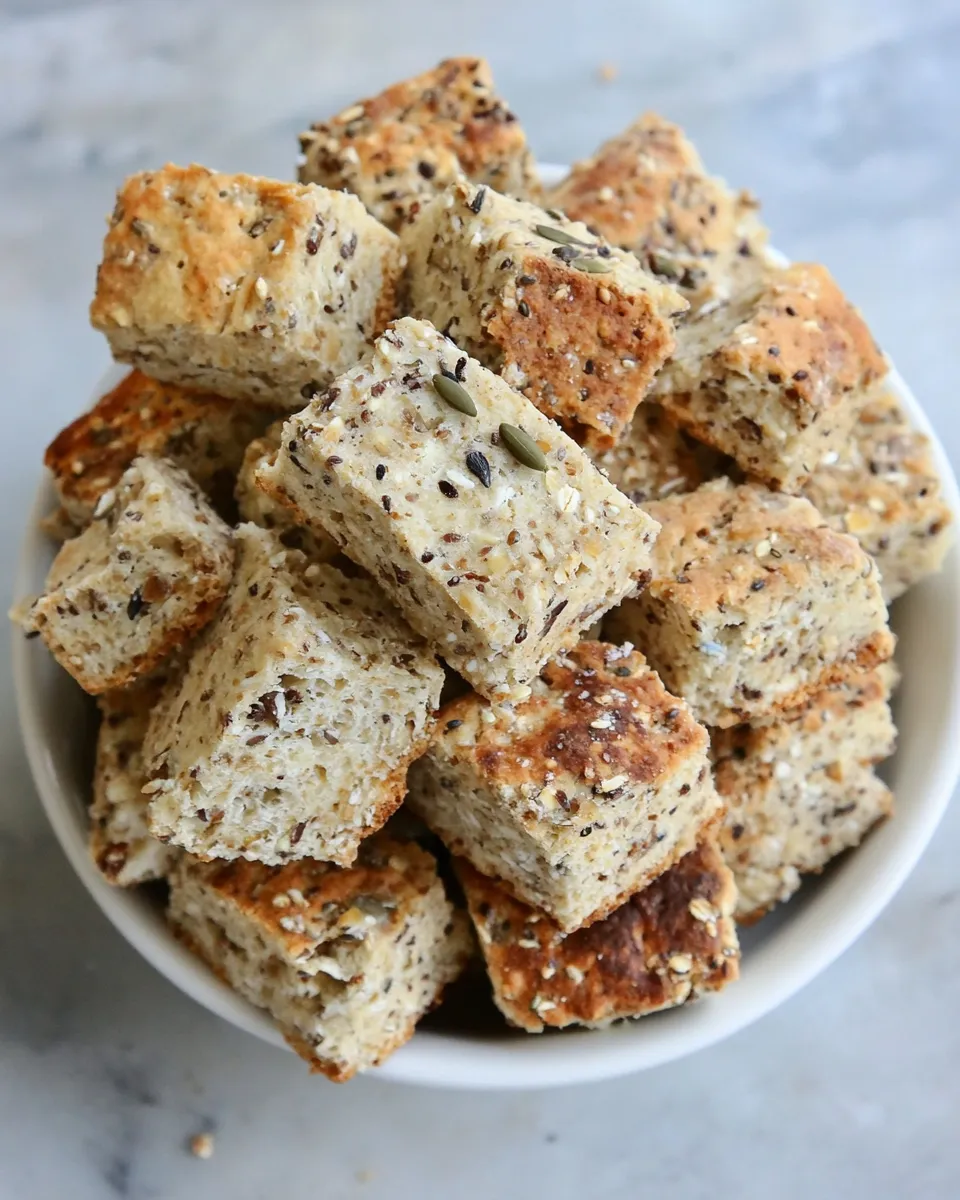
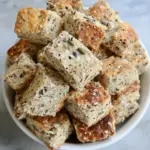
These rusks are exactly the kind of pantry-friendly baking that pays off for a week of breakfasts, tea-time dunking and lunchbox crunch. They’re sturdy, slightly sweet, packed with bran and muesli, and studded with seeds for texture. The recipe makes two large loaves that become firm, dry rusks after a long, low oven dry — perfect for dunking in coffee or for keeping on the shelf.
I like this version because it uses everyday ingredients and a straightforward two-stage bake: first you bake a sticky, dense loaf, then you slice and dry until perfectly crisp. There’s no complicated shaping, and it tolerates small swaps if you’re missing one item. The method below follows the original proportions exactly so you can expect consistent results.
Read through the ingredients and the stepwise method before you start. The drying stage takes time, but the active work is minimal. Plan ahead, and you’ll be rewarded with rusks that stay crisp in an airtight jar for weeks.
Gather These Ingredients
Ingredients
- 1 kg self‑raising flour — the main structure for the loaves; if using cake/plain flour you would add extra baking powder as noted in the source recipe.
- 140 g (or 1 cup) Krakley wheat flour or whole‑wheat flour — adds nuttier flavour and a bit more density to the crumb.
- 100 g (or 750 ml) All‑Bran flakes — provides fibre and the classic rusk texture; they absorb liquid and help the loaf hold shape.
- 125 g (1 cup) toasted or plain muesli — gives oats, dried fruit and crunch; if you don’t have muesli the original used 90 g oats + 50 g raisins as a substitute.
- 1 cup seeds (chia, sunflower, pumpkin, sesame) — seeds add toasty flavour and bite; the source used about half sunflower and half sesame.
- 200 g sugar — sweetens the mix and helps with browning during the bake.
- 5 ml (1 tsp) salt — balances flavour.
- 5 ml (1 tsp) baking powder — an extra spoon added for lift in the heavy mixture.
- 400 g butter, melted gently — adds richness and a tender crumb; cool slightly before mixing with eggs.
- 200 ml sunflower oil — keeps the rusks moist before drying and contributes to the final texture.
- 500 ml buttermilk — acid liquid that reacts with the baking powder for lift and gives a pleasant tang.
- 3 eggs, lightly beaten — binders that add structure and colour.
Stepwise Method: Bran and muesli buttermilk rusks with seeds
- Preheat the oven to 180°C. Grease two baking trays with sides or line them with baking paper.
- In a very large bowl combine the dry ingredients: 1 kg self‑raising flour (if using plain/cake flour instead, add 7 tsp baking powder to the 1 kg of cake flour), 140 g (or 1 cup) Krakley wheat or whole‑wheat flour, 100 g (or 750 ml) All‑Bran flakes, 125 g (or 1 cup) toasted or plain muesli (or the substitute 90 g oats + 50 g raisins), 1 cup seeds, 200 g sugar, 5 ml (1 tsp) salt, and the extra 5 ml (1 tsp) baking powder listed.
- In a separate bowl whisk together the wet ingredients: 3 lightly beaten eggs, 200 ml sunflower oil, 500 ml buttermilk and 400 g melted butter. Ensure the melted butter has cooled slightly so it is warm rather than very hot before adding to the eggs.
- Make a well in the dry mixture, pour in all the wet ingredients and mix with a wooden spoon until everything is combined. The mixture will be quite sticky — you can use clean hands if needed to finish combining.
- Divide the mixture between the two prepared trays and spread evenly to an even thickness, smoothing the tops.
- Bake at 180°C for about 30 minutes, or until the tops are golden brown and the mixture is set.
- Remove the trays from the oven and allow the loaves to cool in the pans until firm enough to handle. Transfer to a cutting board and let cool completely before cutting.
- Once completely cool, cut the loaves into fingers or squares with a sharp knife or electric carving knife.
- Arrange the cut rusks back on the baking trays in a single layer for drying. If you are short of tray space you may stand them on their sides and pack them close together, but do not overlap or stack pieces on top of each other.
- Dry the rusks in a low oven: either at 60°C for about 6–9 hours, or at 100°C (fan forced) for about 4–5 hours. Turn the rusks once or twice during drying so they dry evenly.
- When dry, turn the oven off and you may leave the rusks in the cooling oven or remove them to cool completely. Store cooled rusks in an airtight container.
Reasons to Love Bran and muesli buttermilk rusks with seeds
They keep exceptionally well. Once properly dried and stored in an airtight container, rusks stay crunchy for weeks — which means you can bake one batch and use it for breakfasts and snacks without daily baking.
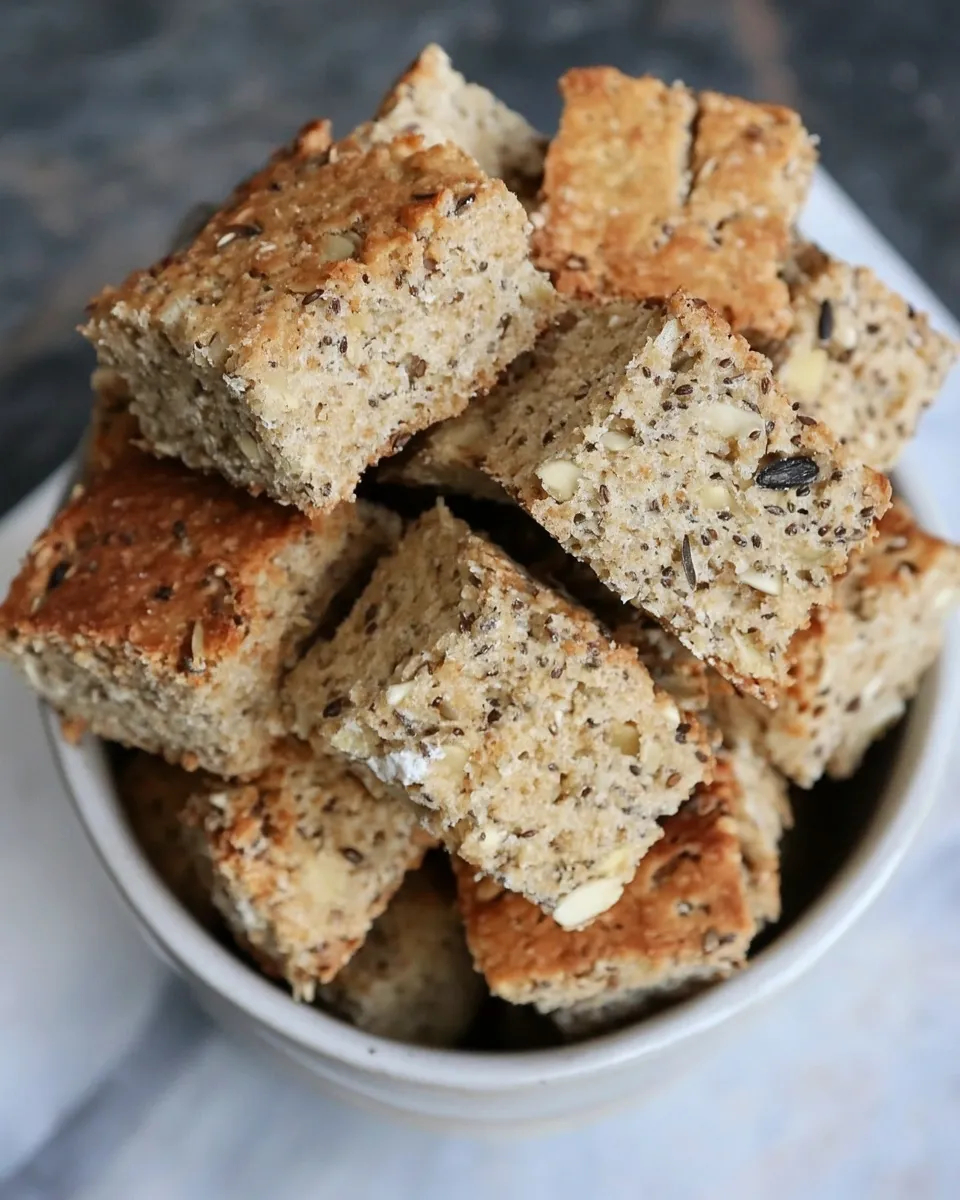
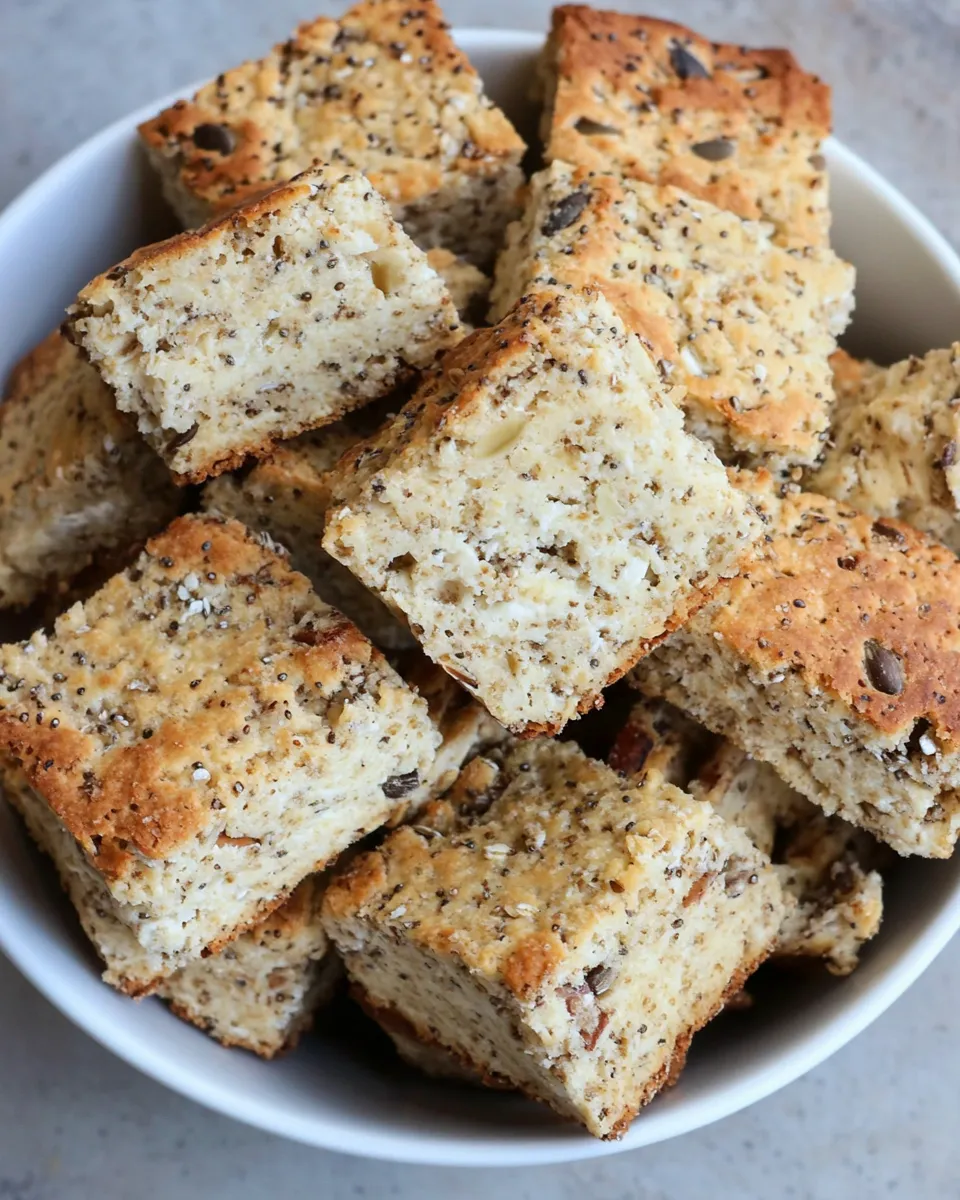
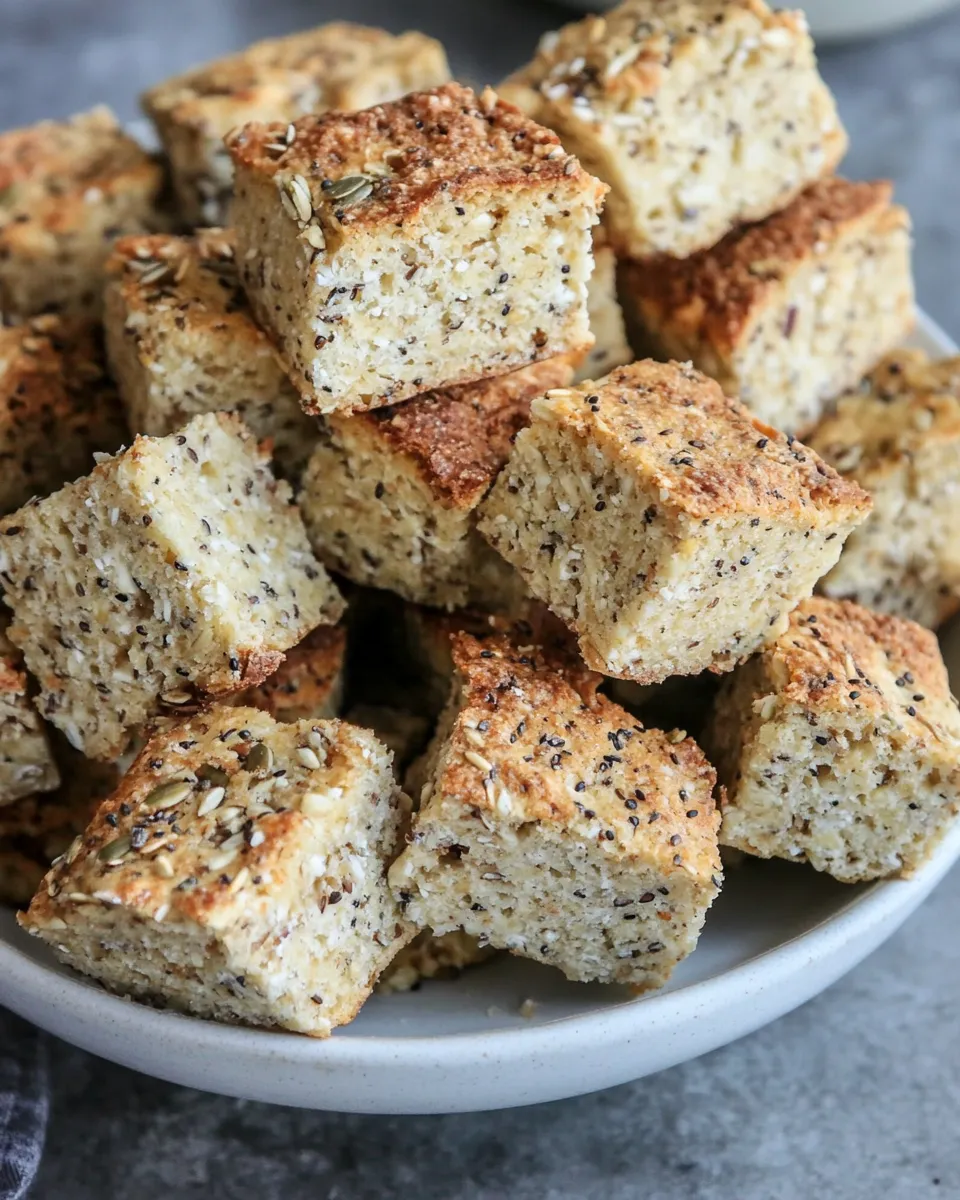
The texture is satisfying: the bran and muesli give chew and grainy interest, while the seeds add bursts of toasty flavour. They’re sturdy enough to dunk in coffee without turning to mush, yet not so hard that they’re unpleasant to bite.
Finally, the recipe is forgiving. The heavy, sticky dough tolerates mixing by hand and small ingredient swaps. You don’t need perfect shaping skills, and the long, low drying phase is hands-off, so active time is limited.
Vegan & Vegetarian Swaps
Vegetarian: this recipe is already vegetarian as written.
Vegan swaps (general ideas — follow your preferred vegan product instructions): replace the butter with a plant-based spread or extra neutral oil, use a non-dairy buttermilk substitute (plant milk plus a little acid) and replace the eggs with a commercial egg replacer or a flax/chia ‘egg’ binder. Keep in mind that texture will change: the rusks may be slightly less golden and the crumb a touch different, but the drying step remains the same.
Appliances & Accessories
- Oven — a reliable oven that holds low temperatures steadily for the drying phase is essential.
- Two large baking trays with sides — the recipe fills two trays; sides make it easier to lift the baked loaves out.
- Baking paper — useful for easy cleanup and to prevent sticking.
- Very large mixing bowl — the dry mix is bulky and needs space for combining wet ingredients.
- Wooden spoon — for initial mixing of the sticky batter.
- Sharp knife or electric carving knife — for cleanly slicing the cooled loaves into uniform rusks.
- Cooling rack (optional) — helpful if you want to cool the loaves off the tray before slicing, though the recipe allows cooling in the pan until handleable.
Don’t Do This
Do not try to skip the drying stage or shorten it dramatically. The initial bake sets the loaf but leaves it moist; the long, low dry is what creates the rusk crunch and shelf stability. Short drying will give you chewy, perishable pieces rather than true rusks.
Don’t slice the loaves while they’re still warm. Cutting warm results in crumbling and uneven pieces. Wait until they are completely cool.
Avoid overlapping the cut rusks on the trays during drying. Overlap traps moisture and causes uneven drying; the pieces should be in a single layer or packed upright on their sides without stacking.
How to Make It Lighter
If you prefer a lighter texture, focus on handling and ingredients rather than inventing new steps. Use the specified self‑raising flour and be careful not to overmix once wet and dry are combined — overworking can make dense rusks heavier. You can also slightly reduce the sugar if you want less density from caramelisation, but don’t remove the butter or oil entirely since they contribute to the crumb.
For a lighter mouthfeel, consider using a finer muesli or one without large chunks of nuts, and sift the self‑raising flour before measuring to aerate it. Remember these are rusks: they will always be denser than a cake or bread due to the high proportion of bran and muesli.
Behind-the-Scenes Notes
The recipe uses a two-stage approach because rusks are essentially a twice-baked product. The first bake cooks the batter into a stable loaf and encourages even crumb structure. The second, low-temperature bake removes moisture slowly without overbrowning, which is what gives rusks their shelf-stable crunch.
Buttermilk contributes both flavour and acidity. It reacts with the added baking powder for lift and adds a tender tang to the final product. The combination of melted butter and oil gives a richer flavour than oil alone, and the oil helps keep the crumb forgiving during the long dry.
Bran and All‑Bran flakes absorb liquid differently from plain flour. That’s why the dough is sticky and dense — the flakes and muesli take up moisture and create the hearty texture that makes rusks so good with coffee.
Refrigerate, Freeze, Reheat
Store completely cooled rusks in an airtight container at room temperature. They do not require refrigeration. Kept sealed and dry, they will stay crisp for several weeks.
If you want to freeze rusks, wrap them well and place them in a freezer-safe container; they thaw quickly at room temperature and retain most of their crispness. Avoid thawing in a humid place to prevent them from softening.
To refresh rusks that have softened slightly, place them in a low oven for a short time to dry them out again. A few minutes at a low temperature will restore crunch without overbrowning.
Common Qs About Bran and muesli buttermilk rusks with seeds
Q: Can I use plain flour instead of self‑raising flour?
A: Yes — if you use plain/cake flour, add the extra baking powder noted in the recipe (7 tsp total for the 1 kg cake flour) to ensure proper rise.
Q: My loaves took longer than 30 minutes to set. What happened?
A: Oven temperatures vary. The tops should be golden and the loaves should feel set when gently pressed. If they need longer, give them another 5–10 minutes and check again before cooling.
Q: Can I speed up the drying time?
A: You can dry at a higher temperature for a shorter time, but there’s a trade-off: higher heat risks browning the rusks before the centres are dry. The source recipe recommends either 60°C for 6–9 hours or 100°C (fan) for 4–5 hours for even drying.
Q: How thin should I slice the loaves?
A: Slice to your preference, but uniform thickness helps with even drying. Fingers or squares about 1–2 cm thick are typical; thicker pieces will take longer to dry.
Bring It Home
These Bran and muesli buttermilk rusks with seeds are workhorse bakes: straightforward, economical, and very rewarding. The timeline means you do most of the work early on, then leave the oven to do the slow finishing. Once cooled and stored, they’re a reliable go-to for breakfast, a travel snack, or a partner for a steaming cup of coffee.
Make a batch when you have the day free for gentle kitchen rhythm and a long, low oven warm in the background. You’ll be glad you did when you reach for a jar of crunchy rusks midweek.
Bran and muesli buttermilk rusks with seeds
Ingredients
Ingredients
- 1 kgself-raising flourI didn’t have so I added 1 tsp per cup – so 7 tsp baking powder to 1 kg cake flour
- 140 gramsor 1 cup Krakley Wheat flour or whole-wheat flour
- 100 grams750 ml All-Bran flakes
- 125 grams1 cup toasted or plain muesli. I didn’t have muesli so added 90 g oats and 50 g raisins
- 1 cupseeds chia, sunflower. pumpkin, sesameI added half sunflower and half sesame
- 200 gramssugar
- 5 ml1 tsp/ salt
- 5 ml1 tsp / baking powderI added this extra spoon as well
- 400 gramsbutter melted gently in the microwave or on the stove
- 200 mlsunflower oil
- 500 mlbuttermilk
- 3 eggs lightly beaten
Instructions
Instructions
- Preheat the oven to 180°C. Grease two baking trays with sides or line them with baking paper.
- In a very large bowl combine the dry ingredients: 1 kg self‑raising flour (if using plain/cake flour instead, add 7 tsp baking powder to the 1 kg of cake flour), 140 g (or 1 cup) Krakley wheat or whole‑wheat flour, 100 g (or 750 ml) All‑Bran flakes, 125 g (1 cup) toasted or plain muesli (or the substitute 90 g oats + 50 g raisins), 1 cup seeds, 200 g sugar, 5 ml (1 tsp) salt, and the extra 5 ml (1 tsp) baking powder listed.
- In a separate bowl whisk together the wet ingredients: 3 lightly beaten eggs, 200 ml sunflower oil, 500 ml buttermilk and 400 g melted butter. Ensure the melted butter has cooled slightly so it is warm rather than very hot before adding to the eggs.
- Make a well in the dry mixture, pour in all the wet ingredients and mix with a wooden spoon until everything is combined. The mixture will be quite sticky — you can use clean hands if needed to finish combining.
- Divide the mixture between the two prepared trays and spread evenly to an even thickness, smoothing the tops.
- Bake at 180°C for about 30 minutes, or until the tops are golden brown and the mixture is set.
- Remove the trays from the oven and allow the loaves to cool in the pans until firm enough to handle. Transfer to a cutting board and let cool completely before cutting.
- Once completely cool, cut the loaves into fingers or squares with a sharp knife or electric carving knife.
- Arrange the cut rusks back on the baking trays in a single layer for drying. If you are short of tray space you may stand them on their sides and pack them close together, but do not overlap or stack pieces on top of each other.
- Dry the rusks in a low oven: either at 60°C for about 6–9 hours, or at 100°C (fan forced) for about 4–5 hours. Turn the rusks once or twice during drying so they dry evenly.
- When dry, turn the oven off and you may leave the rusks in the cooling oven or remove them to cool completely. Store cooled rusks in an airtight container.
Equipment
- Oven
- Large Mixing Bowl
- Wooden Spoon
- baking trays with sides
- baking paper
- Cutting Board
- Sharp Knife
Notes
These will keep in a sealed container for about a month.


