
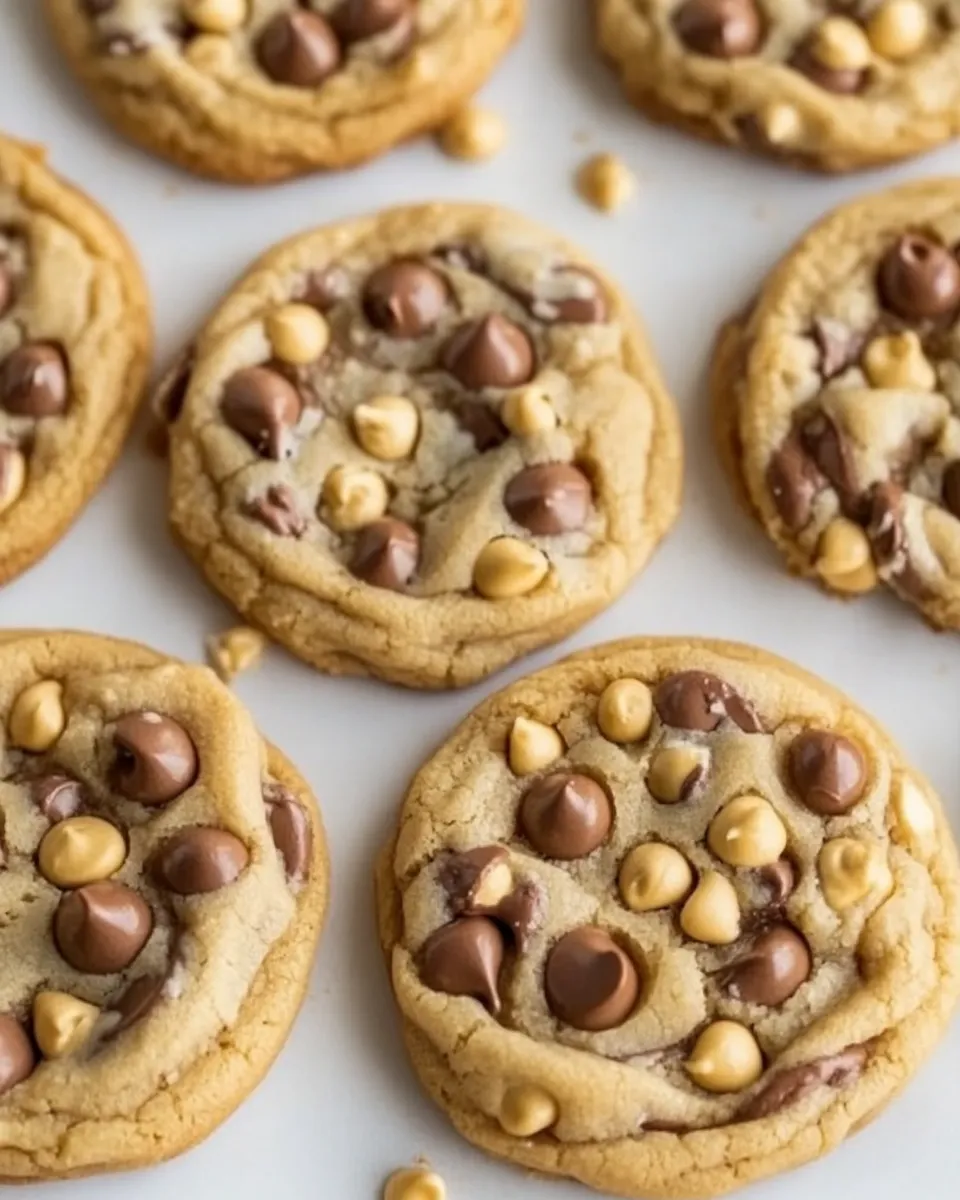
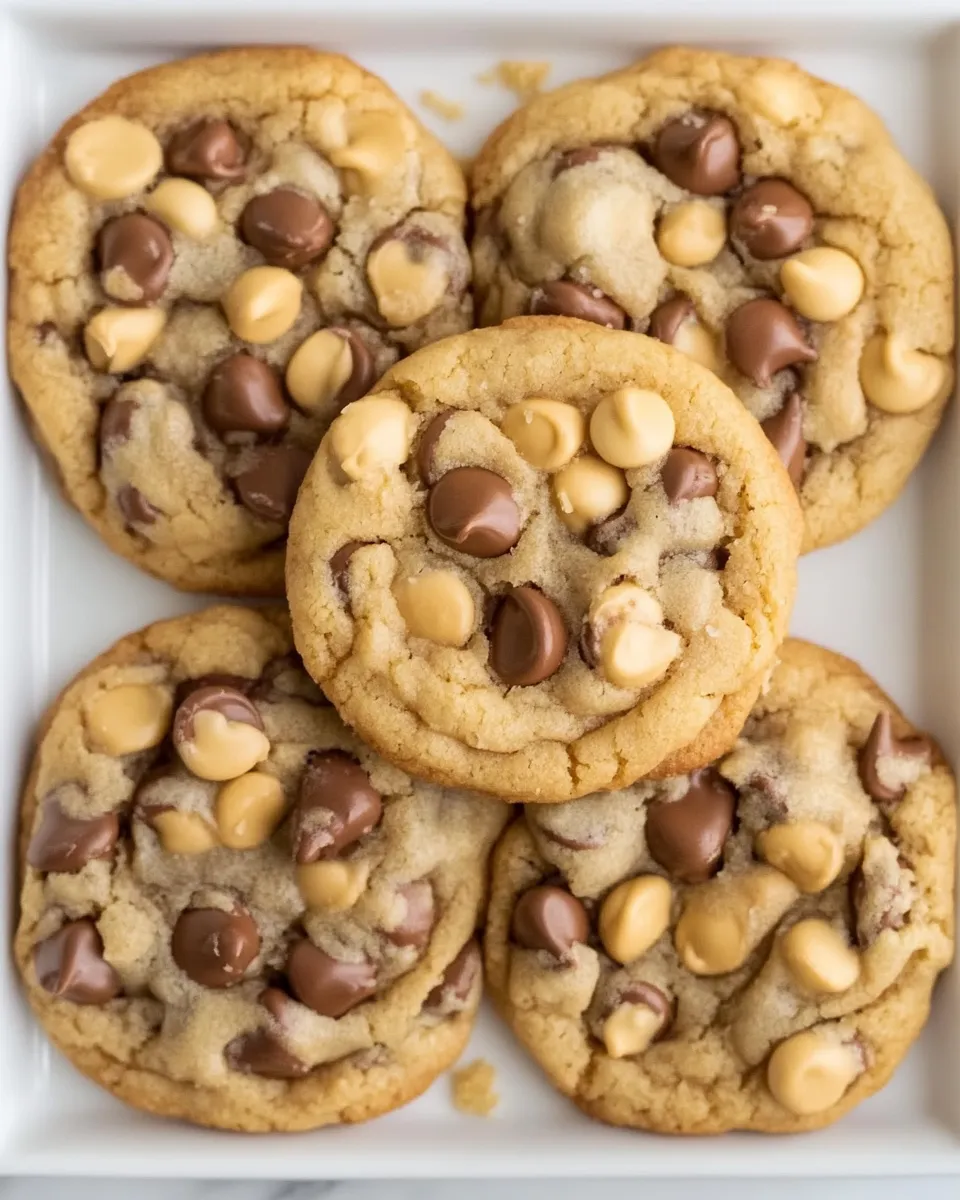
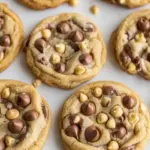
I bake because chocolate and caramel together feel like a small celebration. These Caramilk Cookies do exactly that: pockets of caramelized white chocolate scattered through buttery cookie dough. They hold their shape, brown nicely, and deliver a soft center with pockets of molten sweetness.
The recipe is straightforward and forgiving, which makes it perfect for an afternoon project or a last-minute bake to impress friends. I’ll walk you through the ingredients, the exact steps, and the little tricks I use to get consistent results.
Read on for the precise ingredient list, the step-by-step guide straight from the recipe, and practical notes on timing, storage, and simple swaps if you’re missing something in the pantry.
What You’ll Need
This section covers both ingredients and tools so you have everything ready before you start. Measure carefully, chill when instructed, and use parchment—those three moves keep these cookies trouble-free.
Ingredients
- 1 3/4cup + 1 tablespoonall purpose flouror gluten free all purpose flour — provides the cookie structure; spoon into the cup and level for accuracy.
- 1teaspoonbaking powder — light lift and a bit of rise.
- 1/2teaspoonbaking soda — helps spread and creates a soft interior.
- 1/4teaspoonsalt — balances sweetness; don’t skip it.
- 1/3cup + 3 tablespoonswhite sugar — for sweetness and some crisping at the edges.
- 1/2cupbrown sugarI used light brown sugar — adds moisture and caramel notes.
- 1/3cup + 2 tablespoonsoilI used vegetable oil — keeps the cookies tender; neutral oils work best.
- 1teaspoonvanilla extract — rounds flavor and enhances the Caramilk.
- 1/4cupmilk of choiceI used unsweetened almond milk — hydrates the dough; any milk works.
- 1cupCaramilk baking chipsor chopped Caramilk chocolate * See notes — the star ingredient; provides caramelized white chocolate pockets.
- 1/2cupchocolate chips of choiceoptional — optional; adds contrast if you like classic chocolate with the Caramilk.
Caramilk Cookies: Step-by-Step Guide
- In a large bowl, whisk together 1 3/4 cup + 1 tablespoon all-purpose flour (or gluten-free all-purpose flour), 1 teaspoon baking powder, 1/2 teaspoon baking soda, and 1/4 teaspoon salt. Set the dry mixture aside.
- In a separate bowl, whisk until smooth and glossy: 1/3 cup + 3 tablespoons white sugar, 1/2 cup brown sugar, 1/3 cup + 2 tablespoons oil, 1 teaspoon vanilla extract, and 1/4 cup milk of choice.
- Pour the dry ingredients into the wet ingredients and gently stir until just combined and no large streaks of flour remain. Do not overmix.
- Fold in 1 cup Caramilk baking chips (or chopped Caramilk chocolate) and 1/2 cup chocolate chips if using.
- Line a large baking sheet with parchment paper. Divide the dough into 16 equal portions and form into balls. Place the 16 dough balls on the prepared sheet, spacing them about 2 inches apart. Cover the tray completely (for example with plastic wrap) and refrigerate for at least 1 hour.
- When ready to bake, place an oven rack in the middle position and preheat the oven to 180°C / 350°F.
- Bake the chilled cookie dough balls on the prepared sheet for 10–12 minutes, until the edges just begin to set and turn lightly golden (centers may still look slightly soft).
- Remove the baking sheet from the oven and let the cookies cool on the sheet for about 5 minutes, then transfer the cookies to a wire rack (or leave on the parchment-lined sheet) to cool completely.
Why It Deserves a Spot
These cookies are a simple way to turn a single chocolate bar into a show-stopping treat. Caramilk brings a distinct caramelized white chocolate flavor that you don’t get from ordinary white chips. The dough is balanced: not too sweet, with a soft center and just enough edge crisp.
They’re versatile. Bake a batch for school lunches, bring them to a casual dinner, or box a few as a thoughtful gift. They also scale well—you can halve the recipe for a smaller treat or double it for a crowd without changing technique.
What to Use Instead
If you can’t find Caramilk baking chips or the exact bar, here are practical substitutions that keep the spirit of the cookie:
- White chocolate baking chips — closest textural match; flavor will be less caramelized.
- Chopped white chocolate plus a teaspoon of caramel sauce swirled into the dough — adds caramel notes but watch the moisture.
- Just chocolate chips (milk or semisweet) — will shift these toward a classic chocolate chip cookie, still delicious.
For dietary concerns, use a gluten-free all-purpose flour blend and ensure your chips are gluten-free. Swap dairy milk for your preferred plant milk as the recipe already suggests.
Hardware & Gadgets
- Bowl set — at least two bowls, one for wet and one for dry ingredients.
- Whisk and spatula — whisk to blend wet ingredients, spatula to fold without overmixing.
- Baking sheet and parchment paper — parchment is the easiest way to prevent sticking and helps even browning.
- Scoop or scale — a 16-portion divide is easiest with a medium cookie scoop or a kitchen scale for consistent size.
- Plastic wrap or airtight container — to cover the tray while chilling the dough.
- Wire rack — for cooling so bottoms don’t steam and soften.
Easy-to-Miss Gotchas
Small missteps change texture quickly. Here’s what to watch for:
- Overmixing after adding flour — this develops gluten and makes a tougher cookie. Stir until just combined.
- Skipping the chill — chilling firms the fat and controls spread. Bake chilled dough for the proper texture.
- Using too much oil — measure carefully. The recipe calls for 1/3 cup + 2 tablespoons; too much makes cookies flat.
- Not spacing dough balls — they should be about 2 inches apart. Crowding bakes them into one large sheet.
- Baking until the centers look fully done — centers should still look slightly soft at 10–12 minutes. They firm up as they cool.
In-Season Swaps
Cookies aren’t seasonal in the traditional sense, but you can lean into seasonal flavors:
- Autumn — stir in 1/2 teaspoon ground cinnamon or a pinch of nutmeg with the dry ingredients.
- Winter — add a few teaspoons of finely chopped toasted hazelnuts for crunch and warmth.
- Spring/Summer — fold in 1/4 cup toasted coconut for a lighter, tropical note alongside the Caramilk.
These swaps change flavor but not method. Add small amounts so you don’t upset dough hydration or bake times.
Behind-the-Scenes Notes
Why this dough is forgiving: it uses oil instead of butter, which keeps the cookies tender and slows down firming in the fridge. That said, oil also encourages a softer edge, so chilling is the step that preserves shape and controls spread.
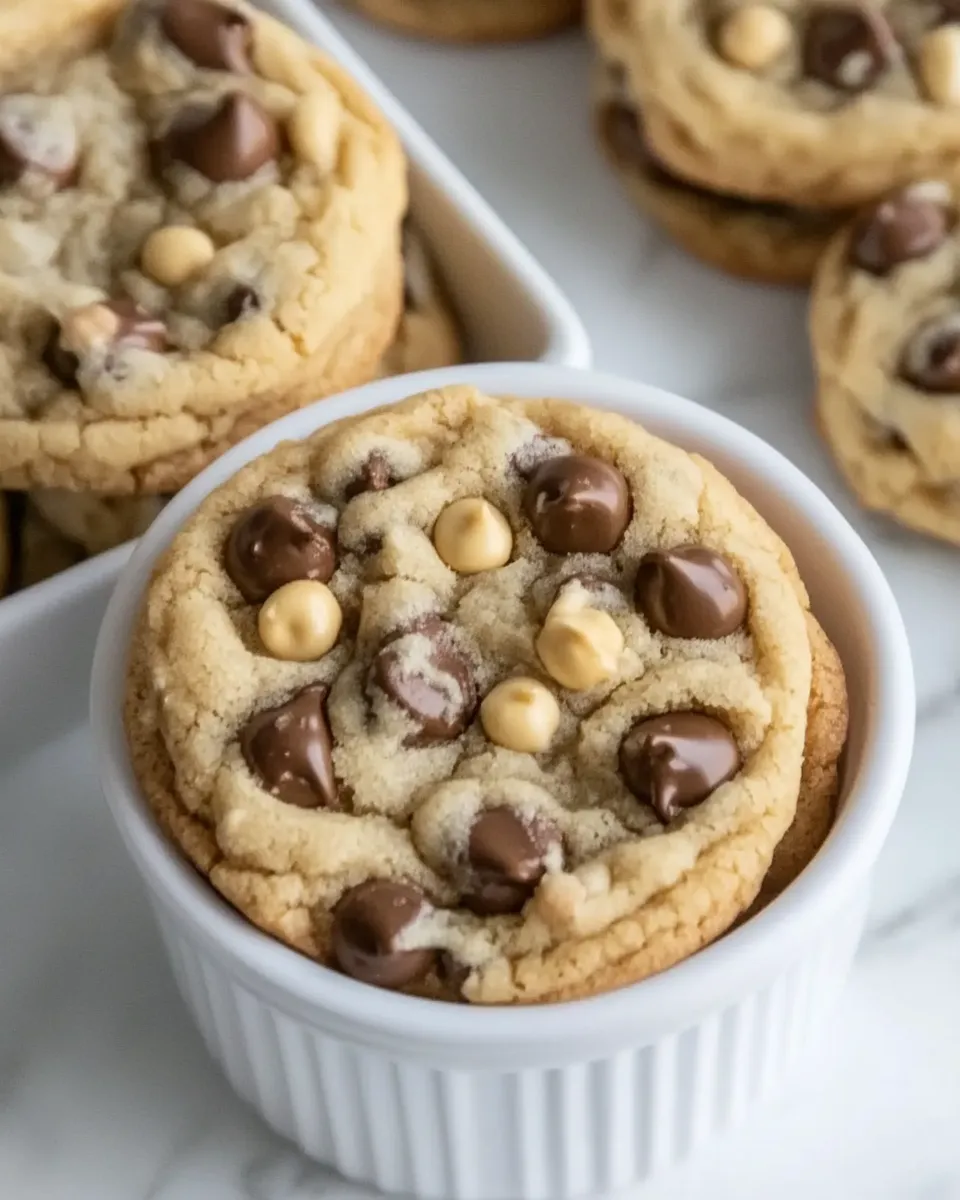
Caramilk chocolate behaves differently than standard chocolate chips. It melts and softens quickly, so the chilling step is even more important when using chopped Caramilk pieces. When you bite into a warm cookie, those caramelized white chocolate pockets should feel luxuriously gooey without draining into the tray.
Prep Ahead & Store
Make Ahead
Prepare the dough, portion it into 16 balls, cover the tray tightly, and refrigerate for at least 1 hour or up to 48 hours. Longer chilling deepens flavor and improves texture.
Freezing
Freeze the dough balls on a tray for 1–2 hours, then transfer to a labeled freezer bag for up to 3 months. Bake from frozen—add 1–2 minutes to the bake time.
Storage
Store baked cookies in an airtight container at room temperature for up to 4 days. For longer storage, freeze baked cookies between layers of parchment for up to 3 months. Thaw at room temperature.
Quick Q&A
- Can I use butter instead of oil? — The recipe uses oil for tenderness. You can swap melted butter, but expect slightly different texture and a faster spread.
- Do I have to chill the dough? — Yes. Chilling firms the dough and prevents excessive spreading, especially important with Caramilk.
- Why are my cookies cakey? — Possibly too much flour, overmixing, or too short a bake. Measure flour properly and mix gently.
- Can I make smaller or larger cookies? — Yes. Adjust bake time: smaller cookies need less time, larger ones need more. Start checking a minute or two earlier than you expect.
Ready, Set, Cook
Line your sheet, measure carefully, and give the dough that important chill. Set your timer for 10 minutes and check for lightly golden edges—then resist the urge to overbake. Let the cookies rest briefly on the warm sheet so the centers finish setting; this guarantees a tender bite without being raw.
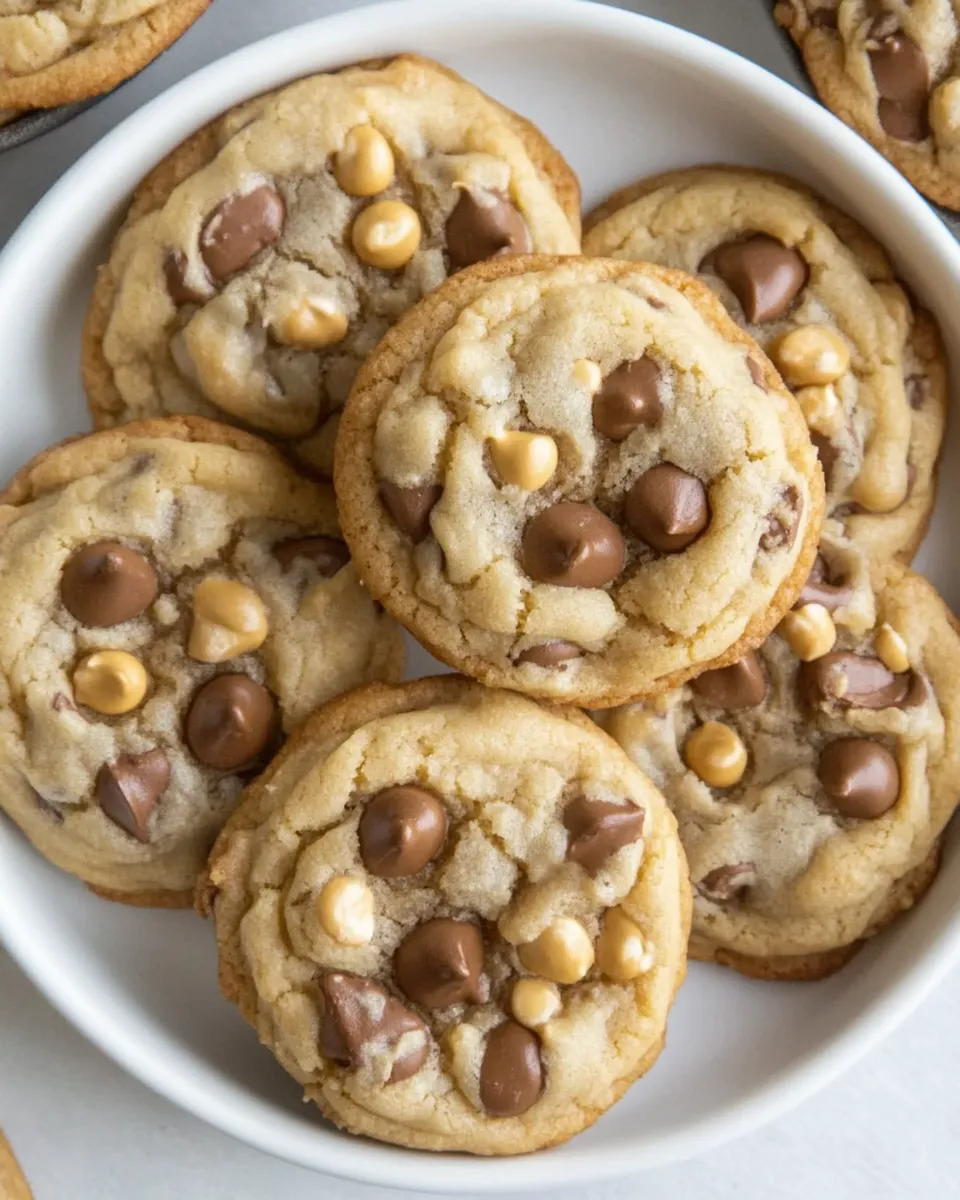
Once cooled, tuck a stack into a tin or enjoy them warm with a glass of milk. These Caramilk Cookies are reliably comforting and easy to scale when you want more (or fewer) to share. Happy baking—bake with intention, not hurry, and you’ll get the best out of every batch.
Caramilk Cookies
Ingredients
Ingredients
- 1 3/4 cup + 1 tablespoonall purpose flouror gluten free all purpose flour
- 1 teaspoonbaking powder
- 1/2 teaspoonbaking soda
- 1/4 teaspoonsalt
- 1/3 cup + 3 tablespoonswhite sugar
- 1/2 cupbrown sugarI used light brown sugar
- 1/3 cup + 2 tablespoonsoilI used vegetable oil
- 1 teaspoonvanilla extract
- 1/4 cupmilk of choiceI used unsweetened almond milk
- 1 cupCaramilk baking chipsor chopped Caramilk chocolate * See notes
- 1/2 cupchocolate chips of choiceoptional
Instructions
Instructions
- In a large bowl, whisk together 1 3/4 cup + 1 tablespoon all-purpose flour (or gluten-free all-purpose flour), 1 teaspoon baking powder, 1/2 teaspoon baking soda, and 1/4 teaspoon salt. Set the dry mixture aside.
- In a separate bowl, whisk until smooth and glossy: 1/3 cup + 3 tablespoons white sugar, 1/2 cup brown sugar, 1/3 cup + 2 tablespoons oil, 1 teaspoon vanilla extract, and 1/4 cup milk of choice.
- Pour the dry ingredients into the wet ingredients and gently stir until just combined and no large streaks of flour remain. Do not overmix.
- Fold in 1 cup Caramilk baking chips (or chopped Caramilk chocolate) and 1/2 cup chocolate chips if using.
- Line a large baking sheet with parchment paper. Divide the dough into 16 equal portions and form into balls. Place the 16 dough balls on the prepared sheet, spacing them about 2 inches apart. Cover the tray completely (for example with plastic wrap) and refrigerate for at least 1 hour.
- When ready to bake, place an oven rack in the middle position and preheat the oven to 180°C / 350°F.
- Bake the chilled cookie dough balls on the prepared sheet for 10–12 minutes, until the edges just begin to set and turn lightly golden (centers may still look slightly soft).
- Remove the baking sheet from the oven and let the cookies cool on the sheet for about 5 minutes, then transfer the cookies to a wire rack (or leave on the parchment-lined sheet) to cool completely.
Equipment
- Large Bowl
- Mixing Bowl
- Baking Sheet
- Parchment Paper
- Wire Rack
- Plastic Wrap
- Oven
Notes
* For a vegan option, use vegan white chocolate chips.
TO STORE
: Cookies will keep at room temperature, in a sealed container, for up to 2 weeks. If you’d like them to keep longer, you can store them in the refrigerator.
TO FREEZE
: Place leftover cookies in a ziplock bag and store them in the freezer for up to 6 months.


