
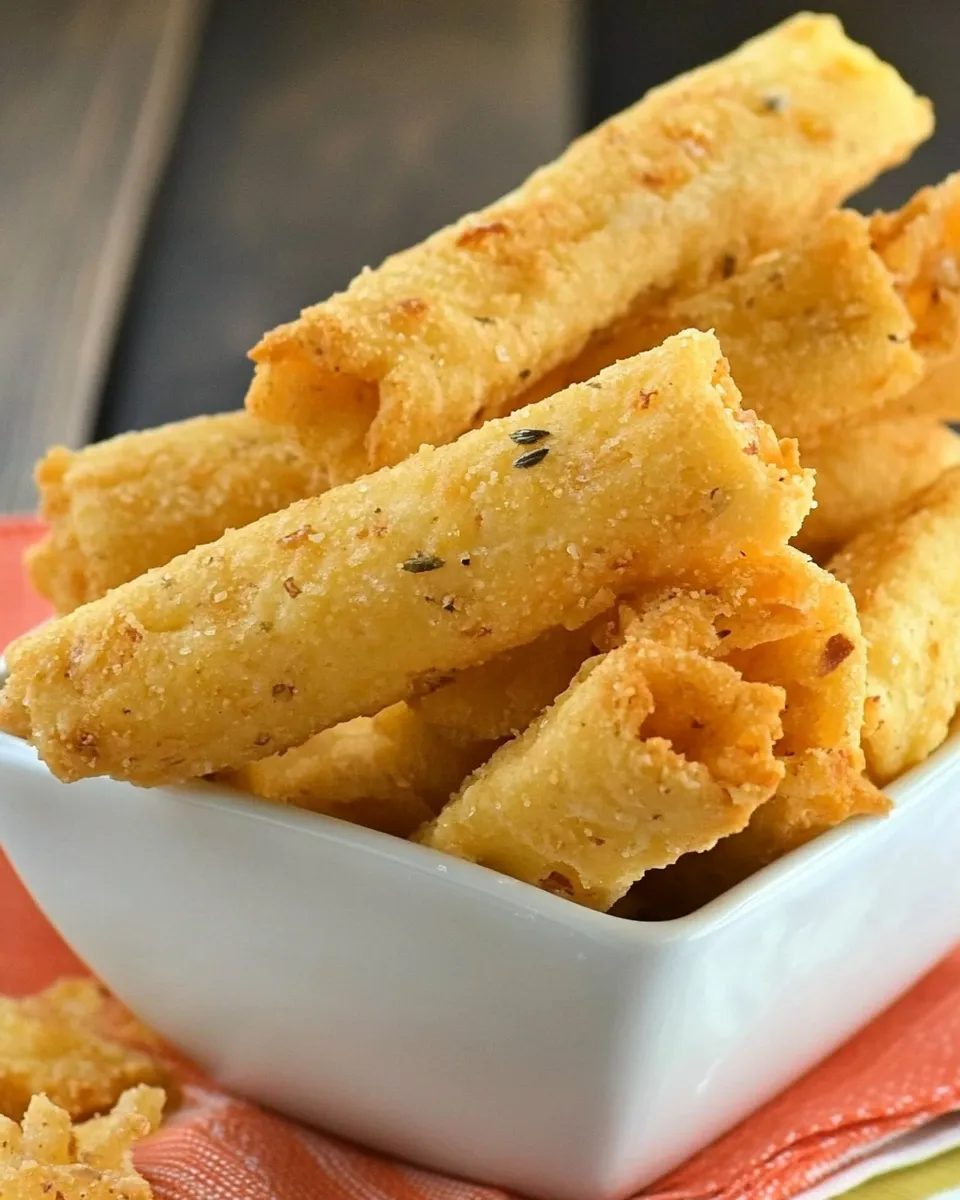
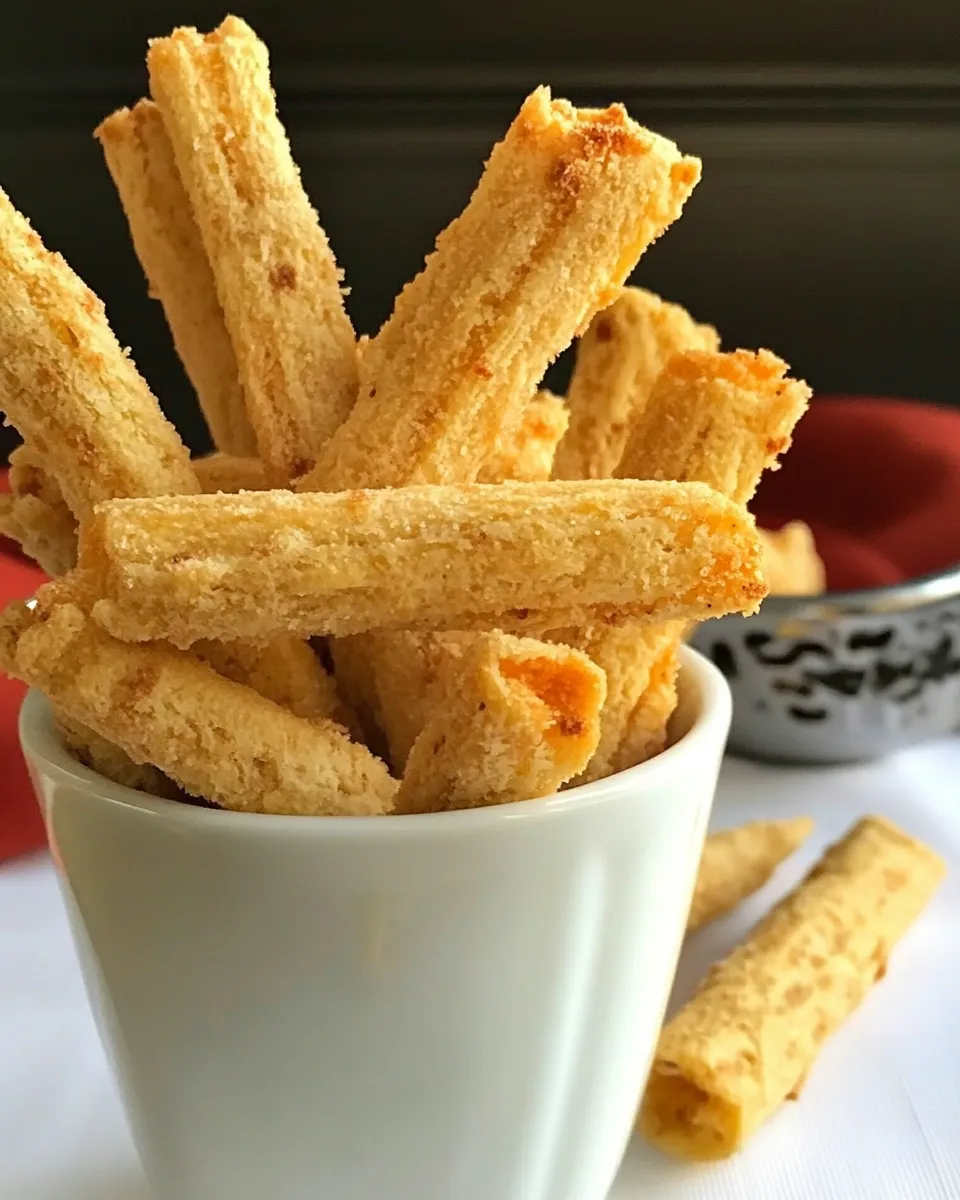
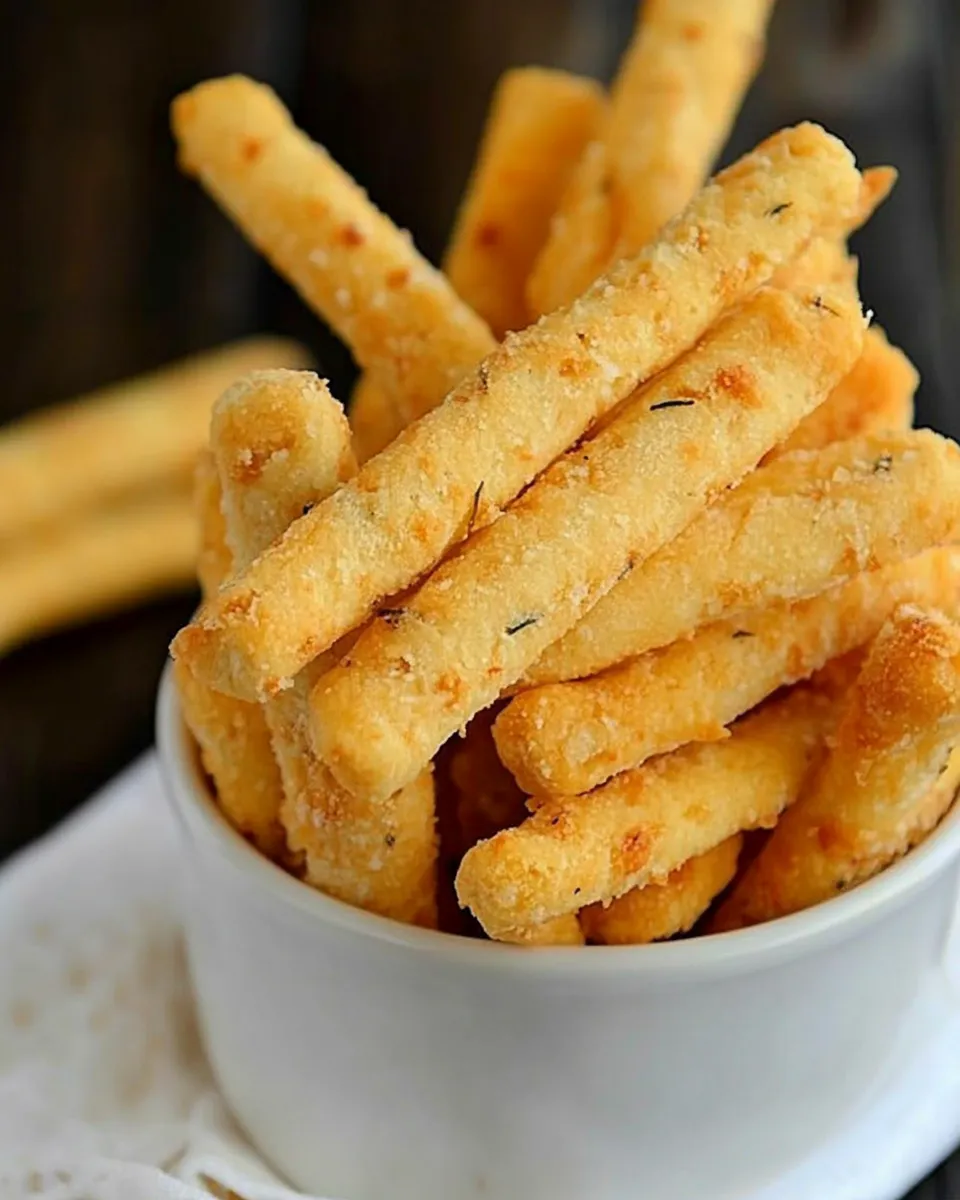
These cheese straws live in my go-to snack rotation. They’re straightforward to make, wonderfully addictive, and perfect for a late-afternoon nibble with tea or a cocktail hour crowd. The dough is forgiving and comes together quickly — mostly in the mixer — so you can plan the rest of your day around the oven time rather than complicated prep.
They rely on a few simple building blocks: butter for richness, extra-sharp cheddar for punch, and a whisper of rosemary and granulated garlic to keep every bite savory and interesting. The texture is crisp at the edges with a tender snap in the center when they cool properly.
If you want a reliable savory cookie that doubles as an elegant appetizer, these are it. I’ll walk you through exact steps, share tools that make life easier, and flag the common slip-ups so you don’t have to learn them the hard way.
What’s in the Bowl
This recipe balances fat and flour to create a dough that’s easy to roll and holds its shape while baking. The cheddar provides the main flavor; butter carries the cheese and helps the straws develop the right crispness. Rosemary adds a savory lift and granulated garlic layers in that familiar umami note. A pinch of cayenne is optional if you want a subtle background warmth.
The quantities are generous enough that you’ll have bright, concentrated cheddar flavor in every strip. Letting the butter and cheese come to room temperature before you begin helps everything blend smoothly and keeps the dough from overworking.
Ingredients
- ¾ cup unsalted butter — room temperature; provides richness and helps the dough roll smoothly.
- 3 ½ cups Sargento® Off The Block® Extra Sharp Cheddar Cheese – Traditional Cut — room temperature; main flavor driver, use the specified sharpness for best results.
- 1 heaping tablespoon finely chopped fresh rosemary — adds a bright, piney note that complements the cheddar.
- 2 cups all-purpose flour — the structure of the straws; measure accurately for texture.
- ¼ teaspoon cayenne pepper — optional; adds a subtle heat if you want it.
- 2 ½ teaspoons granulated garlic — lends savory depth without adding moisture.
- ¾ teaspoon fine sea salt — balances and enhances the other flavors; adjust slightly based on the saltiness of your cheese.
How to Prepare Cheese Straws
- Preheat oven to 375°F. Line a baking sheet with parchment paper.
- In the bowl of a stand mixer fitted with the paddle attachment, or in a large bowl with an electric mixer, beat the ¾ cup unsalted butter and 3 ½ cups cheddar cheese on medium speed about 2 minutes, until smooth and combined. Add 1 heaping tablespoon finely chopped fresh rosemary and mix briefly to distribute. Scrape down the bowl and paddle as needed.
- In a medium bowl, whisk together 2 cups all-purpose flour, ¼ teaspoon cayenne pepper (if using), 2 ½ teaspoons granulated garlic, and ¾ teaspoon fine sea salt until evenly combined.
- With the mixer on low, add the flour mixture to the butter-cheese mixture in 2–3 additions, mixing just until a soft dough forms and no large streaks of flour remain. Stop to scrape the bowl as needed.
- Lightly flour a work surface. Turn the dough onto the surface and gently press or knead it just until it comes together into a cohesive rectangle. Use a rolling pin to roll the dough to 1/2-inch thickness.
- Use a pizza cutter or sharp knife to cut the dough into strips. Transfer the strips to the prepared baking sheet, spacing them about 1 inch apart.
- Bake on the center rack for 12–14 minutes, or until the cheese straws are crisp and lightly golden.
- Remove from the oven and transfer the cheese straws to a wire rack to cool before serving.
Why This Recipe is a Keeper
What makes these cheese straws stick in my repertoire is their balance of ease and personality. They don’t require chilling time or folding steps. You mix, shape, and bake. The 1/2-inch thickness is forgiving: go a touch thicker for a slightly tender center, or a touch thinner for extra crunch.
The flavor profile is tested to be bold without overwhelming. Using extra-sharp cheddar means you can taste the cheese clearly even with the rosemary and garlic working in the background. They travel well, scale up easily for a party, and freeze if you want to make ahead.
Dairy-Free/Gluten-Free Swaps

If you need to adapt, keep in mind this recipe depends on the flavor and texture of sharp cheddar and all-purpose flour. Here are conservative swap ideas that preserve intent while acknowledging differences.
- Dairy-Free: Use a firm dairy-free buttery spread that behaves like butter when creamed. Substitute a dairy-free hard cheese alternative that’s designed for baking and has a strong flavor. Results will differ; expect a milder, slightly different texture.
- Gluten-Free: Swap the all-purpose flour for a 1:1 gluten-free baking blend that contains xanthan gum. That helps bind the dough and hold the shape. Dough may be more fragile—handle gently.
Equipment Breakdown
- Stand mixer with paddle attachment — speeds up the blending of butter and cheese; optional but convenient.
- Electric hand mixer — a fine alternative if you don’t have a stand mixer.
- Rolling pin — for getting an even 1/2-inch thickness.
- Pizza cutter or sharp knife — cuts clean strips for even baking.
- Baking sheet and parchment paper — parchment prevents sticking and keeps bottoms from over-browning.
- Wire rack — essential for cooling so the straws crisp properly.
Slip-Ups to Skip
There are a few repeat mistakes I see when people try quick savory bakes like this:
- Starting with cold butter or cheese: If your butter or cheese are too cold, the mixer won’t incorporate them smoothly and you’ll end up overmixing when you try to combine flour—this makes the straws tougher. Aim for room temperature.
- Overworking the dough: Kneading or mixing past the point of cohesion develops gluten and yields a dense result. Mix the flour in just until no large streaks remain, then handle gently.
- Rolling unevenly: If the dough is much thinner in parts, those strips will bake through faster and can burn. Roll to the targeted 1/2-inch and measure visually across the surface if needed.
- Crowding the pan: Give each strip about 1 inch of space. Overcrowding traps steam and prevents crisping.
Warm & Cool Weather Spins
These straws are welcome year-round. In warm weather, they make a sturdy snack for picnics since they won’t sweat and soften like cheese spreads can. Keep them in an airtight box in a cool, shaded spot for a few hours.
In cool weather, they pair beautifully with soups, stews, and hearty salads. You can also serve them alongside a cheese board with mustard or preserves. If you like a seasonal twist, try adding a drop of orange zest to the dough in winter for a bright counterpoint to the cheddar.
Behind-the-Scenes Notes
I test variations with brands and different cheddars. The specified Sargento® Extra Sharp holds up well because it has a concentrated flavor and low moisture for baking. If you use a younger cheddar, the flavor will be milder and the texture slightly softer; that’s fine if you prefer a subtler cheese note.
Finely chopping the rosemary prevents woody bits in the final straws. If your rosemary leaves are large, strip them from the stem and chop them very small so they distribute evenly and don’t create weak points in the dough.
Storing Tips & Timelines
Once cooled completely, store the cheese straws in an airtight container at room temperature for up to 4 days. Put a paper towel in the container if your climate is humid; it will absorb any stray moisture and keep the straws crisper longer.
For longer storage, freeze on a baking sheet until solid, then transfer to a labeled freezer bag. They’ll keep well for up to 2 months. Re-crisp by reheating in a 350°F oven for 5–8 minutes straight from the freezer — watch closely so they don’t brown too much.
Ask & Learn
Common reader questions I answer often: Can I make the dough ahead? Yes—form it, wrap it tightly, and refrigerate for up to 24 hours. If you want to slice chilled dough, remember it will firm up and be easier to cut cleanly. Do I need to brush with egg wash? No — these are fine without any coating; the cheese and butter brown naturally.
If you’d like the straws thinner and crispier, roll to about 1/4-inch and watch baking time closely; they’ll need less time. If you prefer thicker, for a slightly tender bite, keep them at 1/2-inch or a hair thicker and expect the center to be a touch softer.
Ready, Set, Cook
Preheat your oven, line that baking sheet, and gather the ingredients. Work with room-temperature butter and cheese, whisk the dry ingredients, and mix just until the dough holds. Roll to 1/2-inch thickness, cut into strips, and give them space on the pan. Bake 12–14 minutes until lightly golden, then cool on a wire rack so they reach peak crispness.
These cheese straws are a reliable, tasty little project. They reward simple care with wonderful flavor and texture, and once you make them a couple of times you’ll know exactly how your oven and rolling style affect the final bite. Enjoy — and don’t be surprised if they disappear fast at your next gathering.

Cheese Straws
Ingredients
Ingredients
- 3/4 cupunsalted butterroom temperature
- 3 1/2 cupsSargento® Off The Block® Extra Sharp Cheddar Cheese – Traditional Cutroom temperature
- 1 heaping tablespoon finely chopped fresh rosemary
- 2 cupsall-purpose flour
- 1/4 teaspooncayenne pepperoptional
- 2 1/2 teaspoonsgranulated garlic
- 3/4 teaspoonfine sea salt
Instructions
Instructions
- Preheat oven to 375°F. Line a baking sheet with parchment paper.
- In the bowl of a stand mixer fitted with the paddle attachment, or in a large bowl with an electric mixer, beat the ¾ cup unsalted butter and 3 ½ cups cheddar cheese on medium speed about 2 minutes, until smooth and combined. Add 1 heaping tablespoon finely chopped fresh rosemary and mix briefly to distribute. Scrape down the bowl and paddle as needed.
- In a medium bowl, whisk together 2 cups all-purpose flour, ¼ teaspoon cayenne pepper (if using), 2 ½ teaspoons granulated garlic, and ¾ teaspoon fine sea salt until evenly combined.
- With the mixer on low, add the flour mixture to the butter-cheese mixture in 2–3 additions, mixing just until a soft dough forms and no large streaks of flour remain. Stop to scrape the bowl as needed.
- Lightly flour a work surface. Turn the dough onto the surface and gently press or knead it just until it comes together into a cohesive rectangle. Use a rolling pin to roll the dough to 1/2-inch thickness.
- Use a pizza cutter or sharp knife to cut the dough into strips. Transfer the strips to the prepared baking sheet, spacing them about 1 inch apart.
- Bake on the center rack for 12–14 minutes, or until the cheese straws are crisp and lightly golden.
- Remove from the oven and transfer the cheese straws to a wire rack to cool before serving.
Equipment
- stand mixer with paddle attachment
- Electric Mixer
- Medium Bowl
- Rolling Pin
- Pizza cutter or sharp knife
- Baking Sheet
- Parchment Paper
- Wire Rack


