
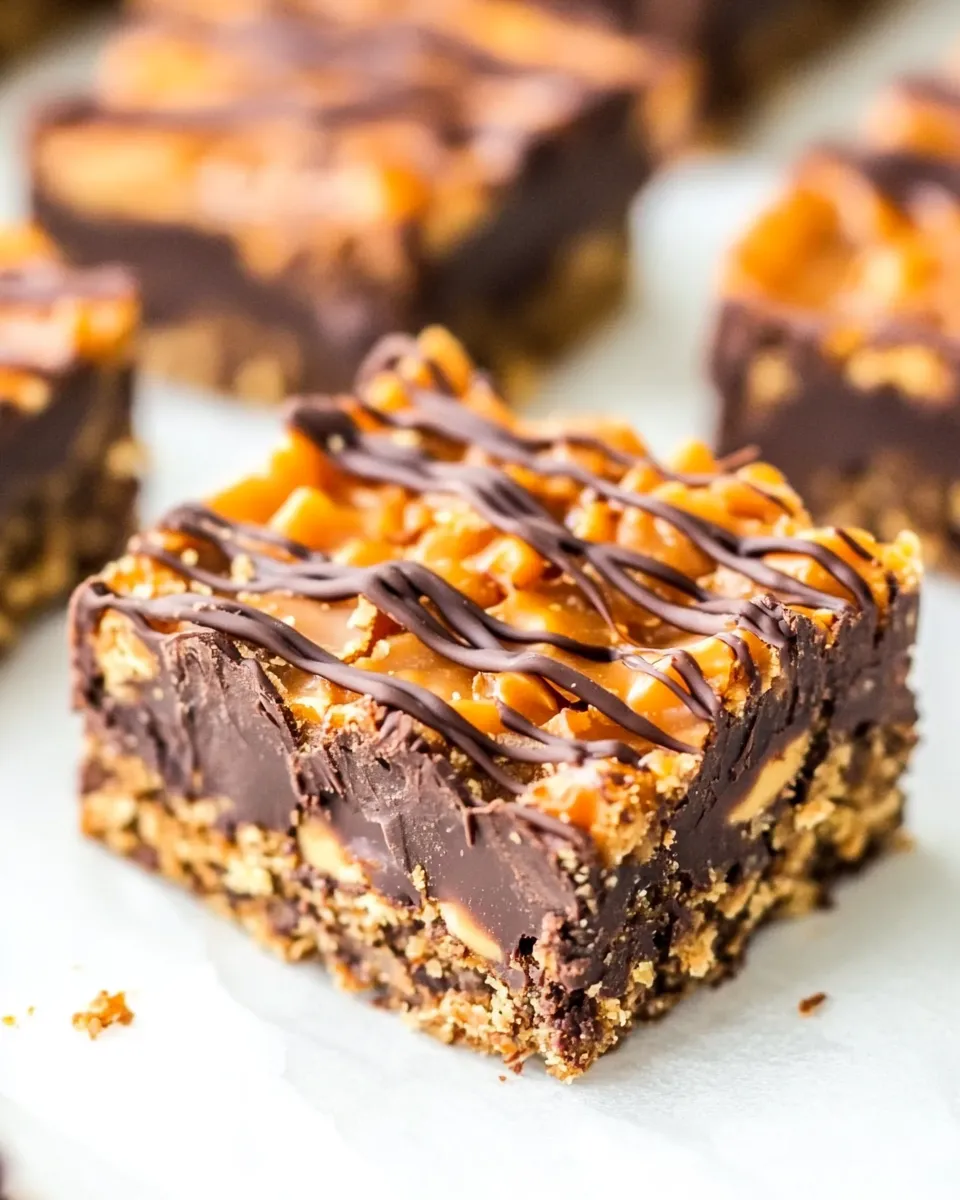
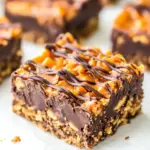
These bars are exactly what they sound like: chewy, peanut-buttery, chocolatey, and studded with crunchy Butterfinger pieces. They assemble quickly in the microwave and a little refrigeration time gives them the handheld, candy-bar texture everyone reaches for seconds after the first bite.
I keep the method intentional and straightforward: press a crisped-rice and peanut butter base into an 8-inch pan, pour a chocolate–peanut butter layer on top, then finish with Butterfinger pieces and a chocolate drizzle. No tempering, no stovetop juggling, and no specialty tools—just a few bowls, a spatula, and a microwave.
If you like treats you can slice, plate, and stash for a week (or longer in the freezer), this recipe will become a staple. Below you’ll find an ingredients list, the exact microwave steps to follow, troubleshooting tips, substitutions, storage guidance, and answers to common questions.
What You’ll Gather
Before you start, set out the ingredients and a few small tools. The recipe moves quickly once the microwave is on, so having everything within reach keeps the texture right and the layers neat. An 8-inch square pan gives you the proportion the instructions expect; a larger pan will make thinner bars.
Ingredients
- 1 heaping cup creamy peanut butter — use Jif, Skippy, or similar; do not use natural or homemade peanut butter.
- ½ cup light corn syrup — light-colored, not lite; helps bind and keeps the bars chewy.
- ½ cup granulated sugar — adds sweetness and structure to the base.
- ¼ cup light brown sugar, packed — contributes a touch of molasses flavor and chew.
- 1 tablespoon vanilla extract — brightens and rounds flavor.
- 3 tablespoons unsweetened natural cocoa powder — provides chocolate depth; Dutch-process may be substituted.
- 3 cups Rice Krispies — the crisped rice gives the bars their crunchy chew.
- about 1 cup crushed or diced Butterfinger — the candy pieces add the signature crunchy, flaky texture.
- 1 cup semi-sweet chocolate chips — melted with peanut butter to form the top chocolate layer.
- ¼ cup creamy peanut butter — used in the chocolate layer; again, use Jif, Skippy, or similar.
- ¼ cup semi-sweet chocolate chips — for melting and drizzling over the Butterfinger layer.
Chewy Chocolate Peanut Butter Butterfinger Bars, Made Easy
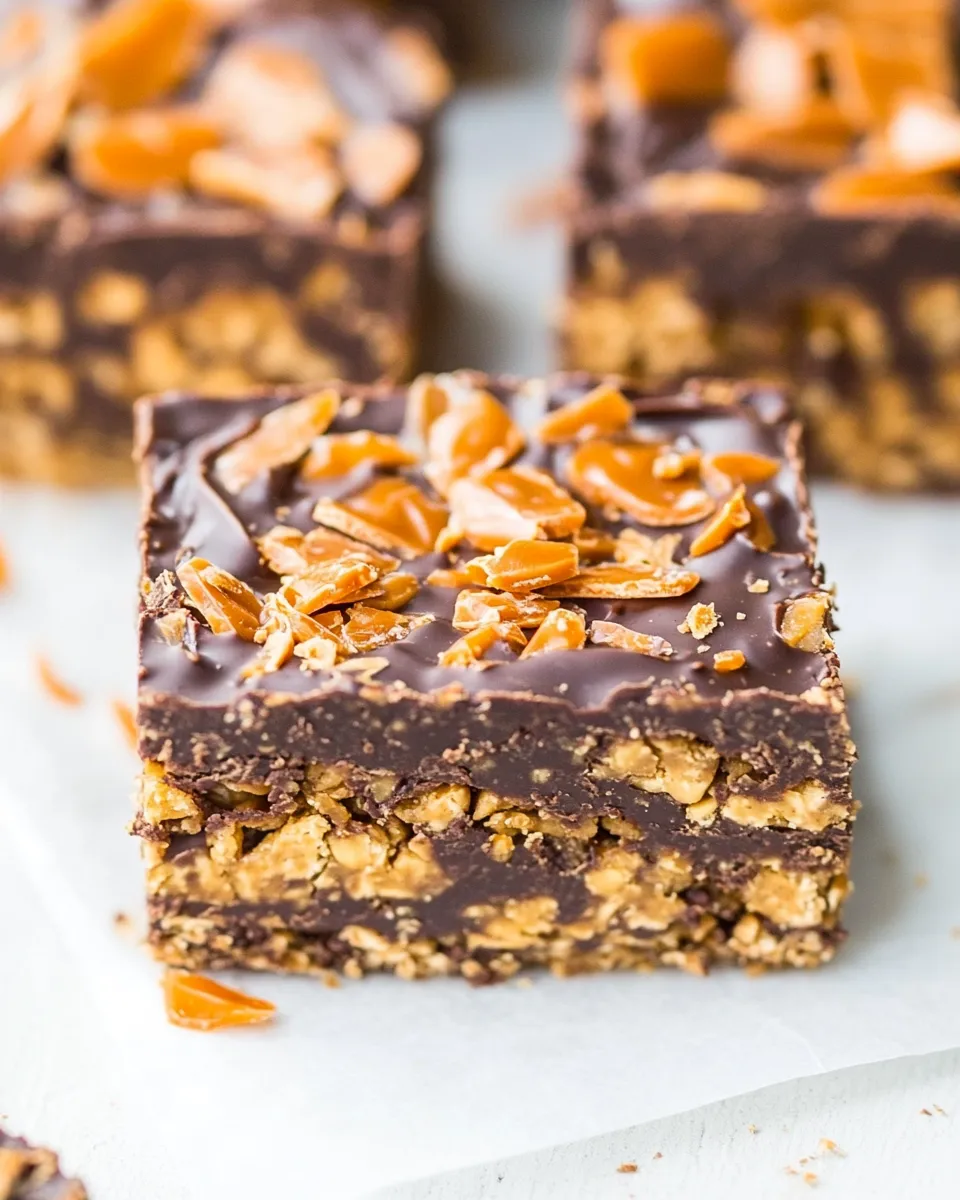
This recipe is written to be reliable. Follow the microwave times and the order of steps: build the peanut butter base, fold in the cereal, press into the pan, add the chocolate–peanut butter topping, sprinkle the Butterfinger pieces, and finish with a drizzle of chocolate. Chill until the layers are firm and slice.
Keep a spatula or flat-bottomed measuring cup handy to press the cereal base firmly into the pan—compact packing makes cleaner slices and keeps the bars from falling apart.
Why This Recipe is a Keeper
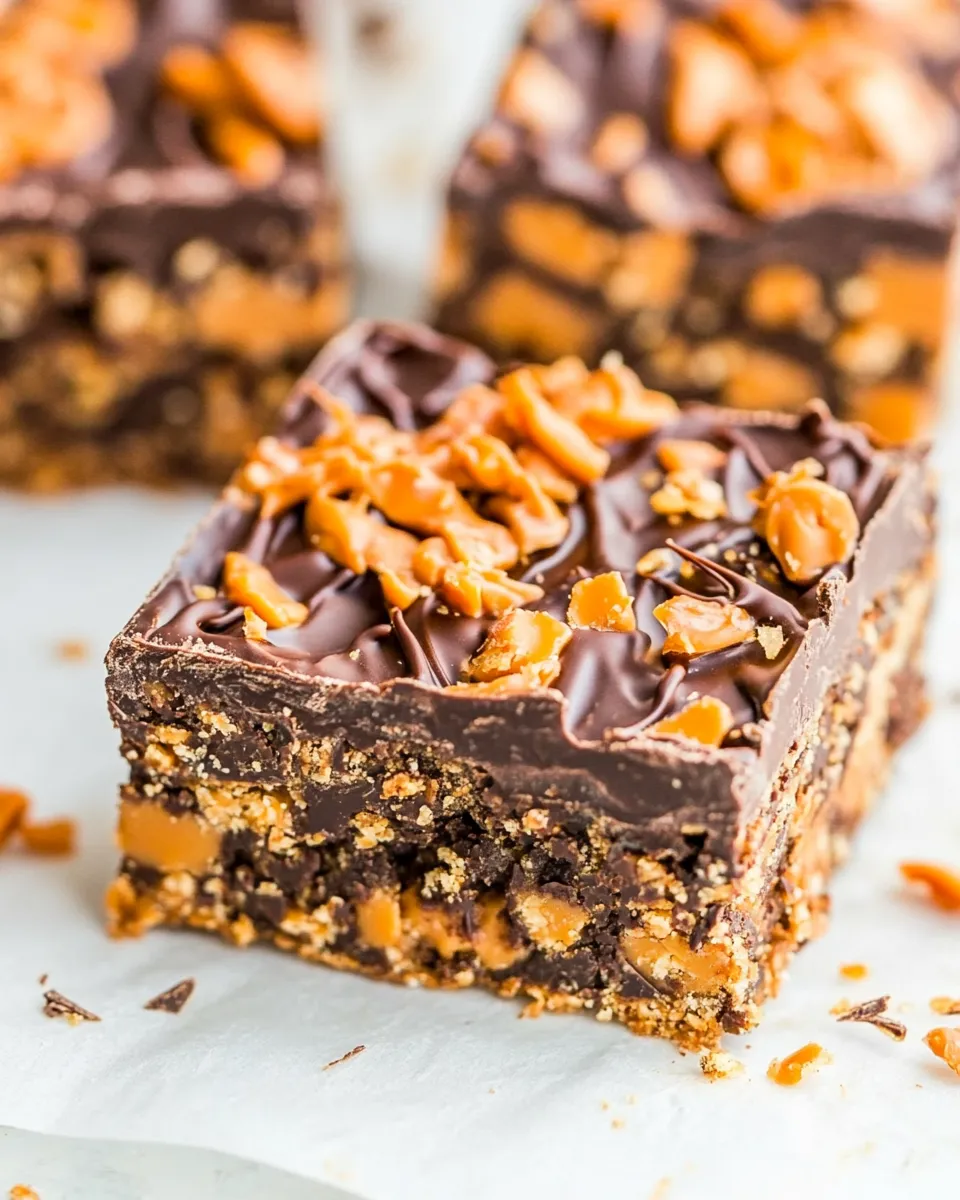
It hits three things most of us want in a homemade candy bar: speed, shelf stability, and texture contrast. The microwave method is fast and forgiving—two one-minute intervals soften the sugars and peanut butter, and a gentle extra stir smooths the mix. The Rice Krispies prevent the bar from being too dense while the Butterfinger pieces add a brittle crunch that contrasts the chewy foundation.
Portion control is easy: slice into squares for snacks, or into thinner bars for a candy-bar feel. These keep well at room temperature for several days and freeze without losing texture, so you can make a batch ahead for gatherings or for simple grab-and-go treats.
Finally, the recipe uses pantry-friendly ingredients—no specialty flours or equipment—so you can pull it together without a special trip to the store.
Smart Substitutions
- If you don’t have light corn syrup: light corn syrup is recommended for chew and shine. Golden syrup or a mix of honey and a little water can sometimes be used, but they alter flavor and set; use with caution and expect small texture differences.
- Cocoa powder swaps: You can use Dutch-process cocoa for a rounder chocolate note; flavor will be slightly different but still tasty.
- Chocolate chips: Semi-sweet chocolate chips are specified for balance. If you prefer sweeter bars, use milk chocolate; for darker bars, use dark chocolate chips—but note melting characteristics can vary slightly.
- Butterfinger pieces: If you can’t find Butterfinger, a similar crunchy, flaky peanut butter candy can stand in, but the unique Butterfinger texture is part of the charm.
What’s in the Gear List
- 8-inch square baking pan (lined with aluminum foil with an overhang for easy lifting).
- Large and medium microwave-safe bowls.
- Spatula for pressing and smoothing.
- Spoon for drizzling melted chocolate.
- Measuring cups and spoons.
Learn from These Mistakes
Here are the practical failures people often make and how to avoid them.
- Not lining the pan: Without foil overhang, lifting the set bars is messy and difficult. Line the 8-inch pan and leave an overhang on two sides.
- Underpacking the base: If you don’t press the cereal mixture firmly, the bars fall apart when cut. Use firm, even pressure—don’t skimp.
- Overheating the chocolate: Microwave in short bursts when smoothing the chocolate–peanut butter mixture. Chocolate scorches quickly; remove when mostly melted and stir to finish melting.
- Slicing too soon: Cutting while still cold from the fridge can create crumbly edges; let the lifted slab sit at room temperature 15 minutes before slicing for cleaner cuts.
Dietary Swaps & Alternatives
These bars use specific ingredients (notably corn syrup and standard Rice Krispies). If you need to change things for diet preferences, note the following:
- Gluten-free: Use certified gluten-free crispy rice cereal. Regular Rice Krispies may contain malt or traces of gluten depending on the brand.
- Nut allergies: This recipe is peanut-forward and not suitable for nut-free diets without major reworking. Substituting sunflower seed butter can work in some recipes, but this particular bar relies on the flavor and binding properties of creamy peanut butter; proceed with caution and test texture.
- Reduced sugar: The sugars and corn syrup are important for chew and set. Reducing them will change texture significantly. If needed, make smaller portions rather than altering ratios.
Method to the Madness
- Line an 8-inch square pan with aluminum foil, leaving an overhang on two sides for lifting the bars out later; spray the foil lightly with cooking spray. Set pan aside.
- In a large microwave‑safe bowl, combine 1 heaping cup creamy peanut butter, 1/2 cup light corn syrup, 1/2 cup granulated sugar, and 1/4 cup packed light brown sugar.
- Microwave the mixture on high for 1 minute. Remove and stir; the mixture may still be granular.
- Return the bowl to the microwave and heat on high for 1 more minute. Remove and stir until as smooth as possible.
- Stir in 1 tablespoon vanilla extract and 3 tablespoons unsweetened natural cocoa powder until evenly combined.
- Add 3 cups Rice Krispies and stir until the cereal is evenly coated with the peanut butter mixture.
- Turn the cereal mixture into the prepared pan. Use a spatula to press and pack the mixture firmly and evenly into the pan, smoothing the top. Set the pan aside.
- Crush or dice about 1 cup Butterfinger candy into small pieces and set aside.
- In a medium microwave‑safe bowl, combine 1 cup semi‑sweet chocolate chips and 1/4 cup creamy peanut butter. Microwave on high for 1 minute, remove and stir. If not smooth, heat in 15‑second bursts, stirring between each burst, until the mixture can be stirred smooth.
- Pour the chocolate–peanut butter mixture over the packed cereal base and spread evenly with a spatula.
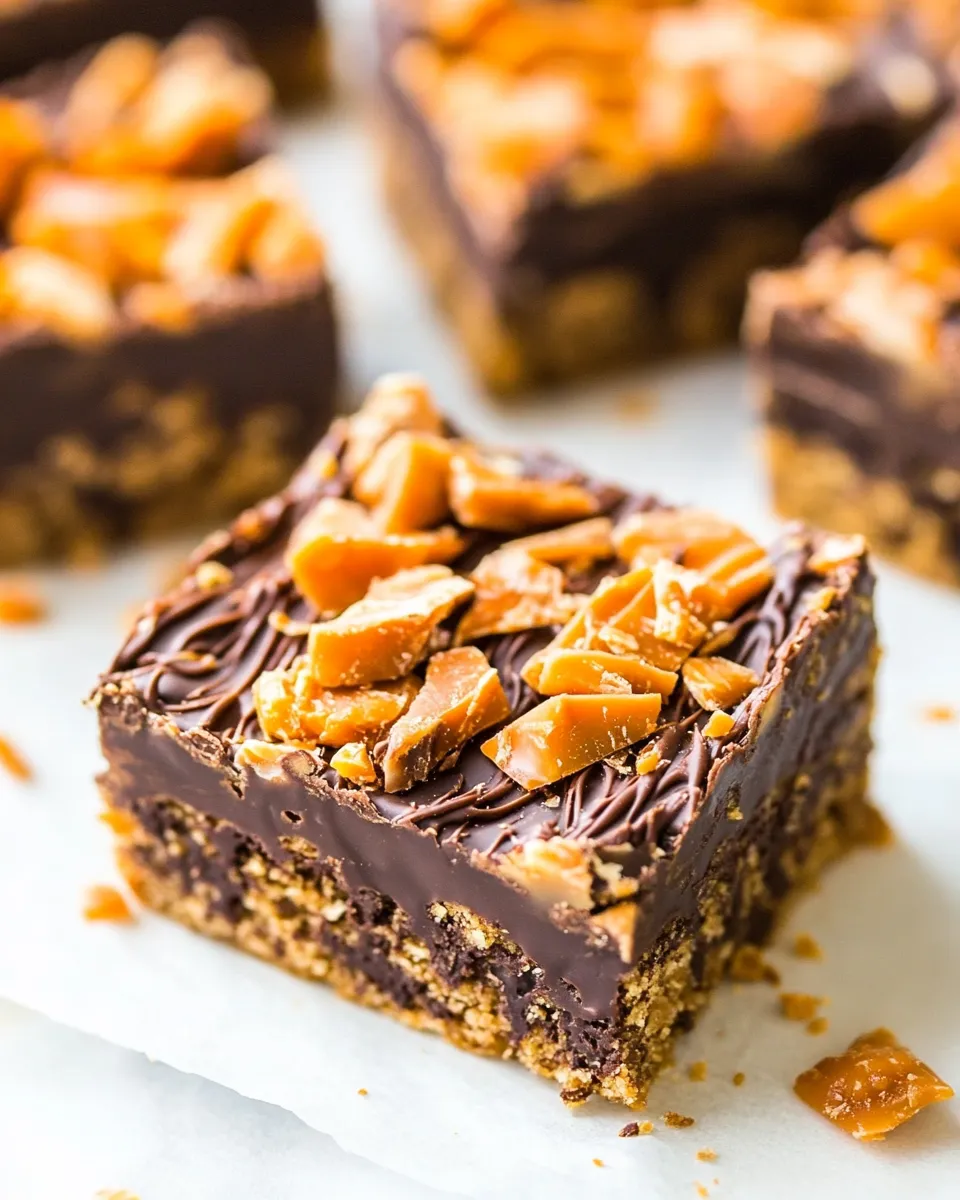
- While the chocolate layer is still wet, evenly sprinkle the crushed Butterfinger pieces over the top, pressing lightly so they adhere.
- In the same medium bowl (no need to wash), place 1/4 cup semi‑sweet chocolate chips. Microwave on high for 1 minute, remove and stir; if necessary heat in 15‑second bursts until smooth. Use a spoon to drizzle this melted chocolate evenly over the Butterfinger layer.
- Cover the pan loosely with foil and refrigerate for at least 3 hours or until the layers are completely set (overnight is fine).
- Lift the set bars from the pan using the foil overhang and place on a cutting surface. Let sit at room temperature about 15 minutes before slicing to make cleaner cuts. Store airtight at room temperature up to 1 week, in the refrigerator up to 2 weeks, or in the freezer up to 6 months.
Storage Pro Tips
Follow these tips to keep texture and flavor:
- Room temperature: Store airtight up to 1 week. Place parchment between layers to prevent sticking.
- Refrigerator: Keeps up to 2 weeks but can firm the bars slightly; let come to room temperature 10–15 minutes before serving.
- Freezer: Wrap tightly in plastic, then foil, and freeze up to 6 months. Thaw in the refrigerator overnight or at room temperature for an hour before slicing.
- Transport: Use a shallow, flat container with a tight lid. Pack in a single layer if possible to avoid crushing the Butterfinger pieces.
Frequently Asked Questions
Can I make this without a microwave?
Yes. Use a double boiler to gently heat and combine the peanut butter, corn syrup and sugars for the base, and melt the chocolate and peanut butter over low heat for the topping. Watch temperatures and stir constantly to prevent scorching.
Why does the recipe insist on non-natural peanut butter?
Commercial creamy peanut butters like Jif and Skippy contain stabilizers that keep the texture consistent and prevent oil separation during heating. Natural or homemade peanut butter’s oil separation changes texture and can make the bars greasy or prevent proper set.
My base is crumbly—what happened?
You likely didn’t press the cereal mixture firmly enough or there wasn’t enough binding from the hot mixture. Reheat briefly, press again into the pan, and chill to help it firm up.
Can I cut this into bars the same day?
The recipe calls for at least 3 hours refrigerated. Cutting before the layers set risks messy, falling-apart pieces. Overnight chilling yields the cleanest slices.
The Takeaway
Chewy Chocolate Peanut Butter Butterfinger Bars are a fast, satisfying treat that balances chew, crisp, and crunch. The microwave method keeps the process short; a reliable chill time gives clean slices. Stick to the specified creamy peanut butter and give the base a firm press for best results. Make a double batch if you want extras to freeze—these are crowd-pleasers that travel well and keep their texture after freezing and thawing.
Chewy Chocolate Peanut Butter Butterfinger Bars
Ingredients
Ingredients
- 1 heaping cup creamy peanut butter use Jif, Skippy, or similar; do not use natural or homemade peanut butter
- 1/2 cuplight corn syrup light-colored, not lite
- 1/2 cupgranulated sugar
- 1/4 cuplight brown sugar packed
- 1 tablespoonvanilla extract
- 3 tablespoonsunsweetened natural cocoa powder Dutch-process may be substituted
- 3 cupsRice Krispies
- about 1 cup crushed or diced Butterfinger
- 1 cupsemi-sweet chocolate chips
- 1/4 cupcreamy peanut butter use Jif, Skippy, or similar; do not use natural or homemade peanut butter
- 1/4 cupsemi-sweet chocolate chips for drizzling
Instructions
Instructions
- Line an 8-inch square pan with aluminum foil, leaving an overhang on two sides for lifting the bars out later; spray the foil lightly with cooking spray. Set pan aside.
- In a large microwave‑safe bowl, combine 1 heaping cup creamy peanut butter, 1/2 cup light corn syrup, 1/2 cup granulated sugar, and 1/4 cup packed light brown sugar.
- Microwave the mixture on high for 1 minute. Remove and stir; the mixture may still be granular.
- Return the bowl to the microwave and heat on high for 1 more minute. Remove and stir until as smooth as possible.
- Stir in 1 tablespoon vanilla extract and 3 tablespoons unsweetened natural cocoa powder until evenly combined.
- Add 3 cups Rice Krispies and stir until the cereal is evenly coated with the peanut butter mixture.
- Turn the cereal mixture into the prepared pan. Use a spatula to press and pack the mixture firmly and evenly into the pan, smoothing the top. Set the pan aside.
- Crush or dice about 1 cup Butterfinger candy into small pieces and set aside.
- In a medium microwave‑safe bowl, combine 1 cup semi‑sweet chocolate chips and 1/4 cup creamy peanut butter. Microwave on high for 1 minute, remove and stir. If not smooth, heat in 15‑second bursts, stirring between each burst, until the mixture can be stirred smooth.
- Pour the chocolate–peanut butter mixture over the packed cereal base and spread evenly with a spatula.
- While the chocolate layer is still wet, evenly sprinkle the crushed Butterfinger pieces over the top, pressing lightly so they adhere.
- In the same medium bowl (no need to wash), place 1/4 cup semi‑sweet chocolate chips. Microwave on high for 1 minute, remove and stir; if necessary heat in 15‑second bursts until smooth. Use a spoon to drizzle this melted chocolate evenly over the Butterfinger layer.
- Cover the pan loosely with foil and refrigerate for at least 3 hours or until the layers are completely set (overnight is fine).
- Lift the set bars from the pan using the foil overhang and place on a cutting surface. Let sit at room temperature about 15 minutes before slicing to make cleaner cuts. Store airtight at room temperature up to 1 week, in the refrigerator up to 2 weeks, or in the freezer up to 6 months.
Equipment
- 8-inch square pan
- Aluminum Foil
- Cooking spray
- large microwave-safe bowl
- medium microwave-safe bowl
- Spatula
- Microwave
- cutting surface


