
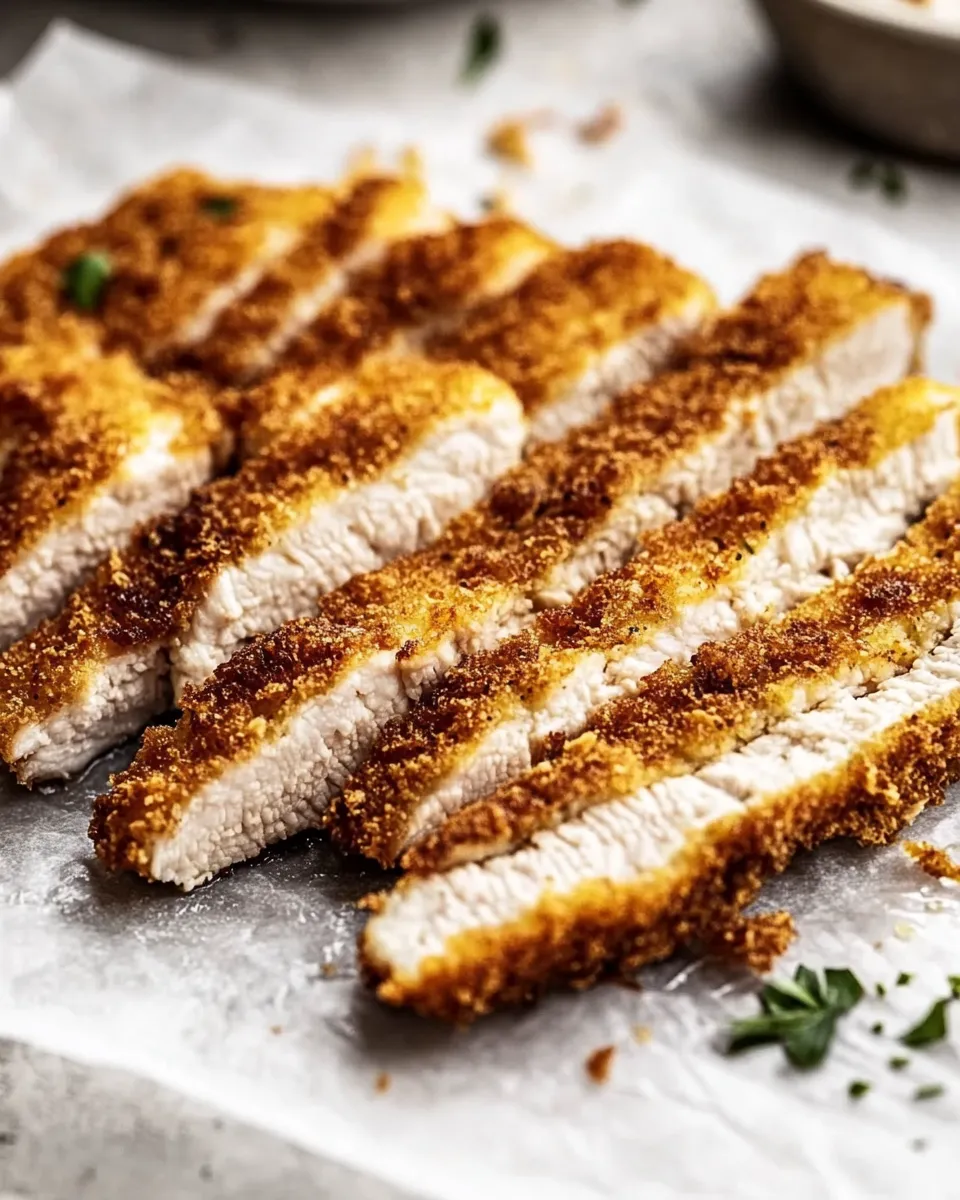
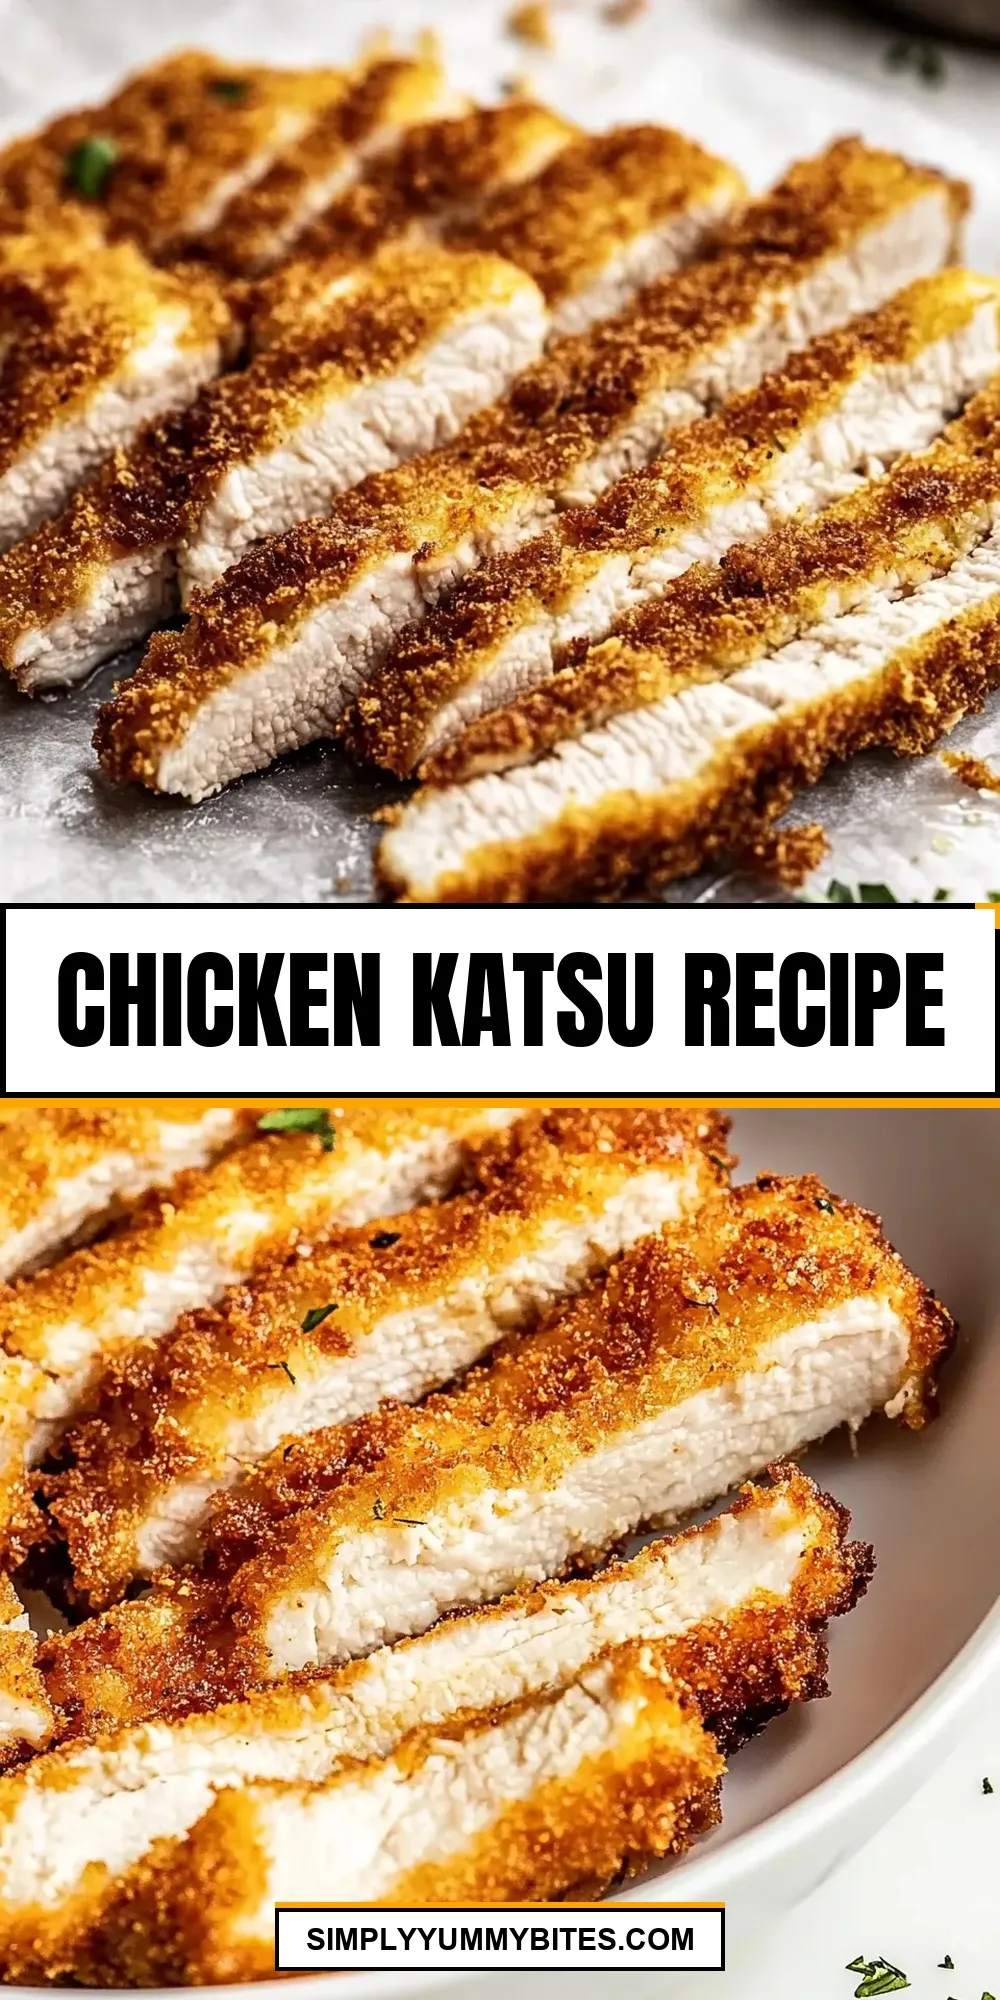
Chicken katsu is one of those dishes that feels indulgent and approachable all at once. The golden, crunchy crust gives way to a juicy, thinly pounded breast, and a simple drizzle or dip in tangy katsu sauce ties everything together. It’s a weekday dinner hero and a weekend showstopper, depending on how much care you want to give the sides.
I make this version when I want reliable results without fuss. The technique is straightforward: flatten the breasts evenly, season and marinate briefly with soy, set up a simple dredging station, and fry until the panko is golden. The payoff is immediate—crispy outside, tender inside, and a sauce-ready finish that works with rice, cabbage, or just a crisp salad.
Below you’ll find a clear ingredients list, the exact step-by-step frying method I used while testing, smart swaps if you don’t have something on hand, and answers to common questions. Read the short notes and tips as you go; they keep the process smooth and help avoid the few pitfalls this recipe can throw at you.
Ingredients
- 4 small chicken breasts, skinless and boneless — the base of the dish; pounding them to an even thickness ensures even cooking.
- 2 tablespoons soy sauce — for a little savory seasoning and umami on the surface of the chicken.
- 1/2 teaspoon salt — seasons the meat; keep it measured so the final dish isn’t oversalted.
- 1/4 teaspoon pepper — fresh ground gives the best bite; a light sprinkle balances flavors.
- 2 tablespoons all-purpose flour — the first layer in the dredge; helps the egg stick.
- 1 cup panko breadcrumbs — panko creates the signature airy, crunchy crust.
- 1 large egg, whisked — binds breadcrumbs to the chicken; whisk well so it’s homogenous.
- 1/2 cup oil* — neutral oil for frying; enough to shallow-fry and crisp the panko.
- 1/2 cup katsu sauce — for serving; use store-bought or your favorite homemade version.
What Goes Into Chicken Katsu
At its heart, Chicken Katsu is a short list and a simple technique: protein, a quick marinade-like seasoning, a three-step breading, and frying. The soy sauce gives the surface a bit of savory depth without needing a full marinade. The flour-egg-panko trio is classic: flour for initial adhesion, egg to bind, and panko for the texture that defines katsu.
Don’t be tempted to skip the pounding. Chicken breasts vary wildly in thickness and that means either undercooked centers or overcooked edges. Getting them to a 1/2-inch uniform thickness ensures 4–5 minutes per breast will reliably hit 165°F while keeping the crust golden. Also, allow the oil to heat properly: shimmering oil near 350°F gives an even, golden sear without sogginess.
Chicken Katsu: Step-by-Step Guide
- Place the 4 chicken breasts between sheets of plastic wrap or in a large zip-top bag and pound each to an even 1/2-inch thickness. Pat the chicken dry with paper towels.
- Season both sides of each breast with the 1/2 teaspoon salt and 1/4 teaspoon pepper, then drizzle the 2 tablespoons soy sauce over the breasts and rub it evenly on both sides.
- Prepare a dredging station with three shallow bowls: one with the 2 tablespoons all-purpose flour, one with the whisked large egg, and one with the 1 cup panko breadcrumbs.
- Working with one piece at a time, dredge a chicken breast in the flour, shaking off any excess; dip it into the whisked egg, letting excess egg drip off; then press it into the panko so it is evenly coated. Repeat for all chicken breasts.
- Pour the 1/2 cup oil into a large nonstick skillet and heat over medium-high heat until the oil reaches about 350°F or is hot and shimmering. If the pan is crowded, fry in batches so the oil temperature stays consistent.
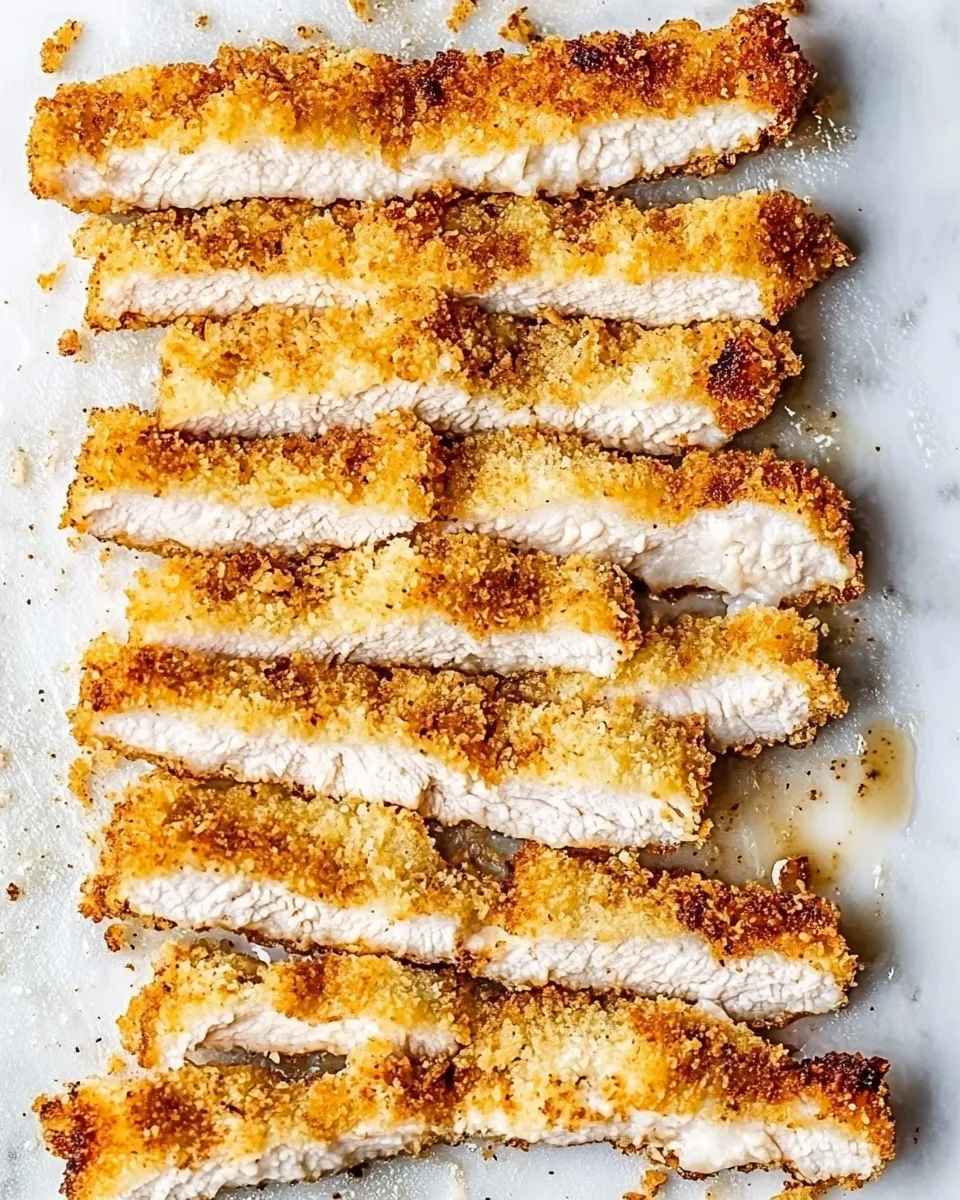
- Carefully add the breaded chicken breasts to the hot oil. Fry for a total of 4–5 minutes per breast, flipping once halfway through, until the crust is golden brown and the internal temperature reaches 165°F.
- Transfer the cooked chicken to a paper towel–lined plate to drain excess oil for a few minutes.
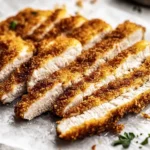
- Slice the chicken katsu, serve, and accompany with the 1/2 cup katsu sauce for dipping or drizzling.
Short technique notes
Work cleanly and one piece at a time at the dredging station; it keeps the panko dry and crunchy. Use tongs when flipping to preserve the crust. Resting briefly on paper towels removes excess oil so the katsu stays crisp when plated.
Reasons to Love Chicken Katsu
- Fast and predictable: once the breasts are pounded, the cooking time is short and precise.
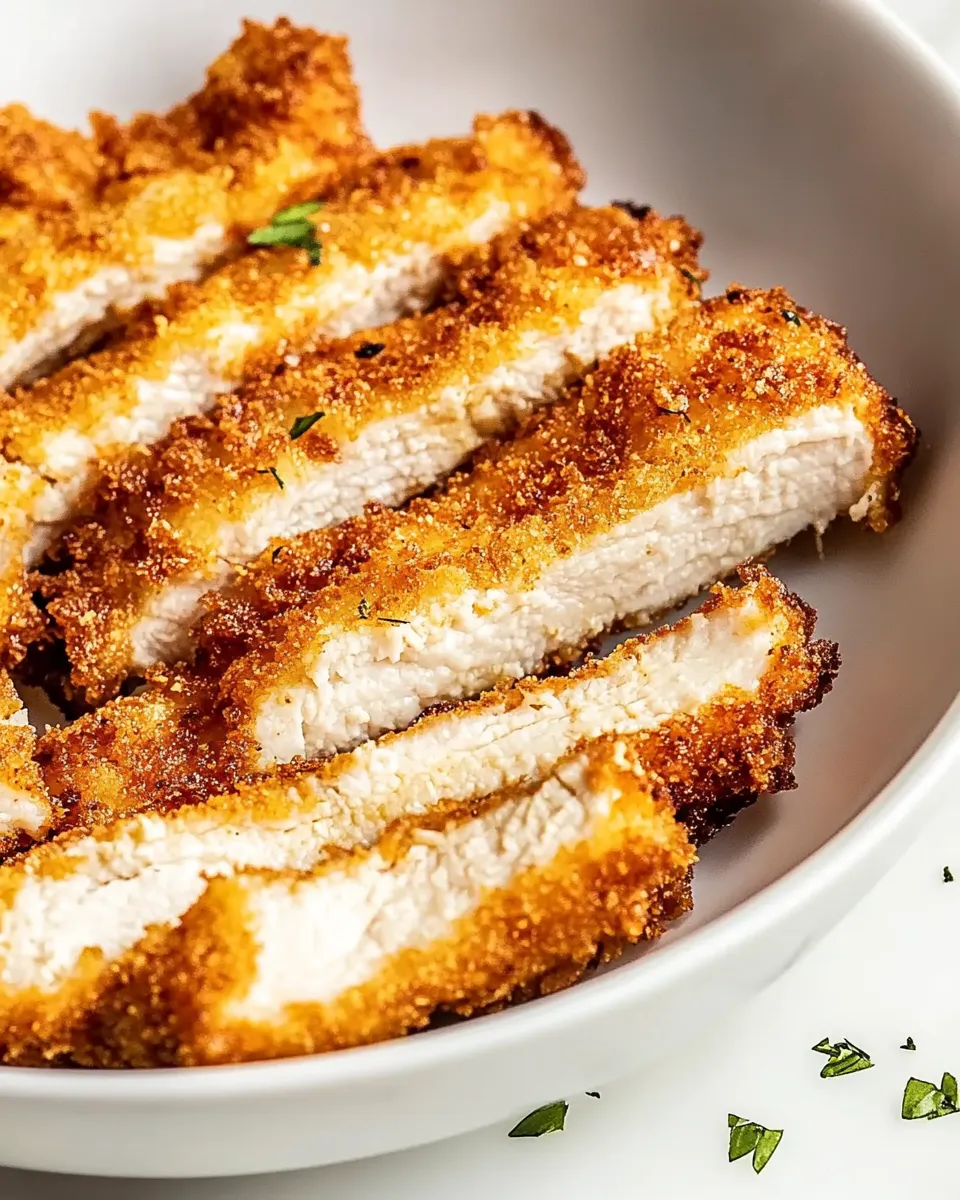
- High contrast textures: airy panko crisp vs. tender, juicy chicken.
- Versatile: it pairs with rice, shredded cabbage, simple salads, or tucked into sandwiches and bento boxes.
- Kid-friendly and grown-up ready: mild flavors that everyone can dress up with sauce, slaw, or pickles.
Smart Substitutions
- Protein swap: use thin pork cutlets instead of chicken for tonkatsu-style results—cook times are similar if pounded equally thin.
- Panko alternative: if you don’t have panko, plain breadcrumbs will work; expect a denser crust.
- Oil options: neutral oils with high smoke points (vegetable, canola, or peanut) are best. Olive oil is not ideal for high-heat frying.
- Soy sauce: low-sodium soy will reduce overall salt; tamari is a gluten-free option.
- Egg-free: use a mixture of 2 tablespoons flour + 2 tablespoons water as a binder in a pinch, but the coating won’t brown as richly.
What’s in the Gear List
- Meat mallet or rolling pin — for pounding breasts to 1/2-inch thickness.
- Large zip-top bag or plastic wrap — keeps the butcher block clean while pounding.
- Three shallow bowls — for the flour, egg, and panko dredging station.
- Large nonstick skillet — wide enough to fry without overcrowding.
- Tongs — for safe flipping and removing cutlets from hot oil.
- Instant-read thermometer — to confirm the interior reaches 165°F.
- Paper towels and a plate — to drain excess oil after frying.
Errors to Dodge
- Skipping the pound: uneven breasts either overcook at the edges or stay raw inside.
- Crowding the pan: it drops oil temperature, leading to soggy, oily crusts.
- Not drying the chicken: wet surfaces make breadcrumbs slide off and steam rather than fry.
- Using the wrong oil or low heat: smoke or underbrowned crusts. Aim for oil shimmering around 350°F.
- Not letting oil recover between batches: the temperature should return to frying heat or the second batch will absorb more oil.
In-Season Flavor Ideas
- Spring: bright lemon wedges and a quick cucumber-scallion salad add freshness.
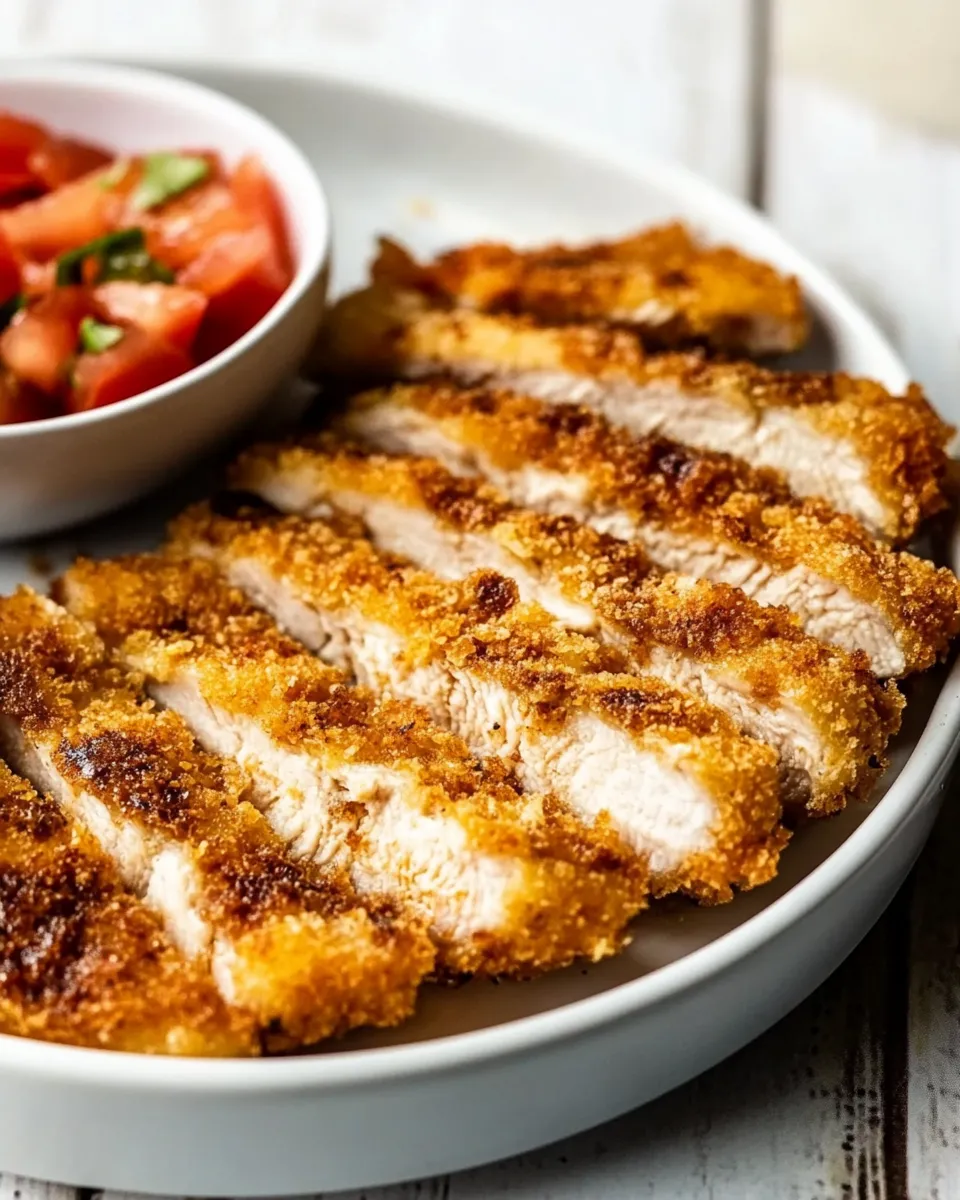
- Summer: a simple tomato and shiso salad or a tangy fruit chutney. The acidity cuts the fried richness.
- Fall: roasted sweet potatoes and pickled daikon or cabbage provide grounding flavors.
- Winter: serve with warm sesame rice and a quick miso-ginger dressing for the greens.
What I Learned Testing
The small things matter: how you dry and pound the breasts, how heavy your hand is when pressing panko on, and whether you let the oil come back to temperature between batches. I tested several pans and found a wide, heavy-bottom nonstick skillet keeps heat steady and gives the most even browning without tearing the crust. Also, pressing the panko on lightly but firmly ensures it adheres without compacting; compacted breadcrumbs become dense and lose their crunch.
Another lesson: soy should be applied sparingly and rubbed on both sides so it flavors the meat surface rather than puddling and making the breading soggy. Finally, rest for only a few minutes; too long and steam softens the crust, but a short rest lets the juices settle and makes slicing cleaner.
Prep Ahead & Store
- Prep ahead: bread the cutlets and keep them on a tray lined with parchment in the fridge for up to 6 hours before frying. This saves time on a busy night.
- Store: cooked katsu keeps in an airtight container in the refrigerator for up to 3 days.
- Freeze: cool completely, wrap individually in plastic, then foil, and freeze up to 1 month. Reheat from frozen in a 375°F oven until hot and crisp.
- Reheat: to bring back crispness, reheat on a wire rack in a 375–400°F oven for about 8–12 minutes instead of microwaving.
Your Questions, Answered
- Q: Can I bake instead of fry? A: You can bake for a lighter result, but the texture won’t match shallow-fried panko. If baking, spray with oil and bake at 425°F until golden, flipping once.
- Q: How do I know when the oil is ready? A: It should shimmer and ripple. If you have a thermometer, target roughly 350°F. A small breadcrumb dropped in should sizzle and brown slowly, not blacken instantly.
- Q: Can I use chicken thighs? A: Yes, boneless skinless thighs work well and stay juicy, but adjust thickness so pieces are uniform; cooking time may vary slightly.
- Q: What if the crust falls off? A: Likely causes are wet chicken, not enough flour on the first step, or overhandling. Dry the meat, follow flour → egg → panko order, and press breadcrumbs once, not repeatedly.
Wrap-Up
This Chicken Katsu is a practical, dependable recipe that rewards careful prep with a satisfying crunch and juicy center. Keep the steps in order: even thickness, light soy seasoning, the three-bowl dredge, and mindful frying. With a little attention to the oil temperature and a quick rest, you’ll have a dish that’s easily doubled for guests or kept simple for weeknight dinners.
Serve with katsu sauce, steamed rice, and thinly shredded cabbage if you like the classic combination. And if you try a substitution or a serving idea from the “In-Season” section, I’d love to hear which variation became your favorite.
Chicken Katsu Recipe
Ingredients
Ingredients
- 4 smallchicken breastsskinless and boneless
- 2 tablespoonssoy sauce
- 1/2 teaspoonsalt
- 1/4 teaspoonpepper
- 2 tablespoonsall purpose flour
- 1 cuppanko breadcrumbs
- 1 largeeggwhisked
- 1/2 cupoil*
- 1/2 cupkatsu sauce
Instructions
Instructions
- Place the 4 chicken breasts between sheets of plastic wrap or in a large zip-top bag and pound each to an even 1/2-inch thickness. Pat the chicken dry with paper towels.
- Season both sides of each breast with the 1/2 teaspoon salt and 1/4 teaspoon pepper, then drizzle the 2 tablespoons soy sauce over the breasts and rub it evenly on both sides.
- Prepare a dredging station with three shallow bowls: one with the 2 tablespoons all-purpose flour, one with the whisked large egg, and one with the 1 cup panko breadcrumbs.
- Working with one piece at a time, dredge a chicken breast in the flour, shaking off any excess; dip it into the whisked egg, letting excess egg drip off; then press it into the panko so it is evenly coated. Repeat for all chicken breasts.
- Pour the 1/2 cup oil into a large nonstick skillet and heat over medium-high heat until the oil reaches about 350°F or is hot and shimmering. If the pan is crowded, fry in batches so the oil temperature stays consistent.
- Carefully add the breaded chicken breasts to the hot oil. Fry for a total of 4–5 minutes per breast, flipping once halfway through, until the crust is golden brown and the internal temperature reaches 165°F.
- Transfer the cooked chicken to a paper towel–lined plate to drain excess oil for a few minutes.
- Slice the chicken katsu, serve, and accompany with the 1/2 cup katsu sauce for dipping or drizzling.
Equipment
- Plastic wrap or zip-top bag
- Meat Mallet
- Shallow Bowls
- large nonstick skillet
- Paper Towels
- Tongs
Notes
* Use oil with a high smoke point, like peanut oil.
Air fryer method
: Prep the chicken as instructed. Next, place a single layer of the chicken in a greased air fryer basket. Spray the top of the chicken with cooking spray. Now, air fry at 200C/400F for 8 minutes, flip, spray the other side with cooking spray, and cook for another 8 minutes.
Oven baked method
: Prep the chicken as instructed. Place it on a lined baking sheet and bake at 180C/350F for 30 minutes, flipping halfway through.
TO STORE
: Place leftovers in airtight containers and store them in the refrigerator for up to 4-5 days.
TO FREEZE:
Allow the chicken to cook completely to add to the freezer-safe bags and freeze for up to 3 months.
TO REHEAT
: Reheat in a pan or oven until warm or in the microwave for 20-30 seconds.


