
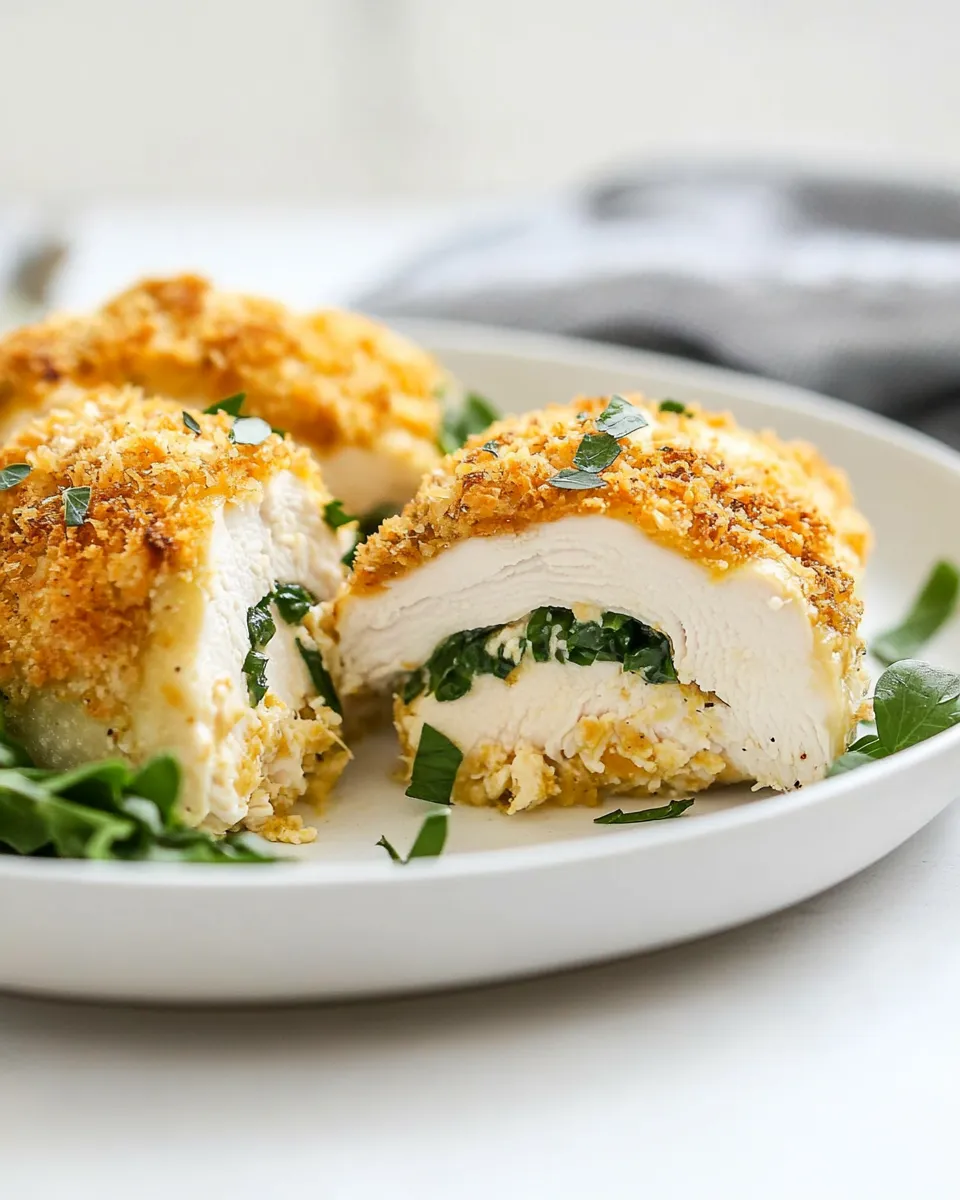
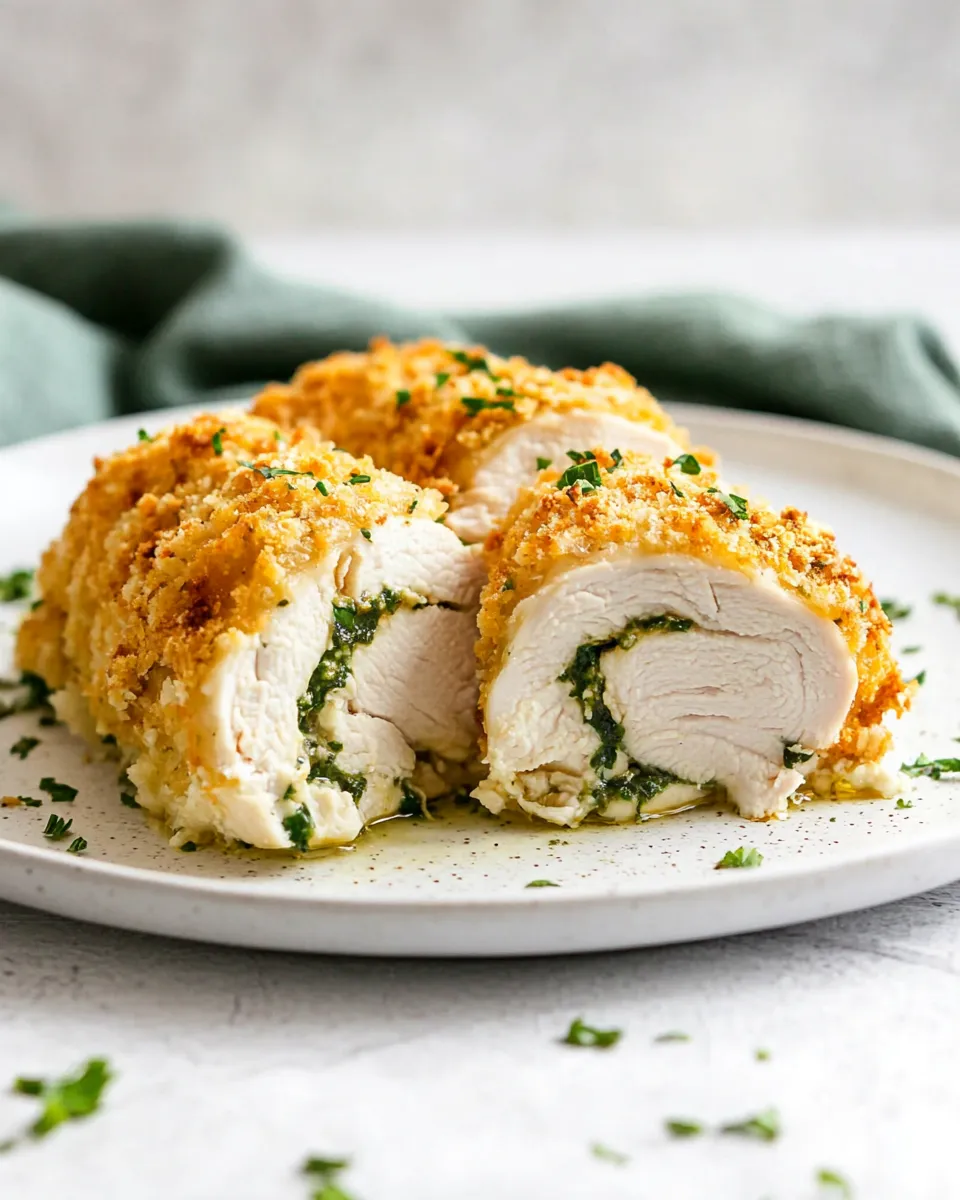
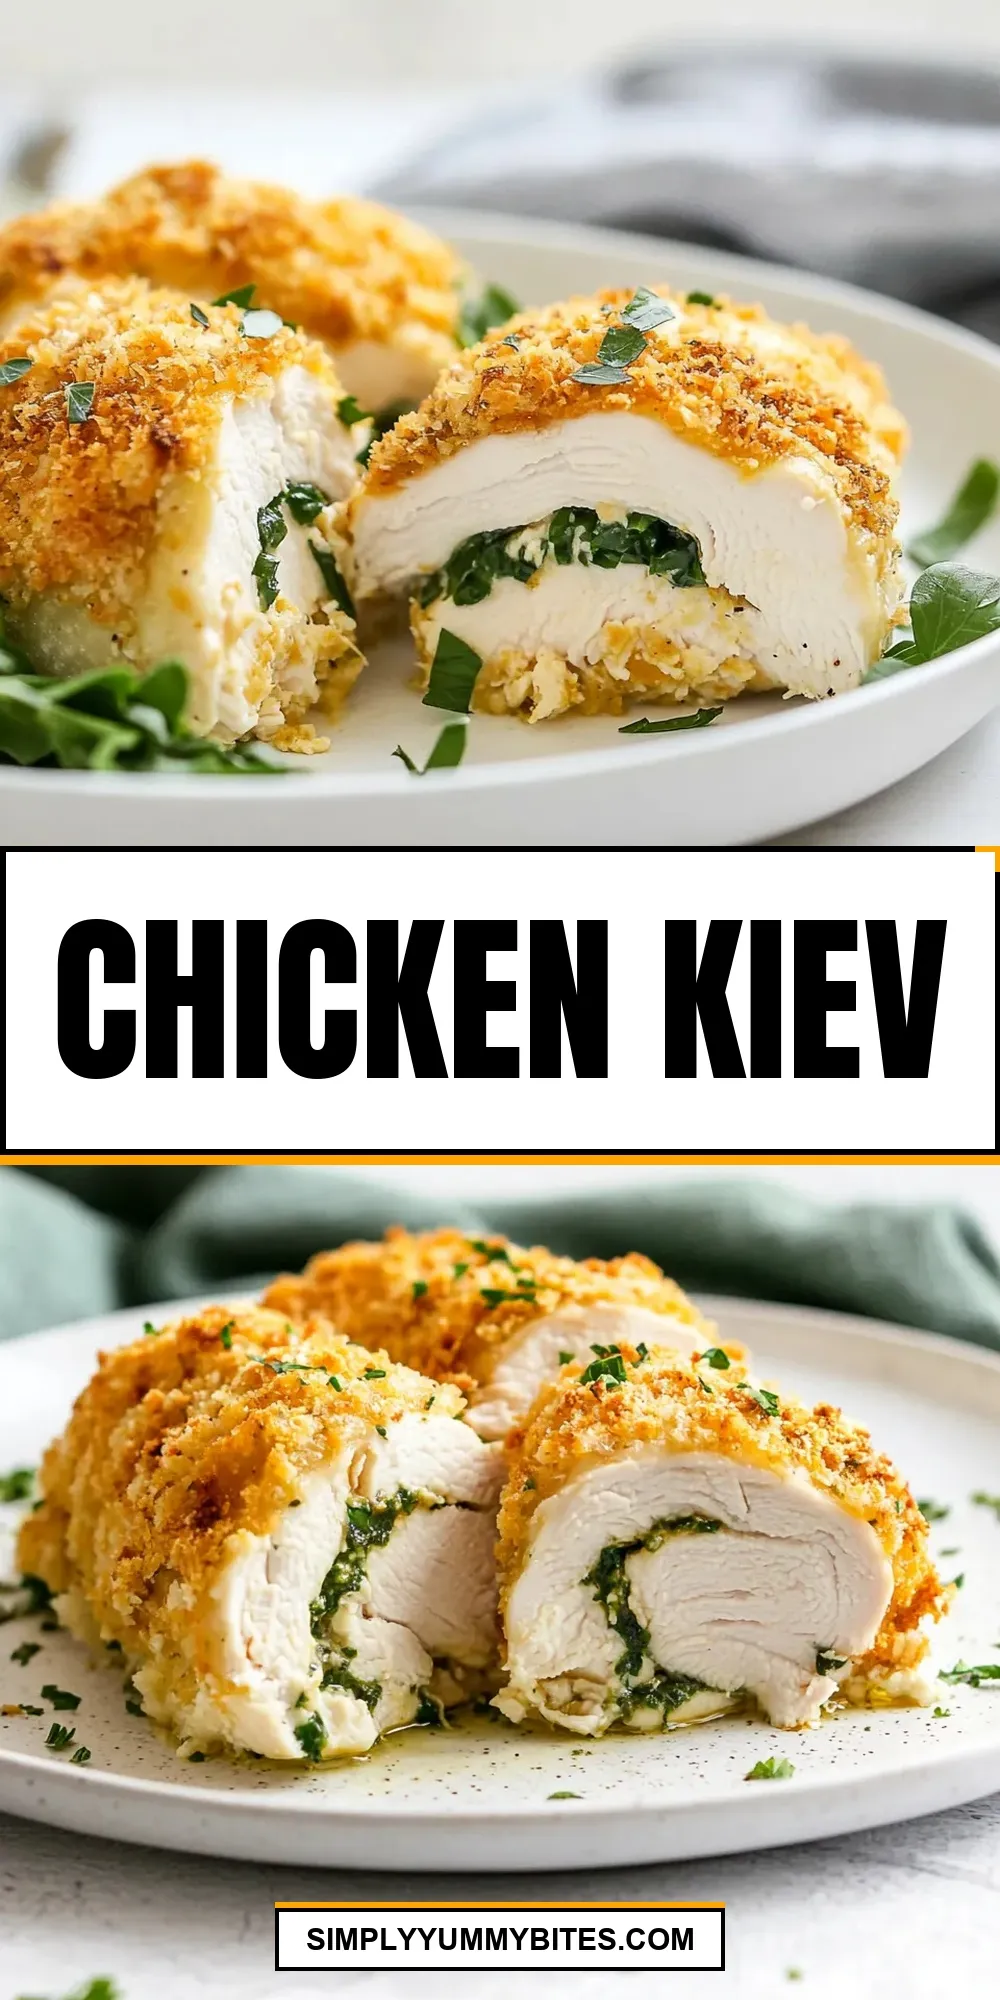
I love the satisfying ritual of making Chicken Kiev: shaping an herb-scented butter, tucking it into a flattened breast, freezing, frying and finishing in the oven. It’s hands-on, a little theatrical, and absolutely worth the effort when the knife hits and the garlicky butter spills out in a ribbon. No fluff — just technique and tidy steps that get you a reliably impressive result.
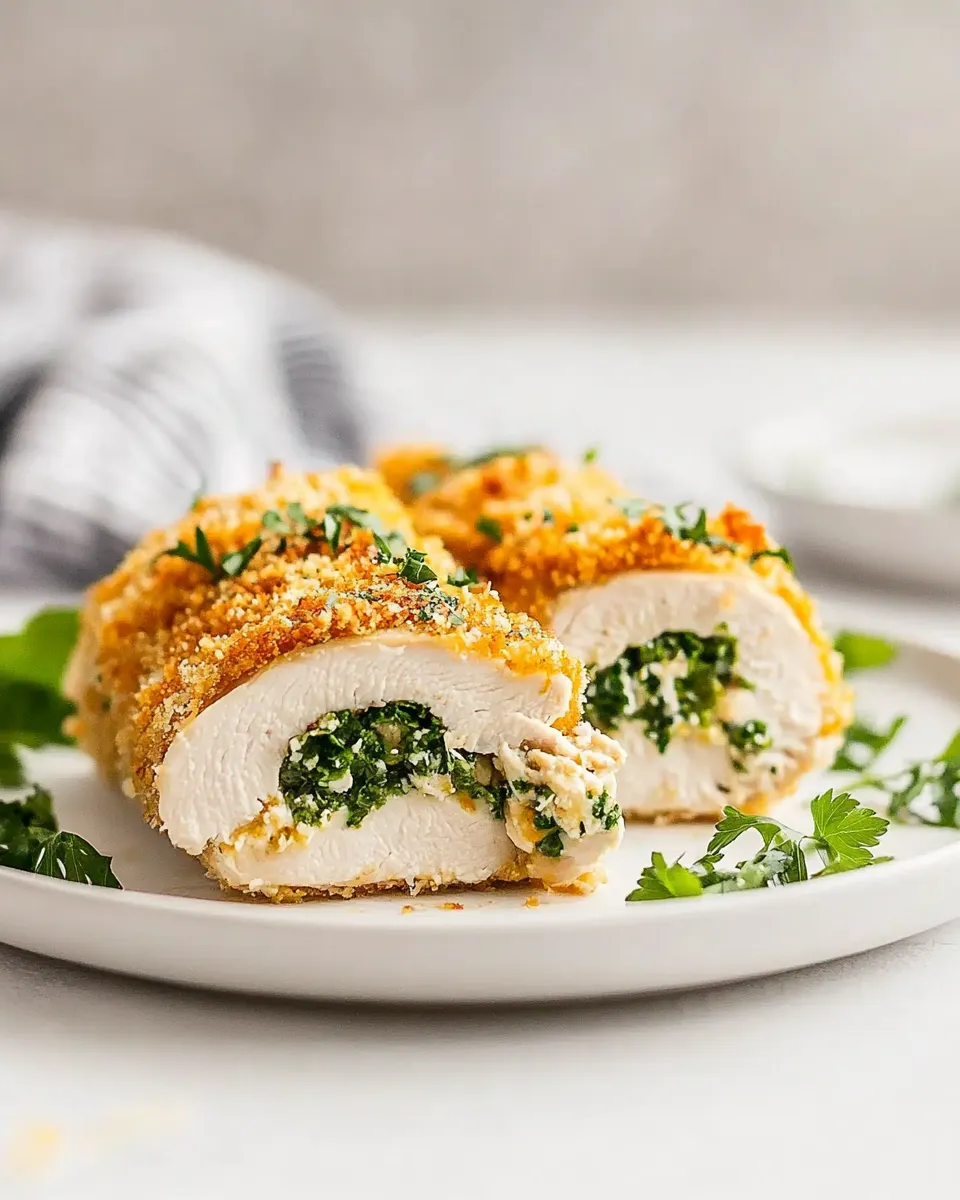
This recipe focuses on a classic approach: a bright garlic-herb butter core, a crisp double coating, and a short bake to finish. It works for a dinner where you want something special without complicated ingredients. Follow the timing closely for the best texture: freezing the butter and parcels is key.
I’ll walk you through shopping, the exact step-by-step cooking guide, helpful hardware, common mistakes to avoid, and ways to make this recipe work across seasons. Practical, warm, and precise — let’s get into it.
Ingredients
- 8 tablespoons butter (unsalted, softened) — base for the garlic-herb compound; unsalted lets you control seasoning.
- 6 cloves garlic (minced well) — provides the punchy garlic flavor in the butter.
- ½ cup fresh parsley (chopped) — bright herb note and color.
- ¼ cup fresh dill (chopped) — adds a subtle anise-like freshness that pairs beautifully with garlic.
- ½ teaspoon salt (or to taste) — seasoning for the butter; helps the flavors bloom.
- ½ teaspoon pepper (or to taste) — seasoning for the butter; a little heat.
- 2 tablespoons lemon juice (freshly squeezed) — lifts the butter and balances richness.
- 4 chicken breasts (boneless and skinless) — each will be butter-filled; butterflying and flattening gives even cooking.
- ½ cup all-purpose flour — first coating to help the egg and breadcrumbs adhere.
- 2 large eggs (beaten) — binder for the breadcrumb layer.
- 1 ½ cups breadcrumbs (such as Panko) — provides the crisp exterior; Panko gives extra crunch.
- ½ teaspoon salt (or to taste) — seasoning for the chicken fillets; separate from the butter seasoning.
- ½ teaspoon pepper (or to taste) — seasoning for the chicken fillets; separate from the butter seasoning.
- Vegetable oil (for frying) — neutral, high-smoke-point oil for shallow frying before the oven finish.
Your Shopping Guide
Start with the freshest parsley and dill you can find — they make the compound butter taste bright. Buy boneless, skinless chicken breasts that are relatively uniform in size so each parcel cooks at the same rate. If one breast is much larger, cut it in half and plan on adjusting the butter portions to match.
Pick unsalted butter so you can balance salt precisely across butter and meat. If the store has Panko breadcrumbs, grab them; they do produce a lighter, crunchier crust than fine breadcrumbs. For frying oil, choose a neutral vegetable oil labeled for frying — it’s already specified in the recipe and keeps flavors clean.
Get a reliable instant-read thermometer if you don’t already have one — it’s the easiest way to ensure doneness without overcooking. The ingredient list covers everything for the recipe; avoid impulse buys that add complexity. This dish shines when you let the garlic butter and crisp crust do the talking.
Chicken Kiev Cooking Guide
- Make the garlic butter: in a bowl mix 8 tablespoons butter (unsalted, softened), 6 cloves garlic (minced well), ½ cup fresh parsley (chopped), ¼ cup fresh dill (chopped), ½ teaspoon salt (or to taste), ½ teaspoon pepper (or to taste), and 2 tablespoons lemon juice (freshly squeezed) until combined.
- Shape the garlic butter into a tight log on a piece of plastic wrap, roll and twist the ends to seal, and freeze for 30–40 minutes, until firm enough to slice.
- Prepare the chicken: lay each of the 4 chicken breasts (boneless and skinless) flat on your work surface. Butterfly each breast by slicing horizontally almost through so it opens flat. Place each opened breast between two pieces of parchment paper or plastic wrap and flatten to an even thickness with a meat mallet or the back of a heavy frying pan. Season both sides of each fillet with the remaining ½ teaspoon salt (or to taste) and ½ teaspoon pepper (or to taste).
- Remove the garlic butter log from the freezer and cut it into 4 equal pieces. Place one frozen piece of garlic butter in the center of each flattened chicken fillet. Fold the chicken over the butter and bring the edges together to fully enclose the butter, forming a tight parcel. Wrap each parcel tightly in plastic wrap and twist the ends to seal. Freeze the wrapped chicken parcels for about 2 hours, until the seams are frozen solid.
- Preheat the oven to 400°F. Set up three shallow dishes for breading: place ½ cup all-purpose flour in the first, beat 2 large eggs in the second, and put 1 ½ cups breadcrumbs (such as Panko) in the third. Remove the plastic wrap from the frozen chicken parcels before breading.
- One at a time, dredge each frozen chicken parcel: coat evenly in flour (shake off excess), dip into the beaten eggs, then press into the breadcrumbs to coat completely. Place breaded pieces on a tray and keep cold until ready to fry.
- Heat vegetable oil in a large saucepan or Dutch oven to 350°F (use a thermometer). Fry the breaded chicken parcels in batches, turning as needed, until golden brown on all sides, about 2–3 minutes per piece. Work carefully to avoid overcrowding so the oil temperature stays near 350°F.
- Transfer the fried chicken parcels to a 9×13-inch (or similar) baking dish in a single layer and bake in the preheated 400°F oven for 20–25 minutes, until the chicken is cooked through and the butter inside is hot. Let rest a few minutes before serving.
Why This Recipe is a Keeper
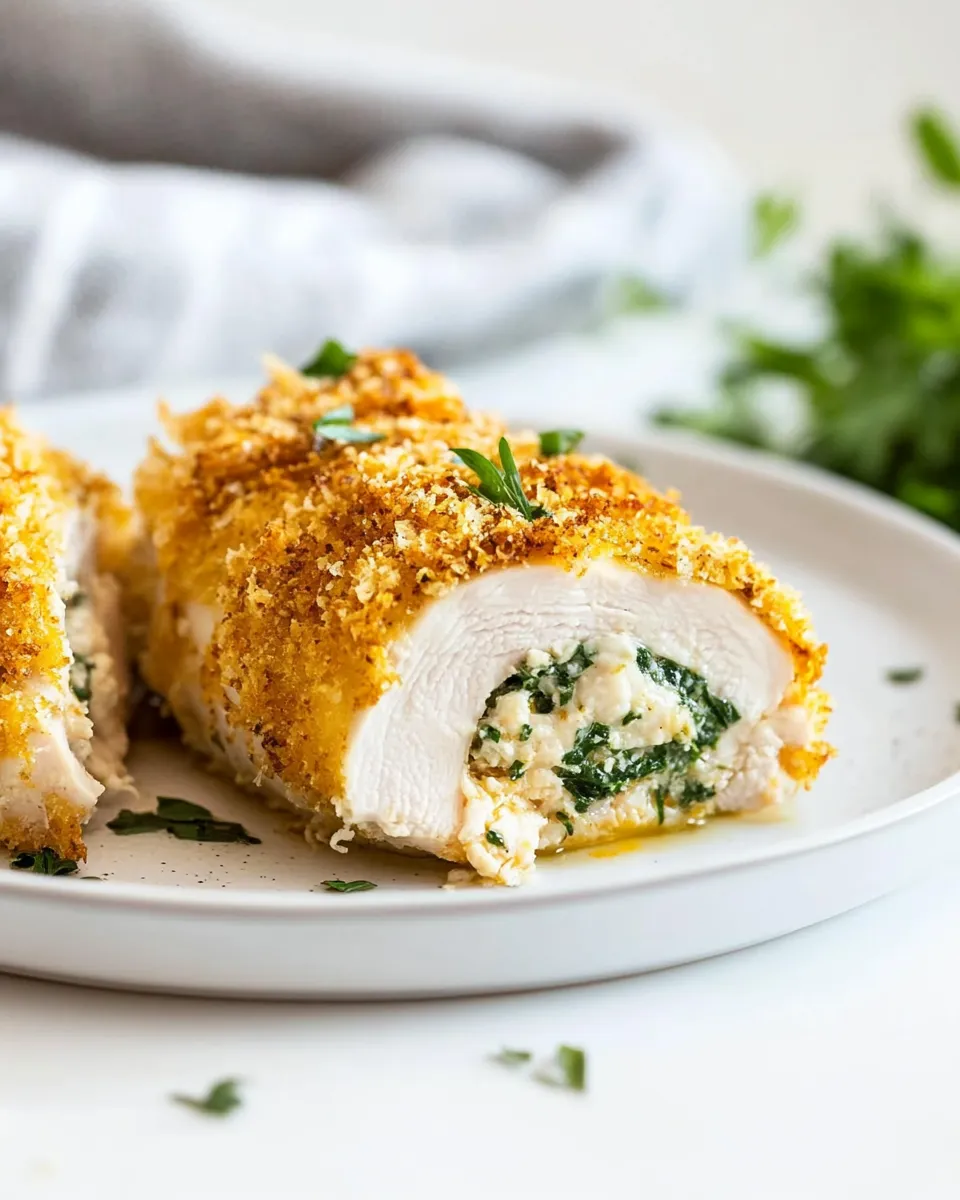
This Chicken Kiev balances showmanship and reliability. The freezing steps are the secret to control: the butter firm enough to stay enclosed while you bread and fry, but still molten inside after baking. The double texture — crisp exterior, silkily sauced interior — is what makes it endlessly satisfying.
It’s impressive without being fussy. Each step has a clear purpose: the flour-egg-crumbs sequence protects the butter during high-heat frying; the brief oven finish ensures the chicken reaches a safe temperature without burning the crust. Follow the timing and you’ll end up with restaurant-level results at home.
Finally, the herb and lemon combo in the butter is straightforward but impactful. Fresh parsley and dill with lemon juice cut through the richness and keep the dish tasting lively rather than cloyingly heavy.
Ingredient Flex Options
You don’t need a long ingredient list to adapt this dish. Stick to the items provided, but you can vary within those choices:
– Breadcrumb texture: the recipe calls out Panko; if you have standard breadcrumbs on hand they will work, but expect a slightly denser crust.
– Herb intensity: the quantities of parsley and dill are a guideline. If you prefer a more herb-forward butter, increase the chopped herbs by eye, or tone them down the same way. No extra ingredients required.
– Salt and pepper: two entries appear in the ingredient list because one set seasons the butter and one seasons the chicken. Adjust either to taste before you freeze the butter or before breading the chicken.
These options keep the recipe faithful to the original while letting you nudge the flavor toward your preference.
Hardware & Gadgets
The recipe expects a few basic pieces of equipment already mentioned in the directions:
– A meat mallet or the back of a heavy frying pan to pound chicken to an even thickness.
– Plastic wrap and parchment paper for shaping butter and flattening chicken.
– Three shallow dishes for the flour, egg and breadcrumb stations.
– A large saucepan or Dutch oven for frying — it holds oil safely and distributes heat well.
– A good thermometer for the oil (350°F) and an instant-read thermometer for checking chicken doneness if you prefer to verify internal temperature.
– A 9×13-inch (or similar) baking dish to finish the parcels in the oven.
All of these are referenced in the source directions; no specialty tools are required.
Troubles You Can Avoid
Leaky parcels: the most common problem is butter escaping while frying. Prevent this by freezing the butter log until firm, wrapping parcels tightly, and making sure seams are well sealed and frozen solid before breading.
Soggy crust: keep breaded pieces cold prior to frying and avoid overcrowding the oil. Overcrowding drops oil temperature and makes the crust absorb fat rather than crisp.
Undercooked chicken with frozen butter: don’t skip the oven finish. Frying alone browns the exterior but may not cook the interior through without overbrowning the crust. The 20–25 minute bake at 400°F brings the chicken up to temp and ensures the butter inside is hot.
Oil temperature swings: use a thermometer and fry in small batches. If your oil falls well below 350°F, the crust will be greasy; if it’s too hot, the exterior will burn before the interior cooks.
Season-by-Season Upgrades
Spring: let the herb flavors feel brighter by serving Chicken Kiev with a squeeze of lemon (recipe already includes lemon juice in the butter). The lemon echo in a sauce or simply extra wedges at the table ties the fresh herbs together.
Summer: the recipe is fairly self-contained, but a light, crisp side (think something acidic and green) pairs particularly well with the rich butter — use your seasonal crop to keep the plate balanced.
Fall/Winter: the crispy, herb-butter center feels especially comforting on cooler nights. A roasted root vegetable or warm grain is an easy companion for heartier meals; the dish stands up well to bolder sides in colder months.
These are serving ideas rather than ingredient changes to the recipe itself — they help you plan menus without altering the core procedure.
Behind-the-Scenes Notes
Why freeze? Freezing the compound butter solidifies the core so it stays intact while you handle, bread and shallow-fry the parcels. The second freeze after wrapping locks seams and prevents leakage during the high-heat frying stage.
The double-cook method (fry then bake) is practical. Frying provides that golden-brown crust quickly at an oil temperature that would risk overcooking the chicken if used to cook through. The oven finish at 400°F brings the interior to temperature and allows the butter to melt evenly.
Work clean and organized: set up your breading station in order (flour, egg, breadcrumbs) and keep a tray in the fridge or freezer to hold breaded parcels until frying. It keeps the workflow smooth and preserves temperature control.
Storage Pro Tips
Make-ahead: one of the recipe’s advantages is that you can prepare the butter and fully wrap the sealed chicken parcels, then freeze them. Frozen parcels can be held for several weeks — label the date. When ready to cook, remove plastic, bread as directed while still frozen, and proceed with frying and baking.
Leftovers: if you have leftover cooked Chicken Kiev, keep it in an airtight container in the refrigerator for up to 3 days. Reheat gently in a 350°F oven to preserve the crust — a quick pop in the microwave will make the crust soggy.
Safety note: always ensure chicken reaches a safe internal temperature (use an instant-read thermometer if you’re unsure) so the butter inside is piping hot and the meat is fully cooked.
Chicken Kiev FAQs
Q: Can I skip the freezing steps?
A: Freezing the butter and the sealed parcels is crucial to prevent leakage during breading and frying. Skipping freezing dramatically increases the chance of the butter melting out.
Q: How do I know the chicken is cooked through?
A: Use an instant-read thermometer to check the thickest part of the breast; it should register a safe internal temperature (commonly 165°F). The recipe’s bake time also helps ensure thorough cooking.
Q: Can I make the butter ahead of time?
A: Yes — the compound butter can be made and frozen up to several weeks in advance. Slice into portions and wrap tightly until you’re ready to assemble parcels.
Q: What if my crust browns too quickly in the oven?
A: That usually means your oven runs hot or the breadcrumbs are thinner. Lower the oven slightly and cover loosely with foil if needed for the final minutes; just ensure the chicken still reaches a safe temperature.
Q: Is there a vegetarian equivalent?
A: This recipe is for Chicken Kiev specifically. For vegetarian options, you would use different base ingredients; that would fall outside the provided ingredient list for this recipe.
Bring It Home
Chicken Kiev rewards patience: a little time in the freezer and a steady hand at the breading station turn simple ingredients into something special. Follow the steps exactly for the core technique, lean on the tips here to avoid common mistakes, and you’ll have a dish that looks impressive and tastes clean, bright, and indulgent in the best way.
If you make it, let the butter reveal be the moment you savor. Keep notes on your timing and oven behavior so your next batch is even smoother. Happy cooking.
Chicken Kiev
Ingredients
Ingredients
- 8 tablespoonsbutter unsalted, softened
- 6 clovesgarlic minced well
- 1/2 cupfresh parsley chopped
- 1/4 cupfresh dill chopped
- 1/2 teaspoonsalt or to taste
- 1/2 teaspoonpepper or to taste
- 2 tablespoonslemon juice freshly squeezed
- 4 chicken breasts boneless and skinless
- 1/2 cupall-purpose flour
- 2 largeeggs beaten
- 1 1/2 cupsbreadcrumbs such as Panko
- 1/2 teaspoonsalt or to taste
- 1/2 teaspoonpepper or to taste
- vegetable oil for frying
Instructions
Instructions
- Make the garlic butter: in a bowl mix 8 tablespoons butter (unsalted, softened), 6 cloves garlic (minced well), ½ cup fresh parsley (chopped), ¼ cup fresh dill (chopped), ½ teaspoon salt (or to taste), ½ teaspoon pepper (or to taste), and 2 tablespoons lemon juice (freshly squeezed) until combined.
- Shape the garlic butter into a tight log on a piece of plastic wrap, roll and twist the ends to seal, and freeze for 30–40 minutes, until firm enough to slice.
- Prepare the chicken: lay each of the 4 chicken breasts (boneless and skinless) flat on your work surface. Butterfly each breast by slicing horizontally almost through so it opens flat. Place each opened breast between two pieces of parchment paper or plastic wrap and flatten to an even thickness with a meat mallet or the back of a heavy frying pan. Season both sides of each fillet with the remaining ½ teaspoon salt (or to taste) and ½ teaspoon pepper (or to taste).
- Remove the garlic butter log from the freezer and cut it into 4 equal pieces. Place one frozen piece of garlic butter in the center of each flattened chicken fillet. Fold the chicken over the butter and bring the edges together to fully enclose the butter, forming a tight parcel. Wrap each parcel tightly in plastic wrap and twist the ends to seal. Freeze the wrapped chicken parcels for about 2 hours, until the seams are frozen solid.
- Preheat the oven to 400°F. Set up three shallow dishes for breading: place ½ cup all-purpose flour in the first, beat 2 large eggs in the second, and put 1 ½ cups breadcrumbs (such as Panko) in the third. Remove the plastic wrap from the frozen chicken parcels before breading.
- One at a time, dredge each frozen chicken parcel: coat evenly in flour (shake off excess), dip into the beaten eggs, then press into the breadcrumbs to coat completely. Place breaded pieces on a tray and keep cold until ready to fry.
- Heat vegetable oil in a large saucepan or Dutch oven to 350°F (use a thermometer). Fry the breaded chicken parcels in batches, turning as needed, until golden brown on all sides, about 2–3 minutes per piece. Work carefully to avoid overcrowding so the oil temperature stays near 350°F.
- Transfer the fried chicken parcels to a 9×13-inch (or similar) baking dish in a single layer and bake in the preheated 400°F oven for 20–25 minutes, until the chicken is cooked through and the butter inside is hot. Let rest a few minutes before serving.
Equipment
- 3.5-quart Dutch Oven
- Meat Mallet
Notes
Avoid leaks:Don’t skip the freeze. It helps seal everything together and keeps the butter inside where it belongs.
Use a thermometer:The chicken should hit 165℉ internally. And if you hear sizzlinginsideyour oven, that might be butter on the move.
Storage:Leftovers can be stored in the fridge for3–4 days, but the breading will soften. To crisp it back up, reheat in the oven at 350℉.
Freezer-friendly:Once fully cooked, these freeze well for up to3 months. Reheat straight from frozen in a 375℉ oven for about 25 minutes.


