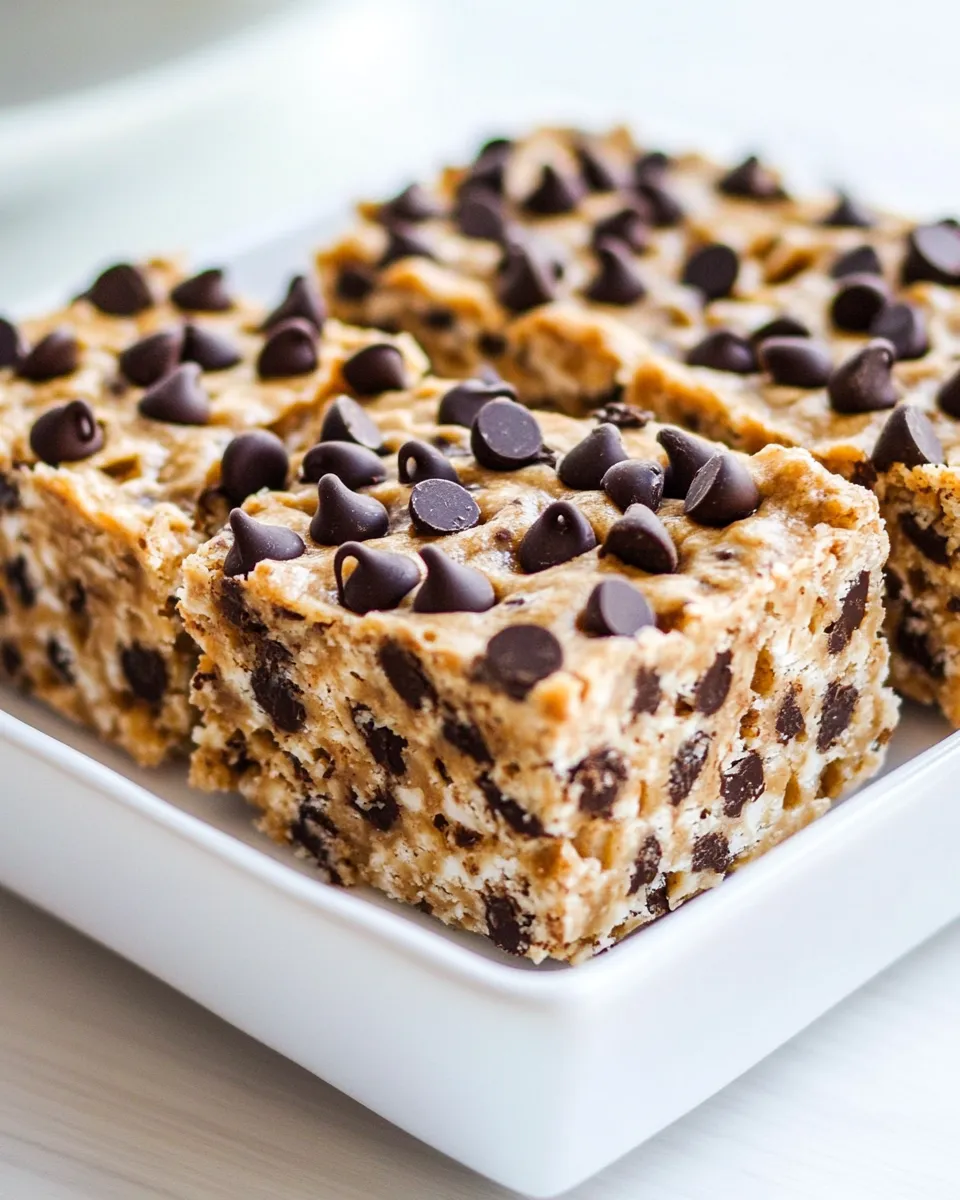
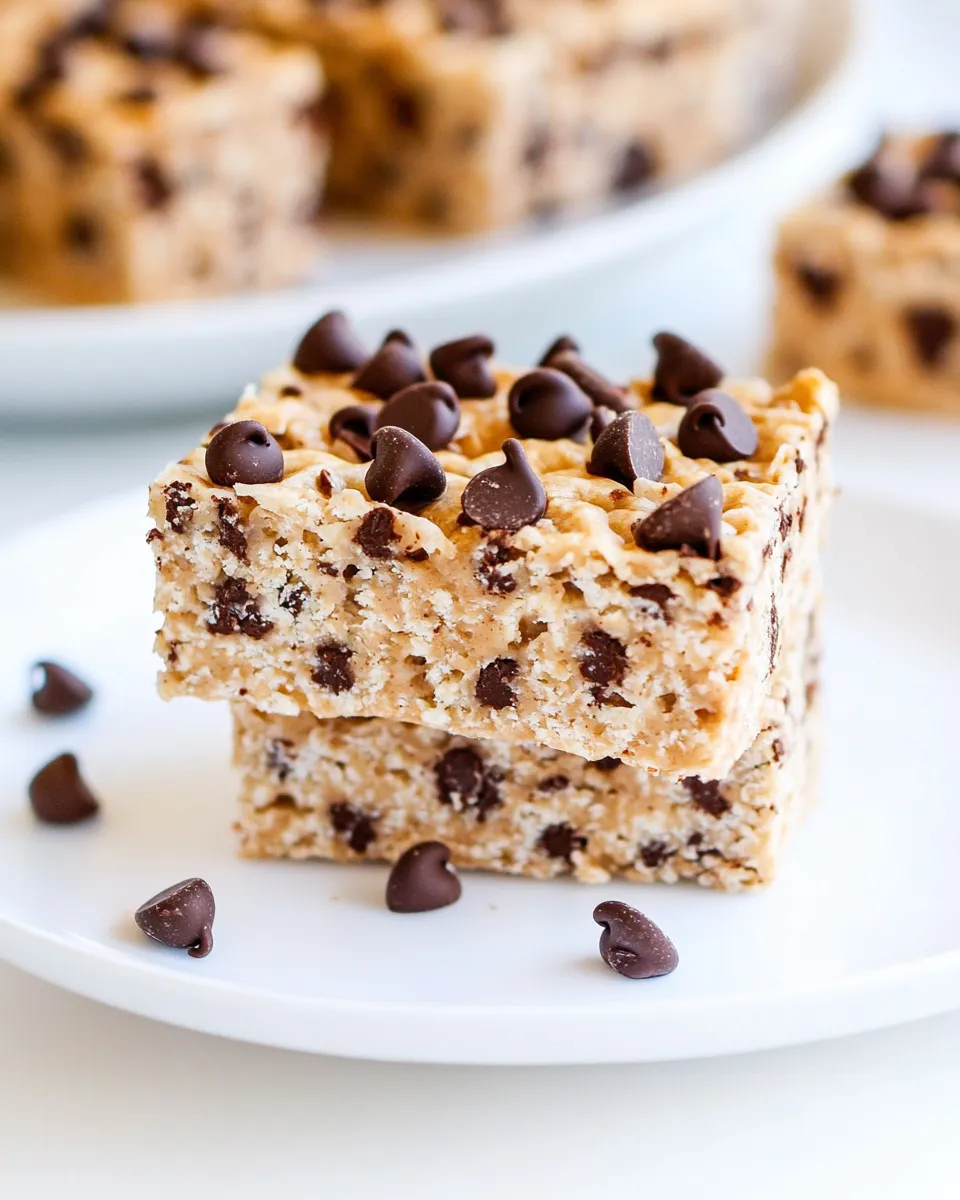
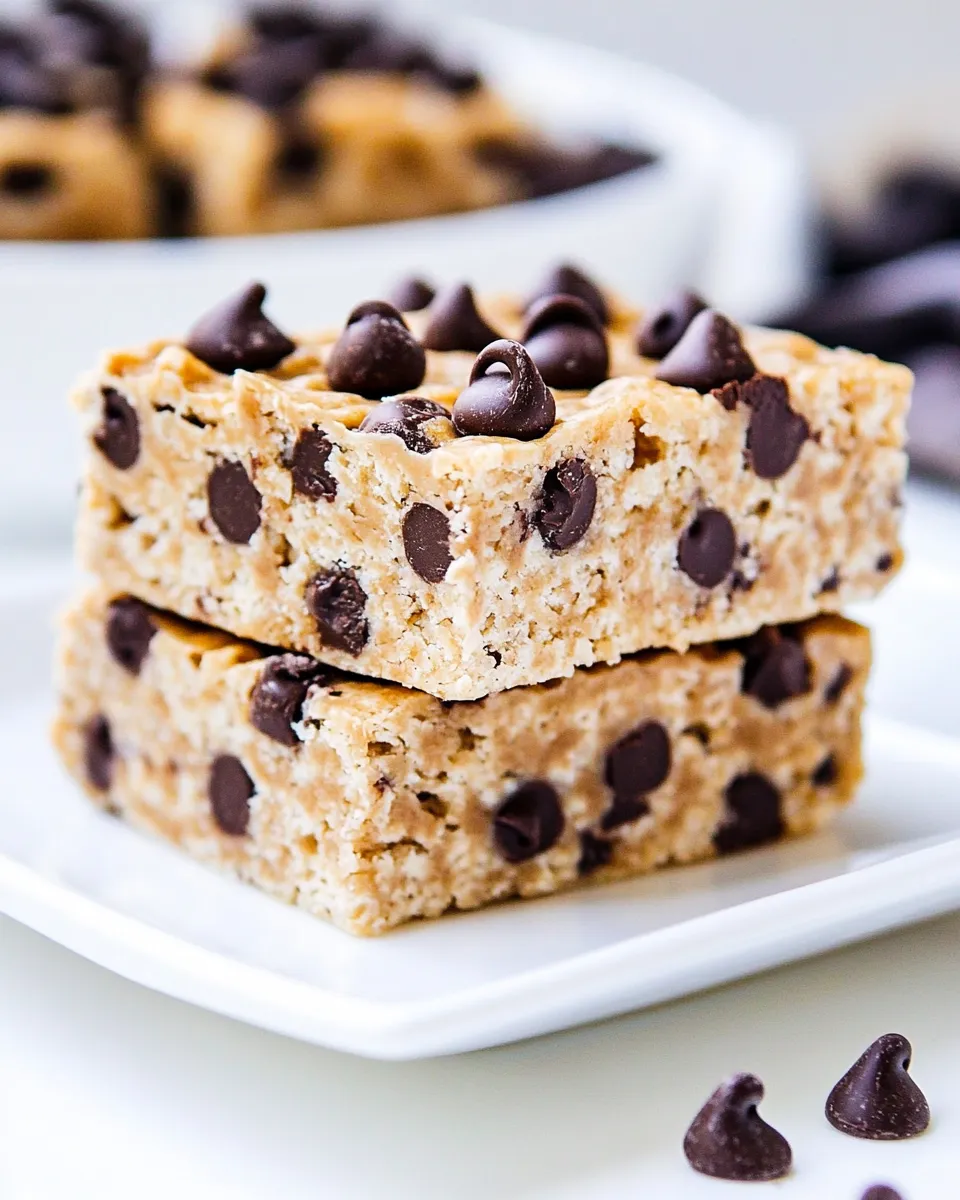
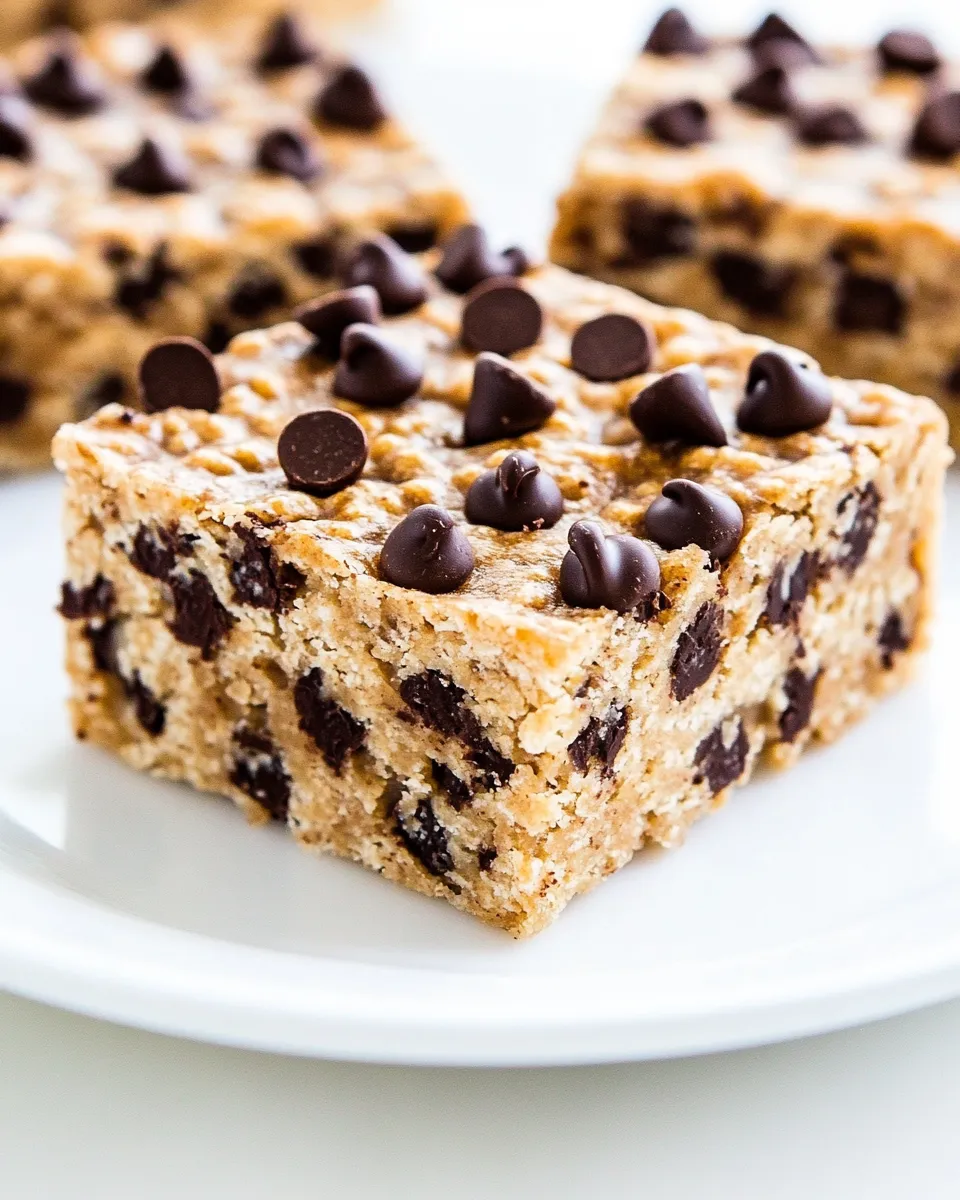
These Chocolate Chip Breakfast Squares To-Go are a daily lifesaver when mornings are busy. They bake up into a sturdy, slightly chewy slab that slices into portable squares — perfect for tossing into a bag with a coffee or packing for a kid’s lunch. I love that they lean on pantry staples and come together without eggs, so they’re a forgiving, everyday make-ahead option.
There’s no fluff here: the recipe relies on rolled oats for structure, applesauce or mashed banana for moisture and sweetness, and mini chocolate chips for that little hit of joy in every bite. You can choose the wet ingredient and sweetener options to match your pantry and dietary needs, and small adjustments (warm a thick nut butter for easier mixing, or add a few more chips on top) make this reliably good.
Below you’ll find a practical shopping list, the exact step-by-step directions, storage advice, troubleshooting notes, sensible substitutions, and ideas to keep these squares interesting year-round. Read the short directions once, then follow the steps in order — they reward a little patience at the end while the bars finish themselves in the turned-off oven.
Your Shopping Guide
Shop with purpose. This recipe centers on a handful of ingredients that most grocery stores carry year-round. Buy a sturdy bag of rolled oats and a reliable jar of mini chocolate chips; they’re the backbone. Decide whether you want applesauce or bananas, and pick the sweetener you prefer — maple syrup, honey, agave, or a pinch of stevia (note: stevia requires an extra 1/2 cup water).
Quantities are written for a 9×13-inch pan so you don’t need to scale. If you bake often, keep parchment and a good nonstick pan in your kitchen; they make removal and cleanup effortless. When choosing chips, mini chips distribute more evenly and give you small bites of chocolate in each square.
Ingredients
- 4 cups rolled oats — the structural base; use old-fashioned rolled oats for chew and body.
- 2 2/3 cups applesauce or mashed banana — moisture and binding; choose one option depending on flavor preference.
- 3/4 cup water — hydrates the oats; extra water may be added if using stevia (see note below).
- 1 tsp salt — balances sweetness and enhances flavor.
- 1/2 cup or more mini chocolate chips — I love Enjoy Life Mini Chips; add a few tablespoons extra to sprinkle on top if you like.
- 1/4 cup oil, nut butter, or additional water — choose one to add fat or extra moisture; nut butter gives a richer mouthfeel.
- pinch stevia or 1/2 cup pure maple syrup, honey, or agave — pick one sweetener option; if you pick stevia, remember to add 1/2 cup extra water.
- only if using stevia, 1/2 cup additional water — required only with stevia to make up the lost volume/sweetness balance.
- 2 tsp pure vanilla extract — rounds flavors and deepens the chocolate notes.
Chocolate Chip Breakfast Squares To-Go: From Prep to Plate
- Preheat the oven to 350°F (175°C). Line a 9×13-inch pan with parchment paper, leaving an overhang for easy removal.
- In a large bowl, combine 4 cups rolled oats and 1 tsp salt; stir to distribute the salt.
- Stir 1/2 cup (or more) mini chocolate chips into the oats, reserving a few tablespoons if you want to sprinkle chips on top before baking.
- In a separate bowl, combine the wet ingredients, choosing one option where choices are given:
- 2 2/3 cups applesauce OR 2 2/3 cups mashed banana (choose one).
- 3/4 cup water.
- 1/4 cup oil OR 1/4 cup nut butter OR 1/4 cup additional water (choose one).
- Sweetener: either a pinch stevia OR 1/2 cup pure maple syrup, honey, or agave (choose one). If you choose stevia, add the extra 1/2 cup additional water listed in the ingredient list (so you will add 1/2 cup extra water only when using stevia).
- 2 tsp pure vanilla extract.
- If you chose nut butter and it’s thick, briefly warm it (30 seconds in the microwave) so it mixes more easily with the other wet ingredients.
- Pour the wet mixture into the bowl with the oats and chocolate chips. Stir thoroughly until the mixture is evenly combined and the oats are moistened.
- Transfer the mixture to the prepared 9×13 pan and press/smooth it evenly into an even layer. Sprinkle the reserved mini chocolate chips on top if desired.
- Bake on the center rack for 28 minutes.
- After 28 minutes, do not open the oven door. Turn off the oven and let the pan sit inside the closed oven for an additional 20 minutes.
- Remove the pan from the oven. Let cool in the pan for about 15 minutes, then lift the parchment to remove the slab and let cool another 15–20 minutes on a wire rack (or until cooled enough to slice without crumbling).
- Slice into bars or squares. Store leftovers in the refrigerator for 3–4 days or freeze for longer storage.
The Upside of Chocolate Chip Breakfast Squares To-Go
Practical benefits matter: these squares travel well, require no special bakery skills, and rely on pantry staples. They’re naturally free of eggs if you follow the recipe as written, which makes them a simple choice when you’re out of eggs or feeding someone with an egg allergy. They also offer flexibility — switch between applesauce or banana to change the flavor and texture without altering the method.
The turning-off-the-oven resting step is crucial. It finishes the interior gently so the squares set without over-browning. That extra 20 minutes returns excellent structure, so you can slice tidy bars instead of a crumble. In short: low fuss, high reward, ready to eat on the go.
What to Use Instead
Stick to the choices the recipe provides. For the moistening agent you can use applesauce or mashed banana — both are written options and will yield slightly different textures and flavors (banana gives more sweetness and a hint of banana flavor). For fat/moisture, choose oil, a nut butter, or extra water. For sweetener, pick between stevia (plus the extra 1/2 cup water) or 1/2 cup of pure maple syrup, honey, or agave. Mini chocolate chips are specified; you can add more or reserve some for the top.
Don’t substitute ingredients outside of the given list if you want the same outcome; oats are central to the structure and have no direct replacement in this formula.
Hardware & Gadgets
- 9×13-inch pan — required size for the recipe’s quantities and baking time.
- Parchment paper — makes removal simple and keeps the slab intact when lifting from the pan.
- Mixing bowls — one large for oats and one for wet ingredients keeps things tidy.
- Rubber spatula or spoon — for scraping the wet mix into the oats and pressing the layer evenly.
- Wire rack — cool the slab evenly after removing it from the pan.
- Measuring cups and spoons — accurate amounts matter, especially for the 4 cups oats and 2 2/3 cups applesauce/banana.
- Microwave-safe bowl — optional, for briefly warming thick nut butter if you choose it.
Easy-to-Miss Gotchas
Several small things commonly trip people up:
- Sweetener choice and water — if you pick stevia, add the extra 1/2 cup water. Forgetting this will leave the mixture too dry and the texture off.
- Don’t open the oven — after 28 minutes you must turn the oven off and leave the pan inside for 20 minutes. Opening the door will release heat and alter the final set.
- Warm nut butter when necessary — thick nut butter needs a brief warm-up to blend smoothly. Skip this and you’ll get streaks or clumps.
- Let it cool — slicing too early causes crumbling. Follow the cool-in-pan and rack steps to get clean squares.
- Oats type — use rolled oats. Instant oats may make the texture different; the recipe assumes rolled oats for structure.
Year-Round Variations
The recipe deliberately gives most of the variation options. For instance, use mashed banana for a sweeter, more banana-forward square in the summer when bananas are ripe; switch to applesauce in colder months for a subtler fruit flavor. Adjust the mini chocolate chips: add a few extra tablespoons on top before baking for a prettier finish and a chocolate-forward bite.
Keep it simple and within the ingredient list: applesauce vs banana, oil vs nut butter vs water, and your preferred liquid sweetener or stevia. Those choices are enough to change texture and sweetness across seasons without reinventing the recipe.
Author’s Commentary
I make these almost weekly when life gets busy. They are forgiving and practical — the kind of bake that rewards careful but straightforward execution. My favorite version uses applesauce and oil with maple syrup for warmth of flavor, plus an extra sprinkle of mini chips on top so each square looks a little more inviting. When I’m short on time, I warm the nut butter slightly and stir it right into the wet mix; it blends quickly that way.
People ask if they taste like a cookie. Not exactly — they taste like a sturdy, chocolatey oat bar with pleasant chew and a hint of fruit sweetness depending on whether you used apple or banana. They feel wholesome, portable, and satisfying. For busy mornings, they check every box.
Prep Ahead & Store
Follow the cooling steps in the recipe to set the squares properly. Once sliced, store the squares in the refrigerator for 3–4 days. Use an airtight container to keep them from drying out. If you need longer storage, freeze the squares; they freeze well. Thaw in the refrigerator or at room temperature when you’re ready to grab one.
If you plan to take a square on the go, wrap it in parchment or a reusable snack wrap and keep it in an insulated lunch bag if you carry a cold drink. They’re sturdy enough to travel without crumbling if properly cooled and wrapped.
Quick Questions
Q: Can I make these vegan?
A: Yes, choose applesauce or banana, oil or nut butter, and a vegan sweetener (maple syrup or agave). If you pick honey, they won’t be vegan.
Q: Can I reduce the chocolate chips?
A: Yes — the chips are flexible. The recipe lists 1/2 cup or more; you can use less but expect fewer chocolate hits per bite.
Q: Do I have to use mini chips?
A: Mini chips distribute more evenly. Larger chips are fine, but distribution and bite-size chocolate pieces will differ.
Q: How do I reheat a square?
A: Microwave for 10–20 seconds to warm through, or enjoy at room temperature. If frozen, thaw first before reheating briefly.
Next Steps
Make a batch this weekend and keep a pan in the fridge for quick breakfasts. Try both applesauce and mashed banana in separate pans to see which you prefer, and note how the texture changes with each sweetener option. Once you find your favorite combo, stick with it — these squares behave predictably and reward repeat baking.
If you’re packing them for school or work, pre-slice and wrap so mornings are truly grab-and-go. Minimal effort up front makes your weekdays noticeably smoother — and that’s the point of a good make-ahead breakfast.
Chocolate Chip Breakfast Squares To-Go
Ingredients
Ingredients
- 4 cupsrolled oats
- 2 2/3 cupapplesauce or mashed banana
- 3/4 cupwater
- 1 tspsalt
- 1/2 cupor more mini chocolate chips – I loveEnjoy Life Mini Chips
- 1/4 cupoil nut butter, or additional water
- pinchsteviaor 1/2 cup pure maple syrup honey, or agave
- only if using stevia 1/2 cup additional water
- 2 tsppure vanilla extract
Instructions
Instructions
- Preheat the oven to 350°F (175°C). Line a 9×13-inch pan with parchment paper, leaving an overhang for easy removal.
- In a large bowl, combine 4 cups rolled oats and 1 tsp salt; stir to distribute the salt.
- Stir 1/2 cup (or more) mini chocolate chips into the oats, reserving a few tablespoons if you want to sprinkle chips on top before baking.
- In a separate bowl, combine the wet ingredients, choosing one option where choices are given: - 2 2/3 cups applesauce OR 2 2/3 cups mashed banana (choose one). - 3/4 cup water. - 1/4 cup oil OR 1/4 cup nut butter OR 1/4 cup additional water (choose one). - Sweetener: either a pinch stevia OR 1/2 cup pure maple syrup, honey, or agave (choose one). If you choose stevia, add the extra 1/2 cup additional water listed in the ingredient list (so you will add 1/2 cup extra water only when using stevia). - 2 tsp pure vanilla extract.
- If you chose nut butter and it’s thick, briefly warm it (30 seconds in the microwave) so it mixes more easily with the other wet ingredients.
- Pour the wet mixture into the bowl with the oats and chocolate chips. Stir thoroughly until the mixture is evenly combined and the oats are moistened.
- Transfer the mixture to the prepared 9×13 pan and press/smooth it evenly into an even layer. Sprinkle the reserved mini chocolate chips on top if desired.
- Bake on the center rack for 28 minutes.
- After 28 minutes, do not open the oven door. Turn off the oven and let the pan sit inside the closed oven for an additional 20 minutes.
- Remove the pan from the oven. Let cool in the pan for about 15 minutes, then lift the parchment to remove the slab and let cool another 15–20 minutes on a wire rack (or until cooled enough to slice without crumbling).
- Slice into bars or squares. Store leftovers in the refrigerator for 3–4 days or freeze for longer storage.
Equipment
- Oven
- 9x13-inch pan
- Parchment Paper
- Large Bowl
- Mixing Bowl
- Wire Rack
Notes
The recipe was adapted from these
Breakfast Oatmeal Cupcakes To Go
.