
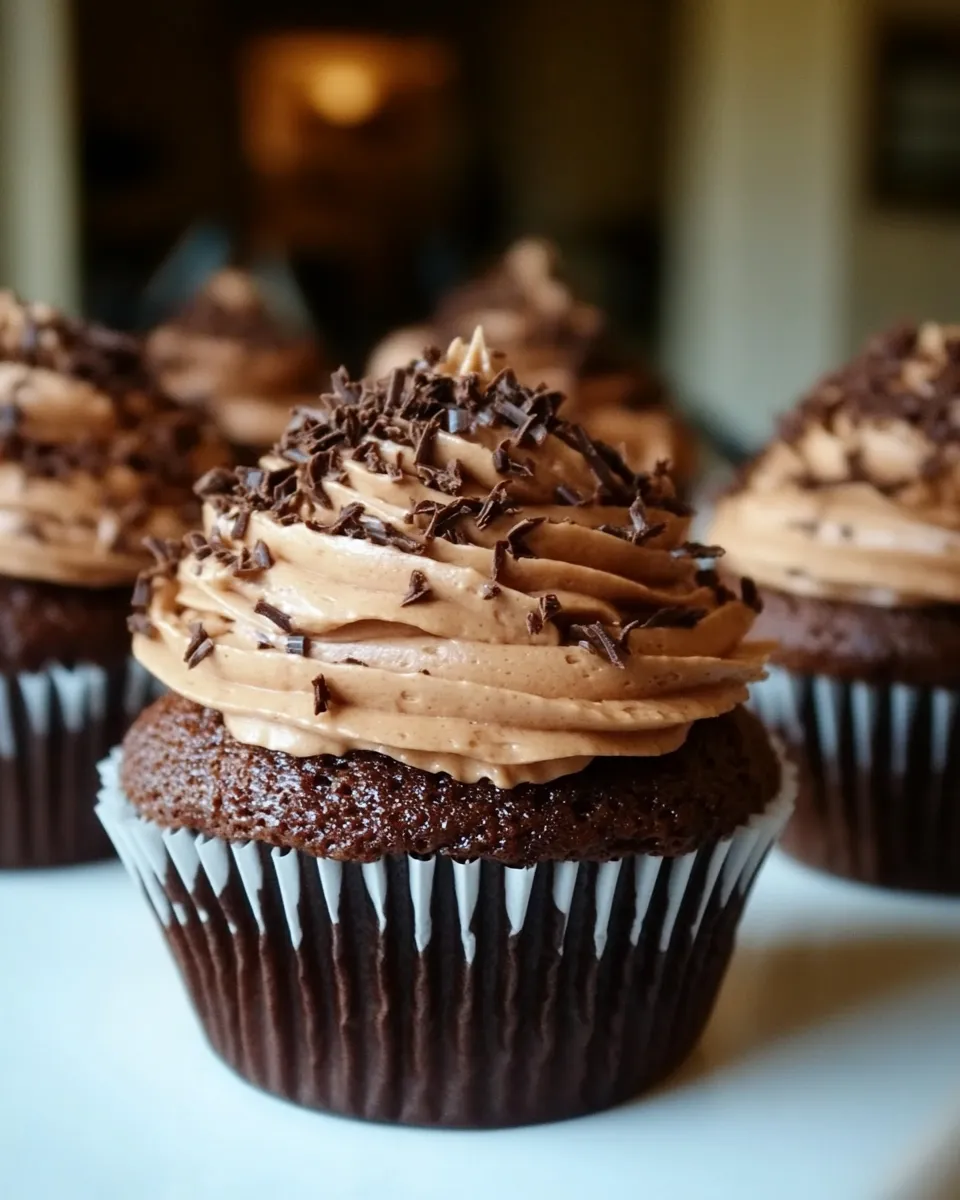
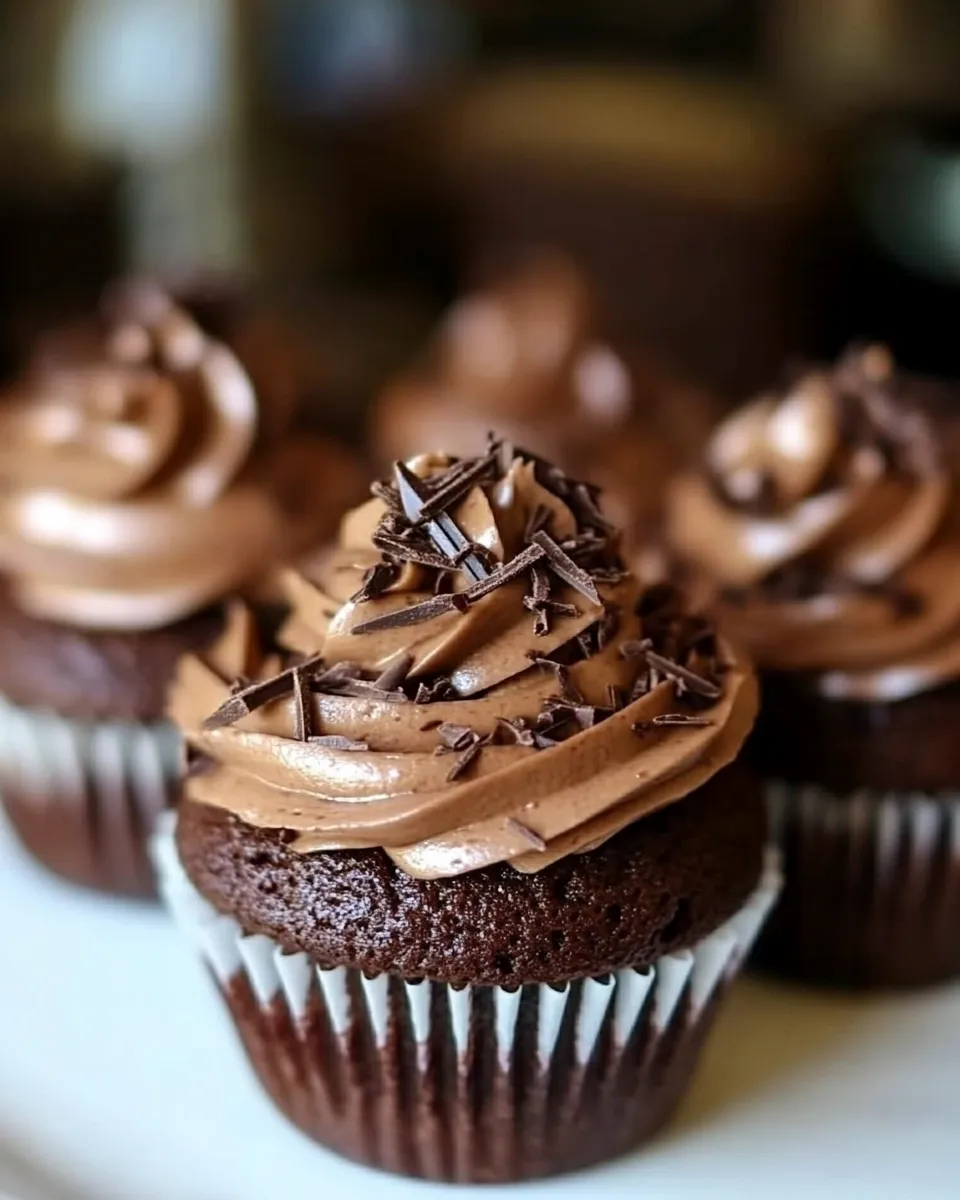
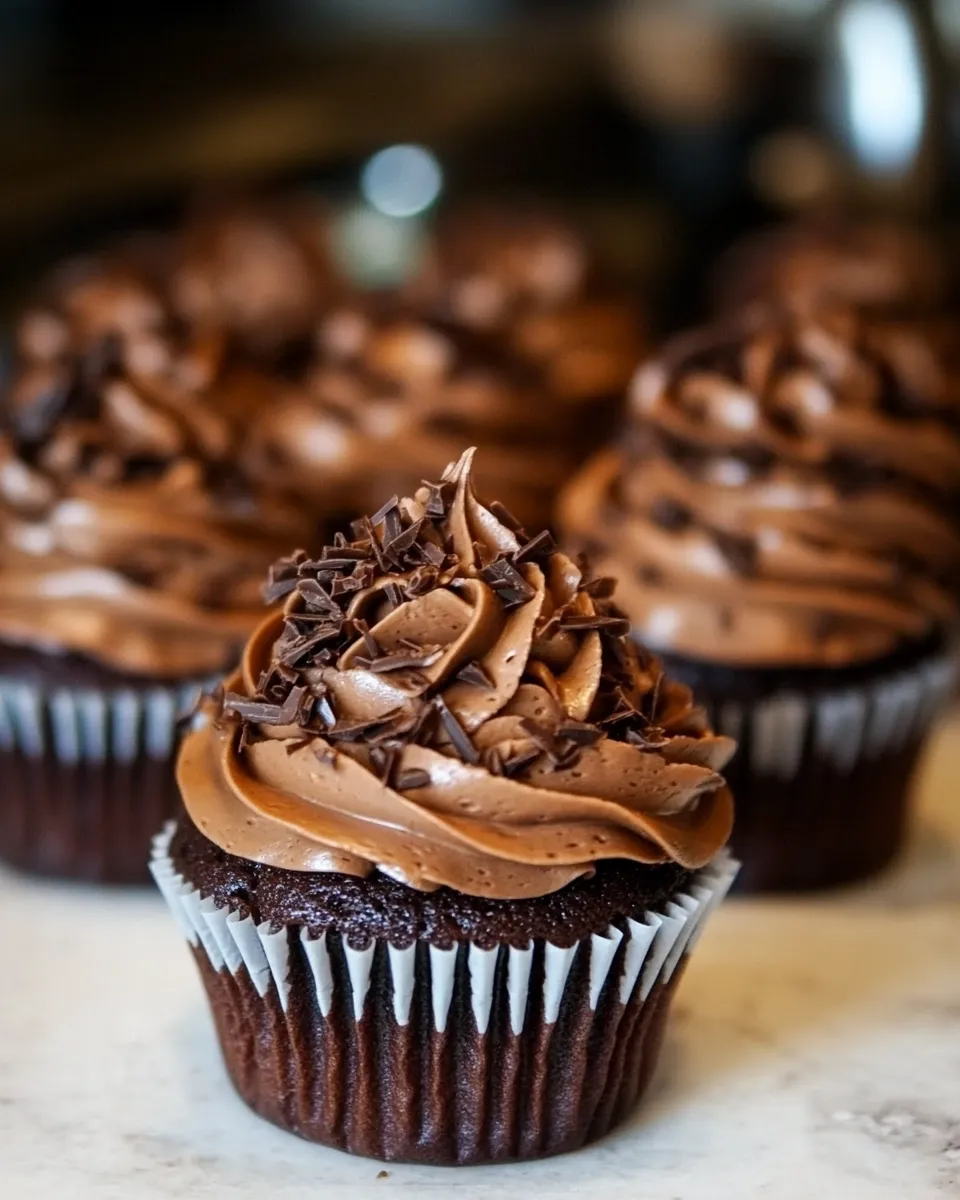
These cupcakes are the sort of thing I bake when I want chocolate without fuss — deeply chocolate, reliably tender, and forgiving. They don’t rely on fancy techniques or rare ingredients. Instead, they make smart use of pantry staples and hot water to pull out maximum cocoa flavor and a moist crumb.
I love them because they’re fast to put together and they play well with different frostings and toppings. The batter is thin, which can look odd at first, but it produces an evenly baked cupcake with a soft, almost fudgy interior. That thin batter also means they bake quickly, so keep an eye on the oven.
If you want a dependable chocolate cupcake for weeknight birthdays, last-minute guests, or a bake sale, this is the one I reach for. Below you’ll find the exact ingredients, step-by-step instructions, and practical tips so your batch turns out great every time.
What’s in the Bowl

- 2 cups flour — Provides structure; measure by spooning into the cup and leveling for accuracy.
- 2 cups sugar — Sweetens and helps create a tender crumb; can be granulated white sugar.
- 1 teaspoon baking powder — A leavening agent that gives lift; make sure it’s fresh.
- 2 teaspoons baking soda — Works with the cocoa and hot water to help rise and deepen color.
- 1 teaspoon salt — Balances sweetness and amplifies chocolate flavor; don’t skip it.
- 1 cup unsweetened cocoa — The chocolate backbone; use good-quality unsweetened cocoa for best flavor.
- 1 cup oil (I use canola) — Keeps cupcakes moist; neutral oils like canola or vegetable work well.
- 2 cups hot water — Hot water blooms the cocoa and thins the batter; it’s essential to develop chocolate flavor.
- 2 eggs — Bind the batter and add richness; bring to room temperature for easier mixing if you have time.
- 2 teaspoons vanilla — Rounds out the chocolate and adds depth; pure vanilla extract is preferred.
Chocolate Chocolate Cupcakes: How It’s Done
- Preheat the oven to 350°F (177°C). Line standard or mini cupcake pans with paper liners.
- In a large bowl, whisk together 2 cups flour, 2 cups sugar, 1 teaspoon baking powder, 2 teaspoons baking soda, 1 teaspoon salt, and 1 cup unsweetened cocoa until evenly combined.
- In a separate bowl, whisk 1 cup oil, 2 eggs, and 2 teaspoons vanilla until smooth.
- Carefully stir 2 cups hot water into the wet ingredients until combined. The batter will be thin.
- Pour the wet mixture into the dry ingredients and stir gently until just combined and smooth; avoid overmixing.
- Fill the prepared cupcake liners: about 2/3 full for standard cupcakes or about 3/4 full for mini cupcakes.
- Bake at 350°F. For mini cupcakes, bake about 8–12 minutes; for standard cupcakes, bake about 18–22 minutes. Begin checking a few minutes before the low end of the range. A cupcake is done when a toothpick inserted into the center comes out clean or with a few moist crumbs.
- Let the cupcakes cool in the pan for about 5 minutes, then transfer to a wire rack to cool completely before serving or frosting (frosting recipe not included).
Why You’ll Love This Recipe
It’s straightforward, repeatable, and genuinely chocolate-forward. Using hot water to bloom the cocoa is the kitchen shortcut that makes these cupcakes taste richer without melted chocolate. The result is moist, tender, and intensely chocolatey cupcakes that don’t require a mixer or temperamental techniques.
Because the recipe scales between mini and standard cupcakes so easily, it’s great for any occasion. Want party-sized portions? Make minis. Want a tray for office birthdays? Make standards. The batter is forgiving, which means less stress and fewer ruined pans — especially handy when you’re juggling a busy schedule.
Smart Substitutions
- Oil: Swap canola for a mild-flavored vegetable oil, or use light olive oil if you like a slightly fruity note. Avoid extra-virgin olive oil unless you enjoy its strong flavor with chocolate.
- Flour: For a slightly denser cupcake, you can try half all-purpose and half whole-wheat pastry flour, but expect a firmer crumb and darker color.
- Sugar: If you need to cut sweetness, replace up to 1/4 cup of the sugar with brown sugar for a hint of molasses, but don’t reduce too much or the texture will change.
- Vanilla: If you don’t have vanilla, a small splash (1/4 teaspoon) of instant espresso powder dissolved in the hot water will deepen the chocolate note.
Hardware & Gadgets
- Standard 12-cup or mini cupcake pans — choose based on which size you want to bake.
- Paper cupcake liners — prevent sticking and make serving simple.
- Wire cooling rack — essential for cooling to stop carryover cooking and to avoid soggy bottoms.
- Large mixing bowls and a whisk — no mixer required; a whisk and spatula do the job.
- Measuring cups and spoons — accurate measuring keeps texture consistent.
- Toothpicks — for testing doneness.
Frequent Missteps to Avoid
Here are the things I see most often when people struggle with cupcakes like these:
- Overmixing after combining wet and dry. That thin batter looks forgiving, but vigorous mixing develops gluten and yields a tougher crumb. Stir until just combined.
- Filling liners unevenly. Use a small ice cream scoop or a measuring cup to keep cupcakes the same size so they bake evenly.
- Baking too long. Because the batter is thin and the cupcakes are moist, they can dry out quickly. Start checking a few minutes before the low end of the suggested time.
- Skimping on cooling. Frosting hot cupcakes melts the frosting and can make a mess. Let them cool completely on a wire rack before frosting.
Better-for-You Options
If you want to lighten these up without losing the chocolate impact, there are a few practical choices. Replace half the oil with unsweetened applesauce to reduce fat; the texture will be slightly different but still pleasant. Use a natural cocoa and reduce sugar a touch if you prefer less sweet desserts. You can also make mini cupcakes — smaller portions automatically lower per-serving calories.
For gluten-conscious eaters, try a one-to-one gluten-free flour blend with xanthan gum already included. Results vary by brand, so test a small batch first. Keep in mind that any swap can slightly change bake time and texture.
Notes on Ingredients
Small notes that make a big difference:
- Flour: Spoon and level when measuring to avoid dense cupcakes from too much flour.
- Sugar: Granulated sugar is listed. Brown sugar will add moisture and a hint of caramel but will slightly alter the flavor profile.
- Baking powder & baking soda: Both are necessary — they work together to give lift. Make sure your baking powder and baking soda aren’t expired.
- Cocoa: Unsweetened cocoa is non-negotiable here. The hot water extracts flavor and helps the cocoa dissolve. Dutch-process cocoa can be used but expect subtle differences in flavor and rise.
- Oil: Neutral oils keep the chocolate clean. Butter would add flavor but requires different technique (melted and cooled) and will change texture.
- Hot water: It doesn’t need to be boiling, just hot enough to bloom the cocoa — it’s part of what keeps the crumb moist.
- Eggs & vanilla: Eggs add structure; vanilla rounds out bitterness from the cocoa. Both are small but meaningful contributors.
Make Ahead Like a Pro
There are several ways to prepare these cupcakes ahead of time without losing quality. You can bake them fully, cool completely, and store in an airtight container at room temperature for up to 2 days. For longer storage, freeze unfrosted cupcakes in a single layer on a sheet tray until solid, then transfer to a freezer bag; they’ll keep up to 3 months. Thaw at room temperature before frosting.
If you want to prep batter ahead, I don’t recommend keeping mixed batter for long; it’s best baked right away. However, you can mix the dry ingredients and store them in a sealed container; then combine wet ingredients and hot water right before folding into the dry mix.
Reader Questions
Can I frost these with the same chocolate flavor?
Yes. Classic chocolate buttercream, ganache, or a simple frosting made with cocoa powder will complement them. Wait until cupcakes are completely cool so frosting sets properly.
Why is my batter so thin?
The recipe intentionally produces a thin batter because of the hot water. That’s what gives these cupcakes their moist, almost fudgy texture. Thin equals tender in this case — resist the urge to add more flour.
How do I know when they’re done?
Use a toothpick to check: if it comes out clean or with a few moist crumbs, they’re done. Start checking a few minutes before the stated minimum time to avoid overbaking.
Bring It to the Table
These cupcakes are versatile on presentation. For a casual treat, a simple dusting of powdered sugar or a swipe of chocolate frosting is perfect. For gatherings, pipe a chocolate buttercream or top with a glossy chocolate ganache and a sprinkle of flaky sea salt or mini chocolate chips for texture contrast.
Storage after serving: keep frosted cupcakes in an airtight container in the fridge for up to 3 days, but let them come to room temperature before serving so the flavors are at their best. If unfrosted, store at room temperature for up to 2 days or freeze as described above.
Bottom line: these Chocolate Chocolate Cupcakes are simple, dependable, and easy to adapt. They deliver big chocolate flavor with minimal fuss — and they’re a staple I make again and again for friends and family.
Chocolate Chocolate Cupcakes
Ingredients
Ingredients
- 2 cupsflour
- 2 cupssugar
- 1 teaspoonbaking powder
- 2 teaspoonsbaking soda
- 1 teaspoonsalt
- 1 cupunsweetened cocoa
- 1 cupoilI use canola
- 2 cupshot water
- 2 eggs
- 2 teaspoonsvanilla
Instructions
Instructions
- Preheat the oven to 350°F (177°C). Line standard or mini cupcake pans with paper liners.
- In a large bowl, whisk together 2 cups flour, 2 cups sugar, 1 teaspoon baking powder, 2 teaspoons baking soda, 1 teaspoon salt, and 1 cup unsweetened cocoa until evenly combined.
- In a separate bowl, whisk 1 cup oil, 2 eggs, and 2 teaspoons vanilla until smooth.
- Carefully stir 2 cups hot water into the wet ingredients until combined. The batter will be thin.
- Pour the wet mixture into the dry ingredients and stir gently until just combined and smooth; avoid overmixing.
- Fill the prepared cupcake liners: about 2/3 full for standard cupcakes or about 3/4 full for mini cupcakes.
- Bake at 350°F. For mini cupcakes, bake about 8–12 minutes; for standard cupcakes, bake about 18–22 minutes. Begin checking a few minutes before the low end of the range. A cupcake is done when a toothpick inserted into the center comes out clean or with a few moist crumbs.
- Let the cupcakes cool in the pan for about 5 minutes, then transfer to a wire rack to cool completely before serving or frosting (frosting recipe not included).
Equipment
- Oven
- Mixing Bowl
- Whisk
- Measuring Cups
- Measuring Spoons
- Cupcake pan
- Paper liners
- Wire Rack


