
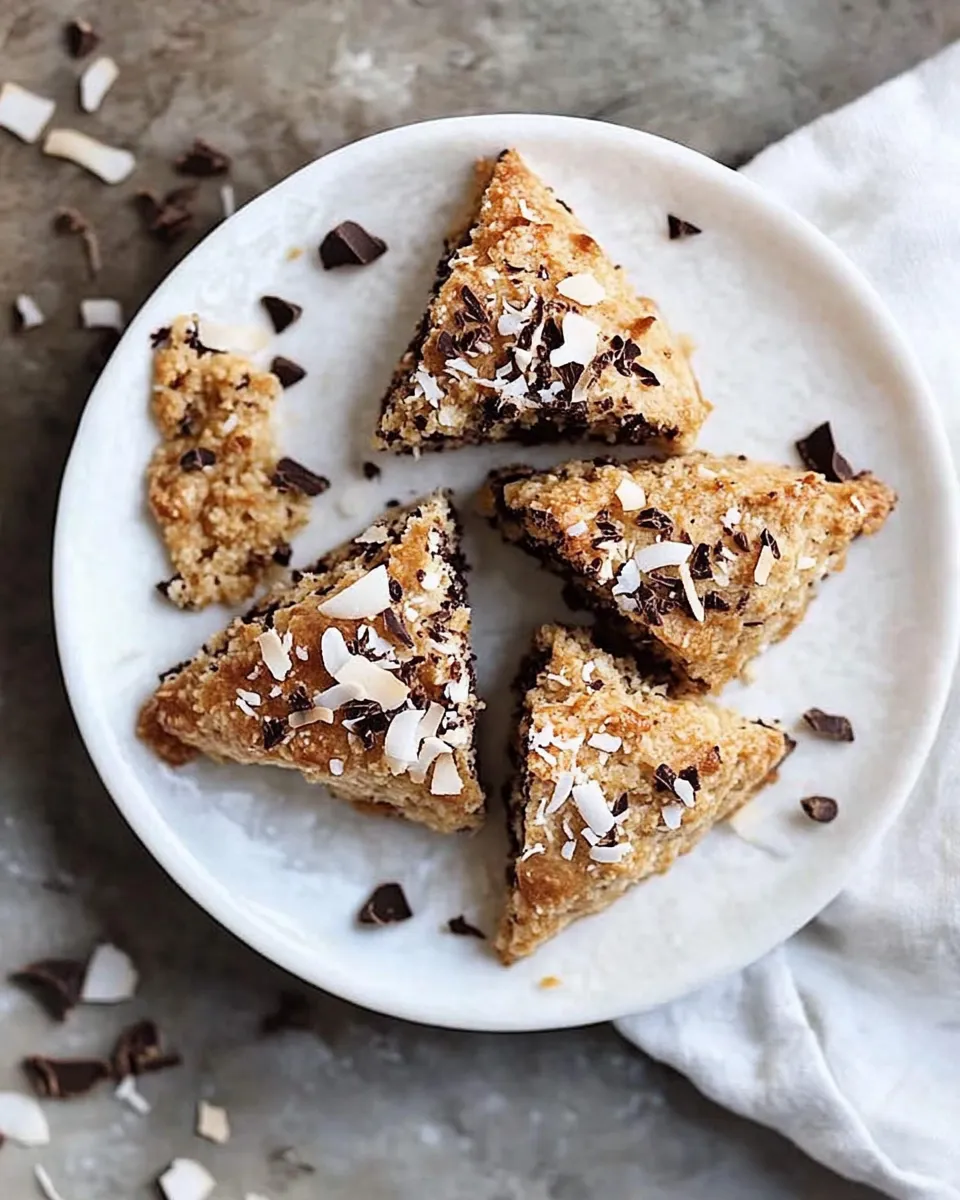
These scones are the sort of thing I make when I want something cozy, a little indulgent, but still tidy enough to share with guests. They balance the tender crumb of a good scone with tropical notes from coconut and a hit of chocolate that melts in your mouth. The glaze brightens things up and the toasted coconut on top gives a welcome crunch.
They’re not fussy, but there are a few small moves that matter: keep the butter cold, don’t overwork the dough, and let the scones cool completely before glazing. If you follow the steps and measurements below, you’ll have reliably tender scones with pockets of chocolate and a soft coconut flavor.
I test recipes until the results feel right: enough sweetness to satisfy, not so much that you can’t taste the coconut; a flaky interior with clean wedge cuts; and a glaze that sets up glossy and thin, so it doesn’t overwhelm. Read through the shopping list, gear notes, and troubleshooting tips below before you start. Then bake, sip coffee, and enjoy the warm, coconut-scented kitchen.
Shopping List
- 3/4 cup light coconut milk
- 1 egg
- 1/4 cup sugar
- 2 teaspoons vanilla
- 1 cup all purpose flour
- 1 cup white whole wheat flour
- 1 tablespoons baking powder
- 1/2 teaspoon salt
- 3 Tablespoons unsalted butter, very cold and cut into small pieces
- 3/4 cup mini chocolate chips
- 1/2 cup of sweetened flake coconut
- 2 Tablespoon light coconut milk (for brushing on top before baking)
- 1 cup powdered sugar
- 2 (plus a few drops more if needed) tablespoons light coconut milk
- 1/4 cup coconut, toasted
- 2 Tablespoons mini chocolate chips (optional)
Chocolate Coconut Scones, Made Easy
- Preheat oven to 375°F. Line a rimmed baking sheet with parchment paper and set aside.
- In a medium bowl whisk together 3/4 cup light coconut milk, 1 egg, 1/4 cup sugar, and 2 teaspoons vanilla until combined.
- In a large bowl whisk together 1 cup all-purpose flour, 1 cup white whole wheat flour, 1 tablespoon baking powder, and 1/2 teaspoon salt.
- Using a pastry blender, cut 3 tablespoons very cold unsalted butter (cut into small pieces) into the dry ingredients until the butter pieces are about the size of small peas and evenly distributed. Work quickly so the butter stays cold.
- Pour the wet ingredients into the dry ingredients and gently stir with a wooden spoon until just combined. Carefully fold in 3/4 cup mini chocolate chips and 1/2 cup sweetened flake coconut.
- Turn the dough out onto a lightly floured surface. With lightly floured hands, knead the dough 4–5 times to bring it together. The dough will be sticky; sprinkle on small amounts of flour as needed so you can handle it, but avoid adding large amounts.
- Transfer the dough to the prepared baking sheet and pat it into an 8–9 inch disc about 3/4 inch thick. Using a sharp knife, cut the disc into 12 wedges (leave the wedges in place on the sheet).
- Brush the top of the disc with 2 tablespoons light coconut milk.
- Bake at 375°F for 18–20 minutes, or until the scones are slightly golden brown. Remove from the oven and allow the scones to cool on the pan until completely cool.
- While the scones cool, make the glaze: in a wide shallow bowl mix 1 cup powdered sugar with 2 tablespoons light coconut milk until the glaze is a nice pourable consistency. Add a few more drops of light coconut milk if needed.
- Once the scones are fully cooled, either dip the top of each scone into the glaze or spoon/pour the glaze over the tops.
- Immediately sprinkle the wet glaze with 1/4 cup toasted coconut and, if using, 2 tablespoons mini chocolate chips. Let the glaze set, then serve.
Ingredients
- 3/4 cup light coconut milk — Provides fat, moisture, and coconut flavor in the dough.
- 1 egg — Binds the dough and gives structure and a tender crumb.
- 1/4 cup sugar — Sweetens the dough; keep to the amount called for for a balanced scone.
- 2 teaspoons vanilla — Enhances the overall flavor and complements the chocolate and coconut.
- 1 cup all purpose flour — Base of the dough; provides tenderness when combined with whole wheat flour.
- 1 cup white whole wheat flour — Adds whole-grain character and a slightly nuttier flavor.
- 1 tablespoons baking powder — Leavening agent that helps the scones rise and become light.
- 1/2 teaspoon salt — Balances sweetness and enhances flavors.
- 3 Tablespoons unsalted butter, very cold and cut into small pieces — Cold butter creates flakiness; keep it cold until mixing.
- 3/4 cup mini chocolate chips — Little pockets of chocolate throughout; mini chips give even distribution.
- 1/2 cup of sweetened flake coconut — Adds texture and coconut flavor inside the scone.
- 2 Tablespoon light coconut milk (for brushing on top before baking) — Helps the top brown and gives extra coconut flavor.
- 1 cup powdered sugar — For the glaze; sift if lumpy for a smooth finish.
- 2 (plus a few drops more if needed) tablespoons light coconut milk — Mixed with powdered sugar to make the glaze; adjust for pourable consistency.
- 1/4 cup coconut, toasted — For sprinkling on the glazed scones; toasting deepens the flavor and adds crunch.
- 2 Tablespoons mini chocolate chips (optional) — Optional garnish to echo the chips inside the scones.
Why You’ll Love This Recipe
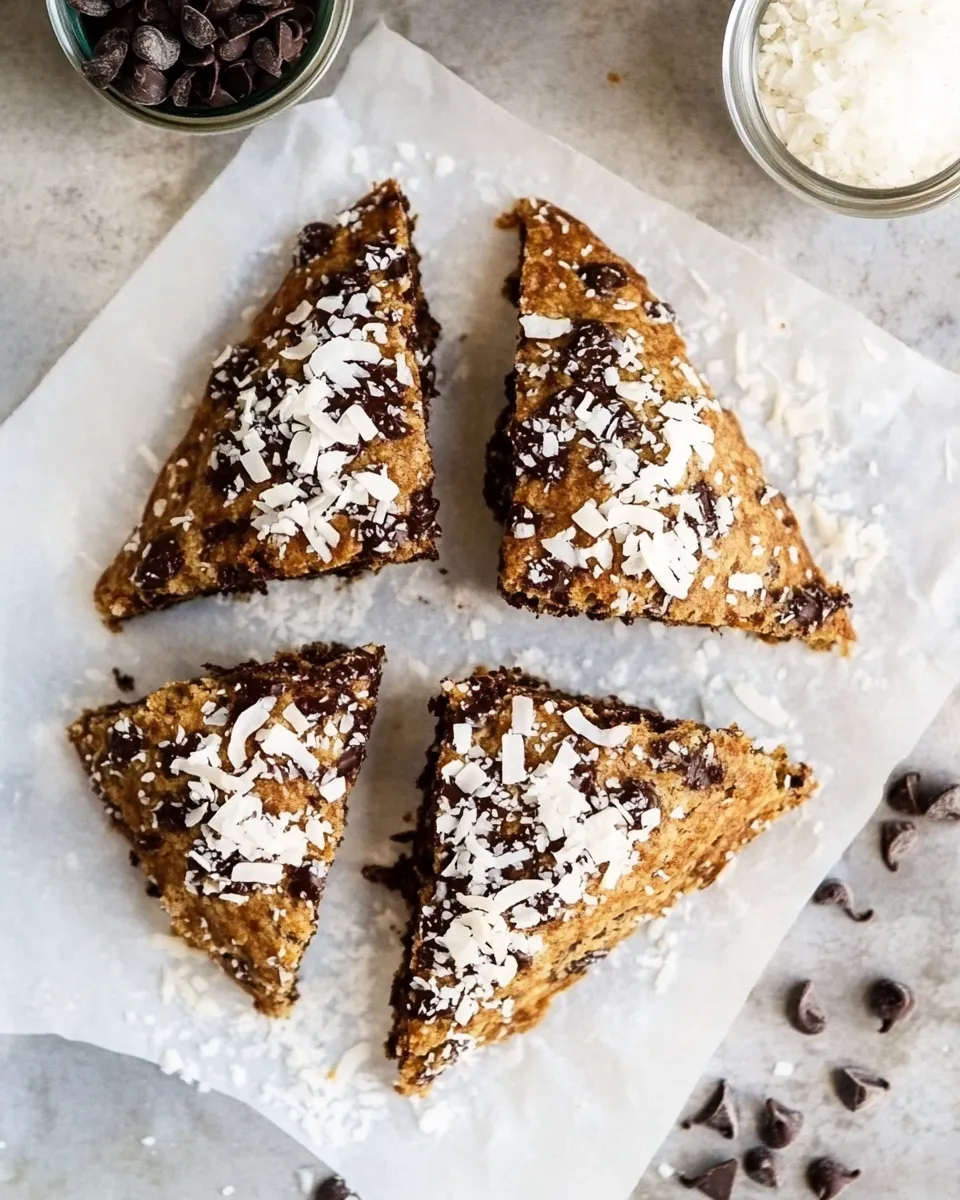
These scones are a reliable crowd-pleaser: simple to make, not overly sweet, and with clear coconut and chocolate notes. The use of light coconut milk keeps the flavor bright without making the dough heavy. Mini chocolate chips distribute evenly so every bite has chocolate, and the toasted coconut on top adds a pleasing textural contrast.
They’re also flexible. The recipe yields a dozen wedges held together on the baking sheet for neat and even baking. The glaze makes them feel special and the whole process is straightforward enough for a weekend bake but polished enough for casual entertaining.
Flavor-Forward Alternatives
If you want to shift the flavor profile:
- Add a teaspoon of orange zest to the wet ingredients for a coconut-orange scone that pairs beautifully with dark chocolate.
- Swap 1/4 cup of the mini chocolate chips for chopped macadamia nuts for a coconut-macadamia-chocolate combo.
- Mix in 1/4 cup chopped dried pineapple or mango for a tropical-fruit variation—fold them in gently with the chocolate chips.
What You’ll Need (Gear)
Minimal gear required: a rimmed baking sheet, parchment paper, a medium and a large bowl, a whisk, a pastry blender (or two forks or a box grater), a wooden spoon, a sharp knife, and a wide shallow bowl for the glaze. A scale helps if you like precision, but the recipe works well from the cup measurements provided.
Troubleshooting Tips
Butter isn’t cold enough
If your butter gets warm while cutting it into the flour, chill the mixing bowl in the fridge for 10 minutes and pop the dough back into the fridge for a short rest before shaping. Warm butter will make the dough dense instead of flaky.
Dough too sticky
Sprinkle small amounts of flour onto the surface and your hands while shaping. Be conservative—adding a lot of flour will dry the scones and change the texture. The dough should be slightly tacky but manageable.
Scones are flat or heavy
Check your baking powder—if it’s old it may not provide lift. Also, avoid overkneading; only knead 4–5 times as instructed so you don’t develop too much gluten.
Glaze too thick or too thin
Add a few drops of light coconut milk if it’s too thick. If it’s too thin, add a tablespoon more powdered sugar and whisk until you reach a pourable, slightly thick consistency that coats the back of a spoon.
Fresh Seasonal Changes
Summer: Fold in a small handful of finely chopped fresh strawberries or raspberries (drained of excess juice) to brighten the scones and pair with the coconut.
Autumn/Winter: Stir in 1/2 teaspoon of cinnamon and 1/4 teaspoon of ground cardamom for warm spice notes, and swap the toasted coconut for chopped toasted pecans on top.
Behind-the-Scenes Notes
I developed these scones to be dependable across ovens. The rimmed baking sheet and parchment paper prevent spreading; leaving the wedges in place until after cooling preserves their crisp edges. Tiny chocolate chips were chosen intentionally—full-size chips can create uneven pockets of chocolate and make the scones collapse slightly where the chocolate melts.
Toasting the coconut is quick: spread the flakes in a single layer on a baking sheet and bake at 350°F for 5–8 minutes, stirring once, until golden. Watch closely; coconut burns fast. I prefer toasted coconut for the texture and deeper flavor it adds after glazing.
Best Ways to Store
Room temperature: Store cooled scones in an airtight container for up to 2 days. The glaze may soften slightly over time.
Refrigerator: If you prefer, refrigerate for up to 5 days in an airtight container. Bring to room temperature before serving to recover tenderness.
Freezer: Wrap individual scones in plastic wrap and freeze in a resealable bag for up to 2 months. Thaw at room temperature and refresh in a 325°F oven for 5–7 minutes if you want the crust crisped up again.
Reader Questions
Q: Can I use full-fat coconut milk instead of light?
A: Yes, full-fat will work and give a richer flavor, but it can make the dough slightly heavier. If using full-fat, chill it so it’s not overly runny when mixed.
Q: Can I omit the coconut entirely?
A: You can omit the coconut, but it’s a core flavor here. If you remove the coconut, consider replacing it with an equal amount of extra chocolate chips or chopped nuts for texture.
Q: My scones browned too fast—what happened?
A: Your oven may run hot. Rotate the pan halfway through baking and check doneness a few minutes earlier. Brushing the disc with coconut milk helps with browning—skip it if your oven is aggressive.
Save & Share
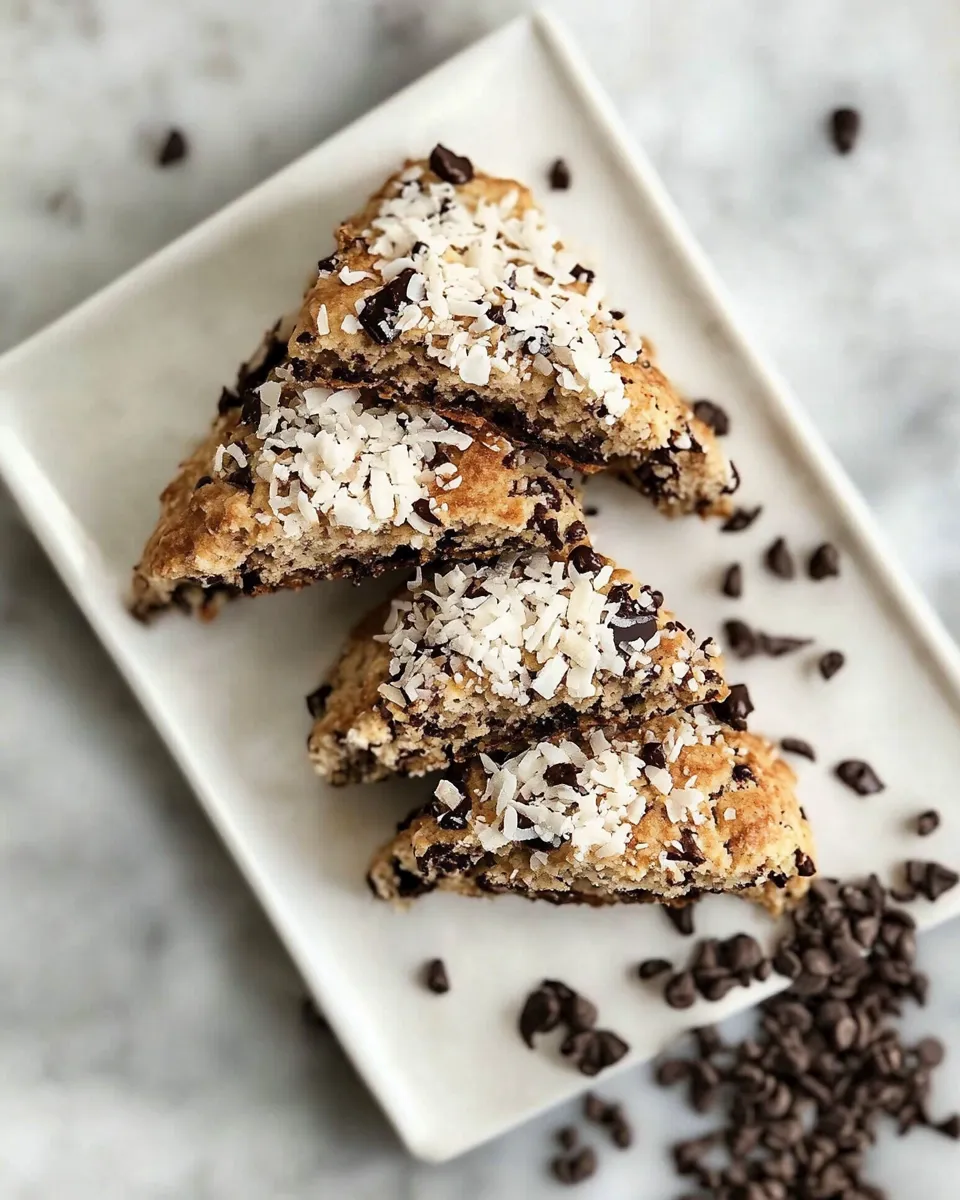
If you try these scones, take a photo of the wedge cross-section so you can see the pockets of chocolate and flecks of coconut. Tag friends who’d love coconut and share the recipe with anyone who needs a reliable scone in their life. Bookmark this page, print the steps, or save the ingredient list to make shopping quick next time.
Happy baking — keep the butter cold and enjoy the first warm bite.

Chocolate Coconut Scones
Ingredients
Ingredients
- 3/4 cup light coconut milk1 egg1/4 cup sugar2 teaspoons vanilla1 cup all purpose flour1 cup white whole wheat flour1 tablespoons baking powder1/2 teaspoon salt3 Tablespoons unsalted butter very cold and cut into small pieces3/4 cup mini chocolate chips1/2 cup of sweetened flake coconut2 Tablespoon light coconut milk (for brushing on top before baking)
- 1 cup powdered sugar2 plus a few drops more if needed tablespoons light coconut milk1/4 cup coconut, toasted2 Tablespoons mini chocolate chips (optional)
Instructions
Instructions
- Preheat oven to 375°F. Line a rimmed baking sheet with parchment paper and set aside.
- In a medium bowl whisk together 3/4 cup light coconut milk, 1 egg, 1/4 cup sugar, and 2 teaspoons vanilla until combined.
- In a large bowl whisk together 1 cup all-purpose flour, 1 cup white whole wheat flour, 1 tablespoon baking powder, and 1/2 teaspoon salt.
- Using a pastry blender, cut 3 tablespoons very cold unsalted butter (cut into small pieces) into the dry ingredients until the butter pieces are about the size of small peas and evenly distributed. Work quickly so the butter stays cold.
- Pour the wet ingredients into the dry ingredients and gently stir with a wooden spoon until just combined. Carefully fold in 3/4 cup mini chocolate chips and 1/2 cup sweetened flake coconut.
- Turn the dough out onto a lightly floured surface. With lightly floured hands, knead the dough 4–5 times to bring it together. The dough will be sticky; sprinkle on small amounts of flour as needed so you can handle it, but avoid adding large amounts.
- Transfer the dough to the prepared baking sheet and pat it into an 8–9 inch disc about 3/4 inch thick. Using a sharp knife, cut the disc into 12 wedges (leave the wedges in place on the sheet).
- Brush the top of the disc with 2 tablespoons light coconut milk.
- Bake at 375°F for 18–20 minutes, or until the scones are slightly golden brown. Remove from the oven and allow the scones to cool on the pan until completely cool.
- While the scones cool, make the glaze: in a wide shallow bowl mix 1 cup powdered sugar with 2 tablespoons light coconut milk until the glaze is a nice pourable consistency. Add a few more drops of light coconut milk if needed.
- Once the scones are fully cooled, either dip the top of each scone into the glaze or spoon/pour the glaze over the tops.
- Immediately sprinkle the wet glaze with 1/4 cup toasted coconut and, if using, 2 tablespoons mini chocolate chips. Let the glaze set, then serve.
Equipment
- Rimmed baking sheet
- Parchment Paper
- Mixing bowls
- pastry blender
- Wooden Spoon
- Knife


