
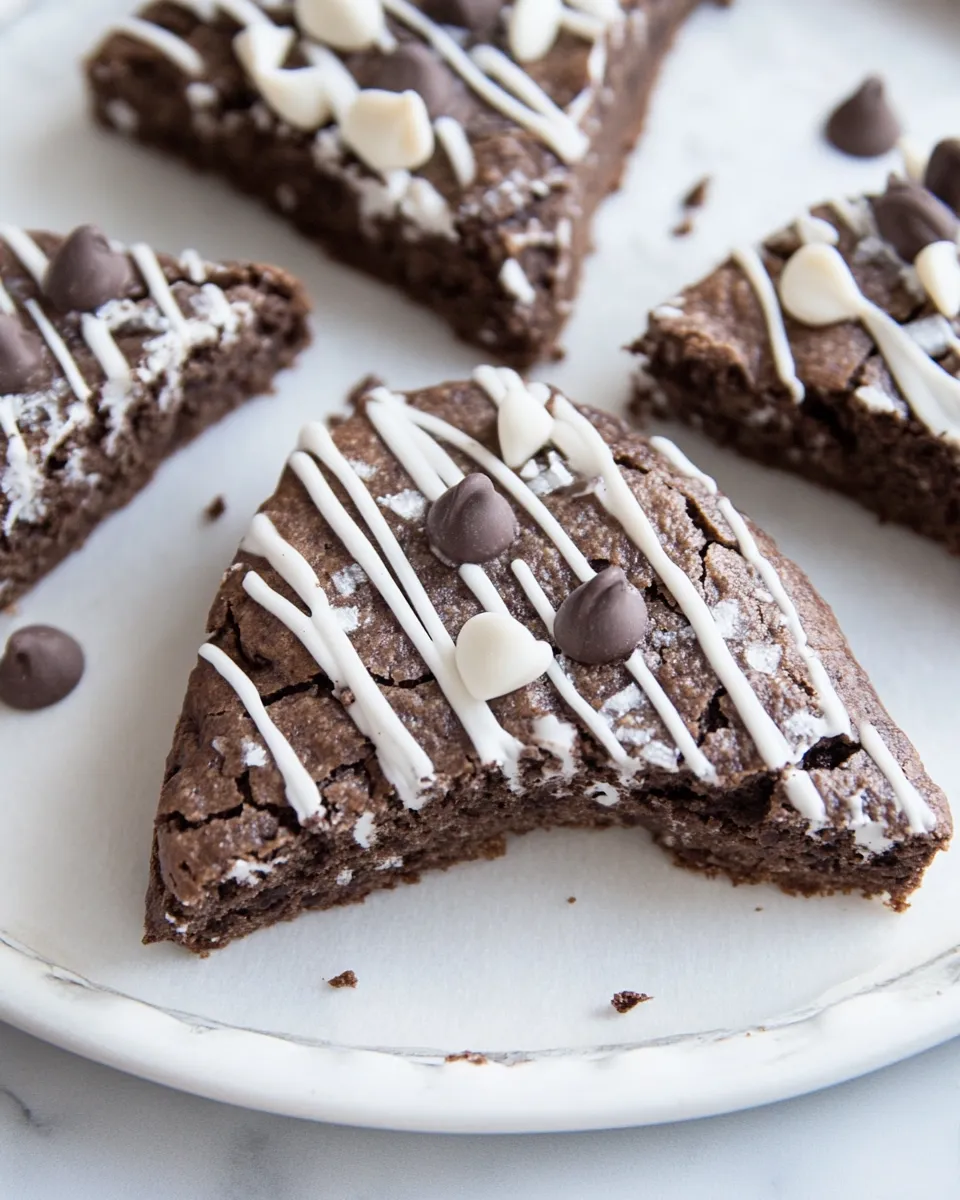
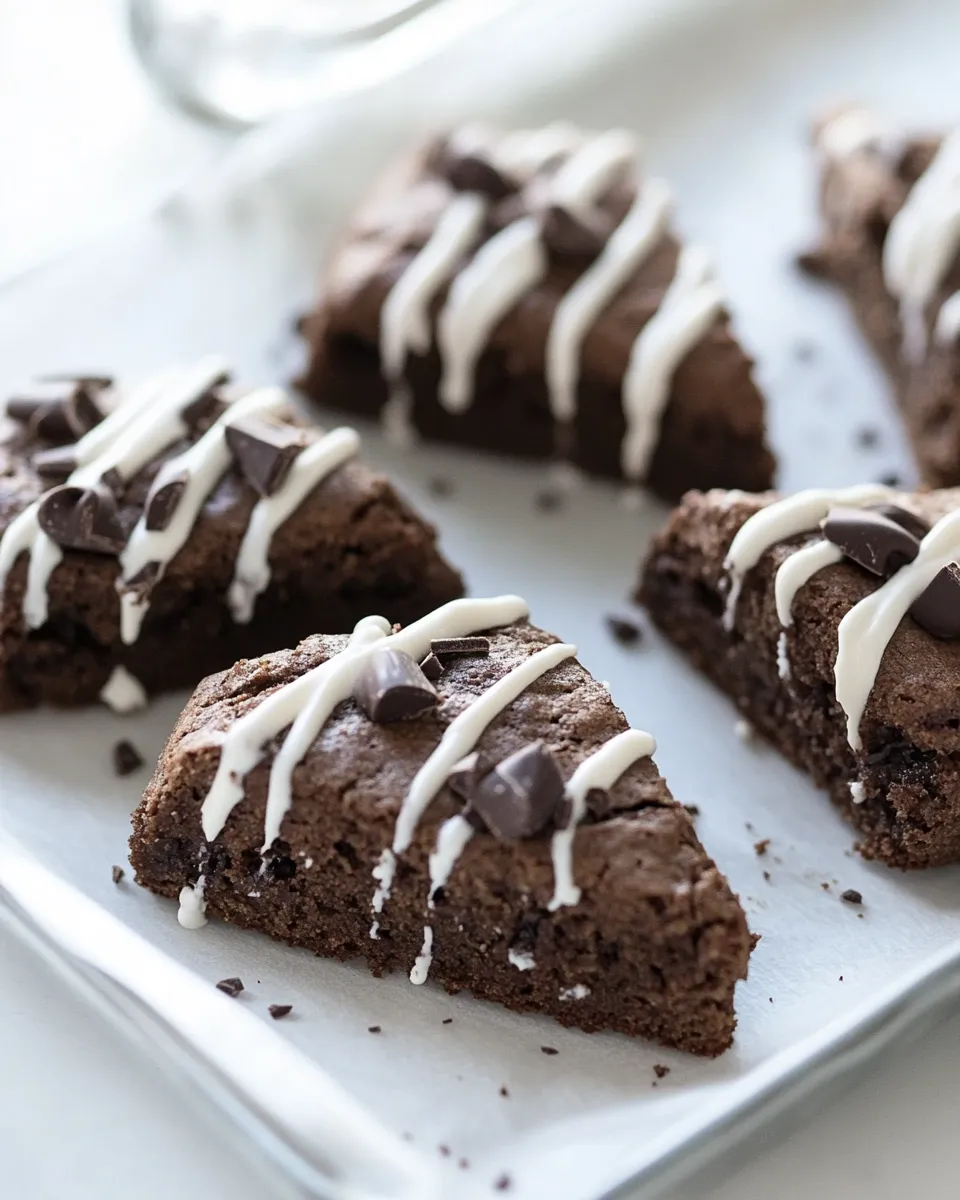
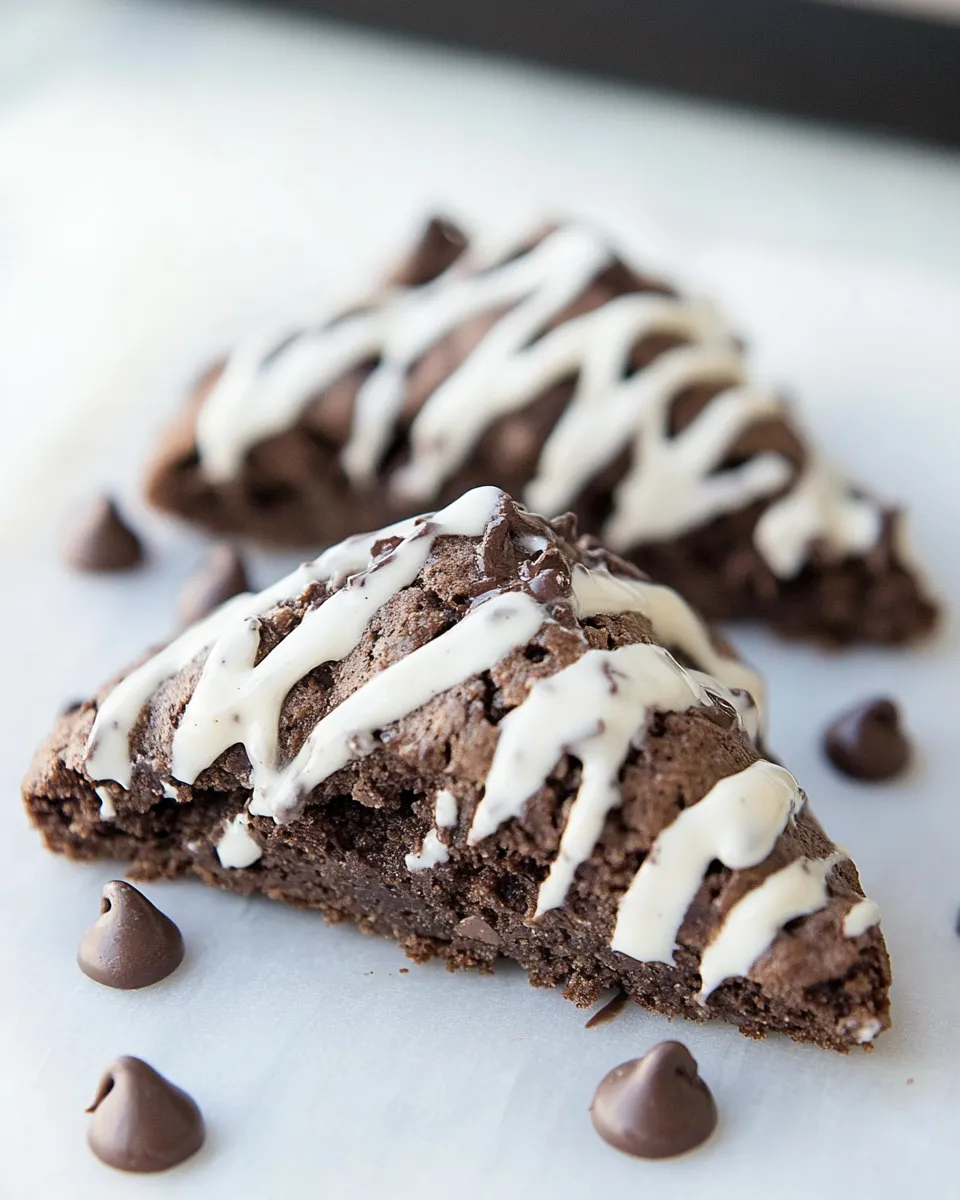
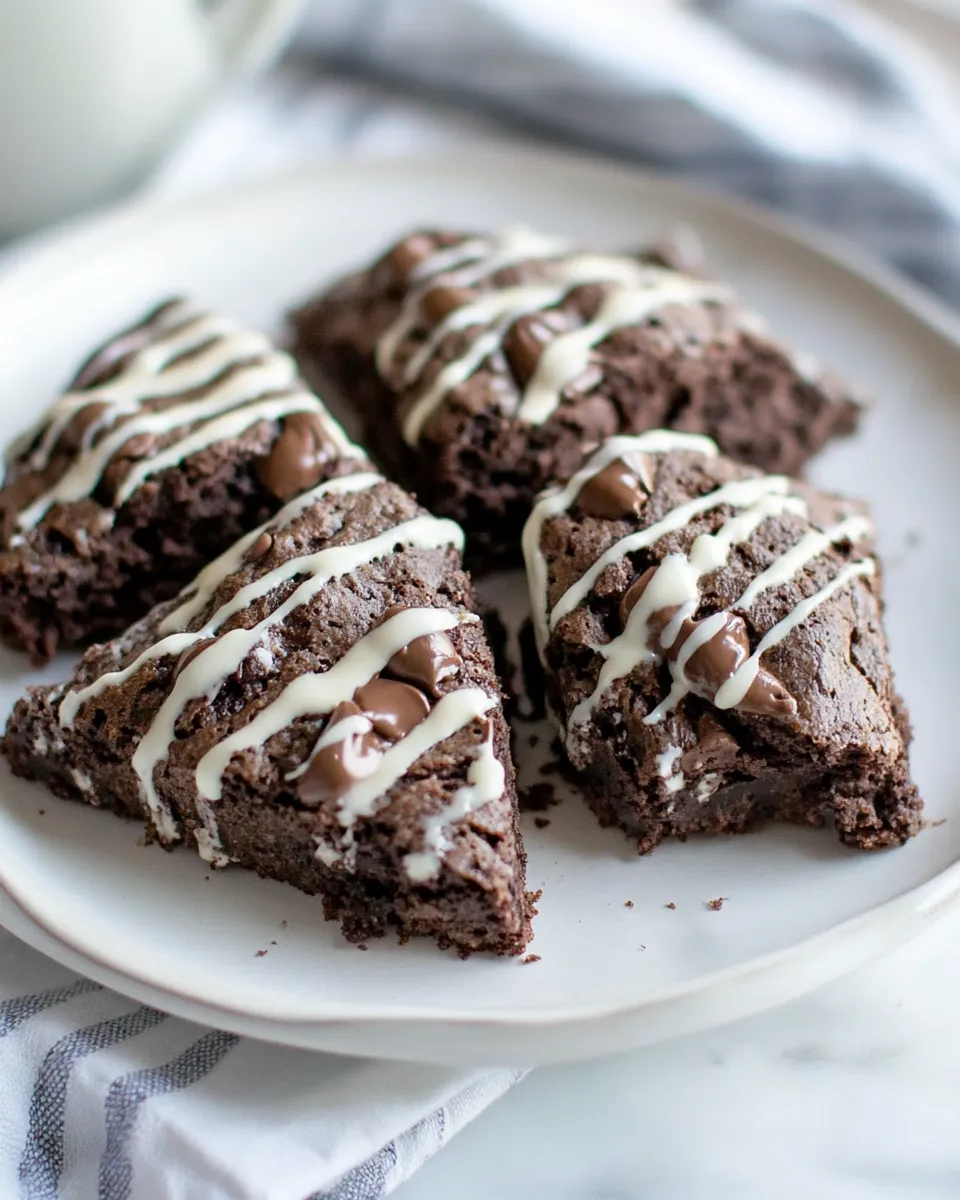
These vegan chocolate scones are dense, chocolate-forward, and forgiving. They come together with a handful of pantry staples and one can of full-fat coconut milk. No butter, no eggs, no compromise on ease or flavor.
I make a batch when I want something rustic and chocolatey for breakfast or a mid-afternoon pick-me-up. They’re slightly crisp at the edges, tender inside, and they hold their shape well — which means they travel nicely if you want to bring a few to work or tuck into a picnic box.
Below you’ll find the exact ingredient list and method I follow every time. Read through the tips and troubleshooting sections if you want a firmer crumb, a slightly softer scone, or faster cooling. These are practical notes from the kitchen — straightforward and useful.
What Goes In
- 2 cups gluten-free all-purpose flour — structure and bulk; choose a blend with xanthan gum if you want a more cohesive dough.
- ½ cup raw cacao powder — deep chocolate flavor and color; sift if it’s lumpy before mixing.
- ½ cup raw cane sugar or coconut sugar — sweetness and a touch of caramel flavor from coconut sugar.
- 1 Tbsp baking powder — the leavening that makes these scones lift and feel light rather than dense.
- ½ tsp sea salt — balances the chocolate and enhances overall flavor.
- ¾ cup dairy-free chocolate chips — optional; adds pockets of melty chocolate without changing dough handling.
- 1 ¼ cups full-fat canned coconut milk — the wet binder and fat source; full-fat gives the best texture and richness.
Cook Vegan Chocolate Scones Like This
- Preheat the oven to 400°F. Line a baking sheet with parchment paper or lightly grease it.
- In a large mixing bowl, combine 2 cups gluten-free all-purpose flour, ½ cup raw cacao powder, ½ cup raw cane sugar or coconut sugar, 1 Tbsp baking powder, and ½ tsp sea salt. Stir until the dry ingredients are evenly mixed.
- If using, add ¾ cup dairy-free chocolate chips to the dry mixture and stir to distribute them evenly.
- Pour 1 ¼ cups full-fat canned coconut milk into the bowl. Stir with a spatula or spoon until a thick dough forms. Toward the end of mixing, use your hands to gently bring the dough together into a cohesive mass.
- Turn the dough out onto a lightly floured or parchment-lined cutting board. Shape the dough into a ball, then press or pat it into a disc about 1 inch thick.
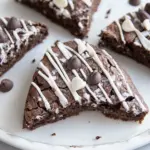
- Using a sharp knife or bench scraper, cut the disc into eight equal triangular wedges. If any chocolate chips stick out, gently press them back into the dough. Transfer the wedges to the prepared baking sheet, leaving a little space between each scone.
- Bake for 18–22 minutes, or until the scones feel firm when lightly pressed and the edges are set.
- Remove from the oven and allow the scones to cool on the baking sheet for at least 10 minutes before serving. Optional: serve plain or with any toppings you already have on hand.
What Sets This Recipe Apart
These scones use canned full-fat coconut milk as the only liquid. That creates a tender crumb and enough fat to mimic the richness you’d get from butter or cream, without any animal products. The raw cacao gives a deep, clean chocolate flavor rather than a sweetened cocoa taste.
They’re also deliberately simple: no chilling of butter, no folding in cold cubes, and no fragile laminations. You stir, pat, cut, and bake. The method keeps handling to a minimum so the texture stays consistent and the results are repeatable.
Finally, the recipe works with a gluten-free flour blend, so if you need gluten-free treats, you don’t have to compromise on shape or density. The scones hold together and brown at the edges when you use the right blend.
If You’re Out Of…
If you don’t have one item on hand, you can usually adapt without changing the structure or the bake time much. For instance, a different sweetener will change color and flavor but not the baking chemistry; a lower-fat canned milk will make the dough slightly less rich and could tighten the crumb.
If you don’t have chocolate chips, leave them out — the scones are still intensely chocolate from the cacao. If you don’t have raw cacao powder, a Dutch-processed or natural cocoa will work, but taste and color will vary. If you lack gluten-free flour and you aren’t avoiding gluten, a standard all-purpose flour typically substitutes at a 1:1 ratio, but expect a slightly different crumb and slightly firmer texture.
Hardware & Gadgets
A few simple tools make this recipe straightforward and tidy:
- Mixing bowl — large enough to surface-stir without spilling.
- Spatula and a spoon — for combining the wet and dry quickly.
- Sharp knife or bench scraper — for cutting the disc into even wedges.
- Baking sheet and parchment paper — prevents sticking and promotes even browning.
Optional but helpful: a kitchen scale for accuracy, and an oven thermometer if your oven runs hot or cool. Neither is required, but both make bakes more predictable.
Problems & Prevention
Below are common issues and how I prevent them in my kitchen.
Dough too sticky or wet
Stop adding flour. First, let the dough rest 3–5 minutes — the flour will hydrate and firm up. If it’s still too soft to shape after resting, lightly dust your work surface and hands and handle the dough gently. Pressing too hard can make the scones compact and dense.
Dough too dry or crumbly
Either the flour is unusually thirsty or the canned milk is lower in fat. Add a small splash of the coconut milk (teaspoon by teaspoon) and bring together with your hands until the dough holds. Avoid adding large amounts at once; you want a cohesive mass, not a puddle.
Scones too dense
Overworking the dough compresses air pockets and tightens the texture. Mix until the dough just comes together, then stop. Use a light hand when shaping and cutting.
Browning unevenly
Rotate the tray halfway through baking. Make sure your oven racks are centered and that hot spots aren’t baking one side harder than the other.
Fresh Takes Through the Year
These scones adapt to seasons through simple serving ideas rather than changing the base formula. In cooler months, a warm scone paired with a hot beverage is cozy comfort. In spring and summer, serve slightly cooled so the chocolate chips remain pleasantly melty without making the crumb gummy.
For gatherings, bake a double batch and cool most of them on racks while keeping a few warm for first servings. They travel well, so they’re great for potlucks and picnics across seasons.
Little Things that Matter
Small details make a better scone. Use full-fat canned coconut milk, not the thin “beverage” versions. If your can has separated, shake it well first; the fat is what helps the scone feel rich.
Measure the flour correctly: spoon it into the cup and level with a knife, or weigh it. Too much flour yields drier, tougher scones.
Work quickly. The dough benefits from minimal handling. Press the disc to the 1-inch thickness and cut right away to keep edges neat and predictable.
Leftovers & Meal Prep
Leftover scones keep well. Store them at room temperature in an airtight container for up to 2 days. After that, move them to the fridge for up to 5 days or freeze for longer storage.
To freeze: cool completely, then wrap each scone individually in plastic wrap or parchment and place in a freezer-safe bag. Reheat from frozen at 325–350°F for 8–12 minutes, or thaw at room temperature and warm briefly in a 325°F oven for 5–8 minutes. Avoid the microwave unless you’re in a real rush — it can make the crumb gummy.
Vegan Chocolate Scones Q&A
Q: Can I make these ahead?
A: Yes. You can shape the disc, slice into wedges, and refrigerate for up to 24 hours before baking. For longer storage, freeze the cut wedges raw on a tray, then transfer to a bag. Bake from frozen but add a few minutes to the bake time.
Q: Will they work with other non-dairy milks?
A: Richness matters. Lighter milks will produce a different texture. If you use a thinner plant milk, expect a slightly firmer or drier crumb. If you must swap, add a small amount of neutral oil to approximate the fat content.
Q: How can I tell when they’re done?
A: The edges should be set and the top should have a matte finish rather than glossy wet spots. Lightly press a scone; it should spring back and feel firm. If the center still feels very soft, give them another 2–3 minutes and check again.
Q: Can I make them gluten-free?
A: This recipe already uses a gluten-free all-purpose flour in the ingredient list. Choose a blend that contains a binder like xanthan gum for best structure. If your blend doesn’t include it, the texture may be more delicate and crumbly.
See You at the Table
These scones are one of those reliable bakes that reward simple care: accurate measuring, light handling, and a hot oven. They’re quick enough for a weekend morning and sturdy enough to share. Make a batch, let them cool for ten minutes as instructed, and enjoy warm — or pack a few for later. Either way, they hold up and taste like a small, well-earned treat.
If you try them, tell me how you like the balance of cacao and sugar, and whether you kept or skipped the chocolate chips. I love hearing small changes that work for real kitchens — practical swaps, timing notes, and favorite serving moments. Happy baking.
Vegan Chocolate Scones
Ingredients
Ingredients
- 2 cupsgluten-free all-purpose flour
- 1/2 cupraw cacao powder
- 1/2 cupraw cane sugar or coconut sugar
- 1 Tbspbaking powder
- 1/2 tspsea salt
- 3/4 cupdairy-free chocolate chipsoptional
- 1 1/4 cupsfull-fat canned coconut milk
Instructions
Instructions
- Preheat the oven to 400°F. Line a baking sheet with parchment paper or lightly grease it.
- In a large mixing bowl, combine 2 cups gluten-free all-purpose flour, ½ cup raw cacao powder, ½ cup raw cane sugar or coconut sugar, 1 Tbsp baking powder, and ½ tsp sea salt. Stir until the dry ingredients are evenly mixed.
- If using, add ¾ cup dairy-free chocolate chips to the dry mixture and stir to distribute them evenly.
- Pour 1 ¼ cups full-fat canned coconut milk into the bowl. Stir with a spatula or spoon until a thick dough forms. Toward the end of mixing, use your hands to gently bring the dough together into a cohesive mass.
- Turn the dough out onto a lightly floured or parchment-lined cutting board. Shape the dough into a ball, then press or pat it into a disc about 1 inch thick.
- Using a sharp knife or bench scraper, cut the disc into eight equal triangular wedges. If any chocolate chips stick out, gently press them back into the dough. Transfer the wedges to the prepared baking sheet, leaving a little space between each scone.
- Bake for 18–22 minutes, or until the scones feel firm when lightly pressed and the edges are set.
- Remove from the oven and allow the scones to cool on the baking sheet for at least 10 minutes before serving. Optional: serve plain or with any toppings you already have on hand.
Equipment
- Oven
- Baking Sheet
- Parchment Paper
- Mixing Bowl
- Spatula
- Knife
- Bench scraper


