
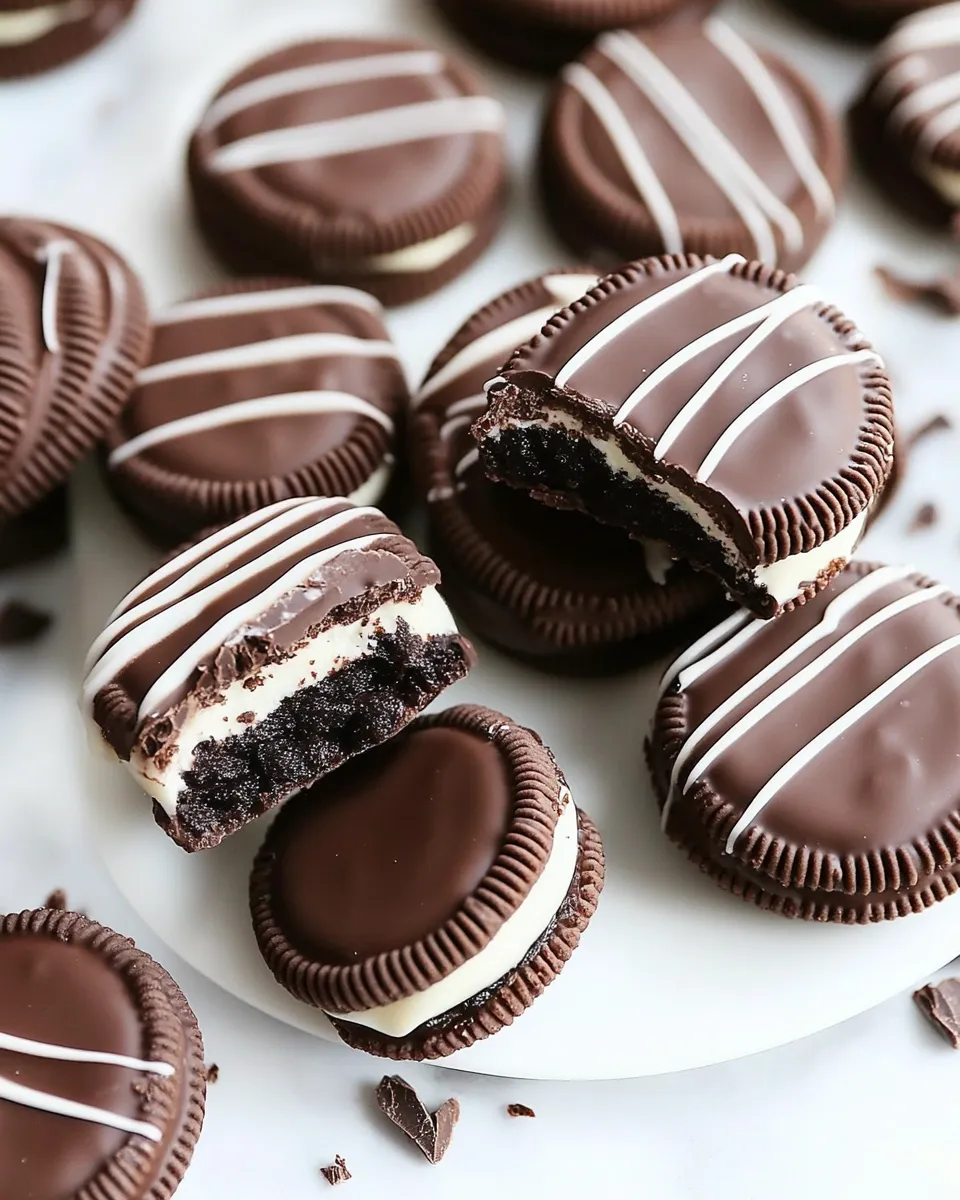
These Chocolate Covered Oreos are one of my favorite quick projects for a party or a quiet night at home. They’re simple to make, take only a handful of ingredients, and look like they took far more effort than they do. If you can melt chocolate and have a fork, you can turn classic Oreos into pretty, sharable treats in under an hour.
I like to keep the process tidy: parchment-lined tray, a shallow bowl for sprinkles, and a steady hand for dipping. Work in small batches so the chocolate stays warm and fluid. That little habit makes the difference between a shiny, smooth finish and a thick, clumpy coating.
No special pastry skills required. This recipe is forgiving and flexible — swap colors, try different chocolates, or dress them up for holidays. Below I’ll walk you through the exact ingredients and the step-by-step method, then share tips, substitutions, and storage notes so your cookies look and taste their best.
What You’ll Need

Ingredients
- 1 package Oreo cookies (24 cookies) — the base of the treat; room temperature cookies dip more cleanly.
- 16 ounces chocolate or candy melts — choose dark, milk, white, or colored melts; keep warm so the coating stays smooth.
- ½ cup sprinkles — for color and texture; pour into a shallow bowl for easy access while the chocolate is wet.
Chocolate Covered Oreos, Made Easy
- Line a tray with parchment paper and set a cooling rack nearby if you want (note: the bottom will be smoother on parchment). Pour the ½ cup sprinkles into a shallow bowl for easy access.
- Melt the 16 ounces chocolate or candy melts: microwave in a microwave-safe bowl in 20–30 second intervals, stirring between each interval until smooth; or melt in a heatproof bowl set over simmering (not boiling) water, stirring until smooth. Keep the chocolate warm and fluid.
- Work with a few Oreos at a time so the chocolate stays melted; you can do the 24 cookies in batches if needed.
- Using a fork or a dipping tool, fully coat one Oreo in the melted chocolate, lifting it out and holding it over the bowl for a few seconds to let excess chocolate drip back.
- Transfer the coated Oreo to the parchment-lined tray (or cooling rack). Immediately sprinkle the top with sprinkles from the shallow bowl while the chocolate is still wet.
- Repeat steps 4–5 for the remaining cookies, stirring the chocolate occasionally; if it thickens, gently reheat using the same melting method until smooth.
- Let the chocolate-covered Oreos set at room temperature until firm, about 30–60 minutes. To speed setting, place the tray in the refrigerator for 10–20 minutes.
- Once set, store the cookies in a single layer or separated by parchment in an airtight container.
Why It’s Crowd-Pleasing
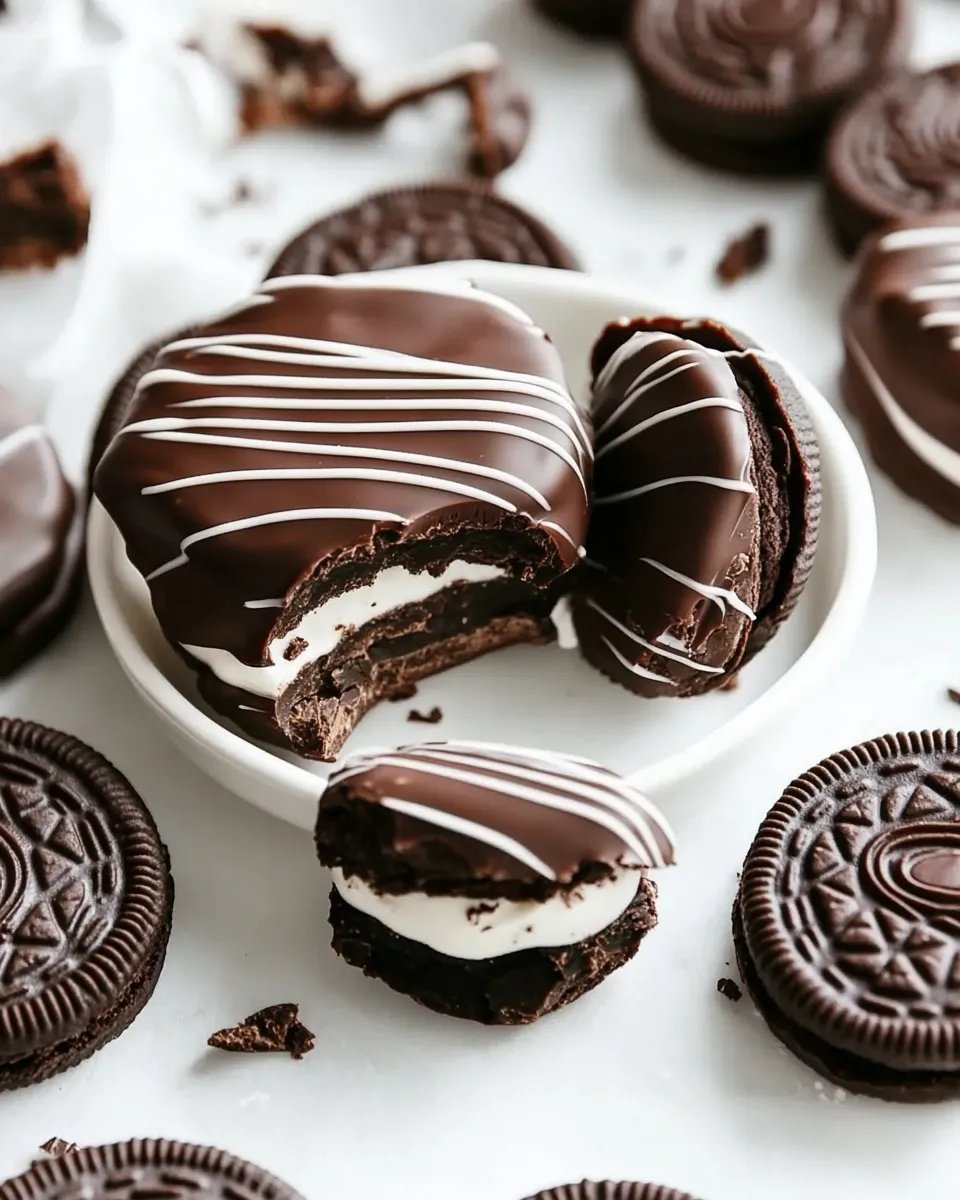
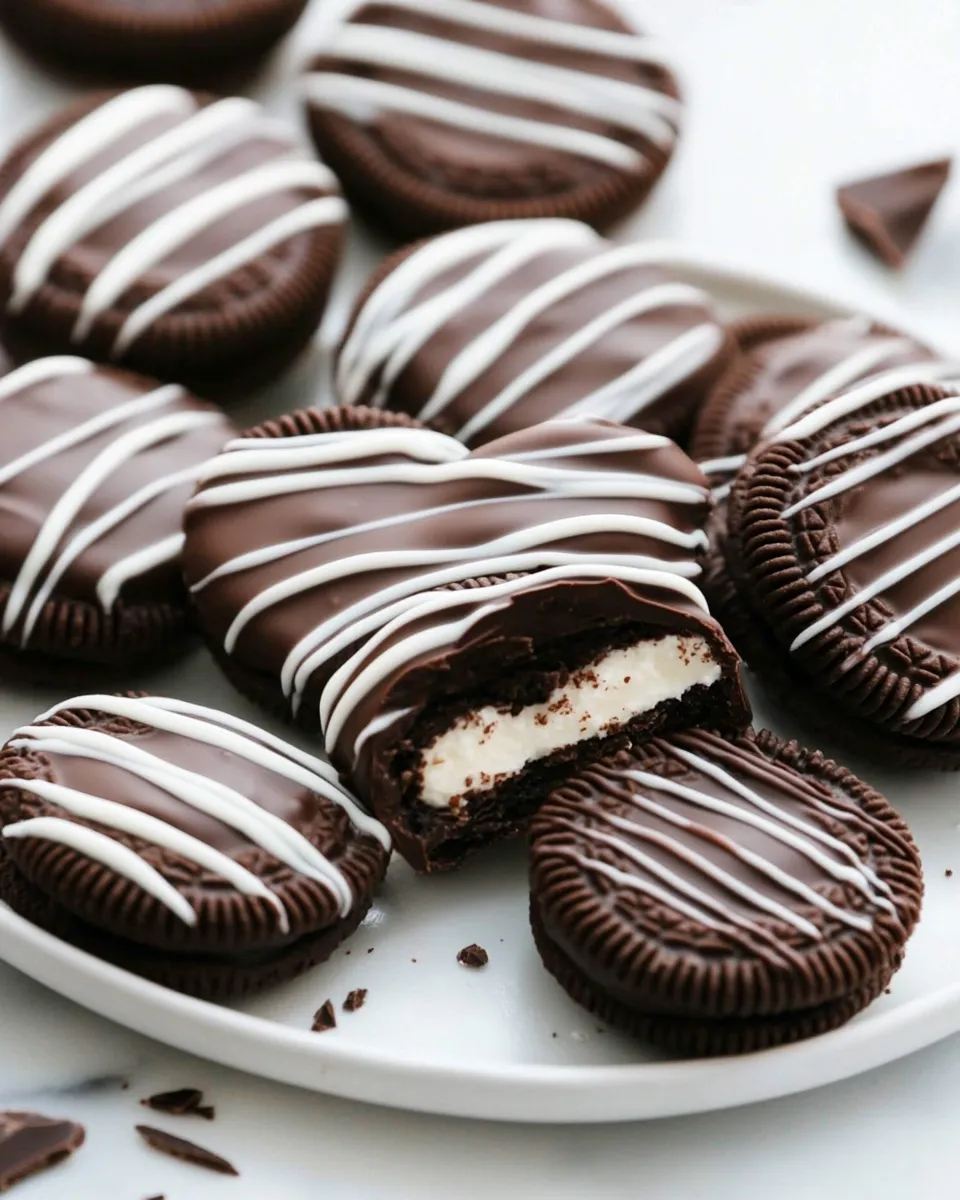
Chocolate and Oreos are a universally loved combo. The cookie provides a familiar crunchy-chewy contrast to the silky chocolate coating. The sprinkles add a playful crunch and visual appeal, which makes these perfect for parties, school events, or a dessert platter. They’re bite-sized, portable, and easy to customize — a win when you need something that looks made-for-occasion with very little effort.
What to Use Instead
- Cookies: Swap Oreos for sandwich cookies or any plain, sturdy cookie if you prefer a different flavor or filling.
- Coating: If you don’t have candy melts, use chopped baking chocolate, chocolate chips, or compound chocolate. Adjust melting time and keep it warm to maintain a smooth dip.
- Decorations: Instead of sprinkles, use crushed nuts, mini chocolate chips, drizzle with contrasting chocolate, or top with edible glitter for a special occasion.
Gear Up: What to Grab
Essentials
- Parchment paper — for a smooth bottom and easy cleanup.
- Microwave-safe bowl or heatproof bowl for a double-boiler — to melt chocolate safely.
- Fork or dipping tool — to lift and drain excess chocolate.
- Shallow bowl for sprinkles — keeps them handy and prevents over-sprinkling.
Helpful Extras
- Cooling rack — allows excess chocolate to drip and air to circulate if you prefer that texture.
- Small offset spatula or spoon — for nudging misaligned sprinkles or smoothing drips.
- Airtight container and extra parchment — for storage and layering.
What Not to Do
- Don’t try to dip all 24 cookies at once. Chocolate cools and thickens rapidly; work in small batches to keep the coating smooth.
- Don’t overheat the chocolate. Heat in short bursts when using a microwave and stir between intervals. Overheated chocolate can seize and become grainy.
- Don’t skip the shallow bowl for sprinkles. Waiting to sprinkle after placing the cookie on the tray makes it harder to catch them on the wet chocolate.
- Don’t stack the cookies while they’re still sticky. They’ll stick together and ruin the finish. Let them set fully first, or separate layers with parchment.
Spring to Winter: Ideas
These Oreos adapt to the season with a few swaps in color and topping.
- Spring: Use pastel candy melts and floral sprinkles. Add edible flower petals for a fresh touch.
- Summer: Bright neon or tropical-color sprinkles work well. Consider toasted coconut flakes instead of sprinkles.
- Fall: Choose pumpkin-orange or deep brown chocolate, and top with crushed graham cracker or cinnamon sugar.
- Winter: Use white chocolate with red and green sprinkles or a drizzle of dark chocolate for a classic holiday look. Edible gold dust adds a festive shimmer.
Cook’s Commentary
I make a batch of these whenever I need a quick dessert that still looks party-ready. A few practical habits make the process painless: pre-measure sprinkles into a shallow bowl, arrange a parchment-lined tray before melting chocolate, and clear a dedicated dipping space. These small set-ups shave off decision time and keep the workflow smooth.
When I want a very glossy finish, I temper the chocolate. For everyday treats, though, I use candy melts or gently reheated baking chocolate and accept a homey look. If some coatings are thicker than others, reheat in short bursts and stir; thin, fluid chocolate gives the cleanest drips and the most consistent coverage.
If you’re planning to transport them, pack the cookies in a single layer or lay parchment between layers to prevent sticking. They travel well and are crowd-pleasers at bake sales, meetings, or family gatherings.
Save for Later: Storage Tips
Once set, store the cookies in a single layer or separated by parchment in an airtight container. Keep them at room temperature for up to a week if your kitchen is cool and dry. For longer storage, place them in the refrigerator, but bring them back to room temperature for about 20 minutes before serving to avoid the chocolate becoming too firm and losing flavor.
Reader Q&A
Q: My chocolate seized — what can I do?
A: If the chocolate becomes grainy and stiff, it may have been overheated or contaminated with moisture. If it’s only slightly thickened, stirring in a small amount of neutral oil (like vegetable oil) can help restore fluidity. If it’s severely seized, start with fresh chocolate.
Q: Can I freeze these?
A: Yes. Place them in a single layer with parchment between layers and freeze in an airtight container for up to 2 months. Thaw in the refrigerator and then bring to room temperature before serving.
Q: How do I get a super-smooth finish?
A: Keep the chocolate warm and work quickly. Use a fork or a proper dipping tool and let excess chocolate drip back into the bowl. If you want professional gloss, temper the chocolate, but for most home uses, controlling temperature and working in small batches is enough.
That’s a Wrap
Chocolate Covered Oreos are a small, satisfying project with big payoff. They take minimal time, require just three ingredients, and offer endless ways to personalize. Whether you’re prepping for a holiday, throwing together favors, or making something just because, this recipe delivers. Follow the steps, keep the chocolate warm, and have fun with the decorations. You’ll end up with a tray of treats that disappear fast—and with good reason.

Chocolate Covered Oreos
Ingredients
Ingredients
- ?1 packageOreo cookies24 cookies
- ?16 ounceschocolate or candy melts
- ?1/2 cupsprinkles
Instructions
Instructions
- Line a tray with parchment paper and set a cooling rack nearby if you want (note: the bottom will be smoother on parchment). Pour the ½ cup sprinkles into a shallow bowl for easy access.
- Melt the 16 ounces chocolate or candy melts: microwave in a microwave-safe bowl in 20–30 second intervals, stirring between each interval until smooth; or melt in a heatproof bowl set over simmering (not boiling) water, stirring until smooth. Keep the chocolate warm and fluid.
- Work with a few Oreos at a time so the chocolate stays melted; you can do the 24 cookies in batches if needed.
- Using a fork or a dipping tool, fully coat one Oreo in the melted chocolate, lifting it out and holding it over the bowl for a few seconds to let excess chocolate drip back.
- Transfer the coated Oreo to the parchment-lined tray (or cooling rack). Immediately sprinkle the top with sprinkles from the shallow bowl while the chocolate is still wet.
- Repeat steps 4–5 for the remaining cookies, stirring the chocolate occasionally; if it thickens, gently reheat using the same melting method until smooth.
- Let the chocolate-covered Oreos set at room temperature until firm, about 30–60 minutes. To speed setting, place the tray in the refrigerator for 10–20 minutes.
- Once set, store the cookies in a single layer or separated by parchment in an airtight container.
Equipment
- dipping tool
Notes
Avoid creating a chocolate ‘foot’when placing the dipped Oreos on parchment paper by allowing the excess chocolate to drip off. You can also use a fork or a toothpick to get rid of any excess chocolate before placing it on parchment paper to set and harden.
You can change things up and sprinkle the cookies with crushed nuts, toasted desiccated coconut, crushed pretzels, or decorate with icing.
If you end up with someleftover melted chocolate, just drizzle it over the cookies if you like.
Store in an airtight container at room temperature for up to 4 weeks in a cool dry place.


