
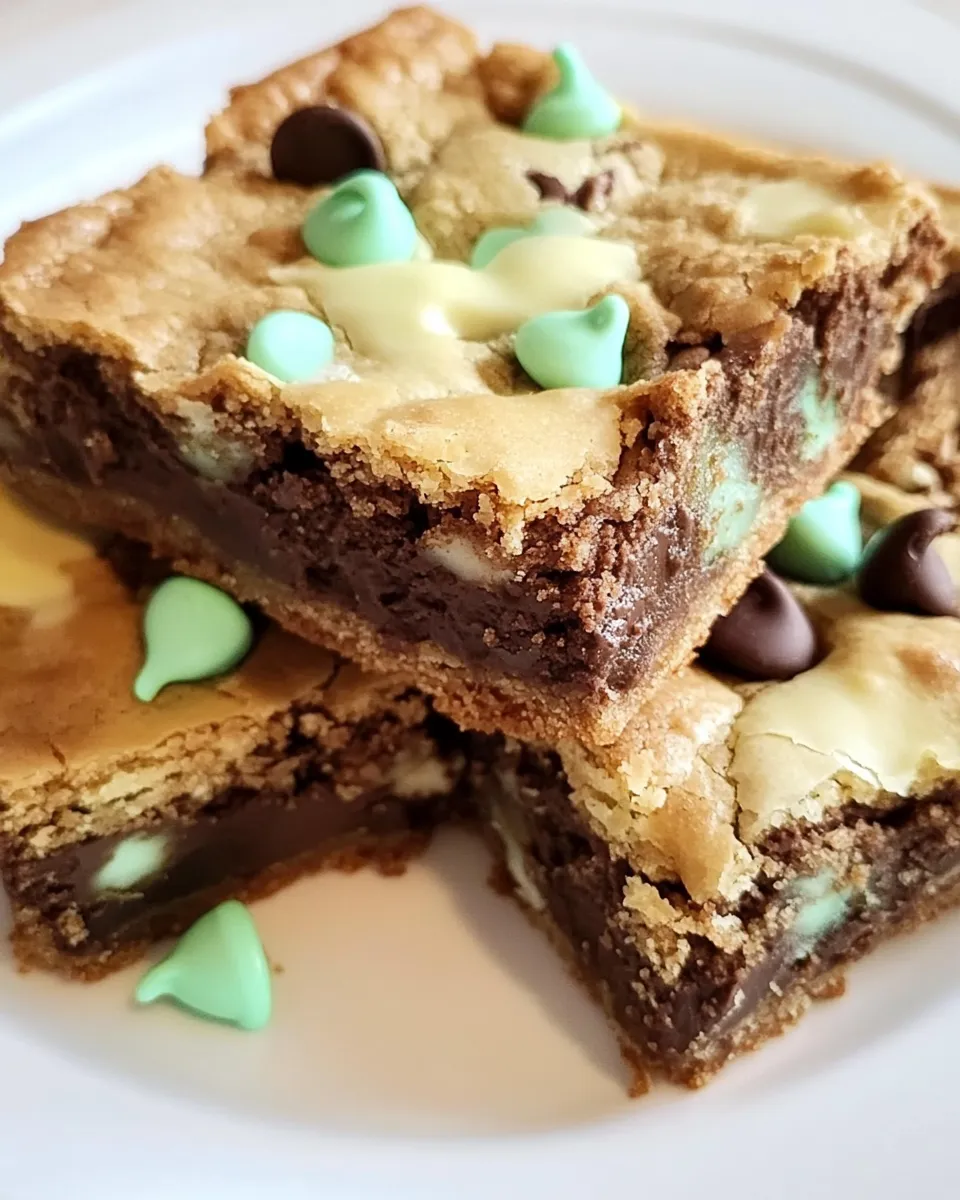
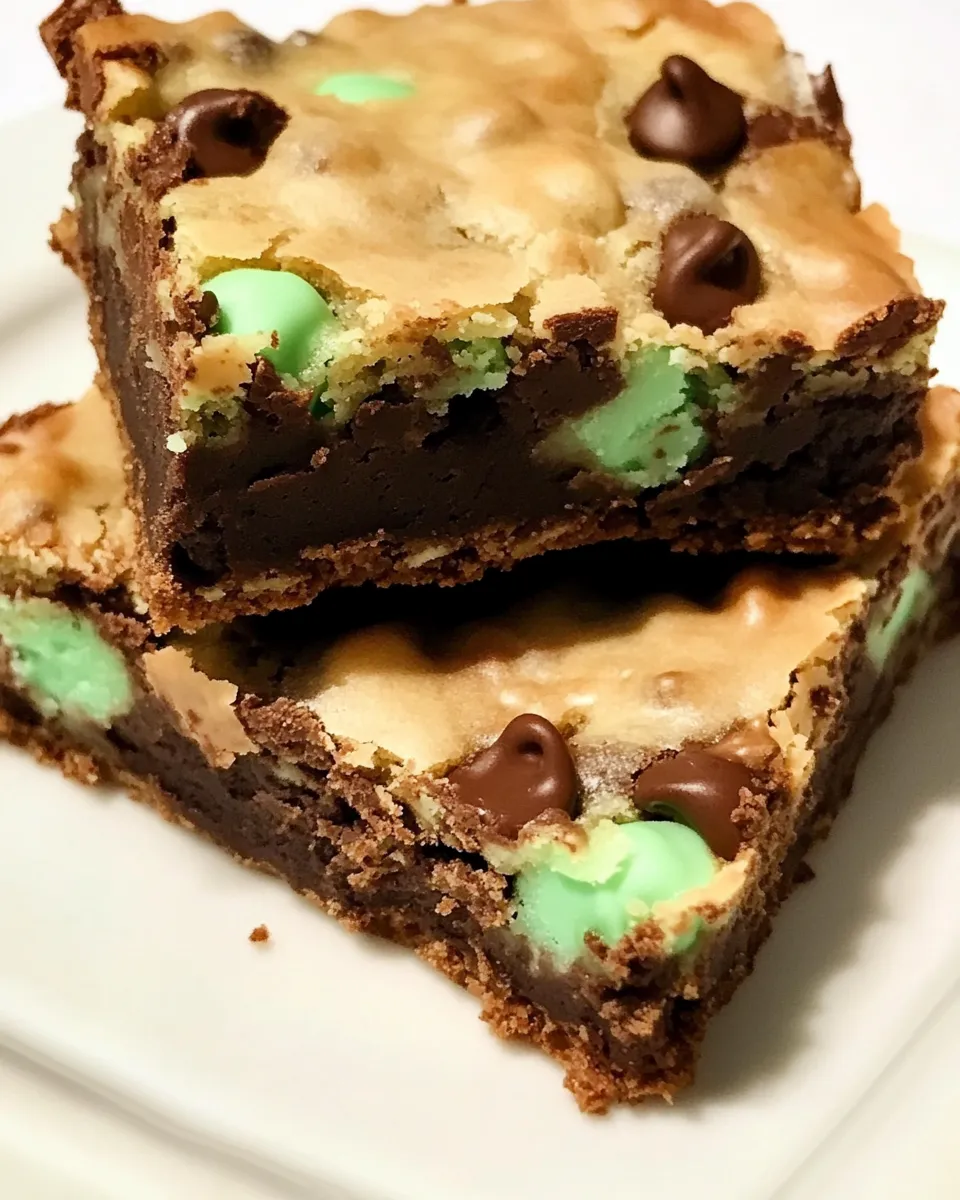
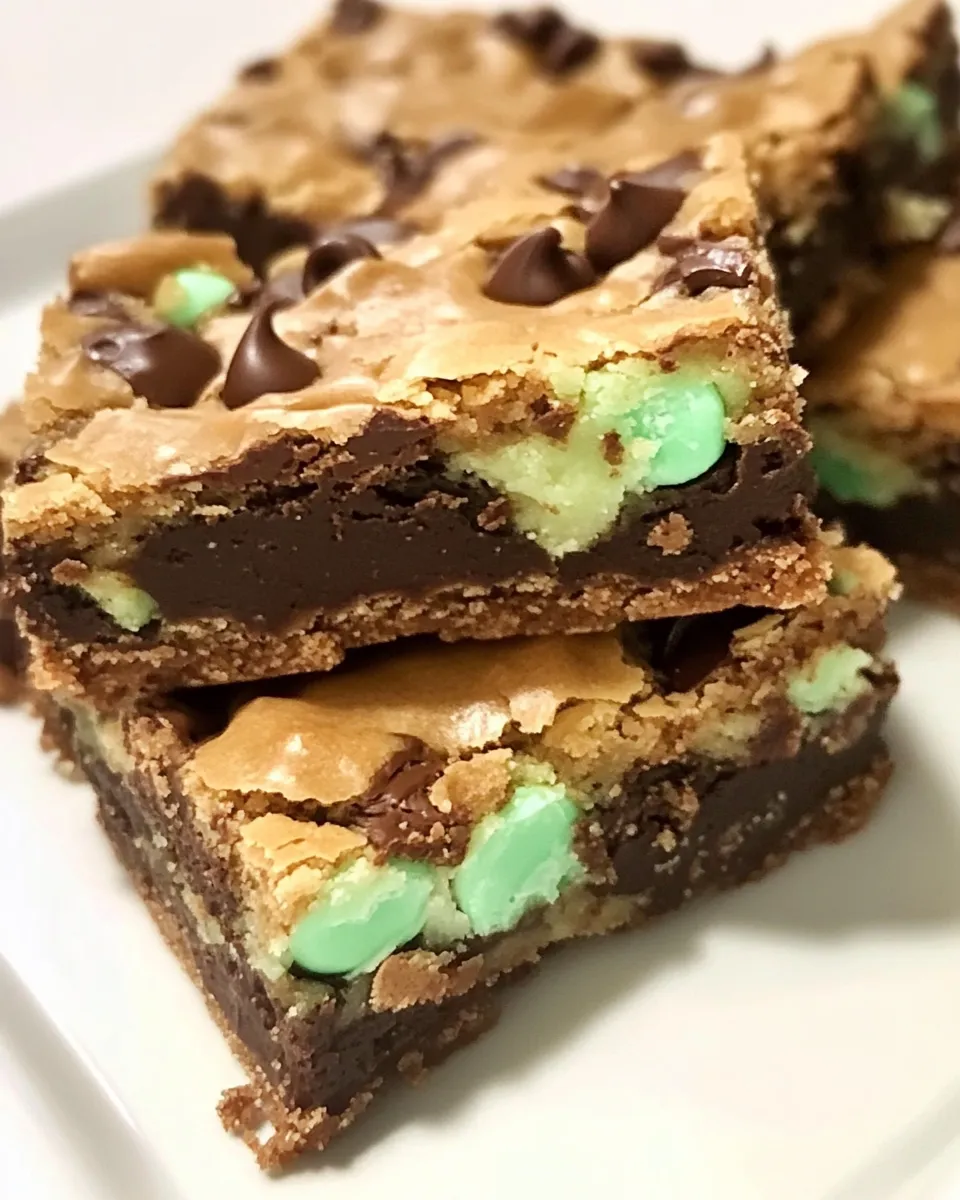
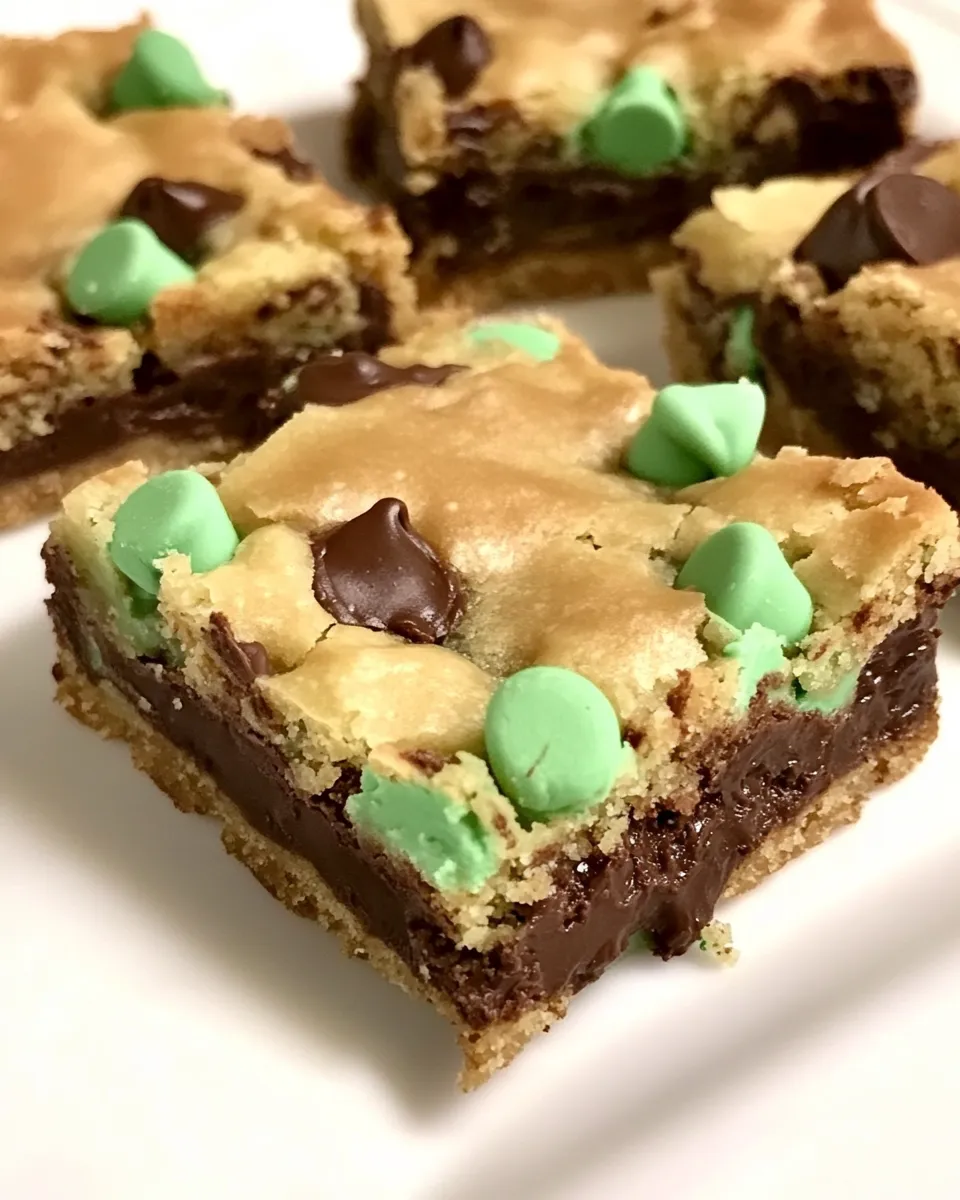
These Chocolate Mint Cookie Bars are the kind of simple, dependable recipe I reach for when I want the classic combo of rich chocolate and cool mint without a long baking session. The batter starts with a yellow cake mix, which cuts down on measuring and gives the bars a tender crumb. Then I fold in mint and chocolate chips for that irresistible bite-sized contrast: creamy, cooling mint against deep chocolate.
I love how easy they are to throw together on a busy afternoon or to bring to a potluck. You don’t need special techniques or a long ingredient list, just a handful of pantry staples and a 9×13 pan. The finished bars slice neatly and travel well, which makes them a go-to for holidays and bake sales.
Below you’ll find the exact ingredients and step-by-step directions I use every time, plus practical tips for swaps, troubleshooting, and storing these bars so they stay perfect for days. No fuss, just a reliably delicious result.
What Goes In
- 1 box yellow cake mix — provides the base structure and sweetness; no need to add extra flour.
- 2 eggs — bind the batter and add moisture for a tender crumb.
- 1 tsp vanilla extract — lifts and rounds the flavors; use pure vanilla when you can.
- 5 Tbsp melted butter — adds richness and helps create a slightly crisp edge as the bars bake.
- 2 Tbsp milk — adjusts the batter consistency so it spreads evenly in the pan.
- 1 cup Andes mint chips — the minty component; they melt into little pockets of cool flavor.
- 1 cup dark chocolate chips — adds chocolate depth and balances the sweetness of the cake mix and mint chips.
Chocolate Mint Cookie Bars Made Stepwise
- Preheat oven to 350°F. Spray a 9×13-inch baking pan with nonstick cooking spray and set aside.
- In a large bowl, combine 1 box yellow cake mix, 2 eggs, 1 tsp vanilla extract, 5 Tbsp melted butter, and 2 Tbsp milk. Stir until the ingredients are fully combined and a thick batter forms.
- Fold in 1 cup Andes mint chips and 1 cup dark chocolate chips until evenly distributed through the batter.
- Spread the batter evenly into the prepared 9×13-inch pan, smoothing the top with a spatula.
- Bake for 22–25 minutes, until the top is lightly golden and a toothpick inserted in the center comes out with a few moist crumbs (not wet batter).
- Remove from the oven and allow the bars to cool completely in the pan before cutting into bars.
Quick tips while you bake
Make sure the butter is just melted and not hot; overly hot butter can start to cook the eggs. When folding in the chips, use a spatula and move quickly so they don’t melt into the batter before baking. Cooling completely in the pan prevents the bars from crumbling when you cut them.
Why It Works Every Time
This recipe leans on a yellow cake mix for dependable structure and consistent sweetness. Cake mixes are formulated with leaveners and stabilizers that give a predictable rise and texture—so you get moist bars without worrying about measurement precision. The eggs and melted butter combine to create a batter that’s both tender and sturdy enough to hold mix-ins.
Mint chips deliver pockets of flavor, and the dark chocolate chips anchor the sweetness with a pleasant bitterness. Baking at 350°F for the prescribed time allows the edges to set while the center stays tender; the toothpick test ensures you don’t overbake and dry the bars out.
Easy Ingredient Swaps
- Swap the 1 cup Andes mint chips — for any mint-flavored baking chips or chopped mint candies if you prefer a different mint intensity.
- Swap the 1 cup dark chocolate chips — for milk chocolate chips or semisweet chips for a sweeter result, or use bittersweet chips for stronger chocolate notes.
- Swap the 5 Tbsp melted butter — for the same amount of melted margarine if you need a dairy-free option, though texture may shift slightly.
- Swap the 2 Tbsp milk — for a non-dairy milk (almond, oat, soy) if needed; it’s just to adjust batter consistency.
Kitchen Gear Checklist
- 9×13-inch baking pan — recommended for the right bar thickness and bake time.
- Nonstick cooking spray — to prevent sticking; parchment paper can be used for easier removal.
- Large mixing bowl — roomy enough to combine the cake mix and wet ingredients comfortably.
- Spatula or wooden spoon — for mixing and folding in the chips.
- Measuring spoons and cups — to ensure the butter, milk, and eggs are measured accurately.
- Toothpick — to test doneness at the center.
Missteps & Fixes
Batter too dry or too thick
If your batter looks crumbly or won’t spread, it may need a touch more liquid. You can add a teaspoon at a time of milk until the batter smooths out. The recipe calls for 2 Tbsp milk; small adjustments are fine to achieve a spreadable consistency.
Bitter or overly sweet bars
If the bars taste too sweet, try switching to darker chocolate chips next time. If they taste flat or dull, a generous teaspoon of vanilla (within reason) or a pinch of salt in the batter brightens the flavors.
Bars crumble when you cut them
Let them cool completely in the pan before slicing. Warm bars haven’t fully set and will break apart. For cleaner cuts, chill the pan briefly after cooling and use a sharp knife, wiping it between slices.
Top browns too fast
If the top is browning before the center is done, tent the pan loosely with foil and continue baking until the toothpick shows only a few moist crumbs.
Holiday-Friendly Variations
- Swap mint chips for peppermint bark pieces or crushed peppermint candies on top for a festive crunch (press them lightly onto the warm top after baking).
- Add a sprinkling of flaky sea salt on top after cooling to highlight the chocolate.
- Top with a thin drizzle of melted chocolate or a quick glaze for a gift-ready appearance—use melted dark chips for a deep finish or white chocolate for contrast.
Flavor Logic
Chocolate and mint are a classic pairing because they balance sweet, cooling, and bitter notes. The yellow cake mix provides a neutral, buttery background that lets the mint and chocolate stand out without competing. Dark chocolate chips add depth and slight bitterness, cutting through the sweetness of the cake mix and Andes mint chips. Vanilla ties everything together by amplifying the chocolate notes and rounding flavors.
Texturally, the chips create small pockets of molten chocolate and mint that contrast with the tender, cake-like crumb. That contrast is what makes these bars interesting to eat: familiar, but with bursts of melted flavor.
Save It for Later
Stored in an airtight container at room temperature, these bars will stay fresh for 3 to 4 days. If you want to stretch their life, refrigerate for up to a week—bring to room temperature before serving for the best texture.
For longer storage, freeze the cooled bars in an airtight container or well-wrapped in foil for up to 2 months. Thaw overnight in the refrigerator and then bring to room temperature. If you want to serve slightly warm, pop individual bars in the microwave for 8–12 seconds; that revives the chocolate without making the bars soggy.
Reader Questions
Can I use a different cake mix?
Yes. Yellow cake mix gives a classic flavor and color, but white cake mix or even a spice cake mix will change the result in predictable ways—white keeps it neutral, spice adds seasonal notes. Keep in mind bake time and texture may vary slightly.
What if I don’t have Andes mint chips?
Any mint-flavored baking chips or chopped mint candies will work. Even a few drops of peppermint extract in the batter can add mint flavor, but use it sparingly—peppermint extract is potent. If you use extract, omit or reduce other mint candies to avoid overpowering the bars.
How do I get clean slices?
Cool completely, chill briefly if needed, and use a long, sharp knife wiped clean between cuts. For the neatest edges, chill the pan for 30 minutes before slicing.
Can I make these in a smaller pan?
Yes, but the thickness and bake time will change. If you use a smaller pan, check for doneness earlier. The recipe is calibrated for a 9×13-inch pan to achieve bar-sized pieces with the stated bake time.
Final Thoughts
These Chocolate Mint Cookie Bars are proof that simple ingredients can deliver layered flavor. They come together quickly, are forgiving to make, and hold up well for sharing. Keep the ingredient list as-is for the most predictable outcome, but don’t be afraid to tweak chips or toppings to fit your taste or the season.
Whether you bake them for a crowd or for an afternoon sweet tooth, these bars will give you consistent results. Make the batter, fold in the chips, bake, and then let them cool—small, easy steps that add up to something everyone will ask to have again.

Chocolate Mint Cookie Bars
Ingredients
Ingredients
- 1 box yellow cake mix
- 2 eggs
- 1 tsp vanilla extract
- 5 Tbsp melted butter
- 2 Tbsp milk
- 1 cup Andes mint chips
- 1 cup dark chocolate chips
Instructions
Instructions
- Preheat oven to 350°F. Spray a 9×13-inch baking pan with nonstick cooking spray and set aside.
- In a large bowl, combine 1 box yellow cake mix, 2 eggs, 1 tsp vanilla extract, 5 Tbsp melted butter, and 2 Tbsp milk. Stir until the ingredients are fully combined and a thick batter forms.
- Fold in 1 cup Andes mint chips and 1 cup dark chocolate chips until evenly distributed through the batter.
- Spread the batter evenly into the prepared 9×13-inch pan, smoothing the top with a spatula.
- Bake for 22–25 minutes, until the top is lightly golden and a toothpick inserted in the center comes out with a few moist crumbs (not wet batter).
- Remove from the oven and allow the bars to cool completely in the pan before cutting into bars.
Equipment
- Oven
- 9x13 inch Baking Pan
- Mixing Bowl
- Spatula
- toothpick
- Nonstick Cooking Spray


