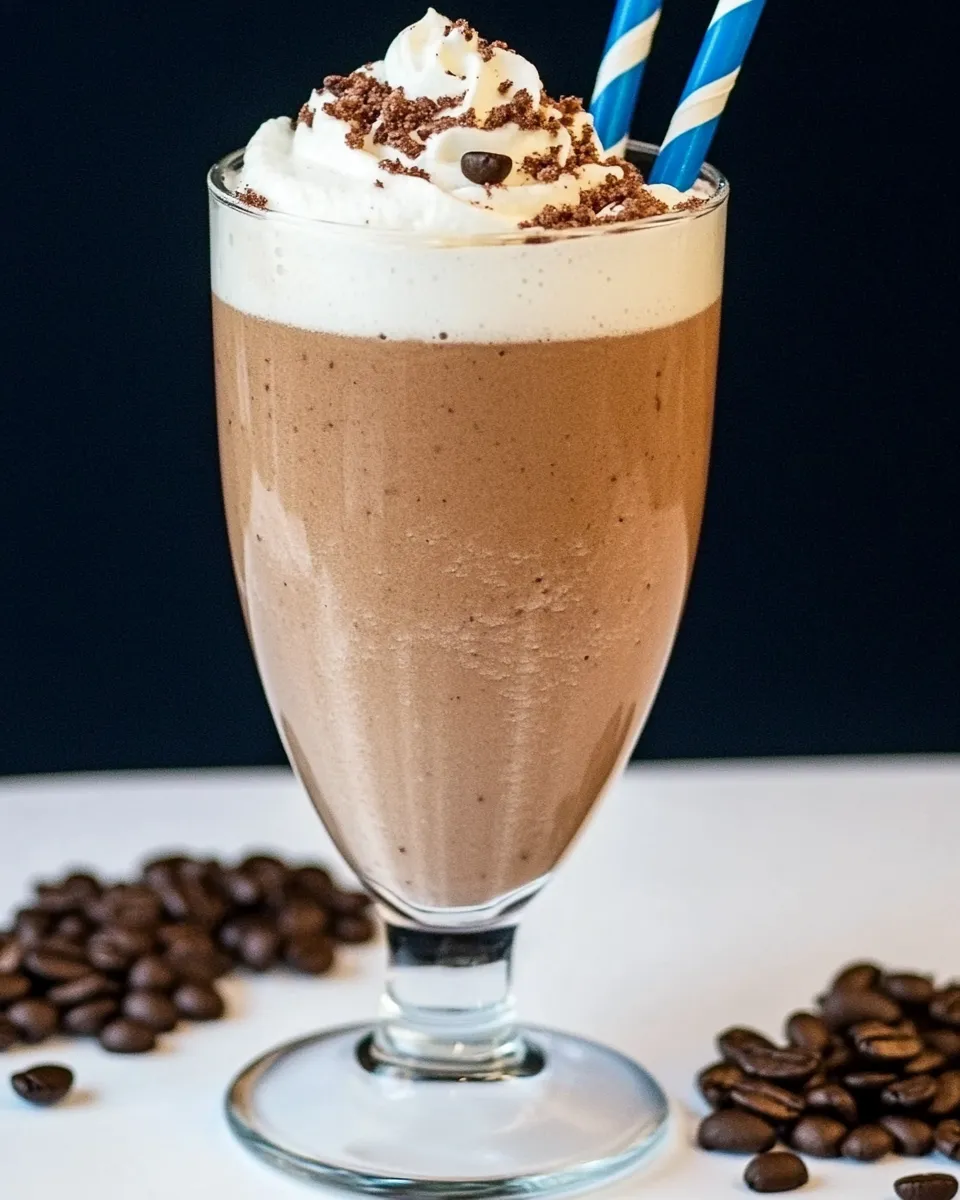
Morning routines deserve little wins: a hit of caffeine, a dose of protein, and something that feels indulgent without being a full dessert. This Coffee Protein Shake hits those marks. It’s the kind of recipe I reach for on busy mornings when I want something I can make in five minutes and actually enjoy sipping on the way out the door.
There’s a pleasant flexibility to this shake — you can make it light and chilled or thick and milkshake-style, depending on whether you freeze your coffee or simply chill it. The base is straightforward: brewed coffee and vanilla yogurt, and from there you can tailor sweetness, add protein, or fold in nut butter and chocolate if you’re craving richness.
I’ll walk you through the ingredients and the exact process, then cover smart swaps, troubleshooting, and storage tips so you can make this your go-to. Practical, no-nonsense, and flavorful — that’s the goal.
Ingredients
- 1 cup brewed coffee — the flavor backbone; chilled or frozen depending on texture preference.
- 6 oz vanilla yogurt — provides creaminess and sweetness; vanilla adds depth without extra steps.
- sweetener of choice — adjust to taste; helps balance the coffee’s bitterness.
- handful chocolate chips (optional) — for a mocha lift and a bit of texture.
- 1 scoop protein powder (optional) — bump up the protein when you need it; flavor it to match the yogurt.
- 1 tbsp peanut or almond butter (optional) — adds richness, a hint of fat, and satiety.
Your Shopping Guide
Shopping for this shake is simple: start with coffee you like drinking. If you brew a pot in the morning, set aside a cup to chill; if you plan to freeze cubes, brew a slightly stronger cup so the flavor holds up after dilution. For yogurt, read the label and pick a vanilla yogurt you enjoy — Greek-style will be thicker and higher in protein, while regular vanilla yogurt gives a silkier texture.
Protein powders vary wildly: whey, casein, and plant-based powders all work. Pick a flavor that complements vanilla (vanilla, chocolate, or unflavored are the most forgiving). For nut butter, smooth peanut or almond butter blends better in a blender; choose no-stir or pre-mixed varieties if you want ease.
Sweeteners are personal. Granulated sugar, honey, maple syrup, or sugar-free alternatives can all be used “to taste.” If you’re buying chocolate chips, a small bag is enough — a handful per shake is typically under a tablespoon, and a little goes a long way.
Cooking Coffee Protein Shake: The Process
- Decide whether you want a regular chilled shake or a thicker, milkshake-style texture. For a chilled shake, chill 1 cup brewed coffee in the refrigerator until cold. For a thicker texture, pour 1 cup brewed coffee into ice cube trays and freeze until solid.
- If you froze the coffee, remove the coffee cubes from the tray and let them sit a minute to loosen just enough that your blender can break them; do not allow them to fully melt.
- Place the chilled or frozen coffee into the blender first.
- Add 6 oz vanilla yogurt, sweetener of choice (to taste), and any optional add-ins you want to include: 1 scoop protein powder (optional), 1 tbsp peanut or almond butter (optional), and/or a handful of chocolate chips (optional).
- Secure the blender lid. Start blending on low to combine, then increase speed and blend until the mixture is smooth. If the blender stalls, pulse and allow any frozen pieces to soften slightly before continuing.
- Taste and add more sweetener if desired, then blend briefly to combine.
- Pour into a glass and serve immediately.
Why This Recipe Works

This shake balances three primary elements: caffeine for a wake-up, dairy (or dairy replacement) for body and sweetness, and optional fat/protein for staying power. Vanilla yogurt brings both creaminess and a built-in sweet note so you don’t always need to reach for extra sweetener. Freezing coffee into cubes keeps the drink icy without diluting the flavor the way plain ice would.
Blending order matters: putting the chilled or frozen coffee in first helps the blender break frozen pieces more efficiently. Adding dense items later — protein powder, nut butter — lets the machine draw everything through the blades evenly. The result is a smooth, homogenous shake rather than gritty or separated liquid.
Low-Carb/Keto Alternatives
If you want to reduce carbs, focus on swaps rather than changing the method. Use an unsweetened, higher-protein yogurt or plain Greek-style yogurt and sweeten with a zero-carb sweetener “to taste.” Skip the chocolate chips and choose a low-carb protein powder (many whey isolates are low in carbs) if you’re adding protein. Nut butter is keto-friendly in moderation — a tablespoon adds flavor and fat without a huge carb load.
For a very low-carb version, omit the yogurt entirely and replace it with a small amount of heavy cream or a high-fat, low-carb yogurt alternative, then adjust sweetness. Be mindful that changing the dairy will affect texture; frozen coffee cubes will help maintain that thick, milkshake feel.
Equipment Breakdown
What you need
- Blender — a standard countertop blender or a high-speed personal blender both work; high-speed models give silkier results faster.
- Measuring cup or scale — for that 1 cup brewed coffee and 6 oz yogurt accuracy, especially if you’re adjusting consistency.
- Ice cube trays (optional)
Nice-to-haves
- Spatula — to scrape the blender clean and get every last drop.
- Insulated travel cup — if you’re on the move, a spill-resistant lid makes this a commuter-friendly drink.
Troubleshooting Tips
If the blender stalls with frozen coffee cubes, don’t force it — pulse a few times, let the blades catch, then blend. Allowing the cubes to loosen slightly (a minute at room temperature) before blending makes a big difference. If the shake is too thin, use frozen coffee cubes instead of chilled coffee next time, or add more frozen ingredient (if using fruit or frozen yogurt in variations).
If the texture is grainy after adding protein powder, try a different protein (some plant proteins are grittier) or add a splash of liquid and blend longer to hydrate the powder fully. If the shake tastes flat, add a small pinch of salt — it enhances the coffee and sweet notes without making the drink salty.
Make It Diet-Friendly
To make the shake lower in calories, use a lower-fat vanilla yogurt or reduce the amount of sweetener. For a vegan or dairy-free option, swap the vanilla yogurt for a plant-based vanilla yogurt and choose a plant-based protein powder. For an extra protein boost without extra sugar, choose an unflavored or vanilla protein isolate.
Portion control matters: keeping optional add-ins to the suggested amounts — like one tablespoon of nut butter or a single scoop of protein powder — helps manage calories while preserving flavor and satisfaction.
Flavor Logic
The flavor architecture here is simple and forgiving. Coffee provides a deep, slightly bitter base. Vanilla yogurt brings in sweetness and creamy texture, softening the coffee’s edge. Chocolate chips are a classic partner to coffee — they add quick bursts of cocoa and a playful texture. Nut butter rounds things out with toasted, fatty notes that make the shake feel more substantial.
Think in layers: base (coffee), body (yogurt), lift (sweetener), and accents (chocolate, nut butter, protein powder). Balancing those elements keeps the shake bright and satisfying rather than cloying or flat.
Store, Freeze & Reheat
These shakes are best fresh. If you need to prepare ahead, store in an airtight container in the refrigerator for up to 24 hours; give it a quick shake or stir before drinking because separation can occur. If you froze coffee cubes as part of the process, store them in a sealed bag in the freezer for up to a month — they’re handy for quick shakes.
Reheating isn’t recommended for blended, yogurt-based shakes; heat will change texture and flavor. If you froze a full shake, thaw it in the refrigerator and stir vigorously to recombine textures. For best taste and mouthfeel, blend again briefly after thawing to refresh the consistency.
Quick Questions
- Can I use instant coffee? — Yes. Dissolve it in 1 cup hot water, chill, or freeze into cubes depending on the texture you want.
- Can I use plain yogurt instead of vanilla? — Yes. You’ll likely need to add more sweetener or a bit of vanilla extract to mimic the vanilla flavor.
- Is protein powder necessary? — No. It’s optional for extra protein; the yogurt already adds some protein and creaminess.
- How do I avoid a watery shake? — Use frozen coffee cubes for a thicker texture, or reduce added liquid and increase frozen components.
That’s a Wrap
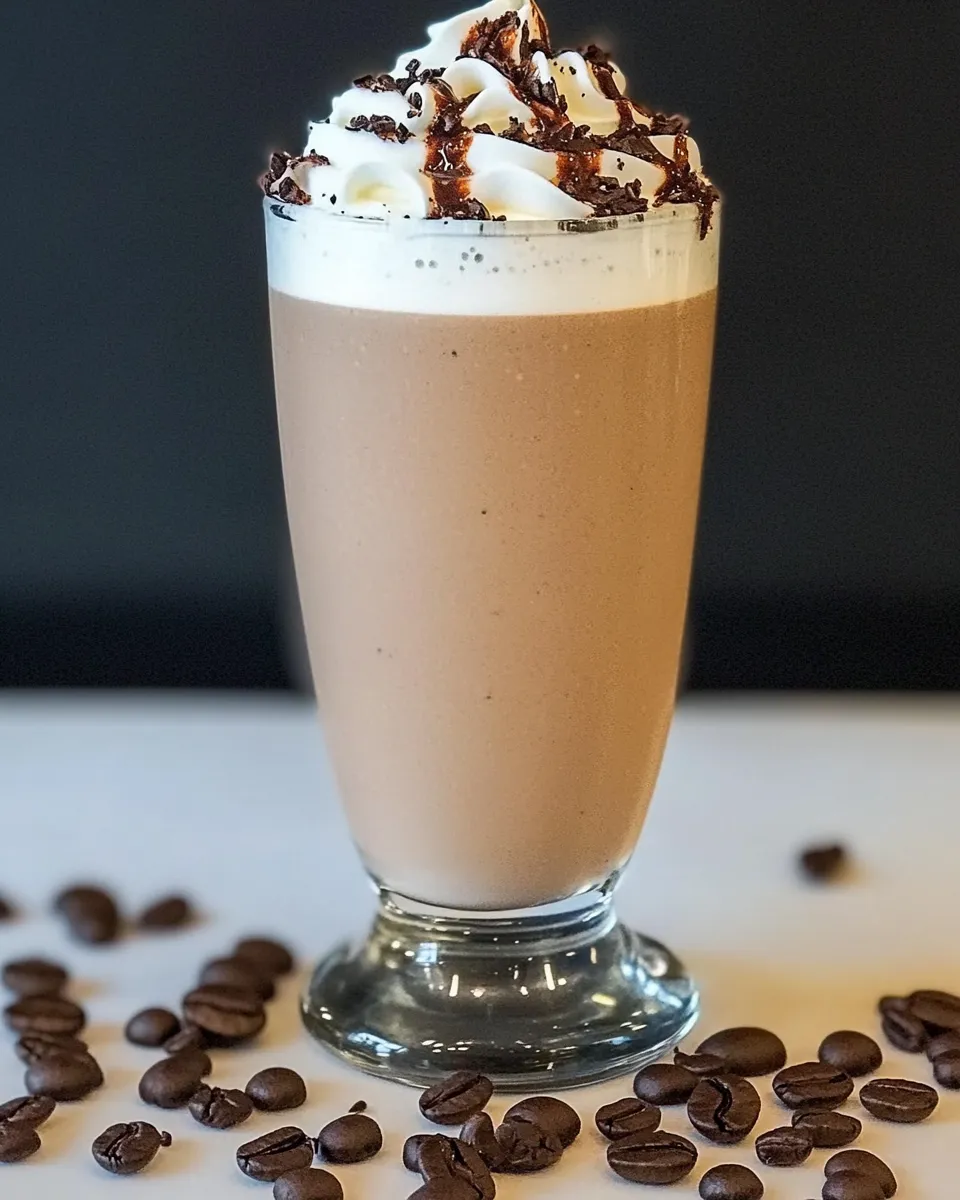
Small rituals like a well-made shake can make mornings feel intentional. This Coffee Protein Shake is quick, adaptable, and forgiving — exactly what you want on a busy day. Use the exact process above the first few times to get your preferred texture, then tweak sweetener, protein, and add-ins until it’s yours.
Try it both ways: chilled for speed, frozen for indulgence. Leave a comment sharing your favorite add-in — I love a touch of almond butter and a handful of chocolate chips for an afternoon pick-me-up. Enjoy, and happy blending.

Coffee Protein Shake
Ingredients
Ingredients
- 1 cupbrewed coffee
- 6 ozvanilla yogurt
- sweetenerof choice
- handful chocolate chips optional
- 1 scoopprotein powder optional
- 1 tbsppeanut or almond butter optional
Instructions
Instructions
- Decide whether you want a regular chilled shake or a thicker, milkshake-style texture. For a chilled shake, chill 1 cup brewed coffee in the refrigerator until cold. For a thicker texture, pour 1 cup brewed coffee into ice cube trays and freeze until solid.
- If you froze the coffee, remove the coffee cubes from the tray and let them sit a minute to loosen just enough that your blender can break them; do not allow them to fully melt.
- Place the chilled or frozen coffee into the blender first.
- Add 6 oz vanilla yogurt, sweetener of choice (to taste), and any optional add-ins you want to include: 1 scoop protein powder (optional), 1 tbsp peanut or almond butter (optional), and/or a handful of chocolate chips (optional).
- Secure the blender lid. Start blending on low to combine, then increase speed and blend until the mixture is smooth. If the blender stalls, pulse and allow any frozen pieces to soften slightly before continuing.
- Taste and add more sweetener if desired, then blend briefly to combine.
- Pour into a glass and serve immediately.
Equipment
- Blender
- Refrigerator
- ice cube tray (optional)
Notes
For a coffee protein shake without protein powder, add half a teaspoon of instant coffee granules to this
Vanilla Protein Frosty
.