
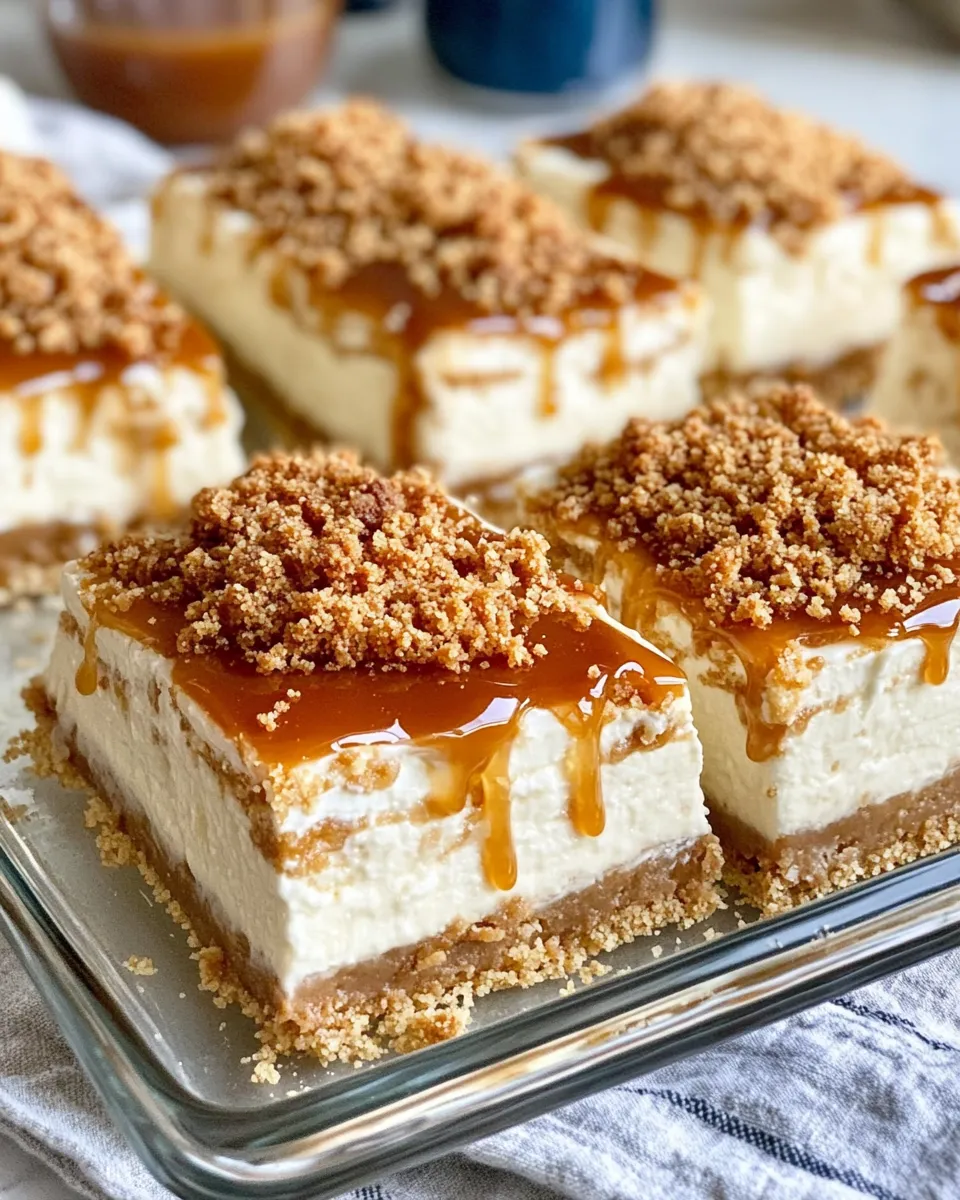
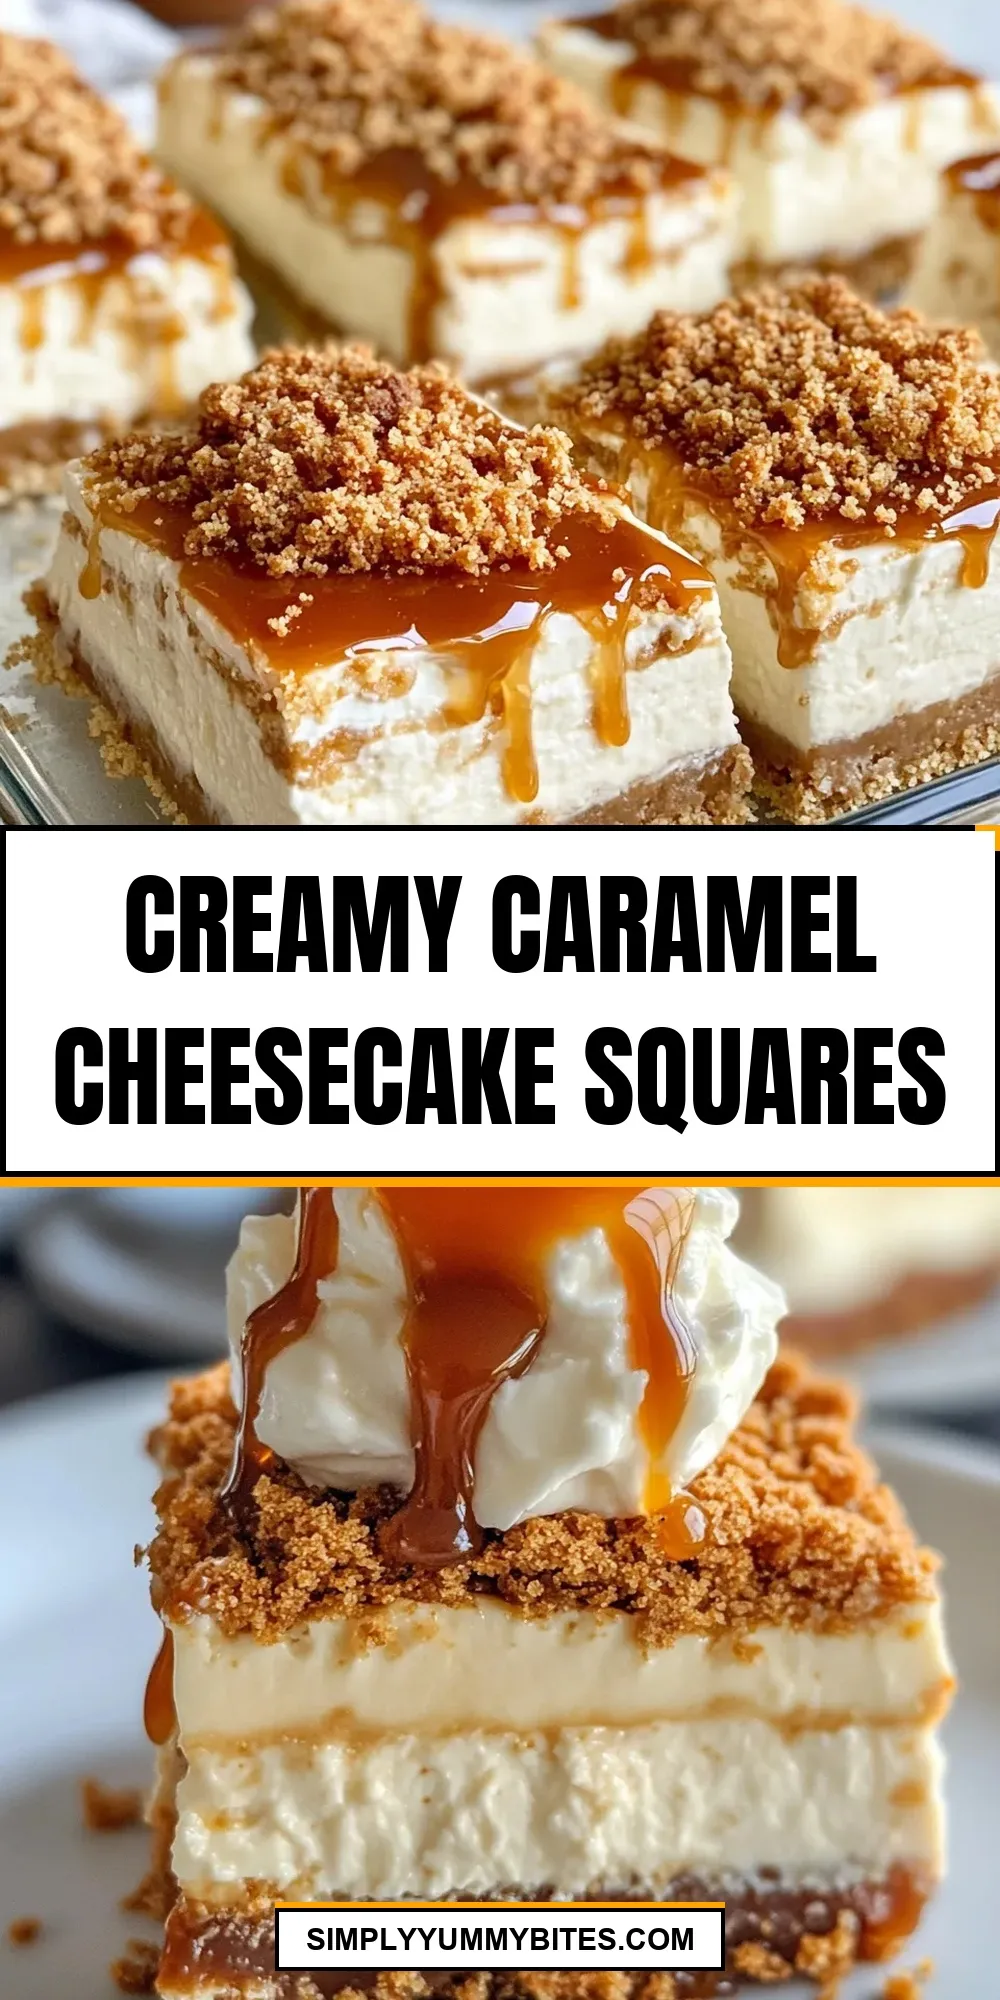
If you’re craving a dessert that combines rich, velvety cheesecake with luscious, buttery caramel, these Creamy Caramel Cheesecake Squares are your new go-to treat. They are the perfect balance of creamy, sweet, and slightly tangy, layered atop a crunchy graham cracker crust that adds just the right amount of texture. Whether you’re baking for a special occasion or just because, these squares will satisfy your sweet tooth and impress any crowd with their stunning look and irresistible flavor.
What You’ll Love About This Recipe
- Simple ingredients: Using pantry staples like graham cracker crumbs, cream cheese, and caramel sauce makes this recipe easy to pull together.
- Perfect texture: The crust is buttery and crisp while the cheesecake filling is ultra creamy and smooth.
- Rich caramel flavor: Swirled throughout and drizzled on top, the caramel adds a deep, indulgent sweetness that’s hard to resist.
- Easy to slice: These squares hold their shape beautifully, making them ideal for parties or potlucks.
- Customizable: You can add nuts, sea salt, or chocolate chips to amp up the flavor profile.
Shopping List
- 2 cups graham cracker crumbs (about 15 full sheets crushed)
- 1/2 cup unsalted butter, melted
- 1 cup granulated sugar
- 3 (8 oz) packages cream cheese, softened
- 1 teaspoon vanilla extract
- 3 large eggs
- 1 cup sour cream
- 1 cup caramel sauce (store-bought or homemade)
- 1/4 teaspoon salt
Tools & Equipment Needed
- 9×13-inch baking pan: Ideal for making evenly sized cheesecake squares.
- Mixing bowls: For combining crust and filling ingredients separately.
- Electric mixer or stand mixer: To beat the cream cheese until perfectly smooth.
- Measuring cups and spoons: For precise ingredient amounts.
- Rubber spatula: To scrape down the bowl and fold ingredients together.
- Wire rack: For cooling the cheesecake after baking.
From Start to Finish: Creamy Caramel Cheesecake Squares
Step 1: Prepare the Crust
Preheat your oven to 325°F (163°C). In a medium bowl, combine the graham cracker crumbs and melted butter until the mixture resembles wet sand. Press this mixture firmly and evenly into the bottom of your 9×13-inch baking pan. Bake the crust for 10 minutes to set it, then remove from the oven and allow it to cool slightly while you prepare the filling.
Step 2: Make the Cheesecake Filling
Using an electric mixer, beat the softened cream cheese and granulated sugar on medium speed until smooth and creamy, about 2-3 minutes. Add the vanilla extract and salt, mixing until combined. Beat in the eggs one at a time, ensuring each is fully incorporated before adding the next. Finally, mix in the sour cream until the filling is silky and well blended.
Step 3: Assemble and Add Caramel
Pour half of the cheesecake filling over the cooled crust, spreading it evenly. Drizzle half of the caramel sauce over the filling, then use a knife or skewer to gently swirl the caramel through the batter. Pour the remaining cheesecake filling on top, smoothing it out, and repeat with the rest of the caramel sauce, swirling it again to create a marbled effect.
Step 4: Bake the Cheesecake
Bake the cheesecake squares at 325°F (163°C) for about 50-60 minutes. The edges should be set, but the center will still have a slight jiggle. Turn off the oven, prop the door open, and let the cheesecake cool inside for 1 hour. This slow cooling helps prevent cracks.
Step 5: Chill and Serve
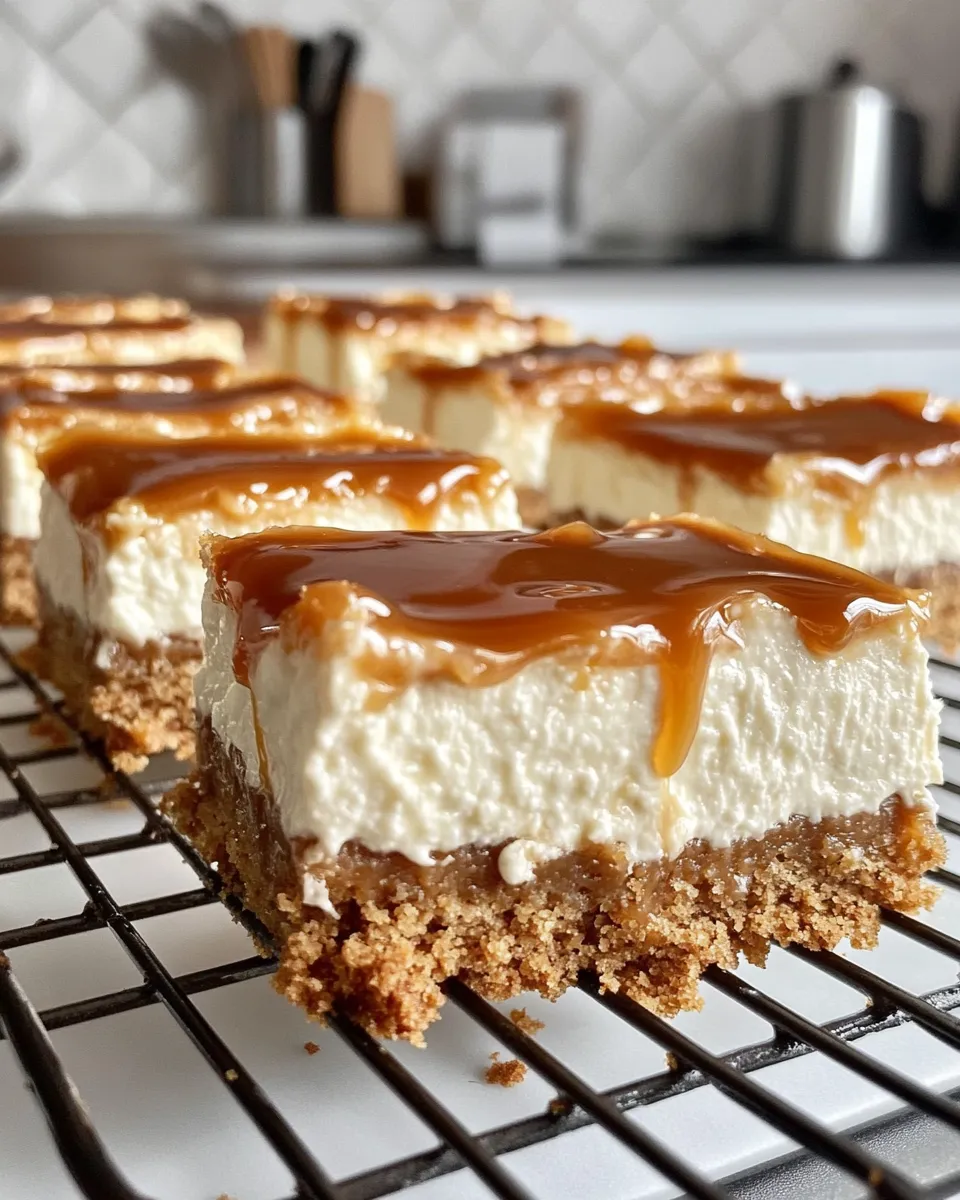
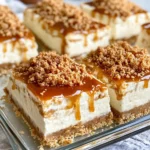
Remove the cheesecake from the oven and cool completely at room temperature. Cover with plastic wrap and refrigerate for at least 4 hours or overnight. Once chilled, cut into squares and drizzle with additional caramel sauce if desired. Serve and enjoy!
Make It Year-Round
- Serve chilled during warm summer months for a refreshing treat.
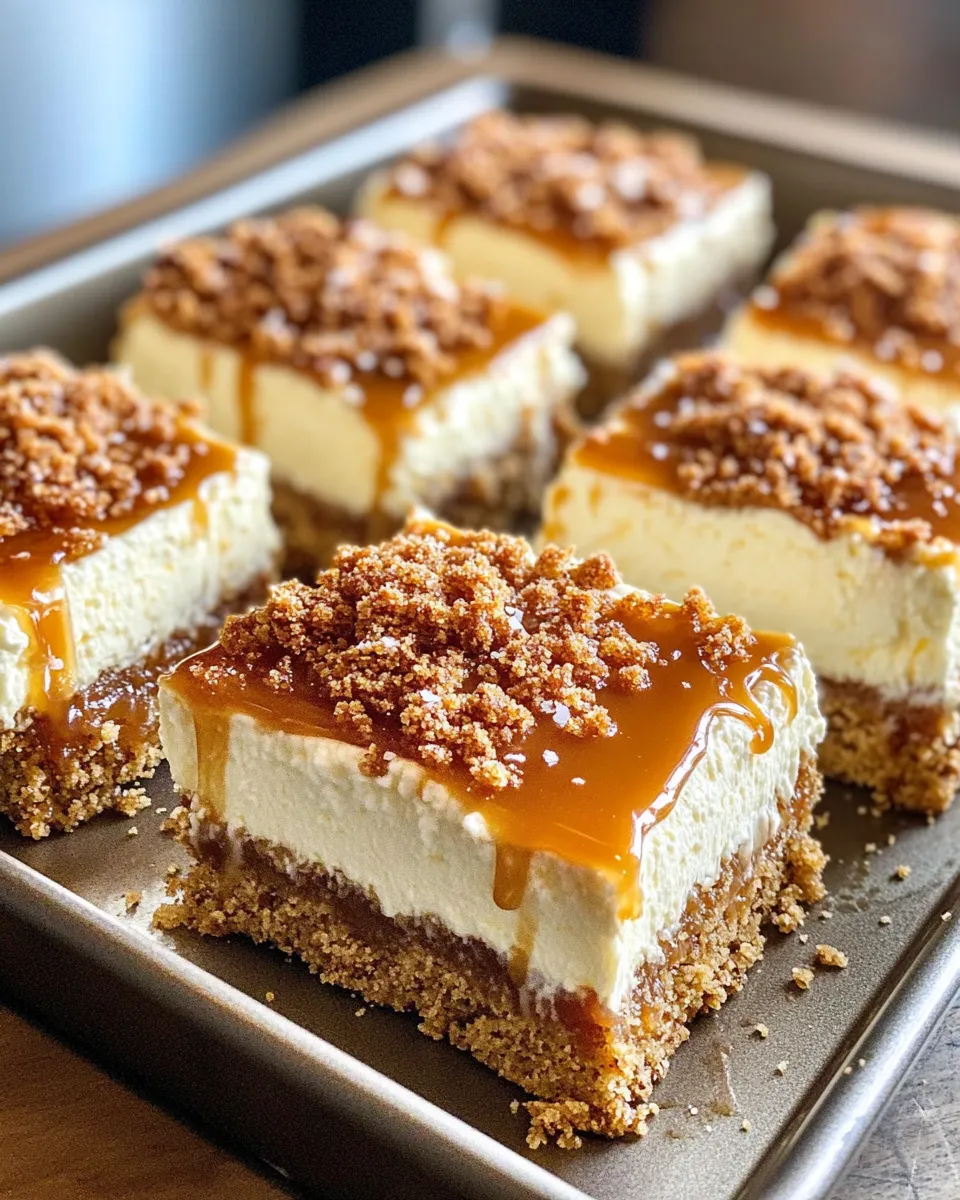
- Top with warm caramel sauce and a sprinkle of toasted pecans for cozy fall vibes.
- Add a pinch of cinnamon or nutmeg to the crust for holiday-inspired flavors.
- Use pumpkin puree in the filling and swirl in caramel for a seasonal twist.
Author’s Commentary
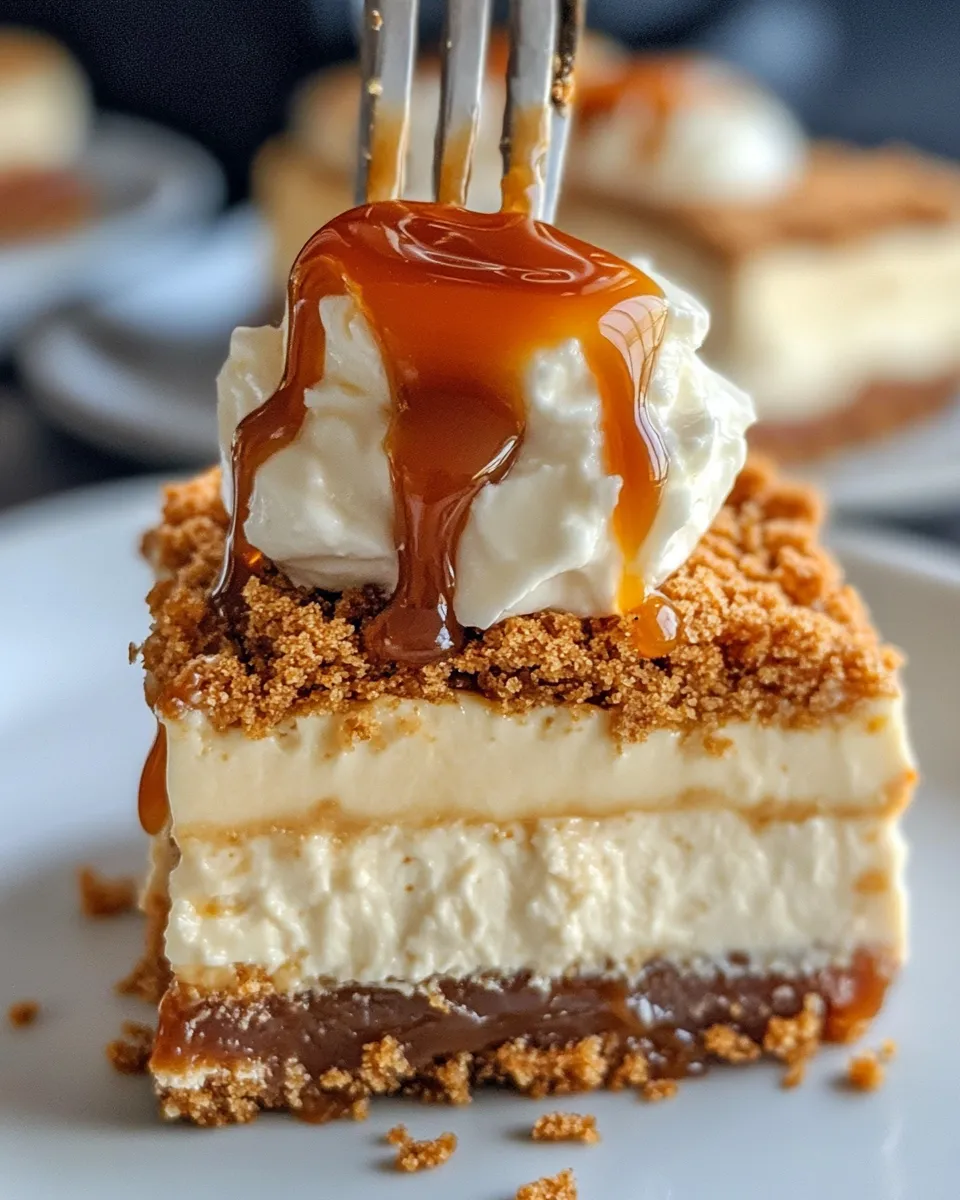
One of my favorite things about this recipe is how it marries simplicity with indulgence. The graham cracker crust provides a crunchy, buttery base that contrasts beautifully with the creamy, smooth cheesecake filling. The caramel adds a rich sweetness without overpowering the natural tang of the cream cheese and sour cream. It’s such an impressive dessert that looks like it took hours, but comes together with minimal fuss.
For the best results, make sure your cream cheese is fully softened before mixing, and avoid overmixing once you add the eggs to keep the texture light and creamy. Feel free to experiment with toppings like toasted nuts, sea salt flakes, or even a drizzle of chocolate for extra decadence.
Make-Ahead & Storage
You can prepare these Creamy Caramel Cheesecake Squares up to 2 days ahead of time. After baking and cooling, cover the pan tightly with plastic wrap or aluminum foil and refrigerate. This allows the flavors to meld beautifully and the cheesecake to firm up for perfect slicing.
Leftovers should be stored in the refrigerator in an airtight container and will keep well for up to 5 days. For longer storage, you can freeze the squares individually wrapped in plastic and foil for up to 2 months. Thaw in the refrigerator overnight before serving.
Troubleshooting Q&A
Why did my cheesecake crack on top?
Cracks usually form when the cheesecake is overbaked or cooled too quickly. Bake until the edges are set but the center still jiggles slightly, and then allow the cheesecake to cool gradually in the oven with the door ajar before refrigerating.
How can I make sure my crust holds together?
Be sure to use enough melted butter to bind the graham cracker crumbs together. Press the crust firmly and evenly into the pan before baking to help it set properly.
Can I use a different caramel sauce?
Absolutely! Homemade or store-bought caramel sauce works great, just ensure it’s pourable and not too thick to swirl through the cheesecake filling.
My cheesecake is too dense. What went wrong?
Overmixing the batter, especially after adding eggs, can cause a dense texture. Mix just until combined and avoid incorporating too much air. Also, make sure your cream cheese is softened but not melted.
Let’s Eat
There’s nothing quite like a creamy slice of caramel-infused cheesecake to brighten your day or steal the show at your next gathering. These Creamy Caramel Cheesecake Squares are the perfect balance of sweet and tangy, smooth and crunchy, and simple yet impressive. Whether you’re enjoying them with a cup of coffee or sharing with friends and family, each bite delivers a delightful moment of pure indulgence. So grab your spatula, preheat your oven, and get ready to create a dessert that’s sure to become a beloved favorite. Happy baking!
Share on Pinterest
Creamy Caramel Cheesecake Squares
Ingredients
For the Crust:
- 2 cups graham cracker crumbs about 15 full sheets crushed
- 1/2 cup unsalted butter melted
For the Cheesecake Filling:
- 1 cup granulated sugar
- 3 packages cream cheese 8 oz each, softened
- 1 teaspoon vanilla extract
- 3 large eggs
- 1 cup sour cream
- 1 cup caramel sauce store-bought or homemade
- 1/4 teaspoon salt
Instructions
Step 1: Prepare the Crust
- Preheat your oven to 325°F (163°C). In a medium bowl, combine the graham cracker crumbs and melted butter until the mixture resembles wet sand. Press this mixture firmly and evenly into the bottom of your 9x13-inch baking pan. Bake the crust for 10 minutes to set it, then remove from the oven and allow it to cool slightly while you prepare the filling.
Step 2: Make the Cheesecake Filling
- Using an electric mixer, beat the softened cream cheese and granulated sugar on medium speed until smooth and creamy, about 2-3 minutes. Add the vanilla extract and salt, mixing until combined. Beat in the eggs one at a time, ensuring each is fully incorporated before adding the next. Finally, mix in the sour cream until the filling is silky and well blended.
Step 3: Assemble and Add Caramel
- Pour half of the cheesecake filling over the cooled crust, spreading it evenly. Drizzle half of the caramel sauce over the filling, then use a knife or skewer to gently swirl the caramel through the batter. Pour the remaining cheesecake filling on top, smoothing it out, and repeat with the rest of the caramel sauce, swirling it again to create a marbled effect.
Step 4: Bake the Cheesecake
- Bake the cheesecake squares at 325°F (163°C) for about 50-60 minutes. The edges should be set, but the center will still have a slight jiggle. Turn off the oven, prop the door open, and let the cheesecake cool inside for 1 hour. This slow cooling helps prevent cracks.
Step 5: Chill and Serve
- Remove the cheesecake from the oven and cool completely at room temperature. Cover with plastic wrap and refrigerate for at least 4 hours or overnight. Once chilled, cut into squares and drizzle with additional caramel sauce if desired. Serve and enjoy!
Equipment
- 9x13 inch Baking Pan
- Mixing bowls
- Electric mixer or stand mixer
- Measuring cups and spoons
- Rubber spatula
- Wire Rack
Notes
- Ensure cream cheese is fully softened to achieve a smooth filling.
- Avoid overmixing after adding eggs to keep the texture light and creamy.
- Press crust firmly and bake briefly to help it hold together well.
- Store leftovers in an airtight container in the refrigerator for up to 5 days or freeze for up to 2 months.
- Try adding nuts, sea salt, or chocolate chips for extra flavor variations.


