
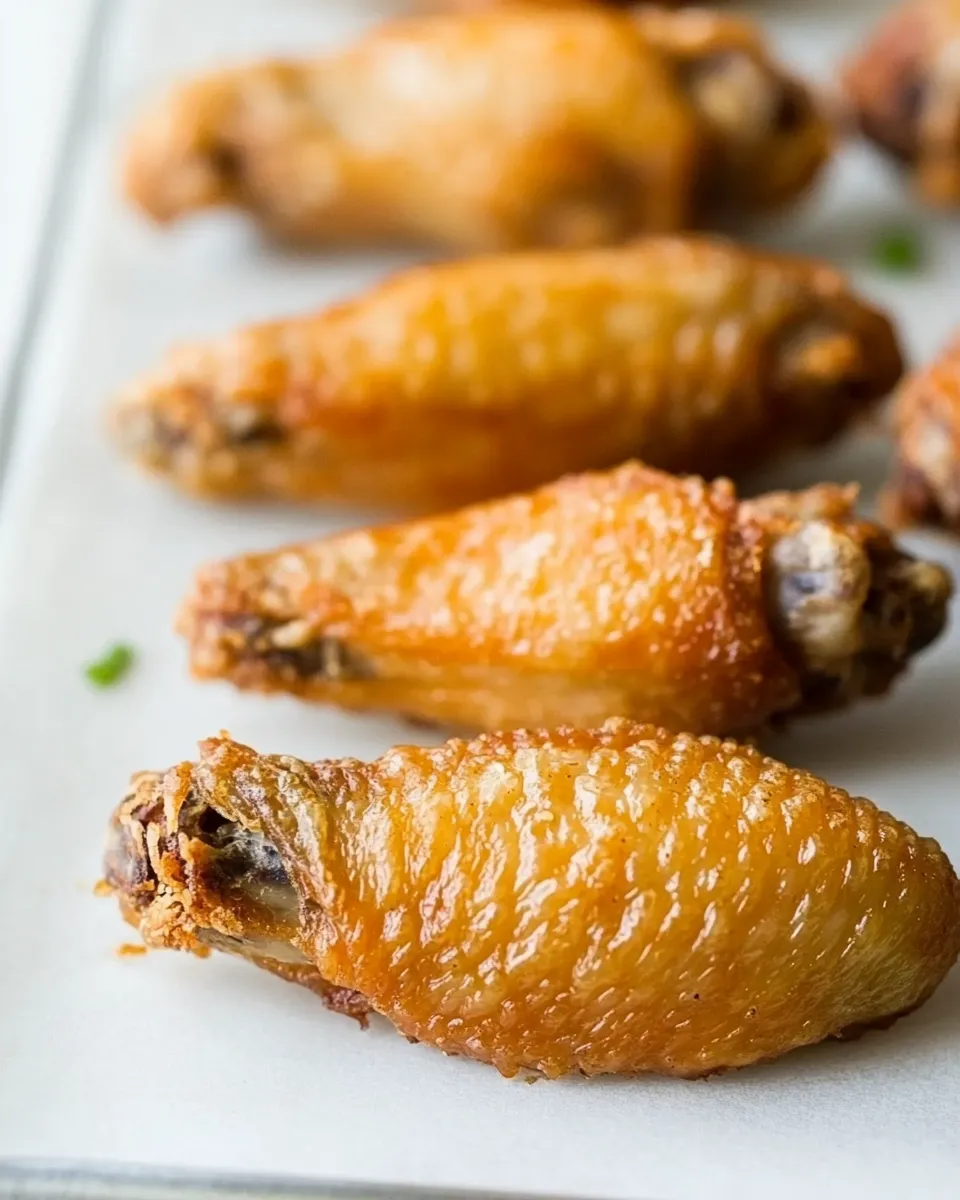
I like food that’s straightforward and honest. These wings get crisp without any baking powder, just a short simmer, careful drying, and a 450ºF roast. No gimmicks, just technique that produces skin that crackles and meat that stays juicy.
You’ll find this method reliable whether you’re cooking for a crowd or making a weeknight snack. The steps are short and focused: blanch, dry, rack, and bake. Little details matter here — drying thoroughly and using a rack make all the difference.
Read through the ingredients and the step-by-step section before you start. The oven timing is predictable, but small adjustments for size and your oven type can help you get exactly the texture you like.
Ingredients at a Glance
- 2 lbs chicken wings — whole wings; blanching them helps render fat and tightens the skin for crisping.
- 1 tablespoon salt — seasons the blanching water so the wings absorb flavor as they cook; kosher or sea salt both work.
Crispy Baked Chicken Wings (without Baking Powder) in Steps
- Preheat the oven to 450ºF (230ºC) and place the oven rack in the center position.
- Bring a kettle or pot of water to a rolling boil.
- Place the 2lbs chicken wings in a large pot, add the 1 tablespoon salt, and pour the boiling water over the wings until they are fully submerged.
- Return the pot to a boil, then reduce the heat to maintain a gentle simmer and cook the wings for 10 minutes.
- Drain the wings thoroughly in a colander, then use paper kitchen towels to pat them as dry as possible.
- Line a sheet pan with foil. Set a wire rack over the sheet pan and arrange the wings in a single layer on the rack with some space between pieces.
- Bake the wings in the preheated oven for 30 minutes, until the skin is crisp and golden.
Why It Deserves a Spot
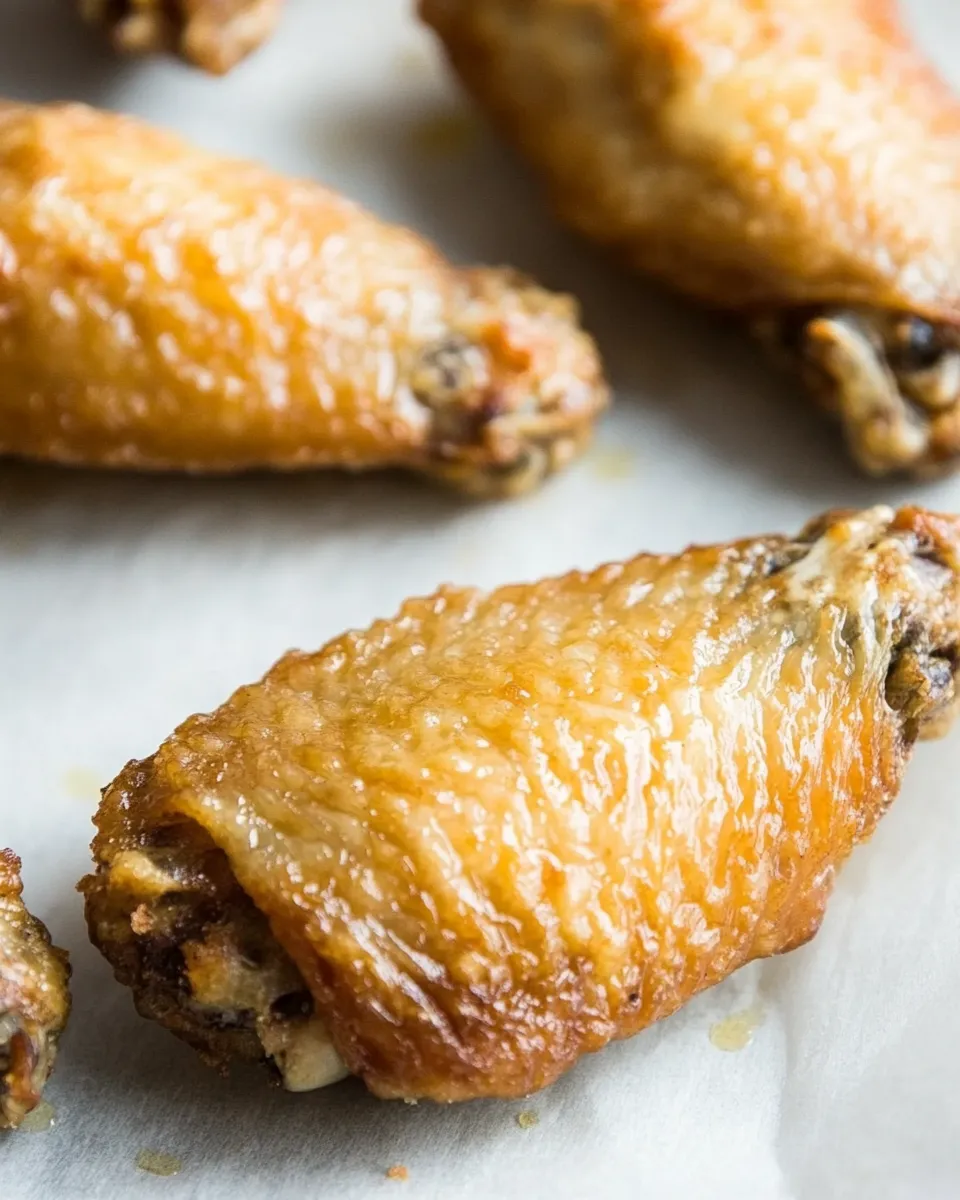
These wings reward simple technique. You don’t need chemical leaveners or long marinades to get impressive crispness. The brief simmer renders some fat away and helps the skin adhere and tighten, while the aggressive oven temperature finishes them into a golden, crunchy exterior.
The method is forgiving. You can scale the recipe up or down without changing the essential steps. It’s also fast: from cold water to finished wings in roughly an hour, most of which is hands-off cooking.
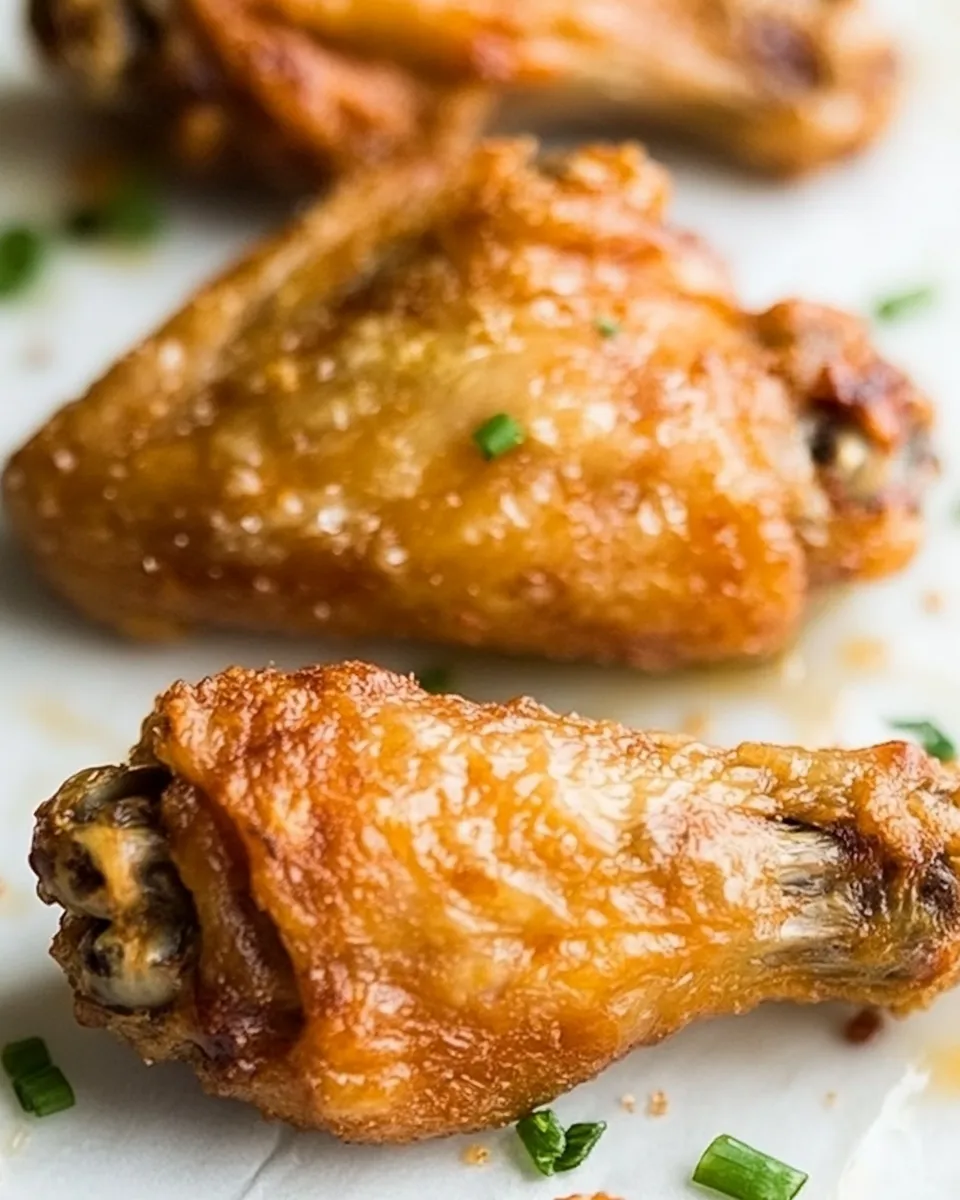
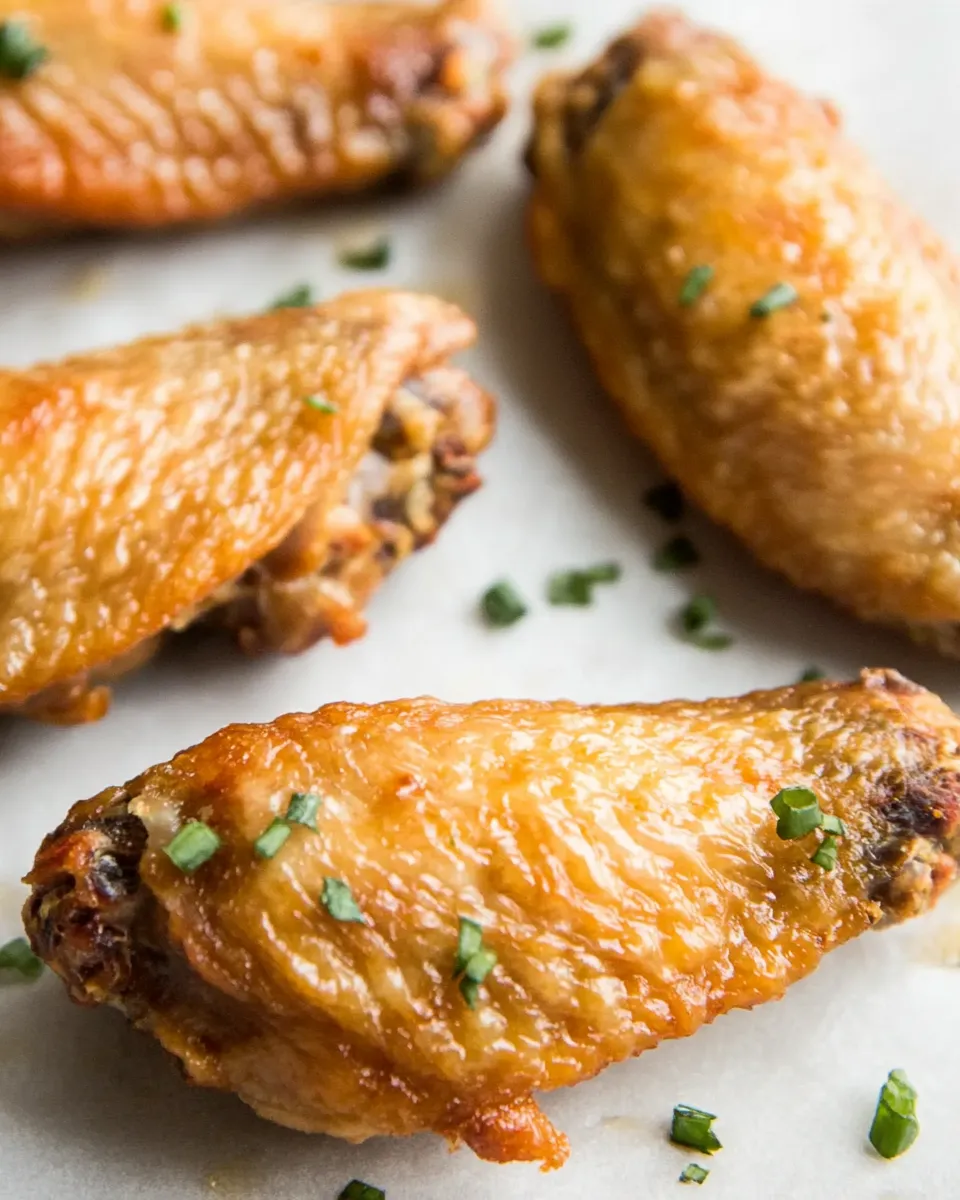
Finally, the result is versatile. Crispy baked wings are an ideal canvas — toss them in a sauce, serve them dry-rubbed, or offer a few dipping options. They feel elevated but are simple enough for everyday cooking.
Easy Ingredient Swaps
- Chicken pieces: If you don’t have whole wings, use drumettes and flats separated, keeping the 2 lb total for timing consistency.
- Salt: Use the same volume of table salt if it’s what you have, but reduce slightly (to taste) because table salt is denser than kosher.
- Additional seasonings: After baking, toss with sauces like buffalo, BBQ, or a simple honey-soy glaze. These are finishing choices and don’t need to be in the blanching water.
Equipment & Tools
- Large pot — big enough to hold the wings submerged.
- Stove or kettle — to bring water to a rolling boil.
- Colander — for efficient draining.
- Paper kitchen towels — for thorough drying of the wings.
- Sheet pan lined with foil — makes cleanup easier and protects the pan from drips.
- Wire rack that fits over the sheet pan — lifts wings so air circulates and fat drips away.
- Oven capable of reaching 450ºF (230ºC) — for the final crisping.
What Not to Do
- Don’t skip drying the wings. Wet skin steams in the oven and prevents crisping.
- Don’t crowd the rack. Overlapping pieces trap steam and yield soggy spots.
- Don’t rely on low oven temperature. The high heat at the end is critical for quick crisping without drying the meat out.
- Don’t add sauces until after baking if you want that crisp texture. Sauces are best applied as a finish or served on the side.
Better Choices & Swaps
- Wire rack over foil-lined sheet pan: Use a rack—this is non-negotiable for even airflow and crisp skin.
- Salt type: Kosher salt gives cleaner control; if using table salt, reduce slightly to avoid over-salting.
- Oven mode: If you have convection/bake, use it to speed up browning and get more even crispness, but watch the time.
- Wing trimming: Remove tips if you prefer cleaner pieces. Trimming reduces uneven sizes and helps with consistent cooking.
What Could Go Wrong
Soggy skin is the most common issue. It usually comes from insufficient drying or overcrowding on the rack. If the wings sit wet or touch each other, steam gets trapped and prevents the skin from crisping.
Overcooking is another risk, especially if wings are very small and you leave them the full 30 minutes at 450ºF. Watch for an even golden color and pull a piece to test for doneness — internal temperature around 165ºF is safe, though wings often go a bit higher without drying out because of the short cooking time.
Uneven browning can stem from inconsistent wing sizes or a low oven that doesn’t circulate heat well. Rotate the pan halfway through if your oven has hot spots.
Storage & Reheat Guide
Short-term storage
- Refrigerate cooled wings in an airtight container for up to 3–4 days.
Freezing
- Freeze cooled wings on a tray until solid, then transfer to a freezer bag for up to 2 months. Freeze before saucing for best texture on reheating.
Reheating for crisp skin
- Oven method: Preheat to 400ºF. Arrange wings on a rack over a sheet pan and reheat 8–12 minutes until hot and crisp.
- Air fryer: 3–6 minutes at 375ºF, watch closely to avoid burning the sauce if used.
- Microwave: Avoid unless speed is necessary — microwaving makes skin soft. If you must, reheat briefly then transfer to a hot skillet or oven to regain some crispness.
Quick Q&A
- Can I brine instead of salting the blanch water? You can, but brining changes timing and salt levels. The salt in the blanching water seasons efficiently without extra steps.
- Do I need to remove wing tips? No, but removing tips makes for cleaner presentation and slightly faster, more even cooking.
- Can I marinate before blanching? Acidic marinades can affect texture if used before blanching. For best crisping, blanch first, dry, bake, then toss with any sauce or marinade.
- Is the 10-minute simmer essential? It helps render fat and set the skin. Skipping it can yield less predictable results for crispness.
Ready, Set, Cook
Set your oven to 450ºF and get the water boiling. Lay out paper towels, your rack, and sheet pan. Follow the simple sequence: blanch with salted water, dry thoroughly, space wings on a rack, and roast for 30 minutes. Finish by tossing in your favorite sauce or serve them naked with dips on the side.
This technique rewards attention to small details: don’t rush the drying, give the wings room, and watch the oven. Do that and you’ll have reliably crispy wings without a single pinch of baking powder.
Serve hot, with napkins ready. These wings are meant to be eaten with hands, shared, and enjoyed right away.

Crispy Baked Chicken Wings (without Baking Powder)
Ingredients
Ingredients
- 2 lbschicken wings
- 1 tablespoonsalt
Instructions
Instructions
- Preheat the oven to 450ºF (230ºC) and place the oven rack in the center position.
- Bring a kettle or pot of water to a rolling boil.
- Place the 2lbs chicken wings in a large pot, add the 1 tablespoon salt, and pour the boiling water over the wings until they are fully submerged.
- Return the pot to a boil, then reduce the heat to maintain a gentle simmer and cook the wings for 10 minutes.
- Drain the wings thoroughly in a colander, then use paper kitchen towels to pat them as dry as possible.
- Line a sheet pan with foil. Set a wire rack over the sheet pan and arrange the wings in a single layer on the rack with some space between pieces.
- Bake the wings in the preheated oven for 30 minutes, until the skin is crisp and golden.
Equipment
- Oven
- Large Pot
- kettle or pot to boil water
- Colander
- Paper Towels
- Sheet Pan
- Foil
- Wire Rack


