
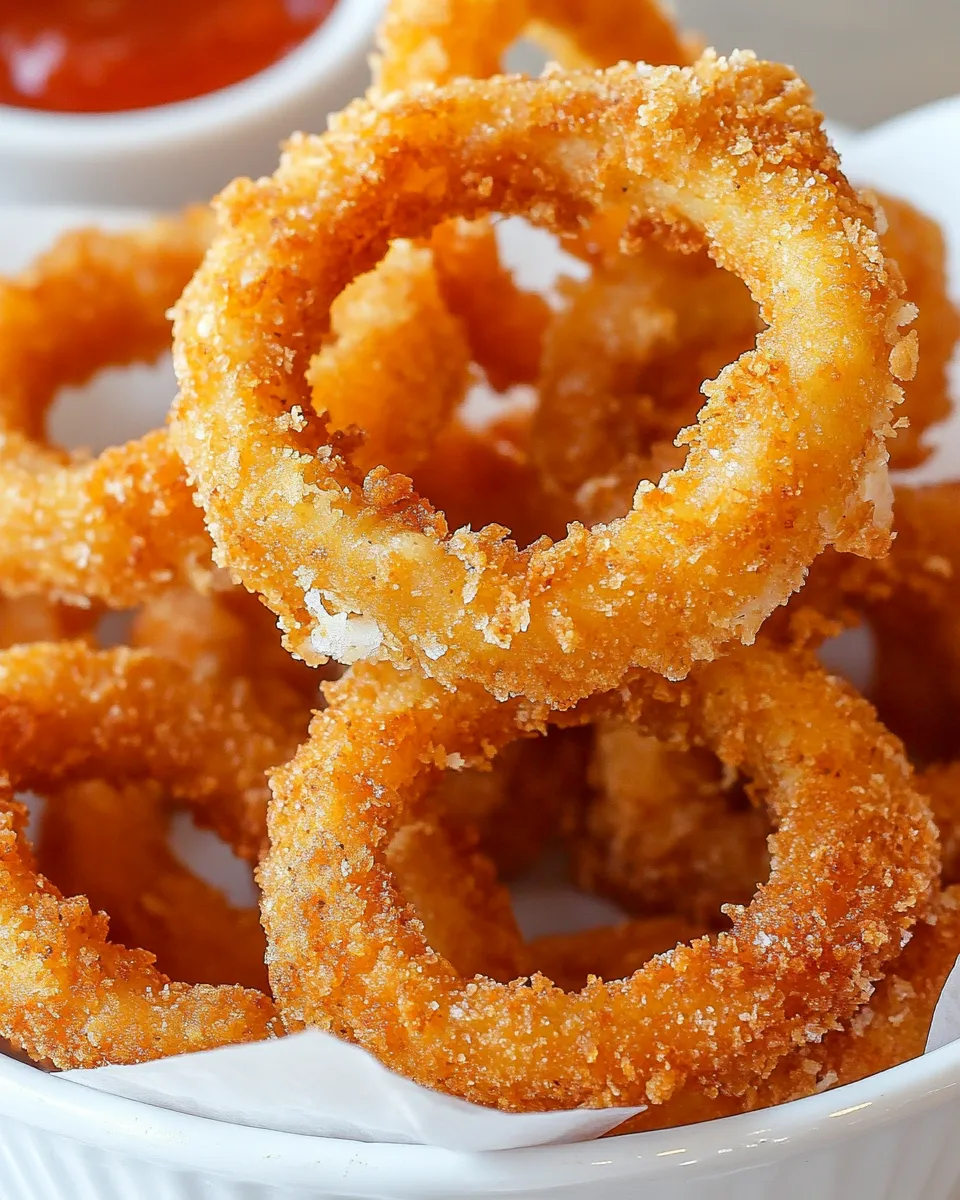
These onion rings are the kind of snack that makes people pause what they’re doing and come to the kitchen. Thinly sliced onions, a seasoned flour-batter, and a final press of panko give you a shell that snaps and keeps the inside tender. I rely on this method when I want consistent, restaurant-style crunch at home.
It’s a straightforward technique that rewards small steps: separate rings carefully, keep the coatings in order, and fry at the right temperature. There are no complicated tricks—just attention to temperature and timing. I’ll walk you through everything I do, from the exact ingredients to the common mistakes to avoid.
If you’re hosting, these are a great make-ahead item to prep (coated and ready) and fry at the last minute. Serve them hot, salt them immediately, and you’ll have a crowd-pleasing starter or side that disappears faster than you expect.
What We’re Using
This recipe leans on pantry staples: flour, a few dried seasonings, eggs, milk, panko and neutral oil for frying. I call the gear and the ingredients out separately because both matter—good gear makes the process smoother, and the right technique gives reliable crispness.
Ingredients
- 3 large onions — sliced into 1/4-inch slices; choose firm onions with tight layers so rings separate cleanly.
- 2 cups all-purpose flour — forms the base of the batter and the dry dredge for initial adhesion.
- 1 1/4 teaspoons baking powder — helps the batter puff slightly for a lighter crust.
- 1 teaspoon onion powder — reinforces onion flavor inside the coating.
- 1 teaspoon paprika — adds color and a hint of warm flavor.
- 1 1/2 teaspoons garlic powder — brings savory balance to the batter.
- 1 1/4 teaspoons salt — folded into the flour to season the batter; you’ll add a final dusting at the end.
- 2 eggs — bind the milk to the flour for a stable batter that clings to rings.
- 1 1/2 cups milk or as needed — thins the batter; start with the amount listed and add more only if needed to coat the rings.
- 1 1/2 cups panko bread crumbs — presses on for the signature extra-crisp exterior.
- 1/4 teaspoon salt — for finishing the fried rings while they are still hot.
- 5 cups oil for frying or as needed — a neutral oil with a high smoke point; enough to fully submerge the rings.
The Method for Crispy Onion Rings
- Peel the 3 large onions and cut into 1/4-inch slices. Carefully separate the slices into individual rings and set aside.
- In a medium bowl, combine the 2 cups all-purpose flour, 1 1/4 teaspoons baking powder, 1 teaspoon onion powder, 1 1/2 teaspoons garlic powder, 1 teaspoon paprika, and 1 1/4 teaspoons salt. Mix until uniform.
- Divide the flour mixture into two bowls: one bowl for dry dredging and one bowl to make the batter.
- Place the 1 1/2 cups panko bread crumbs in a shallow dish and set aside.
- In the bowl reserved for the batter, add the 2 eggs and 1 1/2 cups milk. Whisk into the flour mixture until a smooth batter forms. Add more milk only if needed to reach a batter that will coat the rings.
- Working a few rings at a time, dredge each onion ring in the dry flour mixture so it is evenly coated. Shake off excess flour.
- Dip each floured ring into the batter, letting excess batter drip back into the bowl, then transfer the ring to the panko. Press panko onto both sides so each ring is fully coated. Place coated rings on a wire rack while you finish coating the rest.
- Pour about 5 cups oil (or enough oil to fully submerge the rings) into a deep fryer or a large, heavy pot. Heat the oil to 365°F (185°C).
- Fry the onion rings in batches—do not overcrowd the pot—for 2 to 3 minutes per batch, or until golden brown and crisp. Use a slotted spoon or spider to turn rings if needed and to remove them from the oil.
- Drain fried rings on a wire rack set over a baking sheet or on paper towels. While still hot, evenly sprinkle the 1/4 teaspoon salt over the rings.
- Serve immediately.
Why It Deserves a Spot

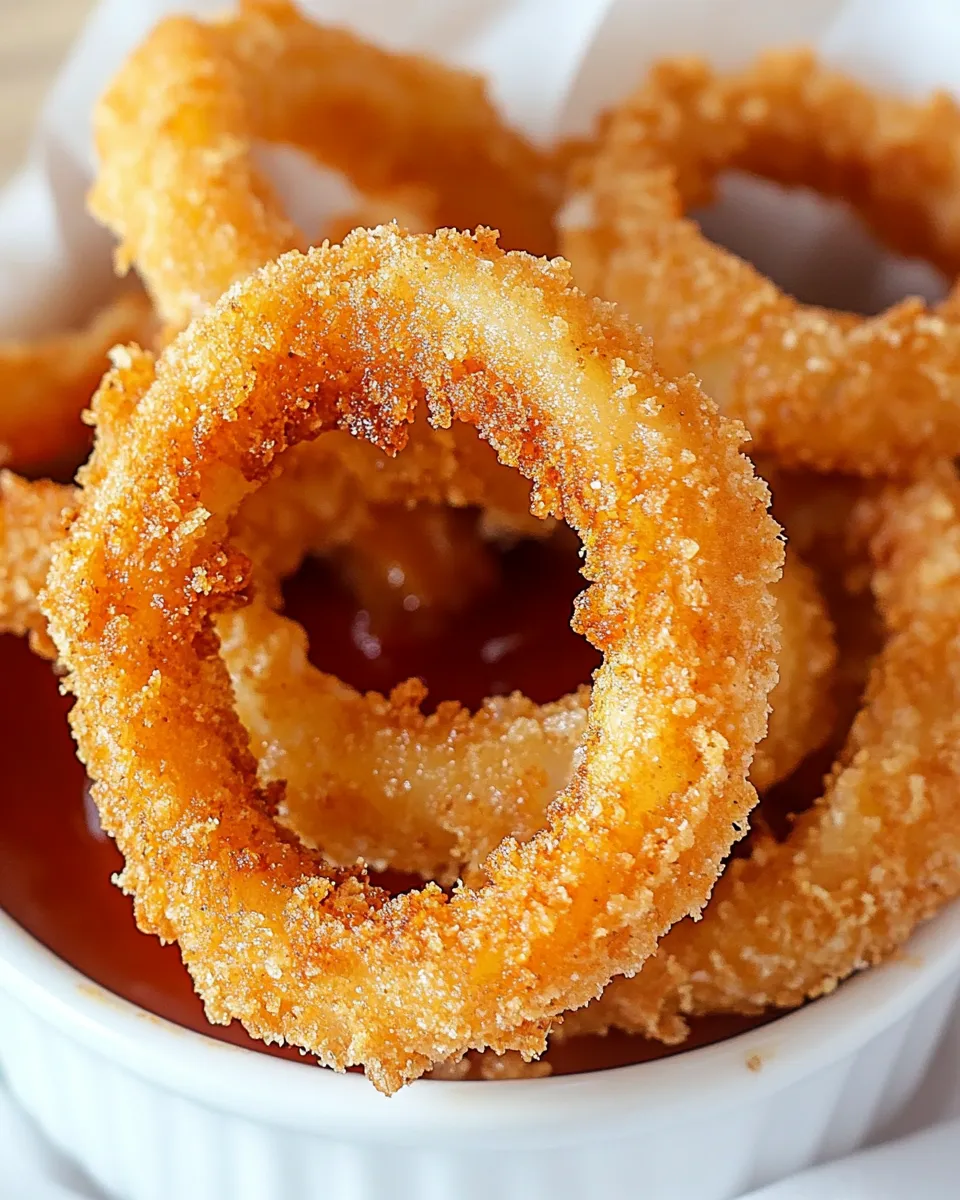
These rings combine straightforward technique with reliable results. The layered approach—flour dredge, batter, then panko—creates a multi-textured crust that holds together in the fryer and stays crisp longer than a single coating. Using baking powder in the flour mix lightens the batter slightly so the crust doesn’t feel heavy.
They’re flexible: serve as a party snack, a burger side, or a crunchy contrast to leafy salads. And because the batter and crumb steps are simple to scale, you can make a little or a lot without losing quality.
Flavor-Forward Alternatives
If you want to nudge the flavor without changing the technique, work with the spices already in the recipe. Increase the paprika for a smokier profile, or add an extra dash of garlic powder if you want more garlic presence. For a brighter finish, a light squeeze of lemon over the hot rings lifts the richness (no change to the recipe amounts required).
Panko is already in the ingredient list for extra crunch; press it firmly so the crumbs adhere well. If you prefer a denser crust, press more panko onto the rings before frying, but keep the frying time and oil temperature the same for best results.
What’s in the Gear List
- Deep fryer or large, heavy pot — a heavy pot holds temperature better; choose what fits your batch size.
- Candy or frying thermometer — keeping oil at 365°F (185°C) is critical for crispness.
- Wire rack and baking sheet — for draining so rings stay crisp rather than sitting in oil.
- Shallow dishes — for flour, batter, and panko to set up an assembly line.
- Slotted spoon or spider — for lifting rings cleanly from hot oil.
- Mixing bowls and whisk — for combining dry and wet ingredients cleanly.
Mistakes That Ruin Crispy Onion Rings
Watch out for these common pitfalls:
- Wrong oil temperature — oil that’s too cool soaks the coating; oil that’s too hot burns the exterior before the onion softens. Aim for 365°F (185°C).
- Overcrowding the pot — drops oil temperature and produces soggy, unevenly browned rings. Fry in small batches.
- Skipping the dry dredge — leads to batter sliding off. The initial flour coating is what helps the wet batter cling.
- Not pressing the panko — loose crumbs fall off in the oil rather than forming a continuous crust.
- Letting coated rings sit too long before frying — excessive moisture can build up and weaken adhesion. If you need to pause, keep them on a wire rack but fry within a reasonable window.
Spring–Summer–Fall–Winter Ideas
Spring: Serve hot rings alongside a light pea salad or herb-forward slaw to temper the richness. A herb vinaigrette on the side cuts through the crunch.
Summer: These are perfect poolside or for backyard barbecues. Pair with grilled burgers, fresh corn, and tangy cold sauces. They travel well to a picnic if you fry them on-site.
Fall: The warm spices in the flour mix pair nicely with roasted vegetables and heartier mains. Consider serving them with a warm dipping sauce or tangy compote for contrast.
Winter: Comfort food season welcomes big platters of fried snacks. Keep a stack warm in a low oven and serve with smoky mains and robust beers or warm cocktails.
Behind-the-Scenes Notes
Texture is the priority here. The three-stage coating system—flour dredge, wet batter, panko—creates layers that crisp independently and resist oil-saturation. Panko’s irregular shape traps air pockets and fries to a lighter, crunchier finish than standard crumbs.
Temperature control is the unsung hero. A heavy pot and a thermometer make the process predictable; once you’ve fried a couple of batches you’ll notice how the oil recovers and how color correlates to doneness. The short frying window—2 to 3 minutes per batch—gives a golden crust and tender onion without overcooking.
Keep It Fresh: Storage Guide
If you have leftovers, cool them on a rack to room temperature, then store in a single layer in an airtight container lined with paper towels to absorb residual oil. They’re best eaten the same day, but will keep for up to 24 hours in the fridge.
To re-crisp, reheat on a wire rack in a 400°F (205°C) oven for 5–8 minutes (watch closely), or use an air fryer for a few minutes. Microwaving makes them soggy, so avoid that if you want the crunch back.
Helpful Q&A
Can I prep these ahead? Yes. Coat the rings through the panko step and place them on a wire rack, loosely covered, for up to a few hours in the fridge. Fry just before serving for best texture.
What onions work best? Use firm, large onions with defined layers so rings separate cleanly. Sweet onions work well if you prefer a milder taste; stronger onions give more bite.
What if I don’t have panko? Panko gives a distinct crunch, but if you must use ordinary breadcrumbs, press them on firmly and expect a slightly denser crust. The frying time and temperature remain the same.
Can I bake them? Baking won’t reproduce the same crispness as deep-frying with the panko method in this recipe. If you choose to bake, expect a different texture and consider using a convection setting for better browning.
Serve & Enjoy
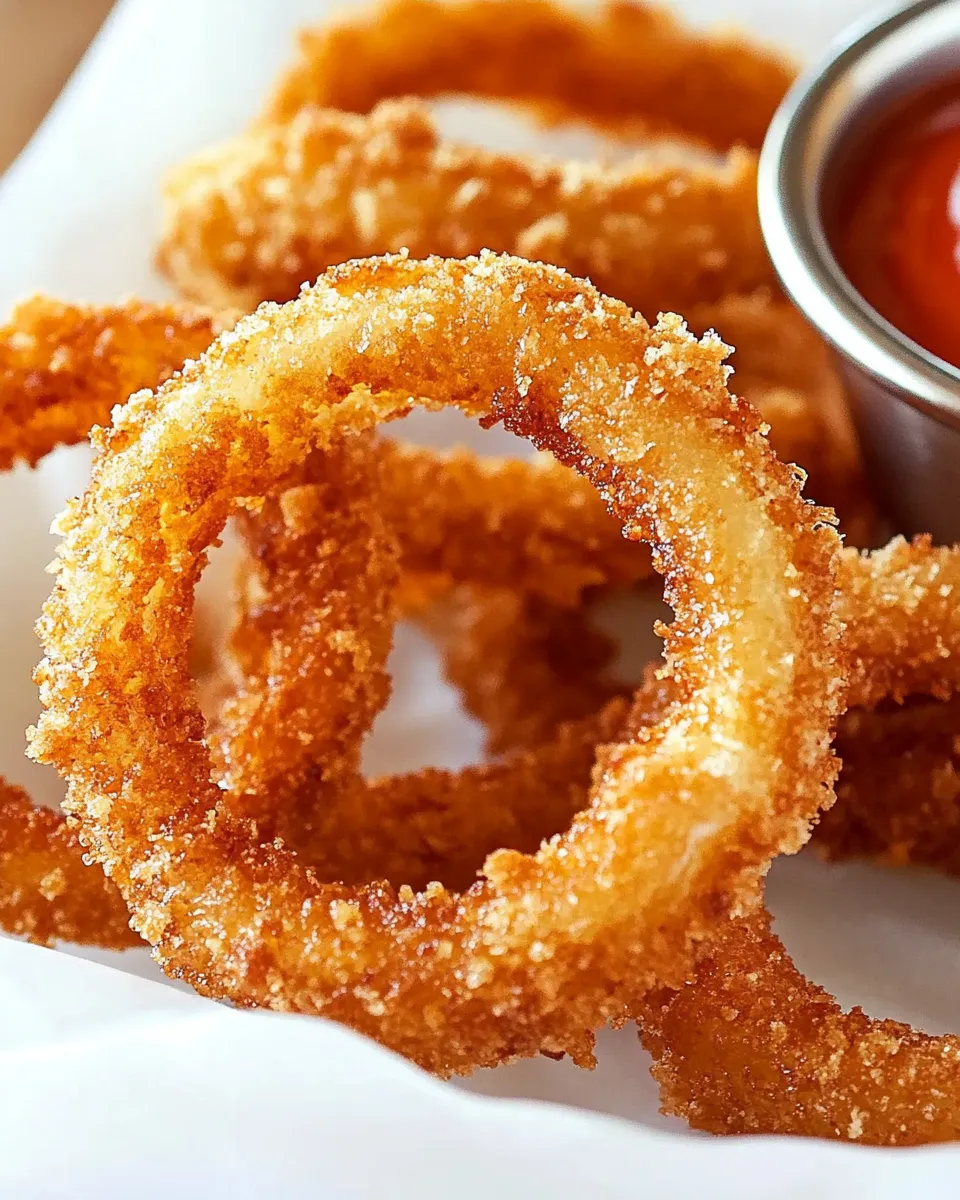
Serve these onion rings hot, sprinkled with the finishing 1/4 teaspoon of salt as the directions suggest. A platter piled high with a few dipping sauces on the side—think tangy and cool versus rich and savory—gives guests options. They pair beautifully with sandwiches, burgers, salads, or as a star appetizer on their own.
Eat them right away for maximum crunch. If you make them for guests, fry the final batch last so everything goes to the table at peak crispness. The simplicity of the recipe is its charm: precise steps, pantry-friendly ingredients, and a result that feels special every time.
Crispy Onion Rings Recipe
Ingredients
Ingredients
- 3 large onionscut into 1/4-inch slices
- 2 cupsall-purpose flour
- 1 1/4 teaspoonsbaking powder
- 1 teaspoononion powder
- 1 teaspoonpaprika
- 1 1/2 teaspoongarlic powder
- 1 1/4 teaspoonssalt
- 2 eggs
- 1 1/2 cupsmilkor as needed
- 1 1/2 cuppanko bread crumbs
- 1/4 teaspoonsalt
- 5 cupsoil for fryingor as needed
Instructions
Instructions
- Peel the 3 large onions and cut into 1/4-inch slices. Carefully separate the slices into individual rings and set aside.
- In a medium bowl, combine the 2 cups all-purpose flour, 1 1/4 teaspoons baking powder, 1 teaspoon onion powder, 1 1/2 teaspoons garlic powder, 1 teaspoon paprika, and 1 1/4 teaspoons salt. Mix until uniform.
- Divide the flour mixture into two bowls: one bowl for dry dredging and one bowl to make the batter.
- Place the 1 1/2 cups panko bread crumbs in a shallow dish and set aside.
- In the bowl reserved for the batter, add the 2 eggs and 1 1/2 cups milk. Whisk into the flour mixture until a smooth batter forms. Add more milk only if needed to reach a batter that will coat the rings.
- Working a few rings at a time, dredge each onion ring in the dry flour mixture so it is evenly coated. Shake off excess flour.
- Dip each floured ring into the batter, letting excess batter drip back into the bowl, then transfer the ring to the panko. Press panko onto both sides so each ring is fully coated. Place coated rings on a wire rack while you finish coating the rest.
- Pour about 5 cups oil (or enough oil to fully submerge the rings) into a deep fryer or a large, heavy pot. Heat the oil to 365°F (185°C).
- Fry the onion rings in batches—do not overcrowd the pot—for 2 to 3 minutes per batch, or until golden brown and crisp. Use a slotted spoon or spider to turn rings if needed and to remove them from the oil.
- Drain fried rings on a wire rack set over a baking sheet or on paper towels. While still hot, evenly sprinkle the 1/4 teaspoon salt over the rings.
- Serve immediately.


