
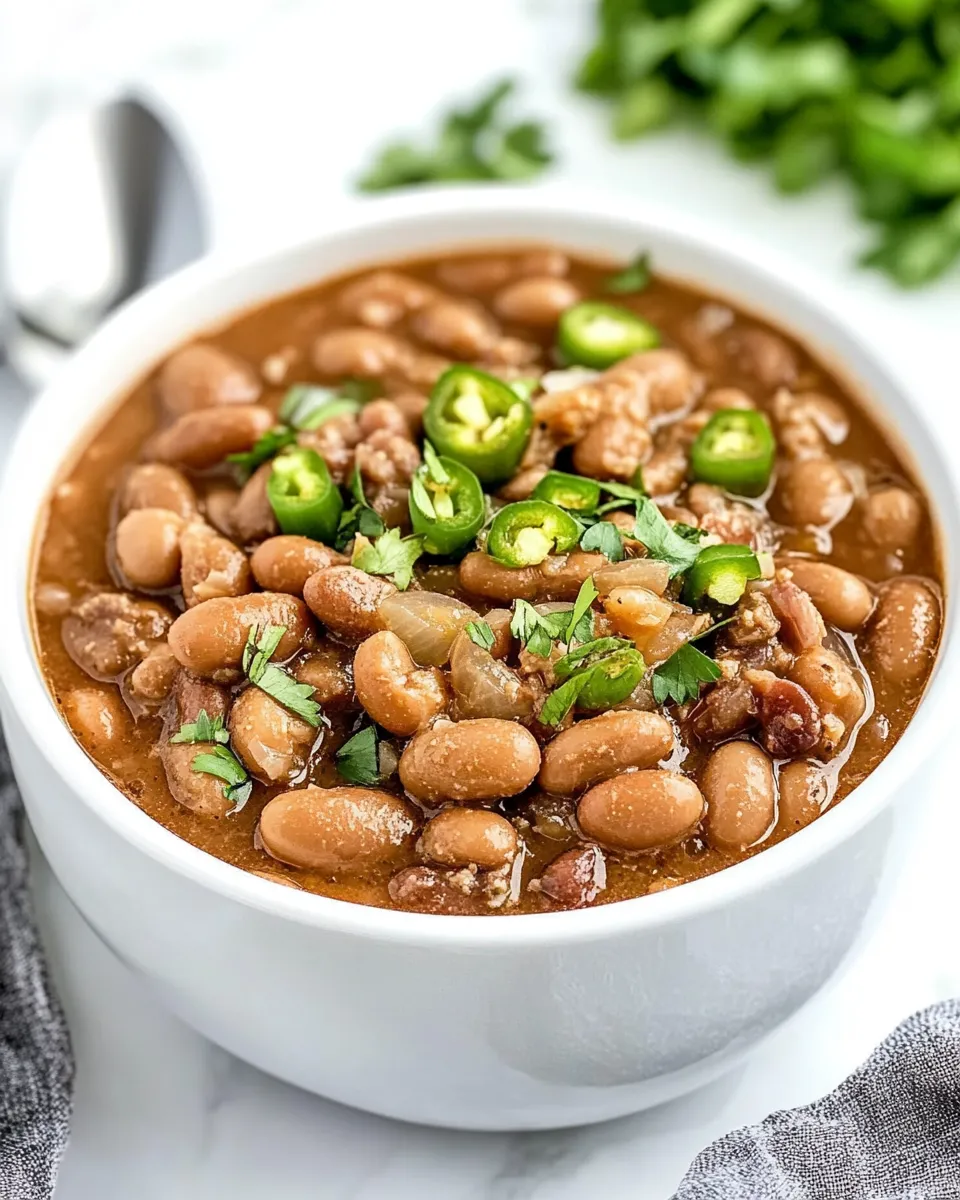
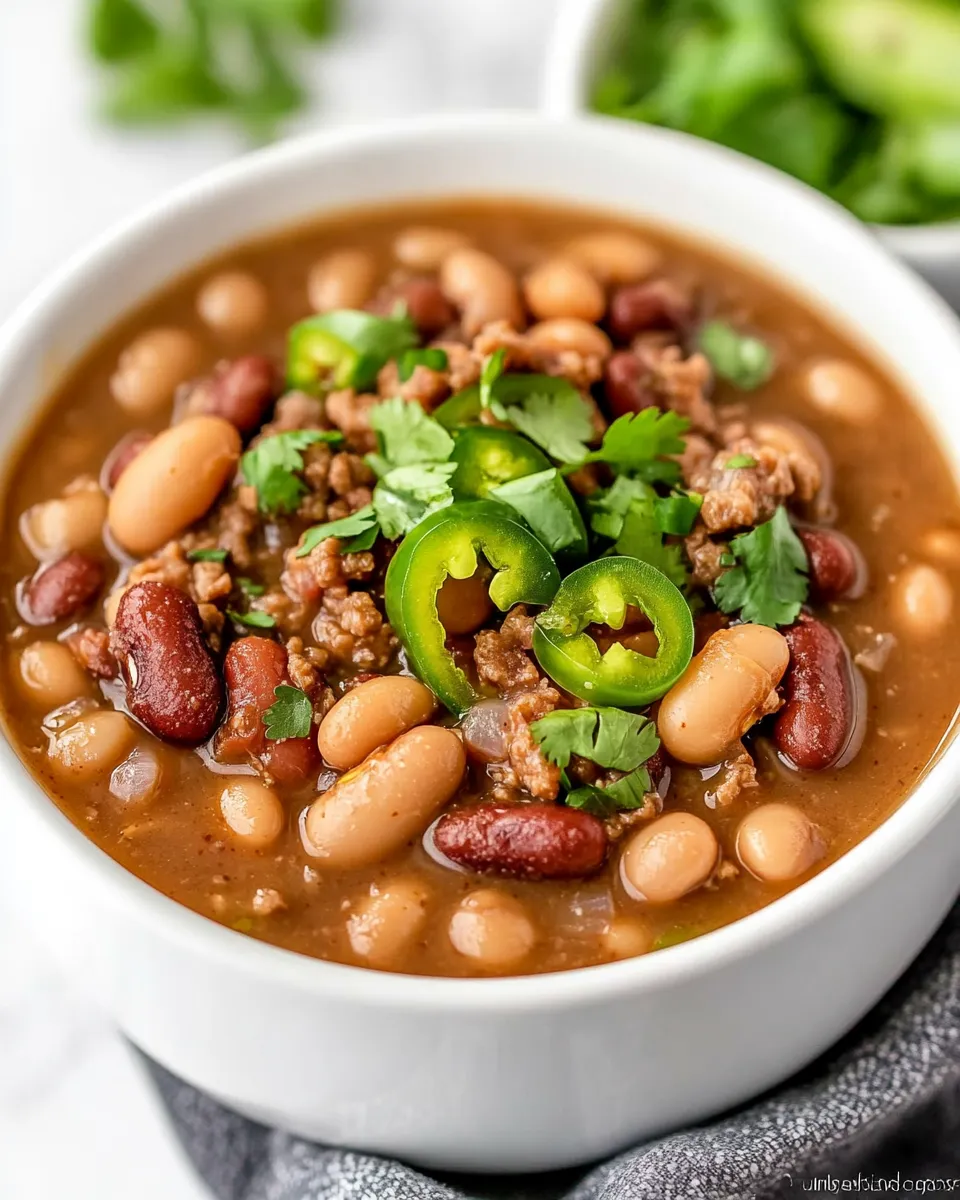
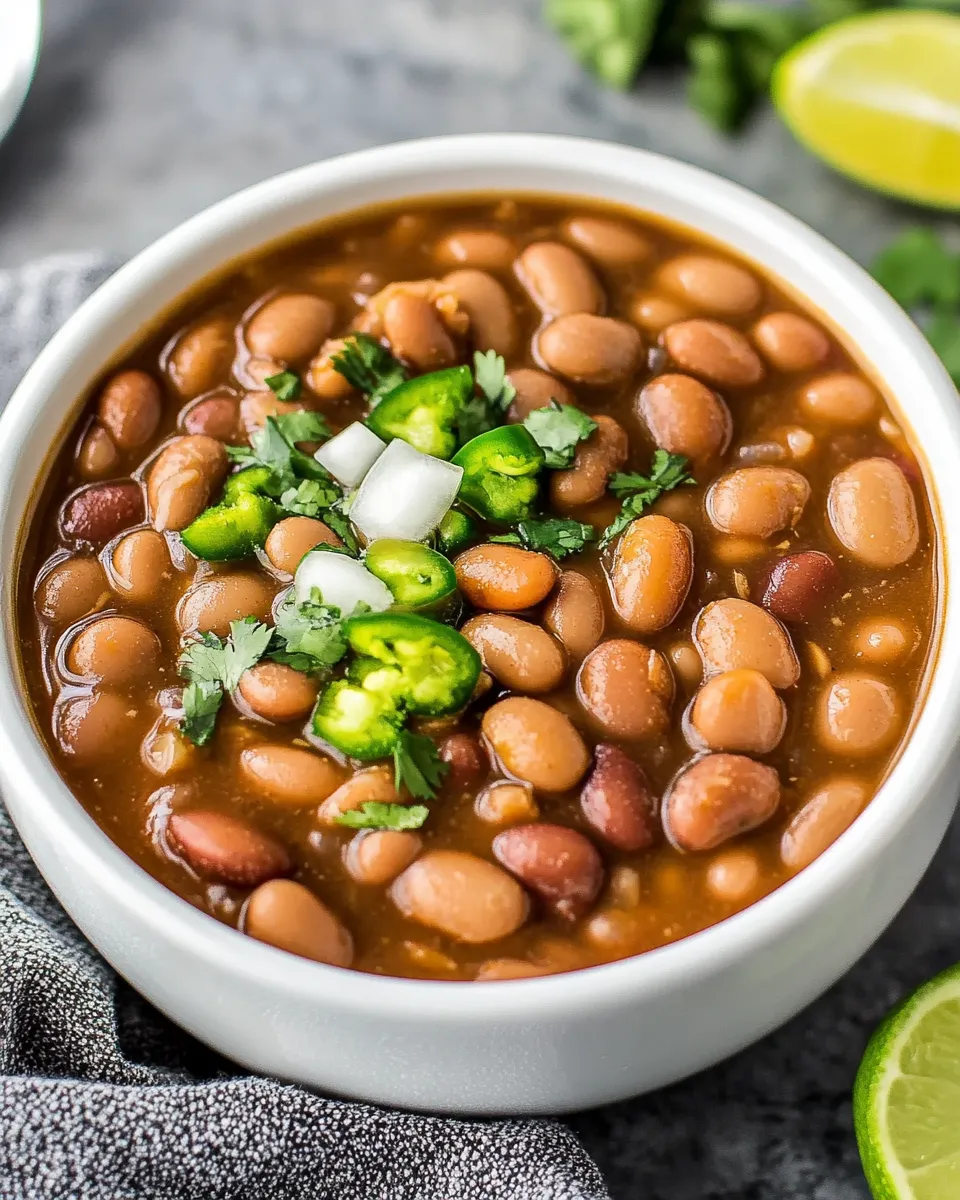
These crock pot pinto beans are the kind of recipe I rely on when I want hearty, no-fuss beans with real flavor and zero babysitting. You toss everything in the slow cooker in the morning and come home to a pot of tender, well-seasoned beans that can feed a crowd, anchor a week of meals, or turn into a dozen different dishes. They’re forgiving, comforting, and make the kitchen smell like something worth coming home to.
I love this version because it keeps the ingredient list short and honest: dried pinto beans, a little stock or water, onion, garlic, a jalapeño for lift, and a few warming spices. There’s room to tweak the heat or the liquid, but if you follow the basic steps you’ll get reliably good results. And because these cook low and slow, they develop a depth that canned beans can’t touch.
If you’re new to cooking dried beans in a slow cooker, this post walks you through the exact steps I use in my own kitchen. I’ll note what to watch for, how to fix common hiccups, and how to store the beans so you can stretch them through the week. Let’s get to it.
What You’ll Need
A slow cooker, basic prep tools, and the ingredients listed below. Give yourself a few minutes to sort and rinse the beans before they go into the cooker—this tiny step improves texture and removes debris.
Ingredients
- 1 pound (450 g) dried pinto beans that’s 2 cups in total — the foundation: soak-free method works fine in a slow cooker; just rinse and pick through.
- 4 cups vegetable stock or chicken stock or water — the cooking liquid; stock adds flavor, water works in a pinch.
- 1 small yellow onion diced — builds savory base; dice small so it softens during the long cook.
- 4 cloves garlic minced — garlic flavor distributes through the pot; mince it so it melds with the beans.
- 1 jalapeño sliced or diced — fresh heat and a touch of brightness; remove seeds to tame heat.
- 2 teaspoons ground cumin — earthy, warm backbone spice; do not skip.
- 1 teaspoon chili powder — gives rounded chili flavor and color.
- 1 teaspoon paprika — a hint of sweetness and color; smoked paprika can be used if you want a smokier note.
- 1 teaspoon kosher salt — seasons the beans as they cook; you can adjust at the end if needed.
Method: Crock Pot Pinto Beans
- Place the pinto beans in a colander and rinse under cold water, picking out and discarding any damaged beans or debris.
- Transfer the rinsed beans to a 6‑quart (or larger) slow cooker.
- Add the diced yellow onion, minced garlic, sliced or diced jalapeño, ground cumin, chili powder, paprika, and kosher salt to the slow cooker.
- Pour 4 cups vegetable stock (or chicken stock or water) over the beans and other ingredients and stir once to combine.
- Cover with the slow cooker lid and cook on LOW for 8–9 hours or on HIGH for 5–6 hours, until the beans are tender.
- Remove the lid, stir the beans, taste, and adjust seasonings if desired before serving.
Why Crock Pot Pinto Beans is Worth Your Time
Because the payoff is huge for very little active work. Dried beans are cheaper than canned, they taste fresher, and slow-cooking gives you a creamy interior and skins that hold up without splitting into mush. You get a deep, layered flavor from a few pantry spices and aromatics; the long, gentle heat lets the cumin, chili powder, and paprika infuse every bean.
They’re also versatile. The cooked beans become a main or a side, fold into casseroles, bulk up soups, or become the backbone of tacos and burritos. One pot yields a big batch you can eat straight away and repurpose for several meals. That kind of return makes the slow-cooker time worthwhile.
Healthier Substitutions
Small swaps let you control sodium, fat, and spice without sacrificing character.
- Use low-sodium vegetable or chicken stock instead of regular stock to cut salt while keeping flavor.
- Replace the jalapeño with a seeded poblano if you want milder heat but similar pepper flavor.
- Reduce the kosher salt by half during cooking and salt to taste at the end; this helps avoid over-salting if you use salty stock.
- If you avoid nightshades, omit the chili powder and paprika and boost with extra cumin plus a pinch of ground coriander for warmth.
Gear Checklist
- 6‑quart (or larger) slow cooker — roomy is better so liquid can circulate and beans can expand.
- Colander — for rinsing and picking through the dried beans.
- Cutting board and knife — for dicing onion and jalapeño.
- Measuring spoons and cup — to measure spices and liquid accurately.
- Wooden spoon or heatproof spatula — for stirring before and after cooking.
Learn from These Mistakes
Two things I see commonly: under-rinsing beans and rushing the cooking time. Rinsing removes dust, grit, and damaged beans; skip it and you’ll spend time picking debris later or notice an off texture. Rushing—trying to cook dried beans on too-high heat or for too short a time—results in beans that are split or still chalky inside.
Another frequent error: not tasting and adjusting at the end. Salt and spice distribute differently after long cooking; what seems right before can be flat afterwards. Always taste after the cook and add a pinch of salt, a squeeze of acid (if desired), or a dusting of extra spice to finish.
Make It Year-Round
These beans travel well through seasons. In cooler months, serve them warm with a drizzle of olive oil and a big scoop of cooked grains. In summer, cool the beans and toss them into a salad with chopped herbs and a bright vinaigrette. The slow cooker frees up stove space and keeps your kitchen cool in the heat of summer while still delivering comforting beans.
Batch-cook on a weekend and use the beans all week: mash some for a spread, reheat a bowl for lunch, or use them as a protein base for a grain bowl. They’re an easy way to add plant-based protein year-round without last-minute cooking stress.
Notes from the Test Kitchen
I tested this exact method with a 6‑quart slow cooker and ordinary dried pinto beans from several brands. Cook times can vary slightly by bean age and your particular slow cooker’s heat. If your beans are older, plan for the upper end of the cook times (8–9 hours on LOW). If you prefer a soupier result, increase the liquid by a half to one cup and stir near the end to release some of the starch.
I also tried a quick-soak version (boil beans for 2 minutes then let sit an hour) and found the difference minimal for texture when cooking low and slow. So for convenience, skipping the soak is fine here—just rinse and pick through the beans carefully.
Storing Tips & Timelines
Refrigerator
Cool the beans to room temperature, transfer to an airtight container, and store in the refrigerator for 3–4 days. Keep some of the cooking liquid with the beans so they stay moist when reheated.
Freezer
For longer storage, portion beans with some cooking liquid into freezer-safe containers or bags. Freeze for up to 3 months. Thaw overnight in the fridge before reheating, or reheat from frozen gently on the stovetop with a splash of water or stock to loosen them.
Quick Questions
- Do I need to soak the beans? No—this recipe is written for unsoaked beans. Rinse and pick through them first.
- Can I use canned pinto beans? You can, but cooking times and liquid amounts will change. Use canned beans if you’re short on time and reduce stock, since canned beans are already cooked.
- How do I know the beans are done? They should be tender all the way through with a creamy interior; test a few beans for uniform tenderness.
- My beans are too soupy—what now? Remove the lid and cook on HIGH for 20–30 minutes to reduce liquid, or mash a cup of the beans against the side of the pot to thicken the broth.
Serve & Enjoy
Serve these beans hot as a main with rice or alongside roasted vegetables. They also make a great filling for tacos or burritos and are excellent on a plate with chopped raw onion, a squeeze of citrus, and anything green you have on hand. Leftovers are perfect for lunches and are easy to reheat gently with a splash of stock or water.
Make a big pot, and you’ll have a versatile, comforting base for many meals. If you try this recipe, drop a note in the comments about how you served them—I always learn a new favorite combo from readers.

Crock Pot Pinto Beans
Ingredients
Ingredients
- ?1 pound 450 gdried pinto beansthat's 2 cups in total
- ?4 cupsvegetable stockor chicken stock or water
- ?1 smallyellow oniondiced
- ?4 clovesgarlicminced
- ?1 jalapeñosliced or diced
- ?2 teaspoonsground cumin
- ?1 teaspoonchili powder
- ?1 teaspoonpaprika
- ?1 teaspoonkosher salt
Instructions
Instructions
- Place the pinto beans in a colander and rinse under cold water, picking out and discarding any damaged beans or debris.
- Transfer the rinsed beans to a 6‑quart (or larger) slow cooker.
- Add the diced yellow onion, minced garlic, sliced or diced jalapeño, ground cumin, chili powder, paprika, and kosher salt to the slow cooker.
- Pour 4 cups vegetable stock (or chicken stock or water) over the beans and other ingredients and stir once to combine.
- Cover with the slow cooker lid and cook on LOW for 8–9 hours or on HIGH for 5–6 hours, until the beans are tender.
- Remove the lid, stir the beans, taste, and adjust seasonings if desired before serving.
Equipment
- Slow cooker6 quart or larger
Notes
Freezer:You can also freeze pinto beans in freezer Ziploc bags and lay them flat to save space, or freeze for up to 3 months in small portions.
Reheat:If your pinto beans are frozen, then you will need to thaw them in the fridge overnight. Reheat over the stovetop or in the microwave, and you’ll probably need to add a splash of water as the beans will be thickened when they’re cold.


