
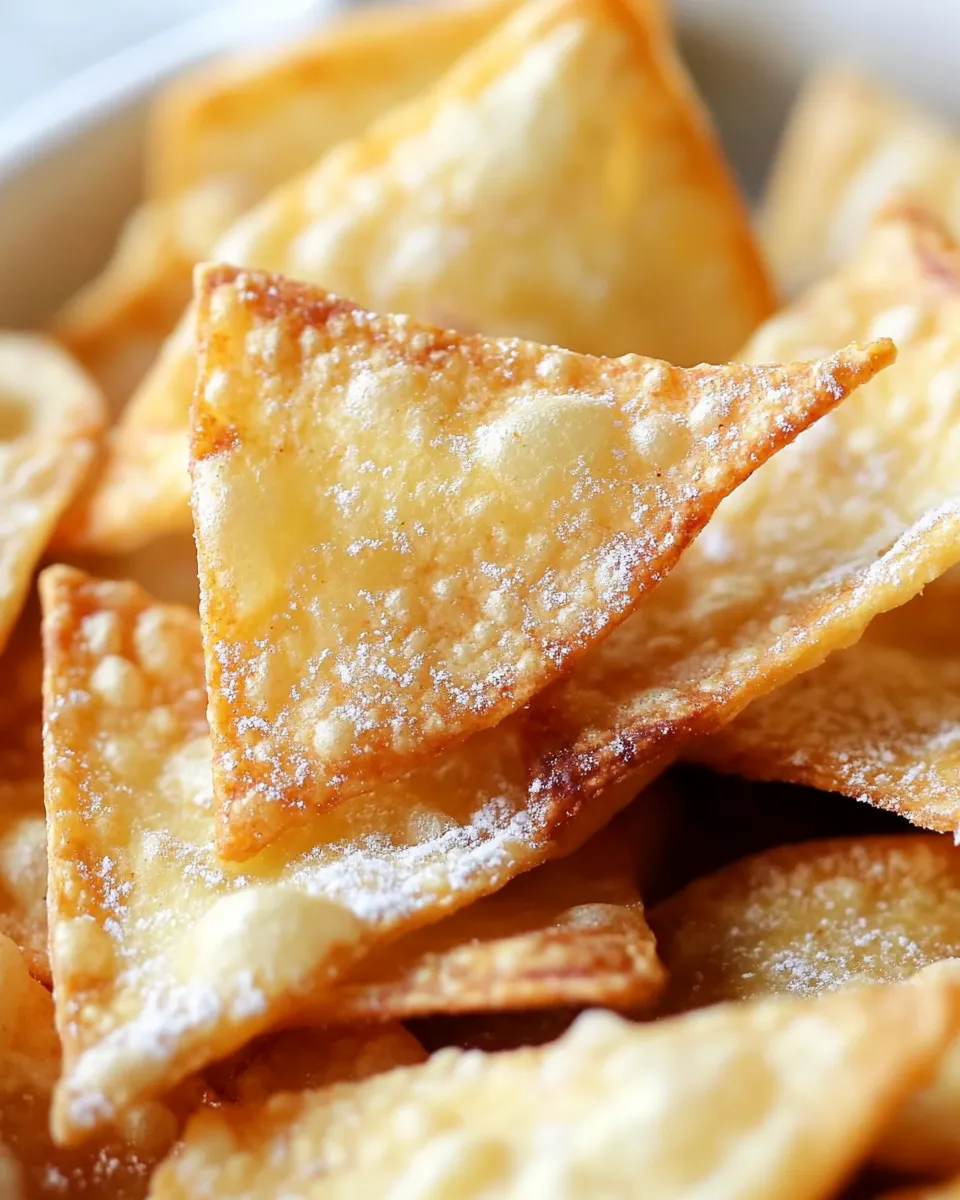
These fried tortilla chips are the kind of snack I reach for when I want salty, crisp comfort in minutes. They take ordinary tortillas and turn them into something addictive: thin, snappy wedges that hold up to dips and stand beautifully on their own. You don’t need fancy equipment, and the payoff is immediate — crunchy chips in under half an hour.
I lean toward the practical side when I make them: stack, cut, fry, salt, and serve. The method is straightforward, but there are a few small tricks that make the difference between limp chips and truly crisp ones. This post walks you through those details and gives the context you need to reproduce consistent results at home.
If you like control over texture and seasoning, this recipe delivers. It’s also forgiving: change the tortilla type, tweak the salt, and adjust the oil slightly and you’ll still end up with satisfying chips. Below you’ll find a clear ingredient rundown, step-by-step instructions (kept exactly as written), and practical notes about tools, storage, and common mistakes to avoid.
Ingredient Rundown
Ingredients
- 1 cup cooking oil — for frying; use a neutral, high-smoke-point oil listed in the source (canola, vegetable, peanut) or one of the options given (extra virgin olive oil, coconut oil) depending on your flavor and heat preference.
- 8 flour tortillas — or corn tortillas, cut into 8 wedges each; these are the base for your chips. Flour will be a bit softer, corn crisps up with a dry, grainier snap.
- 1 tablespoon coarse salt — or more if needed; seasons the chips while they’re still warm so it sticks and melts slightly into crevices.
- 1 teaspoon garlic powder — adds savory depth without moisture; distribute evenly while chips are warm.
- 1 teaspoon onion powder — brightens the overall flavor; pairs with garlic powder to mimic more complex seasoning blends.
From Start to Finish: Fried Tortilla Chips
- Stack the 8 tortillas and cut each into 8 wedges. Set the wedges aside.
- Pour the 1 cup cooking oil into a large skillet or frying pan so the oil reaches at least 1/4 inch depth in the pan. Heat over medium-high until the oil reaches about 350°F (175°C) or is hot enough that a small test piece sizzles and bubbles when added.
- Test the oil by frying one small tortilla piece. If it sizzles and the oil bubbles around it, the oil is ready. Adjust heat as needed.
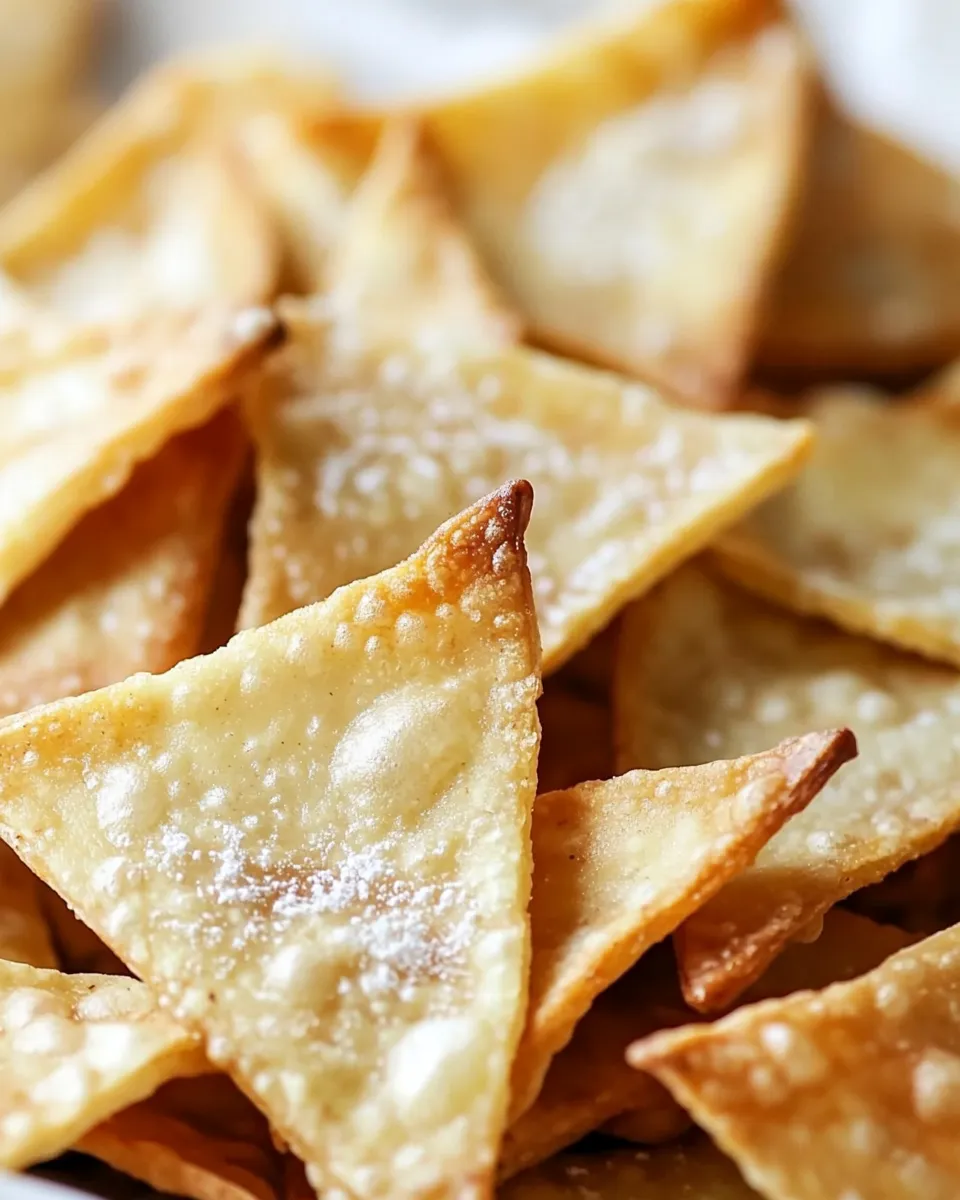
- Fry a few wedges at a time (do not overcrowd the pan), placing them carefully into the oil with metal tongs so they form an even layer. Fry, turning occasionally with a slotted spoon or tongs, until the chips are lightly browned and crisp, about 1–2 minutes per batch. If they brown too quickly, lower the heat and let the oil cool slightly before continuing.
- Use tongs or a slotted spoon to transfer cooked chips to a paper towel–lined plate. Blot excess oil with another sheet of paper towel, then transfer the chips to a dry, clean baking sheet or serving platter to keep them crisp.
- Repeat steps 4–5 with the remaining wedges until all chips are cooked.
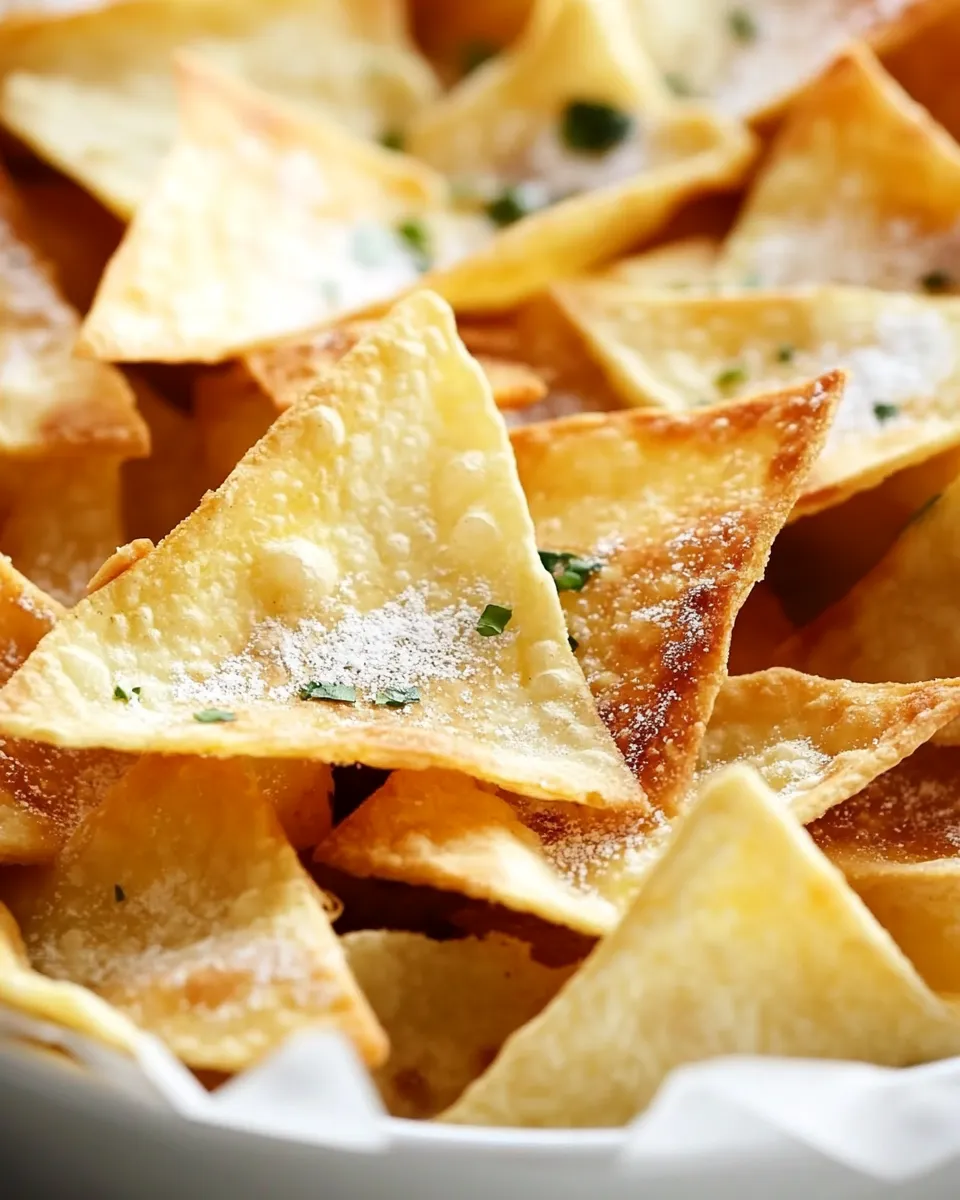
- While the chips are still warm, sprinkle evenly with 1 tablespoon coarse salt (or more if needed), 1 teaspoon garlic powder, and 1 teaspoon onion powder. Toss or shake gently to coat.
Why It Deserves a Spot
Fried tortilla chips earn a permanent place in my kitchen rotation because they’re fast, flexible, and reliable. They take pantry staples — tortillas and oil — and convert them into something wholly new. The texture is the star: snappy shards that snap cleanly, which is incredibly satisfying whether you’re scooping up a dip or sprinkling pieces over a salad or soup for crunch.
They’re also an economical solution. Store-bought chips are fine, but making them yourself means you control thickness, seasoning, and freshness. Warm chips have a mouthfeel store-bought versions can’t match. When you need a quick party snack or a last-minute accompaniment, these chips come together with minimal fuss and maximum reward.
Dairy-Free/Gluten-Free Swaps
Good news first: the recipe as written is dairy-free. The seasoning and frying use no dairy, so it’s already suitable for anyone avoiding milk products.
For gluten-free needs, the critical choice is the tortilla. Use certified corn tortillas to ensure the chips are gluten-free. Flour tortillas contain wheat and are not suitable for a gluten-free diet unless specifically labeled gluten-free. Oil choices listed in the ingredients are also naturally dairy-free and don’t introduce gluten.
If you’re avoiding a specific oil for allergy or flavor reasons, pick from the oils mentioned in the ingredient list. The method remains the same regardless of which of those oils you use.
Toolbox for This Recipe
- Large skillet or frying pan — wide, shallow pans work best for a 1/4-inch oil depth and even heat distribution.
- Metal tongs — essential for placing and turning wedges safely without splashing.
- Slotted spoon — helps lift chips and drain excess oil during frying.
- Paper towels and a paper towel–lined plate — for initial draining and blotting to remove surface oil.
- Dry, clean baking sheet or serving platter — to keep chips crisp after frying.
- Instant-read thermometer (optional) — handy if you want to reach and maintain the ~350°F (175°C) target precisely.
Errors to Dodge
- Overcrowding the pan — adding too many wedges at once drops the oil temperature and creates greasy, soggy chips. Fry in small batches so pieces move freely and cook quickly.
- Oil too hot or too cool — if the oil is too cool, chips soak up oil and become heavy; too hot and they brown on the outside before crisping. Aim for steady frying and test with a small piece first.
- Skipping the blot — not blotting excess oil leaves surface oil that will quickly make chips limp. Use a second paper towel sheet to press gently and remove oil.
- Seasoning too late — if you wait until chips are completely cool to salt, the seasoning won’t adhere well. Season while warm so it adheres and melts slightly.
How to Make It Lighter
If you want a lighter chip while keeping the basic approach, a few smart moves help. Keep the oil temperature steady and fry just until color changes; over-frying will make pieces darker and heavier. Blot thoroughly and transfer to a wire rack or dry sheet to allow excess oil to drain away.
For a lower-fat option without frying, you can bake wedges on a sheet until crisp. Arrange pieces in a single layer, brush or mist lightly with oil (a thin coating), and bake at a high temperature until golden, turning once. The texture will be different — a bit drier and less uniformly bubbled — but still crunchy.
Recipe Notes & Chef’s Commentary
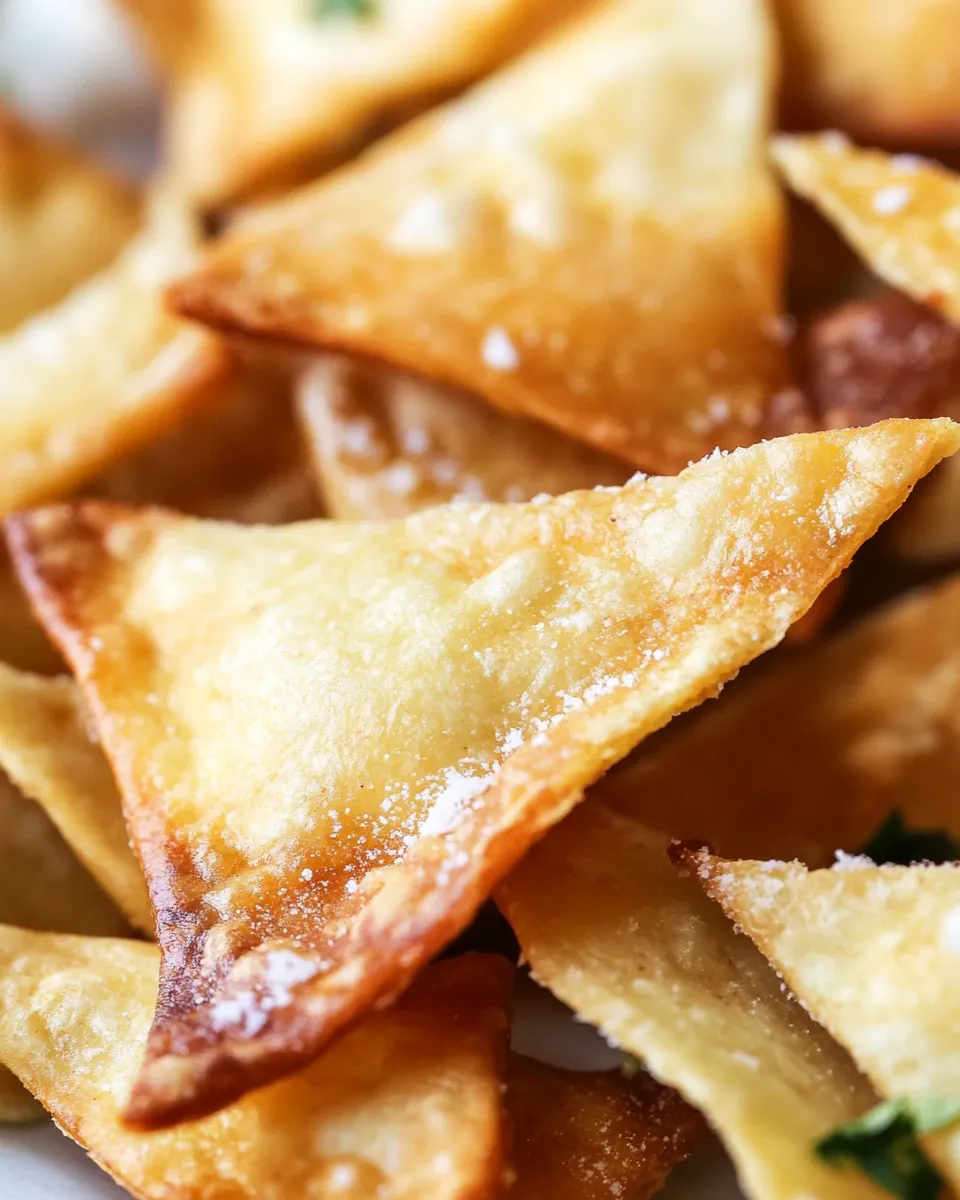
Tortilla choice matters. Corn tortillas give you that classic chip crunch and slightly grainy texture; flour tortillas yield a smoother, paler chip that still crisps but with a different bite. Stack your tortillas cleanly before cutting so wedges are uniform in size. That uniformity keeps frying consistent.
Use the seasonings provided and taste as you go. The 1 tablespoon coarse salt is a baseline; adjust up if you like saltier snacks. Garlic and onion powders are powdered seasonings that cling well to warm chips and offer immediate savory notes without adding moisture. Toss gently to avoid breaking fragile chips.
Keep an eye on oil quality. If oil smokes excessively or develops off-flavors after use, discard it. One cup of oil is ample for multiple batches here; if you plan to fry frequently, use oil you’d be comfortable reusing after straining and cooling.
How to Store & Reheat
Store completely cooled chips in an airtight container at room temperature. Kept dry and sealed, they’ll stay crisp for a few days. Humidity is the enemy — avoid storing them in a warm, steamy kitchen or near the stove while you’re cooking other things.
To re-crisp chips that have softened, spread them on a baking sheet and warm in a moderate oven for a few minutes until they regain texture. A quick toss in a dry skillet over medium heat also revives crunch. Avoid microwaving; that tends to steam them and makes them limp.
Quick Q&A
- Q: Can I use flavored tortillas? A: Yes; flavored tortillas will give chips extra taste. Keep an eye on browning since some flavored types may color faster.
- Q: How do I know the oil is ready without a thermometer? A: Fry a small test piece and watch for sizzling and steady bubbles — that’s the practical readiness check used in this method.
- Q: Can I reuse the frying oil? A: You can, if it’s clean after straining and hasn’t been overheated. Store cooled, strained oil in a sealed container and reuse once or twice for similar frying tasks.
- Q: Why do my chips go limp after storage? A: Moisture. Exposure to air and humidity softens the crystalline crisp. Cool completely before storing in an airtight container to minimize softness.
Hungry for More?
If these chips become a habit, experiment with tortilla types and thicknesses to find your favorite snap. They make a quick base for snacks and apps — pair with your preferred dips and toppings, or crumble them over warm soups and salads for texture. Small steps — a steady oil temperature, even wedges, and prompt seasoning — make all the difference. Try this the next time you need a fast, dependable crunchy bite.
Fried Tortilla Chips
Ingredients
Ingredients
- 1 cupcooking oilfor frying canola oil, vegetable oil, extra virgin olive oil, peanut oil, coconut oil
- 8 flour tortillasor corn tortillas cut into 8 wedges each
- 1 tablespooncoarse saltor more if needed
- 1 teaspoongarlic powder
- 1 teaspoononion powder
Instructions
Instructions
- Stack the 8 tortillas and cut each into 8 wedges. Set the wedges aside.
- Pour the 1 cup cooking oil into a large skillet or frying pan so the oil reaches at least 1/4 inch depth in the pan. Heat over medium-high until the oil reaches about 350°F (175°C) or is hot enough that a small test piece sizzles and bubbles when added.
- Test the oil by frying one small tortilla piece. If it sizzles and the oil bubbles around it, the oil is ready. Adjust heat as needed.
- Fry a few wedges at a time (do not overcrowd the pan), placing them carefully into the oil with metal tongs so they form an even layer. Fry, turning occasionally with a slotted spoon or tongs, until the chips are lightly browned and crisp, about 1–2 minutes per batch. If they brown too quickly, lower the heat and let the oil cool slightly before continuing.
- Use tongs or a slotted spoon to transfer cooked chips to a paper towel–lined plate. Blot excess oil with another sheet of paper towel, then transfer the chips to a dry, clean baking sheet or serving platter to keep them crisp.
- Repeat steps 4–5 with the remaining wedges until all chips are cooked.
- While the chips are still warm, sprinkle evenly with 1 tablespoon coarse salt (or more if needed), 1 teaspoon garlic powder, and 1 teaspoon onion powder. Toss or shake gently to coat.
Equipment
- Large skillet or frying pan
- metal tongs
- Slotted spoon
- Paper Towels
- Baking Sheet
Notes
Tips:
Tortilla chips fry up better when they are day old or a little dry. Leave tortillas out uncovered and unwrapped overnight so they are dry the day of cooking.


