
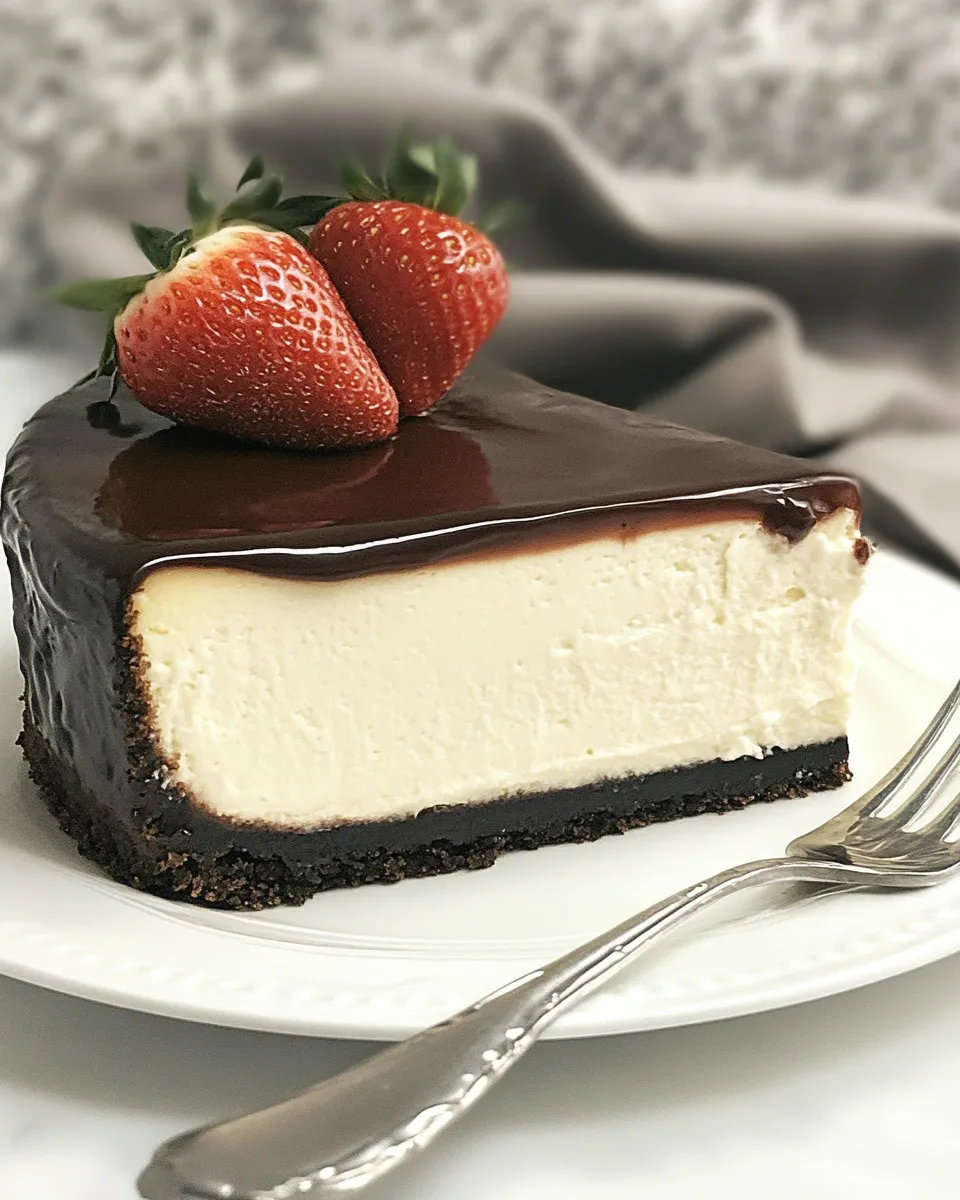
This cheesecake is the sort of dessert I make when I want something that looks refined but doesn’t demand fuss. The base recipe is straightforward: a buttery wafer crust, a silky, dense cream cheese filling, and a final chilling step that rewards patience. I top mine with a glossy ganache just before serving, which adds a clean, chocolate finish that cuts the richness beautifully.
I write recipes I actually cook, not theoretical ones. The steps below are practical and tested; they respect timing, temperature, and technique. Expect gentle reminders about room-temperature dairy, careful mixing, and the one trick that keeps a cheesecake from cracking: the water bath.
You’ll find the ingredient list lifted from the original method, clear step-by-step baking instructions, and plenty of notes for substitutions, equipment, and common slip-ups to avoid. If you want the cheesecake to look like it came from a bakery, follow the bake and chill guidance closely. The rest is styling — and I’ll give pointers for that, too.
The Ingredient Lineup
Ingredients
- 1½ cups Nabisco Famous Wafer crumbs (these have been discontinued so use Oreo or graham cracker crumbs instead). — The base and texture for the crust; swap in a similar crumb if needed.
- 1 tablespoon sugar — Adds a touch of sweetness to balance the crust.
- 6 tablespoons melted butter — Binds the crumbs and gives the crust its buttery flavor and structure.
- Four 8-ounce packages Philadelphia cream cheese, at room temperature — The main structure and flavor of the filling; room temp ensures a smooth batter.
- 1⅔ cups sugar — Sweetens the filling and helps with texture; split across steps per directions.
- ¼ cup cornstarch — Stabilizes the filling so it sets cleanly and holds shape.
- 1 tablespoon vanilla extract — For aroma and background flavor.
- 2 large or extra-large eggs, at room temperature — Provide structure and silkiness; room temperature prevents curdling when added.
- ¾ cup heavy whipping cream — Lightens the batter just enough and adds richness without making it runny.
Ganache Topped Cheesecake: From Prep to Plate
Step-by-step
- Preheat the oven to 350°F (175°C).
- Make the crust: in a bowl combine 1½ cups Nabisco Famous Wafer crumbs, 1 tablespoon sugar, and 6 tablespoons melted butter. Press the mixture firmly and evenly onto the bottom of a 9-inch springform pan.
- Bake the crust at 350°F for 8 minutes. Remove from the oven and let the crust cool on a wire rack. Keep the oven set to 350°F for the cheesecake.
- In a large bowl, fit an electric mixer with the paddle attachment. On low speed, beat one 8-ounce package Philadelphia cream cheese, 1/3 cup of the sugar, and 1/4 cup cornstarch together until smooth and creamy, about 3 minutes, scraping down the bowl once or twice.
- Add the remaining three 8-ounce packages of cream cheese one at a time, beating well and scraping down the bowl after each addition.
- Increase the mixer speed to medium and beat in the remaining sugar (1 1/3 cups). Add 1 tablespoon vanilla extract and mix until combined.
- Add the 2 eggs (large or extra-large), one at a time, beating well after each egg is added.
- Add 3/4 cup heavy whipping cream and mix only until the batter is completely blended. Do not overmix.
- Scrape the batter into the cooled crust and smooth the top. Wrap the sides of the springform pan in a double layer of aluminum foil to prevent water from seeping in.
- Place the wrapped springform pan in a large shallow pan. Pour hot water into the outer pan so it comes about 1 inch up the side of the springform (water bath).
- Bake at 350°F until the edges are light golden brown, the top is light gold, and the center barely jiggles when the pan is gently shaken, about 1 hour 15 minutes. If the top still seems uniformly soft, bake 10 minutes longer.
- Carefully remove the springform from the water bath, unwrap and discard the foil, and transfer the pan to a wire rack. Let the cheesecake cool on the rack for 2 hours.
- After cooling, refrigerate the cheesecake until fully cold before serving.
Why Ganache Topped Cheesecake is Worth Your Time
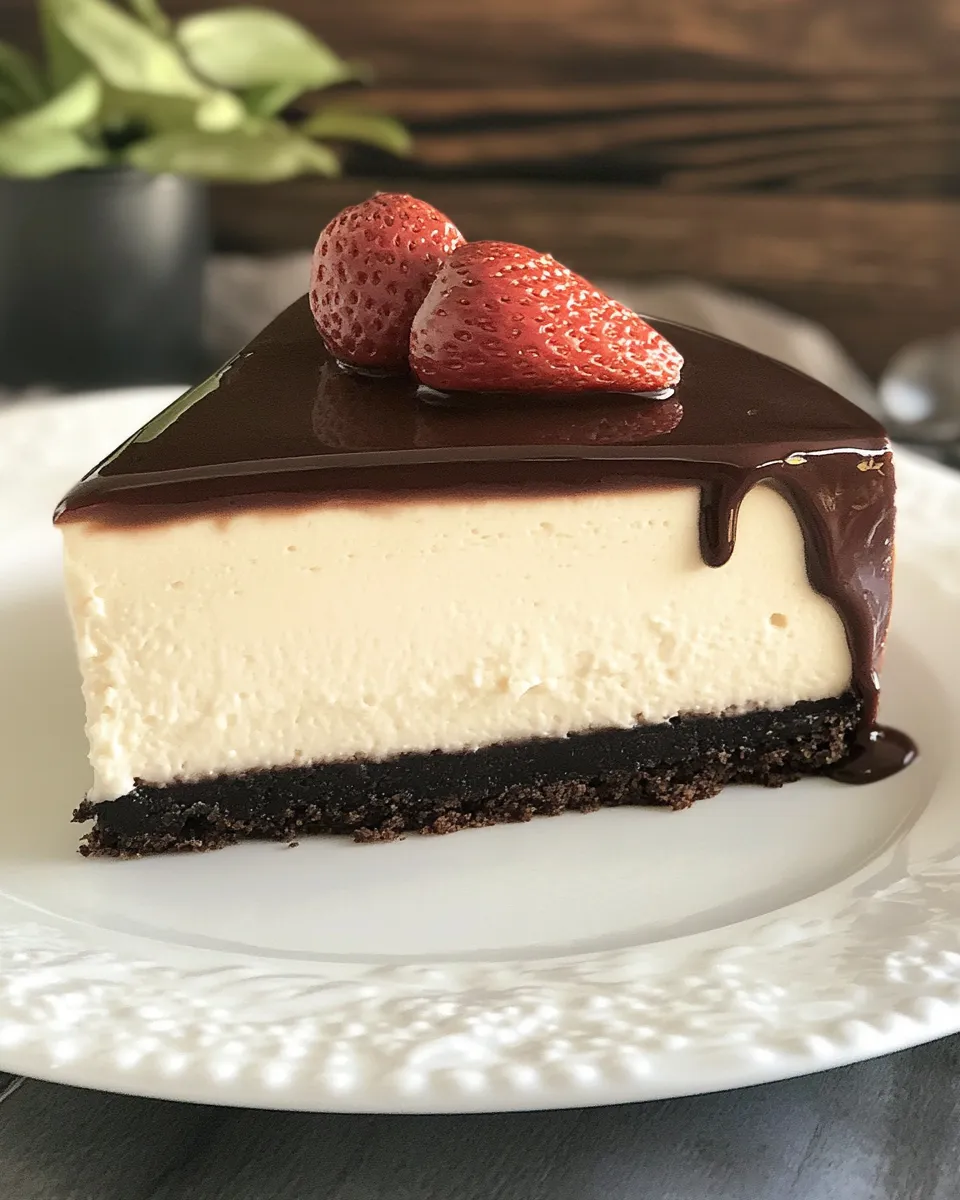
This version rewards patience and small technical details. The combination of a dense, creamy filling and a crisp, buttery crust is timeless. The cornstarch in the filling is the quiet hero: it stabilizes and produces those neat, clean slices you want when serving guests. The water bath, another non-negotiable step, evens heat and prevents the top from cracking.
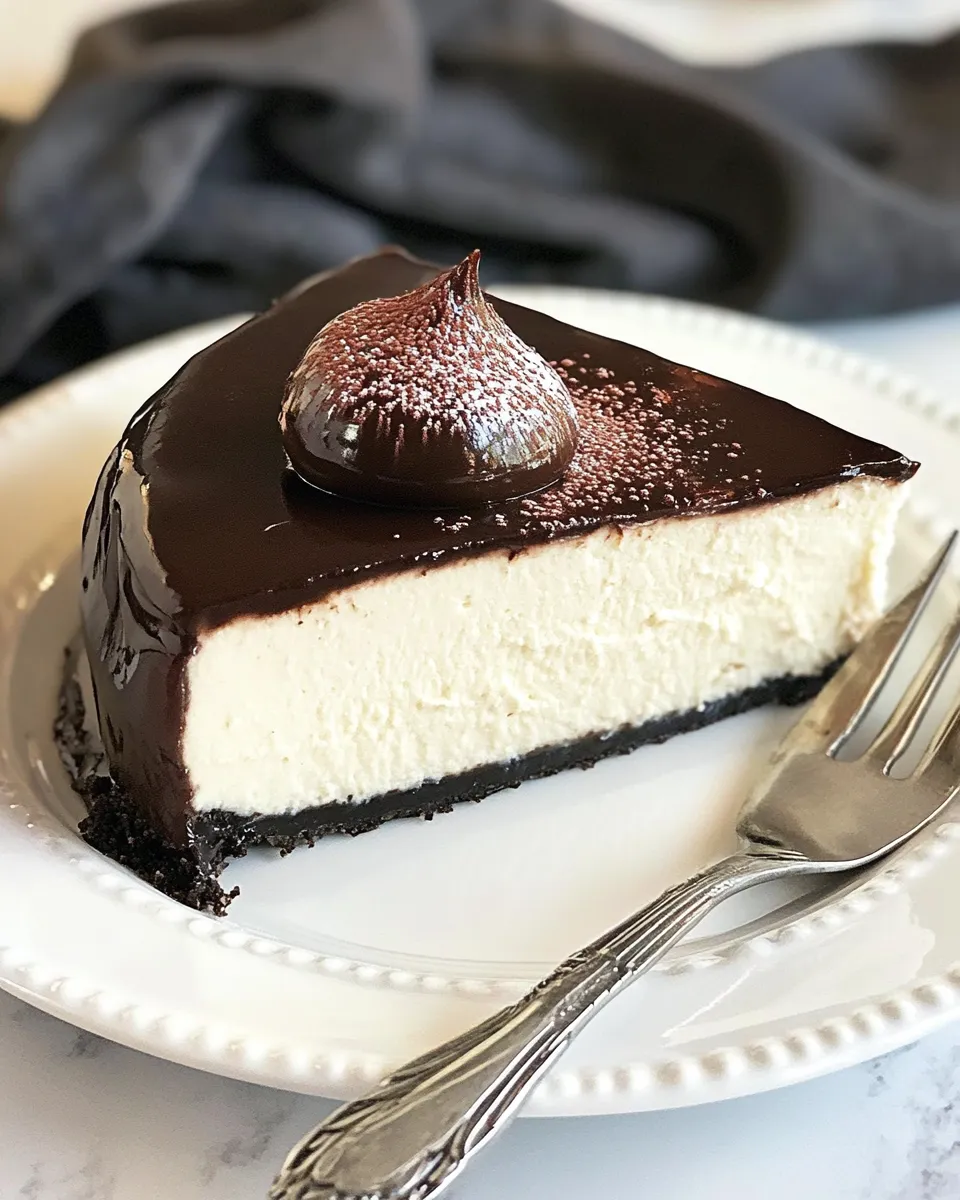
Finish with ganache—glossy, slightly bitter dark chocolate—so the richness of the cream cheese doesn’t feel one-note. A sheen of chocolate adds contrast in both flavor and texture, and it instantly elevates the presentation. In short: the work is mostly low-effort technique, not staring at the oven, and the payoff is reliably elegant.
Ingredient Flex Options
Keep substitutions conservative so the chemistry of the cake stays intact.
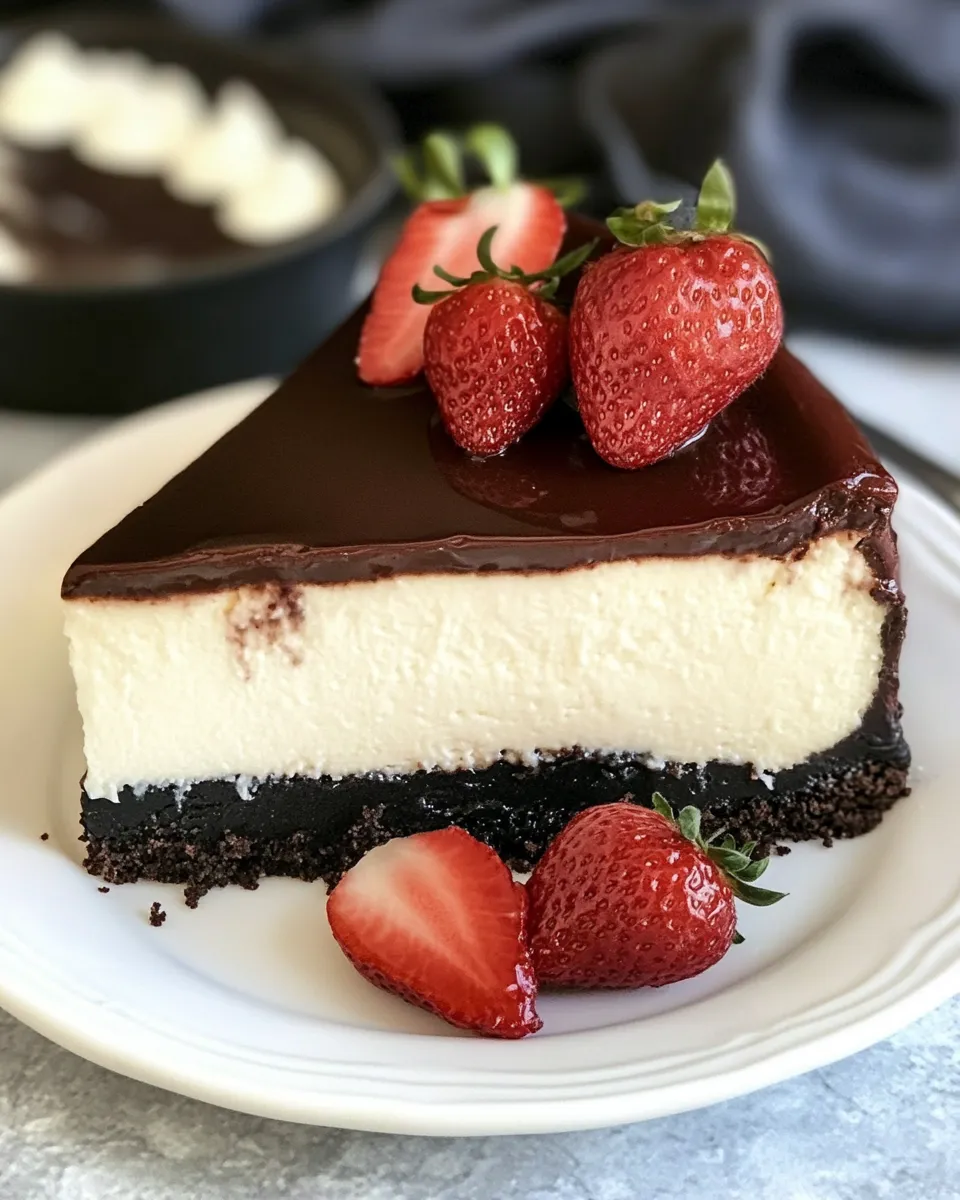
- Crust swap: The recipe notes that Nabisco Famous Wafer crumbs are discontinued. Use Oreo crumbs for a chocolate crust or graham cracker crumbs for a classic flavor; both are acceptable substitutes and adjust the sweetness expectation accordingly.
- Eggs: The method allows for large or extra-large eggs; use what you have but stick to two eggs so texture remains as intended.
- Room temperature dairy: This isn’t a substitution but a technique note — use room-temperature cream cheese and eggs for a lump-free batter.
Equipment Breakdown
Here’s what you’ll want on hand before you start. Having everything ready streamlines the process and reduces the chance of overworking the batter.
- 9-inch springform pan — necessary for easy release and presentation.
- Electric mixer with paddle attachment — for a smooth, lump-free filling.
- Mixing bowls and rubber spatula — for scraping and folding.
- Measuring cups and spoons — precise sugar and cornstarch measurements matter.
- Wire rack — for cooling the cheesecake evenly.
- Large shallow pan — to hold the water bath during baking.
- Aluminum foil — wrapped around the springform to protect from water.
Slip-Ups to Skip
There are a handful of predictable mistakes that make a big difference in the final cheesecake. Here are the ones to avoid.
- Cold cream cheese: If the cream cheese isn’t fully at room temperature you’ll get a lumpy batter and may overmix trying to smooth it. Bring packages out 1–2 hours before starting.
- Overmixing after eggs: Once eggs go in, mix just until combined. Overmixing incorporates air and can cause the filling to puff and crack.
- Skipping the foil wrap: A leaky water bath means a soggy crust. Double-wrap the springform sides and run the foil up high enough to protect seams.
- Rushing the cooling: The recipe calls for two hours on a rack and then refrigeration. Cutting those times short yields a cheesecake that won’t slice cleanly.
Holiday & Seasonal Touches
Ganache Topped Cheesecake is a great base for seasonal accents. In winter, a scattering of chopped toasted nuts and a light dusting of sea salt adds texture and a nutty contrast to the chocolate. In summer, top with fresh berries or a berry compote for brightness and acidity. A thin ribbon of citrus zest across each slice refreshes the palate and pairs well with chocolate.
For holidays, use festive garnishes — candied citrus for the holidays, edible flowers in spring, or a generous swirl of whipped cream and chocolate shavings for a birthday table. The key is to add accents that contrast the richness rather than bury it.
Recipe Notes & Chef’s Commentary
Small technique decisions make a big difference.
- Room temperature ingredients: This is not optional. Room-temp cream cheese and eggs make for a silky batter with minimal mixing.
- The mixer: Use the paddle attachment, not the whisk. The paddle gives structure without whipping in air.
- Texture cues: The baked cheesecake should have edges that are set and a center that barely jiggles — that wobble is the sign it will set properly as it cools.
- Water bath details: Pour hot water into the outer pan so it reaches about 1 inch up the side of the springform; this moderates oven temperature and reduces cracking.
- Ganache finish: Since the original recipe steps end with refrigeration, add ganache only once the cake is fully cold to prevent the chocolate from melting or running.
Cooling, Storing & Rewarming
Cooling and chilling are part of the bake — not optional downtime.
- Initial cooling: Transfer the cheesecake to a wire rack and cool at room temperature for 2 hours. This prevents thermal shock and allows the interior to set gently.
- Refrigeration: After the initial cool, refrigerate until fully cold before serving. Chilling improves texture and makes for cleaner slices.
- Storage: Store in the refrigerator, covered, for up to 4–5 days. If you cover directly with plastic wrap, press it gently to avoid marring the ganache if you’ve already topped it.
- Freezing: You can freeze slices wrapped tightly; thaw in the refrigerator overnight. Note: texture can change slightly with freezing.
- Rewarming: Cheesecake is best served cold or at cool room temperature. If you want a slightly softer slice, let it sit at room temperature for 20–30 minutes before serving.
Ganache Topped Cheesecake FAQs
Quick answers to the questions I get most often.
- Can I skip the water bath? You can, but expect a greater risk of cracks and a less even bake. The water bath is worth the extra step if you want a smooth top.
- Why use cornstarch? Cornstarch stabilizes the filling so it sets firmly without tasting starchy; it helps create those clean slices.
- When to add ganache? Only after the cheesecake is fully chilled. Apply a smooth, room-temperature ganache, then chill briefly so it sets.
- How do I get a glossy ganache? Use a ganache recipe that reaches a pourable but slightly thick consistency, and pour it onto a cold, fully chilled cake so it firms with a shine. (Note: the base recipe here ends with a chilled plain cheesecake; add ganache as a final finishing step.)
- Can I make this ahead? Yes. Baked and chilled cheesecake can be made a day in advance. Add ganache the day of serving for best presentation.
In Closing
Follow the technique, respect the cooling times, and you’ll have a reliably beautiful cheesecake that slices well and tastes rich without being heavy. The structure in this recipe comes from simple, deliberate decisions: room-temperature ingredients, measured sugar and cornstarch, gentle mixing, and a water bath. Top with ganache just before serving for a restaurant-worthy finish.
If you try it, let me know how you garnish it — I love seeing what people pair with this base. Simple touches make a big difference: fresh berries, a sprinkle of sea salt, or just a clean ring of ganache around each slice. Happy baking.

Ganache Topped Cheesecake
Ingredients
Ingredients
- 1 1/2 cups Nabisco Famous Wafer crumbs these have been discontinued so use Oreo or graham cracker crumbs instead.
- 1 tablespoon sugar
- 6 tablespoons melted butter
Cheesecake
- Four 8-ounce packages Philadelphia cream cheese at room temperature
- 1 2/3 cups sugar
- 1/4 cup cornstarch
- 1 tablespoon vanilla extract
- 2 large or extra-large eggs at room temperature
- 3/4 cup heavy whipping cream
Instructions
Instructions
- Preheat the oven to 350°F (175°C).
- Make the crust: in a bowl combine 1½ cups Nabisco Famous Wafer crumbs, 1 tablespoon sugar, and 6 tablespoons melted butter. Press the mixture firmly and evenly onto the bottom of a 9-inch springform pan.
- Bake the crust at 350°F for 8 minutes. Remove from the oven and let the crust cool on a wire rack. Keep the oven set to 350°F for the cheesecake.
- In a large bowl, fit an electric mixer with the paddle attachment. On low speed, beat one 8-ounce package Philadelphia cream cheese, 1/3 cup of the sugar, and 1/4 cup cornstarch together until smooth and creamy, about 3 minutes, scraping down the bowl once or twice.
- Add the remaining three 8-ounce packages of cream cheese one at a time, beating well and scraping down the bowl after each addition.
- Increase the mixer speed to medium and beat in the remaining sugar (1 1/3 cups). Add 1 tablespoon vanilla extract and mix until combined.
- Add the 2 eggs (large or extra-large), one at a time, beating well after each egg is added.
- Add 3/4 cup heavy whipping cream and mix only until the batter is completely blended. Do not overmix.
- Scrape the batter into the cooled crust and smooth the top. Wrap the sides of the springform pan in a double layer of aluminum foil to prevent water from seeping in.
- Place the wrapped springform pan in a large shallow pan. Pour hot water into the outer pan so it comes about 1 inch up the side of the springform (water bath).
- Bake at 350°F until the edges are light golden brown, the top is light gold, and the center barely jiggles when the pan is gently shaken, about 1 hour 15 minutes. If the top still seems uniformly soft, bake 10 minutes longer.
- Carefully remove the springform from the water bath, unwrap and discard the foil, and transfer the pan to a wire rack. Let the cheesecake cool on the rack for 2 hours.
- After cooling, refrigerate the cheesecake until fully cold before serving.
Equipment
- 9-inch springform pan
- electric mixer with paddle attachment
- large shallow pan (for water bath)
- Wire Rack
- Aluminum Foil
- Oven


