
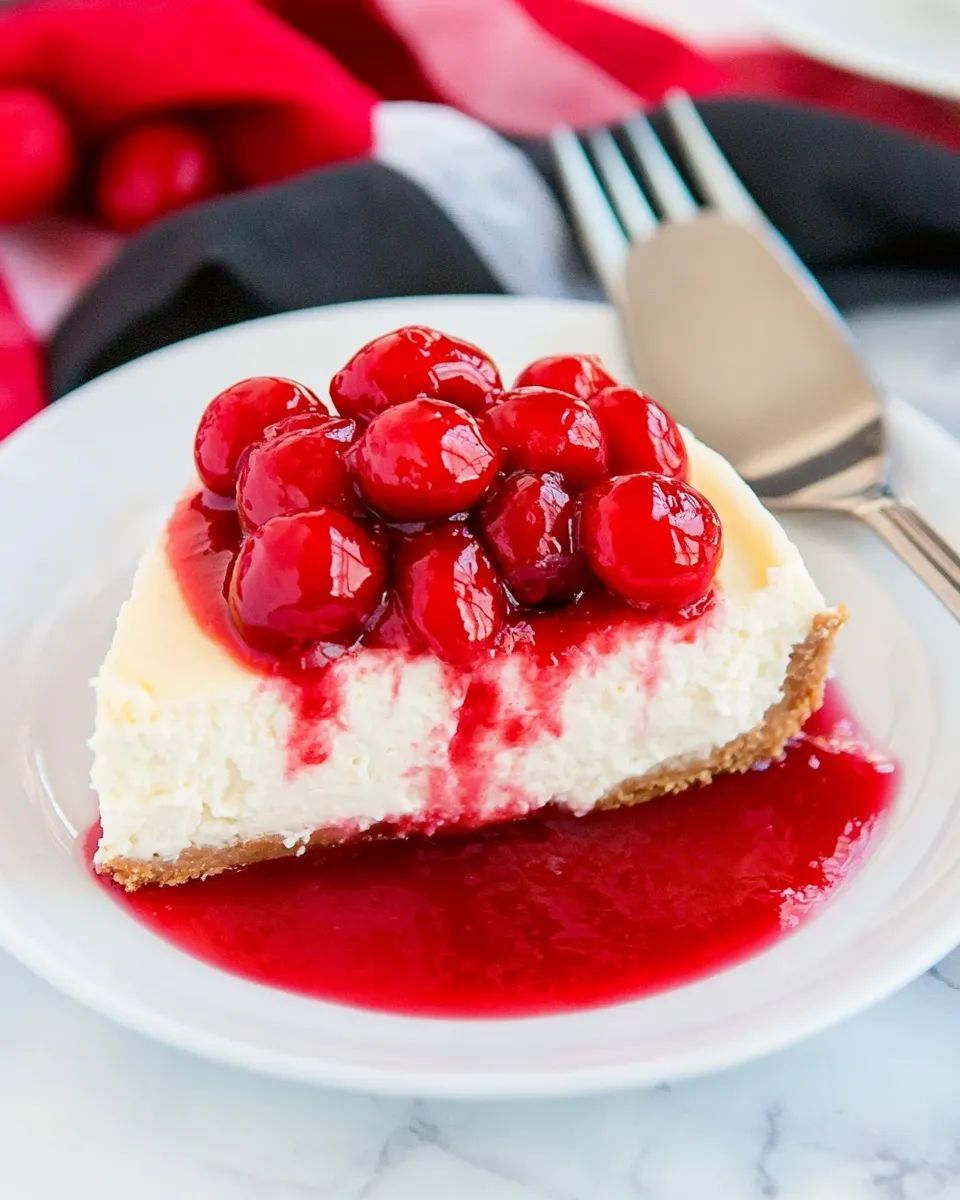
I make this low-carb cheesecake when I want something rich and satisfying without the heaviness of a sugar-loaded dessert. It’s straightforward, forgiving, and relies on a few key steps to get a velvety, dense texture that feels indulgent but stays low on carbs. The cherry topping is optional, but it’s the familiar finish that sells this as a proper dessert instead of a health food compromise.
Read through the notes before you start. A few small habits — bringing the cream cheese to room temperature, mixing slowly, and giving the cake plenty of chill time — make all the difference. I’ll walk you through each step, explain why the technique matters, and share realistic tips so your first bake looks and tastes like it came from a bakery.
Ingredient Notes
This recipe keeps the ingredient list short and focused. Each component has a clear job: full-fat cream cheese gives structure and flavor; eggs set the custard; sour cream adds silkiness; Monkfruit Sweetener sweetens without sugar; lemon juice brightens the batter; and the cherry topping gives the classic contrast of sweet-tart fruit. Stick to the exact ingredients and amounts listed below for the outcome you expect.
If you’re reading only one note before you start: plan for chilling time. The cheesecake needs to cool, then set in the refrigerator, so factor that into your schedule. The result is worth the wait — the texture firms up and the flavors meld into a satisfying slice.
Ingredients
- three 8 oz. packages cream cheese — the base of the batter; room temperature ensures a lump-free mix.
- 4 large eggs — they set the cheesecake and give it structure; add one at a time for an even batter.
- 3/4 cup sour cream — adds moisture and gives a tender, creamy texture.
- 1/2 cup + 2 T granulated Monkfruit Sweetener (see notes) — provides sweetness without sugar; adjust slightly if you prefer less sweet.
- 2 T fresh-squeezed lemon juice (see notes) — brightens and balances the richness; fresh is best for clear flavor.
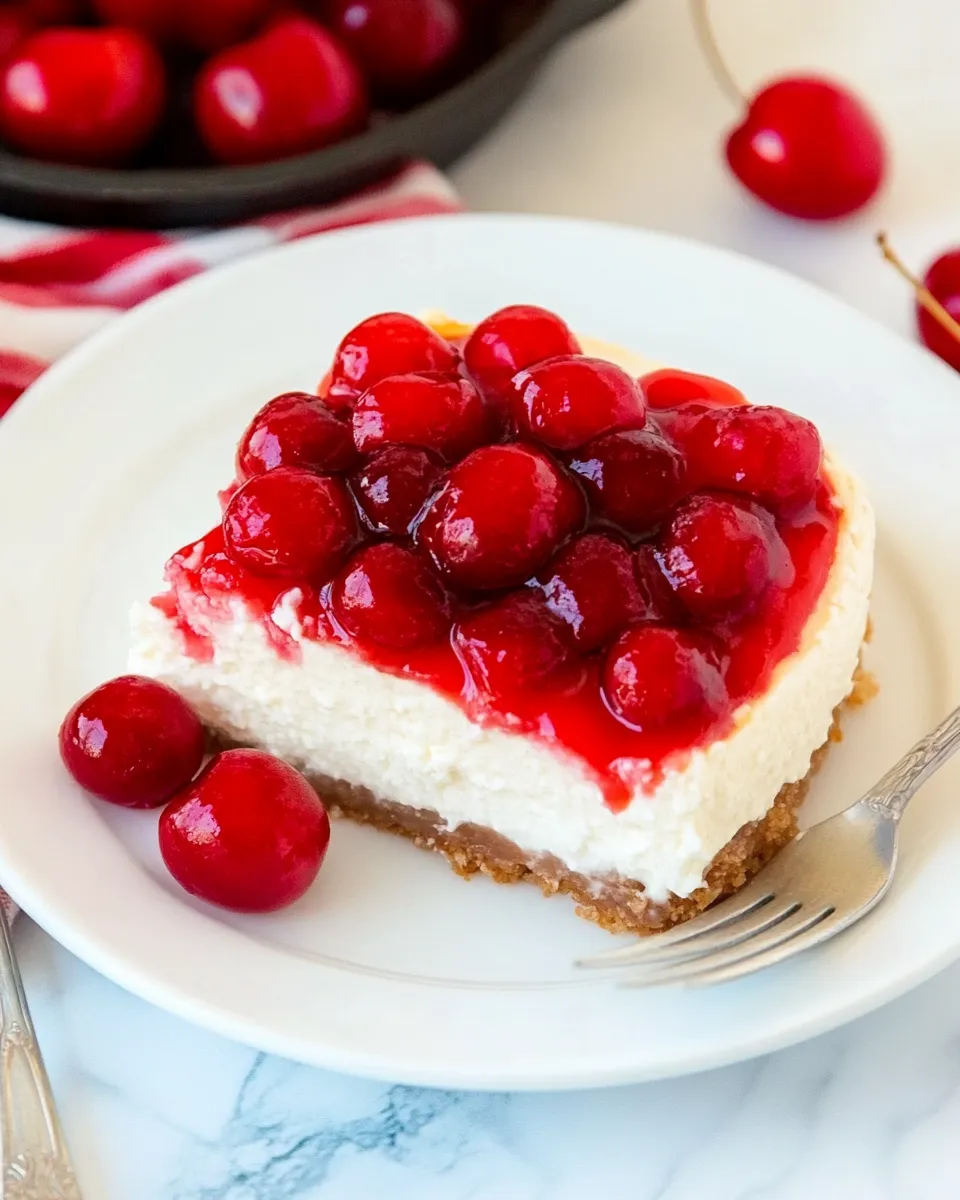
- one 20 oz. can no-sugar added cherry pie filling or fresh berries for topping — the finishing touch; canned filling is convenient, fresh berries keep carbs lower and taste lighter.
Low-Carb Cheesecake with Cherry Topping: Step-by-Step Guide
- Remove 3 (8-oz.) packages cream cheese from the refrigerator and let them come to room temperature for at least 1 hour.
- Preheat the oven to 350°F (175°C).
- Place the room-temperature cream cheese in a large bowl. Using a hand mixer on low speed, beat the cream cheese until smooth and free of lumps.
- Add 4 large eggs one at a time, mixing on low–medium speed and scraping the bowl as needed. Mix each egg in until fully incorporated before adding the next.
- Add 3/4 cup sour cream, 1/2 cup + 2 tablespoons granulated Monkfruit Sweetener, and 2 tablespoons fresh-squeezed lemon juice. Mix just until the batter is smooth and homogenous.
- Spray a 9-inch springform pan or a 9-inch square glass casserole dish with non-stick spray. Pour the batter into the prepared pan and smooth the top with a spatula.
- Bake for about 45 minutes, or until the edges are set and the center is just barely firm when gently pressed (the center may still jiggle slightly).
- Remove the cheesecake from the oven and let it cool on the counter for about 30 minutes.
- Cover the cooled cheesecake with plastic wrap and chill in the refrigerator for several hours (until well chilled and fully set).
- Before serving, spoon no-sugar-added cherry pie filling from the 20-oz. can or fresh berries over the chilled cheesecake.
Why It Works Every Time
Three simple principles drive consistent results: temperature control, gentle mixing, and patience. Room-temperature cream cheese blends smoothly with minimal effort. If it’s cold, you’ll end up overworking the batter to break down lumps, and that introduces air. Air bubbles expand in the oven and can cause cracking or an uneven surface.
Mixing slowly and adding eggs one at a time keeps the batter homogenous without whipping in excess air. The low–medium speed and scraping of the bowl are deliberate: they ensure even incorporation while maintaining a dense, creamy custard. Sour cream and lemon juice don’t just add tang; they fine-tune the mouthfeel and prevent the cheesecake from becoming cloying.
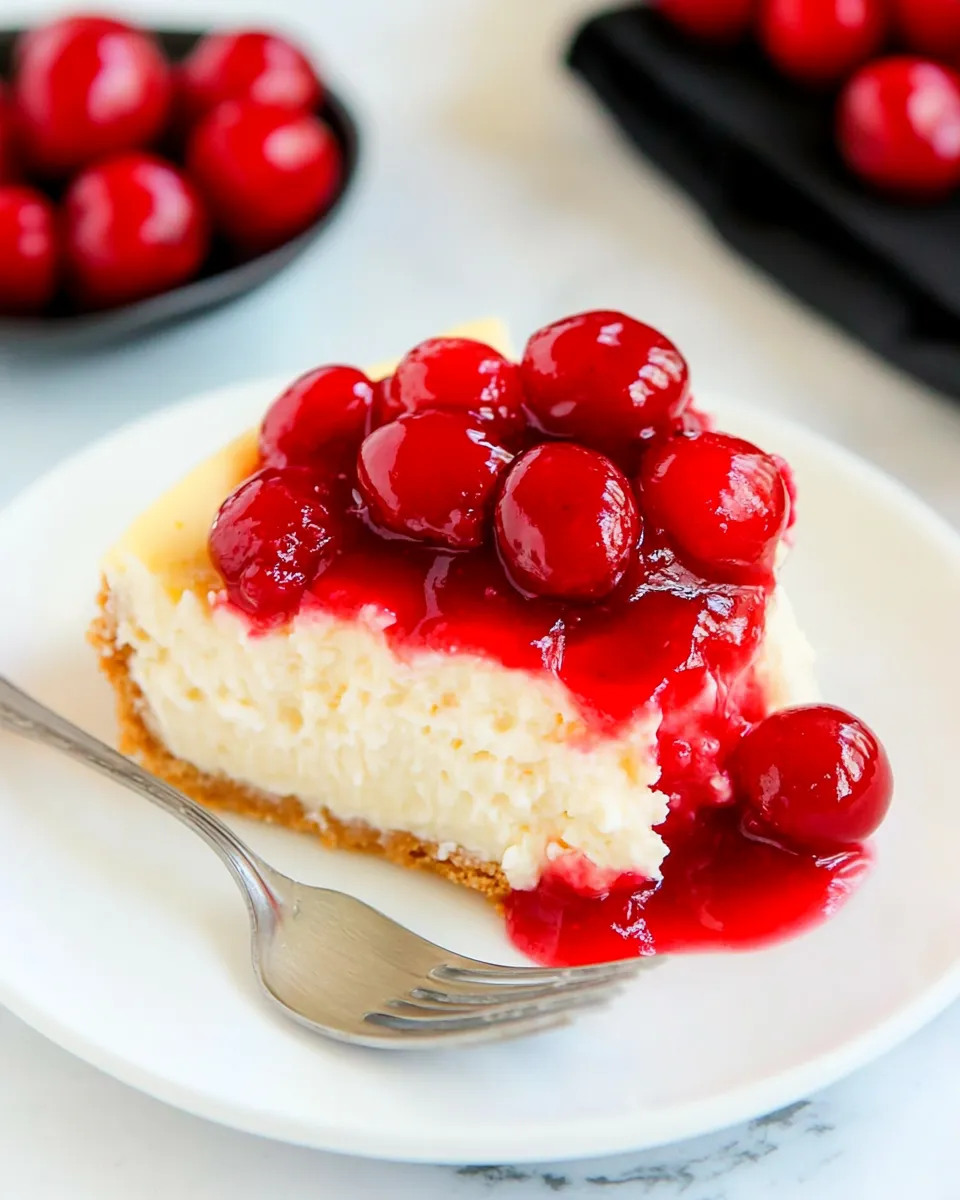
Finally, the bake-and-chill routine sets the texture. Baking until the edges are set but the center still jiggles slightly prevents overbaking, which dries the cake. The long chill in the refrigerator finishes the job: it firms the custard, improves sliceability, and lets flavors settle into a balanced profile.
Healthier Substitutions
The recipe already leans low-carb by using granulated Monkfruit Sweetener and offering a no-sugar cherry topping or fresh berries. If you want to lower carbs further, here are safe, minimal changes that won’t break the structure:
– Use fresh berries instead of the canned no-sugar pie filling. Fresh fruit is lighter and typically lower in carbs than processed fillings.
– Reduce the Monkfruit Sweetener by 1–2 tablespoons if you prefer a less sweet profile. The lemon juice and sour cream will keep the cake tasting balanced.
– If you need to skip the topping altogether, serve plain chilled cheesecake or with a very light scattering of fresh berries. The base is rich and flavorful on its own.
Appliances & Accessories
Everything you need for a reliable bake:
– Hand mixer and a large mixing bowl: the hand mixer at low speed is ideal for smoothing cream cheese without aerating too much.
– Spatula and bowl scraper: scrape the sides and bottom to ensure full incorporation of each egg.
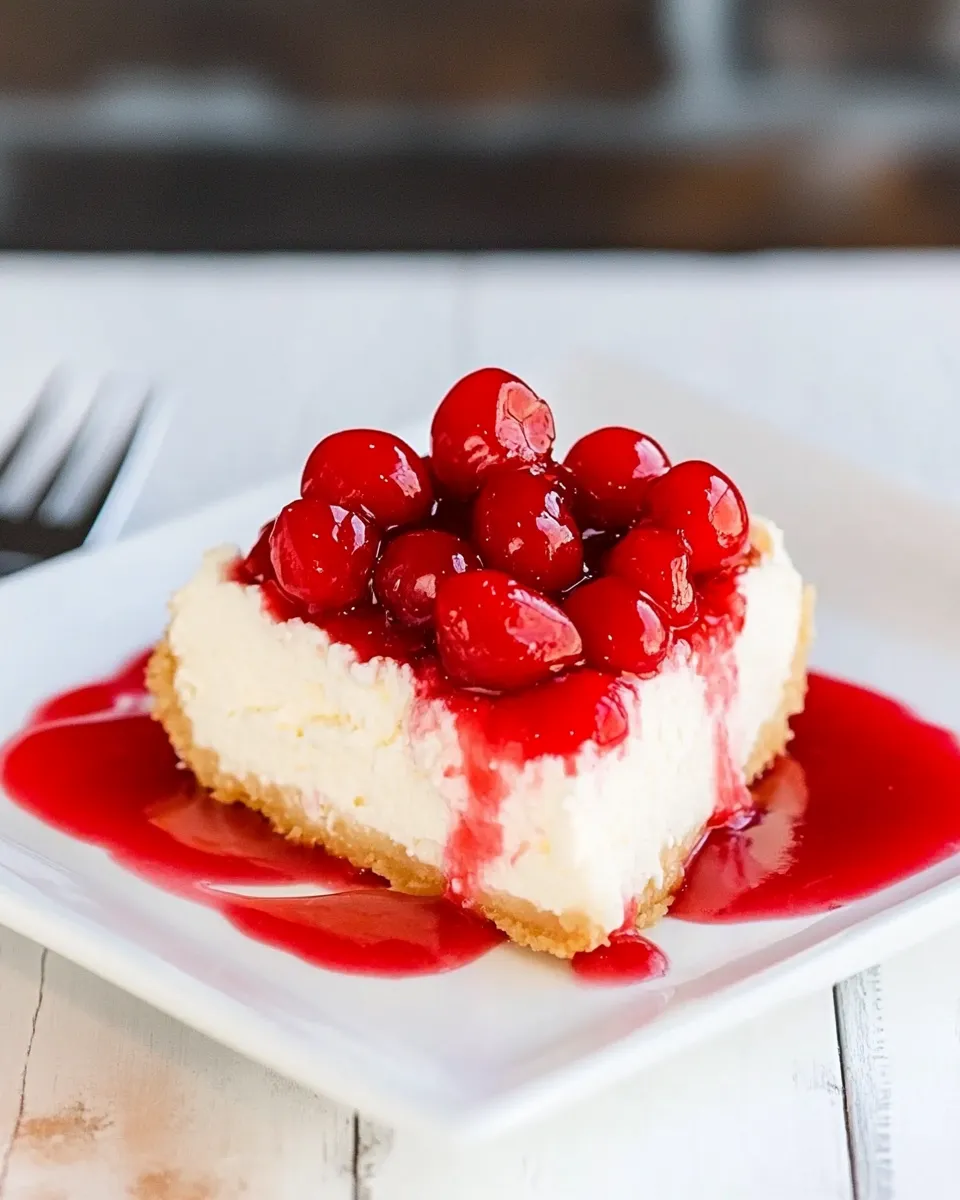
– 9-inch springform pan or 9-inch square glass casserole dish and non-stick spray: the recipe gives you options; springform makes unmolding easier, the casserole dish is simpler for a rustic presentation.
– Oven set to 350°F (175°C), plastic wrap, and refrigerator space for chilling overnight if possible.
Steer Clear of These
Common mistakes are easy to avoid but ruin the texture if ignored. Don’t start with cold cream cheese. Don’t mix on high speed. Don’t open the oven repeatedly while the cheesecake is baking. Avoid baking until the center is fully firm — the center should still have a slight jiggle. And don’t skip the chilling step; serving a warm or barely cooled cheesecake leads to a runny slice and poor flavor development.
Holiday & Seasonal Touches
This cheesecake adapts to the occasion without changing the base recipe. For summer, top with a scattering of fresh berries to keep things bright and refreshing. For winter or holidays, spoon warmed no-sugar-added cherry pie filling over slices just before serving so the topping is glossy and spoonable. The simplicity of the base means the seasonal touch is about temperature and presentation, not changing the batter.
Author’s Commentary
I’m a big fan of desserts that feel like a treat but don’t derail a healthy day. This cheesecake strikes that balance. I learned the “one egg at a time” rule the hard way — rushing that step made the batter separate on me once. Slow and steady gives you a smooth, even batter every time. I also prefer the convenience of the 9-inch square dish when I’m feeding a crowd; you lose the pristine round slices but gain easier serving and fewer anxious moments about sticking to a springform latch.
One small habit I keep now: I always set a timer for the cooling stage. It’s tempting to rush dessert into the fridge while warm and save time, but that traps steam and makes the crust (if you add one later) soggy and the top sweaty. Ten extra minutes of counter cooling and a good multi-hour chill makes a huge difference.
Make-Ahead & Storage
This cheesecake is an excellent make-ahead dessert. After it’s baked and fully chilled, cover it tightly with plastic wrap and keep it in the refrigerator. It holds well for 3–4 days; flavor and texture are best within that window. If you want to freeze it, slice it into portions, wrap each piece tightly, and freeze for up to 1 month. Thaw overnight in the refrigerator before serving.
If you’ve topped the cheesecake with canned cherry pie filling, note that the topping can weep slightly over time. If you plan to store leftovers, consider keeping the filling separate and spooning it on just before serving for the best texture.
Handy Q&A
Q: My cheesecake cracked — what went wrong?
A: Cracks usually come from overbaking or from sudden temperature change. Make sure you bake until the edges are set and the center still jiggles slightly, and cool it slowly on the counter before refrigerating. Gentle mixing also helps avoid making a batter full of air bubbles that expand and crack.
Q: Can I add a crust?
A: The recipe doesn’t include one, so adding a crust will change the structure slightly. If you prefer a crust, choose a low-carb base and press it into the pan, but expect slightly different bake times and texture.
Q: Can I freeze the cheesecake with the cherry topping?
A: You can, but the topping may change in texture after freezing and thawing. For best results, freeze plain cheesecake slices and add the cherry pie filling or fresh berries after thawing.
Q: Can I use a stand mixer instead of a hand mixer?
A: Yes, but keep speed low and watch the batter closely. The goal is to combine ingredients smoothly without whipping in excess air.
See You at the Table
This Low-Carb Cheesecake with Cherry Topping is one of those recipes I reach for when I want a dessert that feels classic but fits a lower-carb plan. It’s forgiving, straightforward, and reliably delicious when you follow the simple rules: room-temperature cream cheese, slow mixing, careful baking, and patient chilling. Spoon on the cherries, slice cleanly, and enjoy the contrast of tangy, creamy filling with a bright topping. Let me know how it turned out for you — I love hearing which small adjustments make it your favorite.
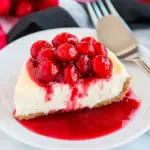
Low-Carb Cheesecake with Cherry Topping
Ingredients
Ingredients
- three 8 oz. packages cream cheese
- 4 large eggs
- 3/4 cup sour cream
- 1/2 cup + 2 T granulated Monkfruit Sweetener see notes
- 2 T fresh-squeezed lemon juice see notes
- one 20 oz. can no-sugar added cherry pie filling or fresh berries for topping
Instructions
Instructions
- Remove 3 (8-oz.) packages cream cheese from the refrigerator and let them come to room temperature for at least 1 hour.
- Preheat the oven to 350°F (175°C).
- Place the room-temperature cream cheese in a large bowl. Using a hand mixer on low speed, beat the cream cheese until smooth and free of lumps.
- Add 4 large eggs one at a time, mixing on low–medium speed and scraping the bowl as needed. Mix each egg in until fully incorporated before adding the next.
- Add 3/4 cup sour cream, 1/2 cup + 2 tablespoons granulated Monkfruit Sweetener, and 2 tablespoons fresh-squeezed lemon juice. Mix just until the batter is smooth and homogenous.
- Spray a 9-inch springform pan or a 9-inch square glass casserole dish with non-stick spray. Pour the batter into the prepared pan and smooth the top with a spatula.
- Bake for about 45 minutes, or until the edges are set and the center is just barely firm when gently pressed (the center may still jiggle slightly).
- Remove the cheesecake from the oven and let it cool on the counter for about 30 minutes.
- Cover the cooled cheesecake with plastic wrap and chill in the refrigerator for several hours (until well chilled and fully set).
- Before serving, spoon no-sugar-added cherry pie filling from the 20-oz. can or fresh berries over the chilled cheesecake.
Equipment
- Hand Mixer
- Large Bowl
- 9-inch springform pan or 9-inch square glass casserole dish
- Spatula
- Oven
Notes
Use no-sugar-added cherry pie filling or fresh berries for the topping, per preference.


