
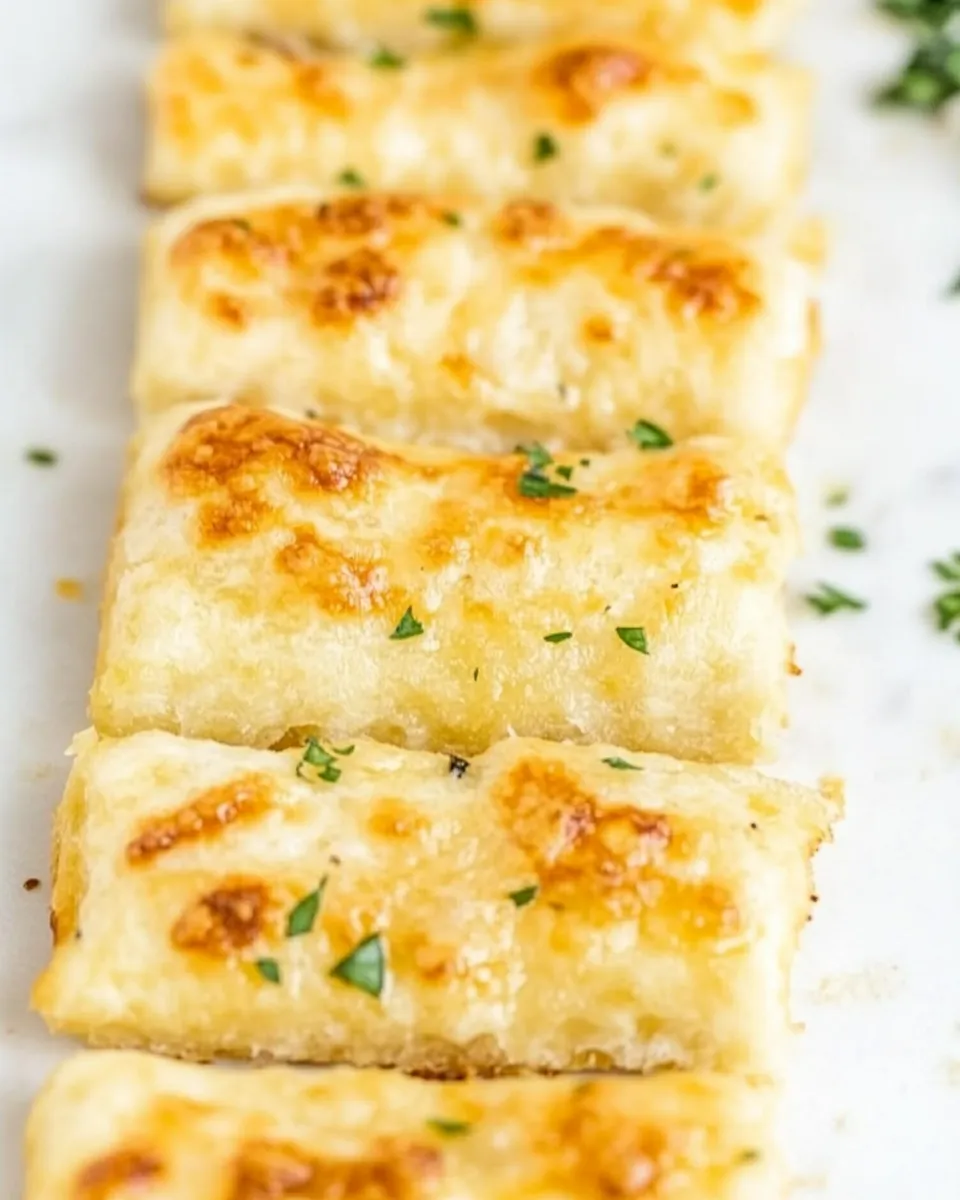
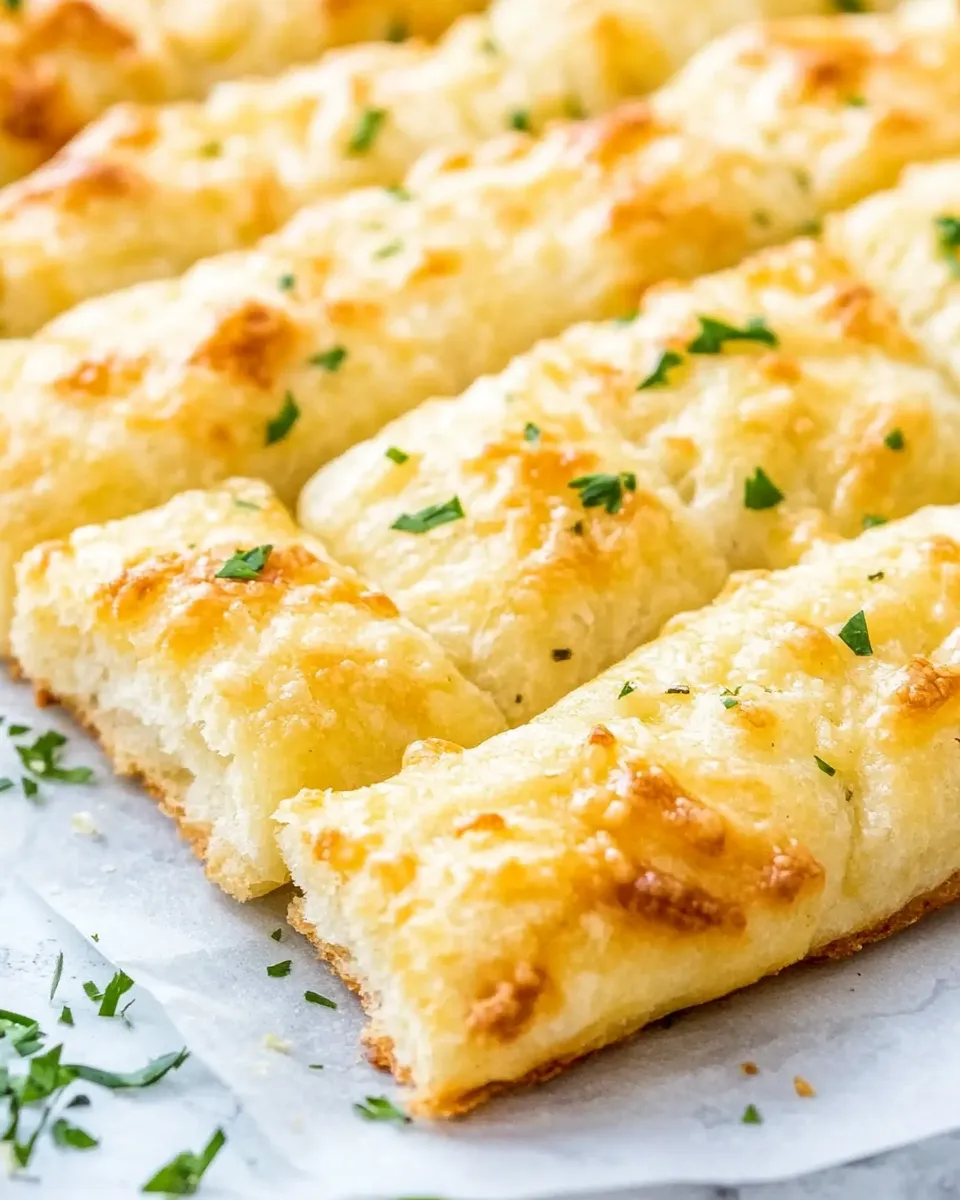
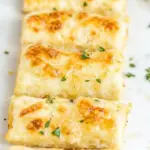
I make these garlic breadsticks on repeat when I want something comforting that still feels homemade. They have a soft, pillowy interior and a golden, slightly crisp exterior. Brushed with garlic butter and finished with a sprinkle of Parmesan, they’re an easy win for weeknight dinners, pasta night, or a casual gathering.
This recipe walks through a reliable method that uses instant yeast and a stand mixer. The dough is forgiving: slightly sticky at first, but manageable after a little kneading and rest. You’ll end up with 24 uniform sticks that brown beautifully in a hot oven.
Below you’ll find the precise ingredients and the step-by-step directions I follow every time, plus practical tips for success, common pitfalls, and sensible adaptations for different diets. No fluff — just what you need to make great garlic breadsticks.
What You’ll Need
Ingredients
- 5½ to 5¾cups(688 to 719 grams) all-purpose flour, divided — the bulk of the structure; keep the range handy for dough adjustments.
- ¼cup(50 grams) granulated sugar — feeds the yeast and helps with browning.
- 4¼teaspoons(12.75 grams) kosher salt — seasons the dough throughout.
- 1(0.25-ounce) package (7 grams) instant yeast* — the leavening agent; instant yeast goes straight into the dry mix.
- 1?cups(320 grams) plus 1 tablespoon (15 grams) water, divided — warm liquid to activate and hydrate the dough (see temperature guidance in steps).
- ½cup(120 grams) whole milk — adds richness and tenderness to the crumb.
- ¼cup(56 grams) olive oil — flavor and soft texture; also helps the dough stay tender.
- 2tablespoons(28 grams) unsalted butter, softened — folded into the warm liquid for flavor and a tender crumb.
- 1 large egg (50 grams), lightly beaten — used for an egg wash to give a glossy, golden finish.
- ¼cup(57 grams) unsalted butter, melted — mixed with seasonings and brushed on warm breadsticks.
- ½teaspoon(3 grams) garlic salt — seasoning for the butter finish; gives the garlic flavor without extra mincing.
- ½teaspoondried Italian seasoning — herb note in the finishing butter.
- Garnish: grated fresh Parmesan cheese — optional, but it adds salty, savory depth when sprinkled on warm sticks.
Garlic Breadsticks in Steps
- In the bowl of a stand mixer fitted with the paddle attachment, combine 2 cups (250 grams) all-purpose flour, 1/4 cup (50 grams) granulated sugar, 4 1/4 teaspoons (12.75 grams) kosher salt, and 1 (0.25-ounce) package (7 grams) instant yeast. Beat at medium-low speed just until combined.
- In a medium saucepan, combine 1? cups (320 grams) water, 1/2 cup (120 grams) whole milk, 1/4 cup (56 grams) olive oil, and 2 tablespoons (28 grams) softened unsalted butter. Cook over medium heat, stirring frequently, until the butter is melted and an instant-read thermometer registers 120°F (49°C) to 130°F (54°C). Remove from heat.
- Add the warm milk mixture to the flour mixture in the mixer bowl. Beat at medium-low speed until combined, about 1 minute, stopping to scrape the sides of the bowl as needed.
- With the mixer on low speed, gradually add 3 1/2 cups (438 grams) all-purpose flour, beating just until combined.
- Switch to the dough hook attachment and beat at medium-low speed until a soft, slightly sticky dough forms, about 4 to 6 minutes, stopping to scrape the bowl and dough hook. If the dough is too sticky, add up to the remaining 1/4 cup (31 grams) flour, 1 tablespoon (8 grams) at a time, until the dough is manageable (it should be extensible enough to pass the windowpane test but may still stick slightly).
- Spray a large bowl with cooking spray. Transfer the dough to the bowl, turning it to grease the top. Cover and let rise in a warm, draft-free place (75°F/24°C) until doubled in size, 40 minutes to 1 hour.
- Position a rack in the top third of the oven and preheat to 425°F (220°C). Line 3 rimmed baking sheets with parchment paper.
- Punch down the dough and cover; let stand for 10 minutes. On a clean surface, divide the dough into 24 portions (about 51 grams each). Cover the portions with a sheet of plastic wrap.
- Shape each portion into a smooth ball. Cover and let the balls rest 10 minutes.
- Gently flatten each ball to release large air bubbles, then roll each into an even 9- to 10-inch rope, very lightly flouring the surface or your hands as needed. Place the ropes seam side down, about 1 inch apart, on the prepared pans (they will shrink to about 7 to 8 inches). Pinch or press in any pointed ends to round the ropes if needed.
- Cover the pans and let the ropes rise in a warm, draft-free place (75°F/24°C) until puffed and the dough holds an indentation when lightly poked, 25 to 35 minutes.
- In a small bowl, whisk together 1 large egg (50 grams), lightly beaten, and the remaining 1 tablespoon (15 grams) water. Brush the egg wash evenly over the risen dough.
- Bake one pan at a time on the top-third rack until golden brown, 10 to 12 minutes. Let the baked breadsticks cool on the pan for 5 minutes.
- In a small bowl, stir together 1/4 cup (57 grams) melted unsalted butter, 1/2 teaspoon (3 grams) garlic salt, and 1/2 teaspoon dried Italian seasoning. Brush the warm breadsticks with the butter mixture. Garnish with grated fresh Parmesan cheese, if desired, and serve warm.
Why Garlic Breadsticks is Worth Your Time
These breadsticks are work-smart, not work-heavy. The dough comes together quickly in a mixer and the rise times are reasonable. You get consistent results—soft interior, golden exterior—without complex folding or long fermentations. For a weekday dinner, that’s exactly what I want.
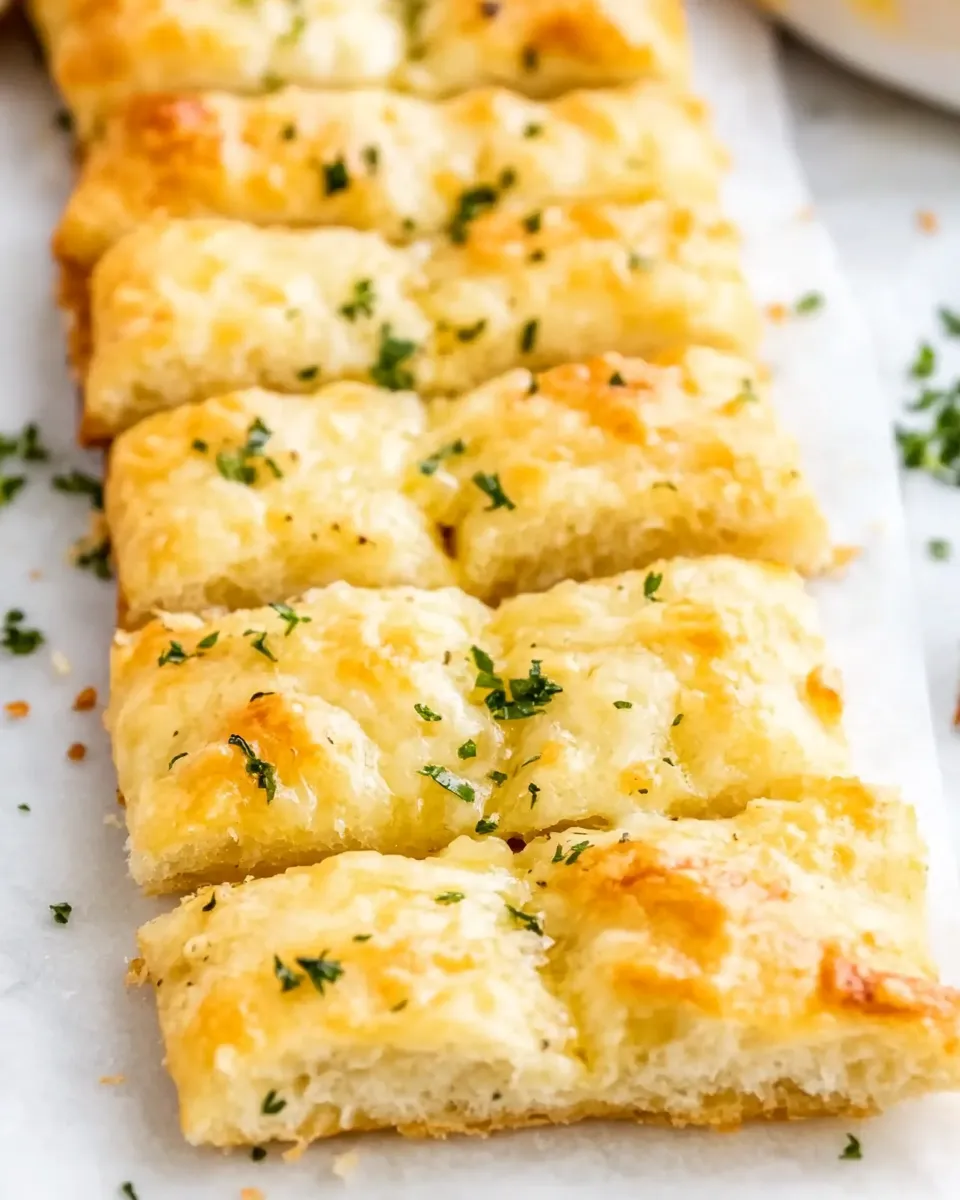
The flavor payoff is immediate: olive oil and butter in the dough give a tender crumb, while the garlic-salt butter brushed on hot breadsticks delivers that classic, comforting garlic note. Adding Parmesan at the end is optional, but it lifts the finish with an umami pop.
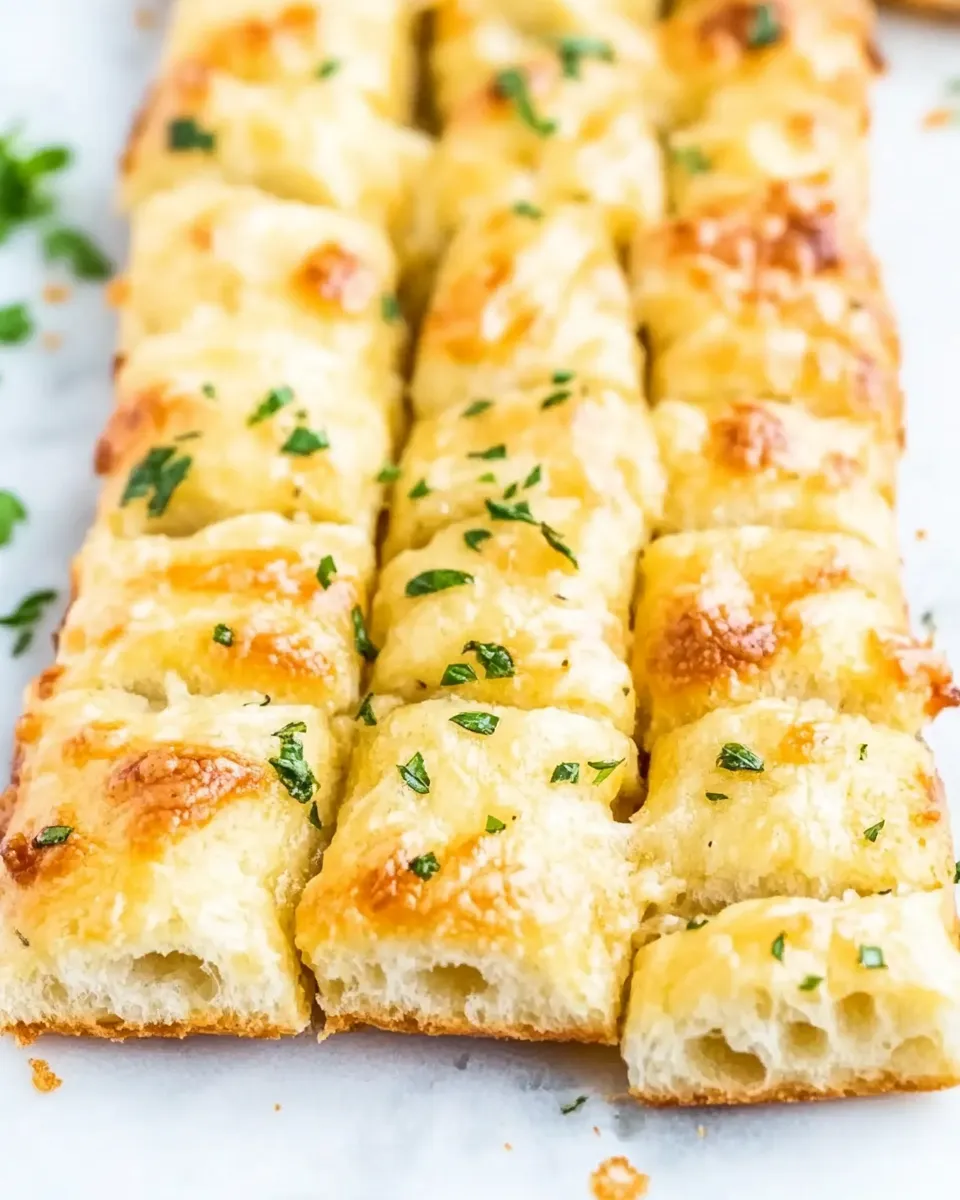
Finally, the portioning into 24 sticks makes these easy to serve and share. They pair well with salads, soups, and pasta, and they travel well if you need to bring something to a potluck.
Low-Carb/Keto Alternatives
Traditional breadsticks rely on wheat flour, so achieving a true low-carb version requires a different dough base. If you’re following a low-carb or keto plan, look for a tested low-carb breadstick or roll recipe that uses almond flour or other alternative flours—these recipes change hydration and binding requirements, so follow those formulas rather than trying to substitute straight into this recipe.
Another option is to serve the garlic butter and toppings with low-carb vegetable “dippers”—thick oven-roasted asparagus, zucchini spears, or slices of roasted eggplant—so you keep the garlic-butter flavor without the carbs from the breadsticks.
Toolbox for This Recipe
- Stand mixer with paddle and dough hook — the paddle mixes the initial flour and the hook kneads the dough for consistent results.
- Instant-read thermometer — to check the warm milk mixture temperature (120°F–130°F/49°C–54°C).
- Rimmed baking sheets and parchment paper — three sheets allow you to space the ropes so they bake evenly.
- Measuring scale or spoons/cups — dividing the dough into 24 portions (about 51 grams each) is easiest with a scale.
- Small bowls and a pastry brush — for the egg wash and the finishing butter.
Pitfalls & How to Prevent Them
Dough too sticky or too dry: Follow the flour guidance exactly. Start with the stated amounts and add the last 1/4 cup (31 grams) of flour only if the dough is unmanageably sticky. Add it 1 tablespoon at a time. The dough should be slightly sticky but elastic.
Warm mixture too hot: The recipe calls for 120°F–130°F (49°C–54°C). If the liquid is hotter, you risk killing the yeast; cooler and it won’t activate properly. Use an instant-read thermometer and be patient; the correct temperature range matters.
Breadsticks spreading or flattening: Shape the ropes seam side down and keep them about 1 inch apart. Don’t over-flour the surface when rolling; too much flour can affect oven spring. If the ropes aren’t shaped uniformly, they bake unevenly—take a little extra time to roll them evenly.
Uneven browning: Bake one pan at a time on the top-third rack, as directed. If your oven runs hot or cold, rotate the sheet during baking and check for doneness at the lower end of the time range.
Adaptations for Special Diets
Vegetarian: This recipe is already vegetarian if you skip the optional Parmesan or use a vegetarian-friendly hard cheese. The egg wash is for sheen; you can substitute with milk or a non-dairy milk if you prefer.
Lactose intolerance/dairy-free: Use dairy-free butter alternatives for the softened butter and the finishing melted butter, and swap the whole milk for an unsweetened plant milk. Keep in mind these swaps change the flavor and crumb slightly but still produce satisfying breadsticks.
Gluten-free: For a gluten-free version, use a tested gluten-free breadstick or roll recipe. Gluten-free dough behaves differently—expect adjustments to hydration and handling, and rely on a recipe designed for those flours rather than direct substitutions.
Recipe Notes & Chef’s Commentary
Measure flour by weight for the most consistent results. The recipe gives both cups and grams; when in doubt, use the grams. The dough is intended to be slightly sticky; that texture yields a tender crumb after baking.
Resting the shaped balls before rolling gives the gluten a chance to relax, which makes it much easier to form smooth ropes without springs or uneven shapes. Don’t skip those rest periods—they’re short but important.
When brushing the finishing butter, do it while the breadsticks are still warm but not straight out of the oven. A five-minute resting window keeps the butter from soaking in too much and lets it form a glossy coating.
Prep Ahead & Store
Make-ahead: You can shape the ropes, place them on the pans, cover tightly, and refrigerate overnight. Allow them to come to room temperature and rise until puffed before brushing with egg wash and baking. Alternatively, freeze fully cooled, baked breadsticks in airtight containers and reheat in a hot oven to refresh.
Storage: Store cooled breadsticks in an airtight container at room temperature for up to 2 days. For longer storage, freeze in a freezer-safe bag for up to 1 month. Reheat in a 350°F (175°C) oven for 8–10 minutes, loosely covered, to restore warmth and texture.
Ask & Learn
If you try this and your dough feels different than mine, first check your environment: kitchen temperature, humidity, and how you measure flour. Small adjustments will fix most issues. If your dough doesn’t rise much, confirm your yeast is fresh; instant yeast has a long shelf life but will eventually lose potency.
Questions I hear often: “Can I make larger or smaller sticks?” Yes—divide into more or fewer portions, but adjust baking time slightly. “Can I add garlic to the dough?” You can, but the finishing garlic butter gives a brighter garlic flavor; adding raw garlic to dough can change fermentation and flavor profile.
See You at the Table
These garlic breadsticks are one of those recipes that deliver comfort and confidence. They pair beautifully with tomato-based sauces, soups, or a simple salad. Make a batch, brush them while they’re still warm, and serve right away—there’s nothing fancy required to make them feel special.
If you make them, tell me what you paired them with. I love hearing small tweaks and favorite combinations people discover in their kitchens. Enjoy the baking—and the sharing that follows.
Garlic Breadsticks
Ingredients
Ingredients
- 5 1/2 to 5 3/4 cups 688 to 719 grams all-purpose flour, divided
- 1/4 cup 50 grams granulated sugar
- 4 1/4 teaspoons 12.75 grams kosher salt
- 1 0.25-ounce package (7 grams) instant yeast*
- 1 ?cups 320 grams plus 1 tablespoon (15 grams) water, divided
- 1/2 cup 120 grams whole milk
- 1/4 cup 56 grams olive oil
- 2 tablespoons 28 grams unsalted butter, softened 1 large egg (50 grams), lightly beaten
- 1/4 cup 57 grams unsalted butter, melted
- 1/2 teaspoon 3 grams garlic salt
- 1/2 teaspoondried Italian seasoning
- Garnish: grated fresh Parmesan cheese
Instructions
Instructions
- In the bowl of a stand mixer fitted with the paddle attachment, combine 2 cups (250 grams) all-purpose flour, 1/4 cup (50 grams) granulated sugar, 4 1/4 teaspoons (12.75 grams) kosher salt, and 1 (0.25-ounce) package (7 grams) instant yeast. Beat at medium-low speed just until combined.
- In a medium saucepan, combine 1? cups (320 grams) water, 1/2 cup (120 grams) whole milk, 1/4 cup (56 grams) olive oil, and 2 tablespoons (28 grams) softened unsalted butter. Cook over medium heat, stirring frequently, until the butter is melted and an instant-read thermometer registers 120°F (49°C) to 130°F (54°C). Remove from heat.
- Add the warm milk mixture to the flour mixture in the mixer bowl. Beat at medium-low speed until combined, about 1 minute, stopping to scrape the sides of the bowl as needed.
- With the mixer on low speed, gradually add 3 1/2 cups (438 grams) all-purpose flour, beating just until combined.
- Switch to the dough hook attachment and beat at medium-low speed until a soft, slightly sticky dough forms, about 4 to 6 minutes, stopping to scrape the bowl and dough hook. If the dough is too sticky, add up to the remaining 1/4 cup (31 grams) flour, 1 tablespoon (8 grams) at a time, until the dough is manageable (it should be extensible enough to pass the windowpane test but may still stick slightly).
- Spray a large bowl with cooking spray. Transfer the dough to the bowl, turning it to grease the top. Cover and let rise in a warm, draft-free place (75°F/24°C) until doubled in size, 40 minutes to 1 hour.
- Position a rack in the top third of the oven and preheat to 425°F (220°C). Line 3 rimmed baking sheets with parchment paper.
- Punch down the dough and cover; let stand for 10 minutes. On a clean surface, divide the dough into 24 portions (about 51 grams each). Cover the portions with a sheet of plastic wrap.
- Shape each portion into a smooth ball. Cover and let the balls rest 10 minutes.
- Gently flatten each ball to release large air bubbles, then roll each into an even 9- to 10-inch rope, very lightly flouring the surface or your hands as needed. Place the ropes seam side down, about 1 inch apart, on the prepared pans (they will shrink to about 7 to 8 inches). Pinch or press in any pointed ends to round the ropes if needed.
- Cover the pans and let the ropes rise in a warm, draft-free place (75°F/24°C) until puffed and the dough holds an indentation when lightly poked, 25 to 35 minutes.
- In a small bowl, whisk together 1 large egg (50 grams), lightly beaten, and the remaining 1 tablespoon (15 grams) water. Brush the egg wash evenly over the risen dough.
- Bake one pan at a time on the top-third rack until golden brown, 10 to 12 minutes. Let the baked breadsticks cool on the pan for 5 minutes.
- In a small bowl, stir together 1/4 cup (57 grams) melted unsalted butter, 1/2 teaspoon (3 grams) garlic salt, and 1/2 teaspoon dried Italian seasoning. Brush the warm breadsticks with the butter mixture. Garnish with grated fresh Parmesan cheese, if desired, and serve warm.
Equipment
- Stand mixer
- paddle attachment
- dough hook
- Medium Saucepan
- Instant-read thermometer
- Large Bowl
- rimmed baking sheets
- Parchment Paper
- Plastic Wrap
Notes
*We used
Platinum® Yeast
from
Red Star®
.
Note:
To use the windowpane test to check dough for proper gluten development, lightly flour hands and pinch off (don’t tear) a small piece of dough. Slowly pull the dough out from the center. If the dough is ready, you will be able to stretch it until it’s thin and translucent like a windowpane. If the dough tears, it’s not quite ready. Beat for 1 minute, and test again.


