
I make this garlic hummus whenever I need a fast, reliable spread that feels homemade without a lot of effort. It’s bright from lemon, garlicky in a good way, and smooth enough to scoop with a vegetable or smear on a sandwich. The recipe is forgiving; a quick pulse in the food processor and you’re there.
This version leans into simple pantry staples: a can of chickpeas, tahini, a squeeze of lemon, a little oregano for depth, and that essential trio of olive oil, salt, and pepper. A finishing drizzle of oil and a sprinkle of fresh herbs lift it from “good” to “favorite.”
Below I walk you through exactly what to gather, step-by-step assembly, common mistakes to avoid, and practical storage and troubleshooting tips so your hummus turns out well every time.
What You’ll Gather
- 1 can chickpeas drained and rinsed — the creamy base and main source of protein; rinsing removes canned brine for a cleaner flavor.
- 3 cloves garlic crushed — the primary flavor punch; crushing releases more aroma than just chopping.
- 2 tablespoons tahini — adds richness and that classic hummus nuttiness; stir it before measuring if it’s separated.
- 2 teaspoons lemon juice — brightens and balances the richness; use fresh if you have it for the best lift.
- 1/4 teaspoon oregano — a small herbal note that gives subtle Mediterranean character.
- 2 teaspoons olive oil — whipped into the hummus for silkiness and flavor.
- 1/2 teaspoon salt — essential for seasoning; start with this and adjust after tasting.
- 1/4 teaspoon black pepper — adds a gentle warmth and contrast to the lemon and garlic.
- olive oil — for finishing; a drizzle on top adds shine and mouthfeel.
- finely chopped onions — garnish option that brings crunch and a sharp bite; use sparingly to avoid overpowering.
- fresh parsley — a bright, herbaceous garnish that cleanses the palate.
- fresh cilantro — another finishing herb if you prefer that aromatic, citrusy-green note.
Build Garlic Hummus Step by Step
- Drain and rinse 1 can chickpeas.
- Peel and crush 3 cloves garlic.
- In a food processor, combine the drained chickpeas, crushed garlic, 2 tablespoons tahini, 2 teaspoons lemon juice, 1/4 teaspoon oregano, 2 teaspoons olive oil, 1/2 teaspoon salt, and 1/4 teaspoon black pepper.
- Process until smooth, stopping to scrape down the sides of the bowl as needed and processing again until you reach a paste-like consistency.
- Taste and, if desired, adjust salt or pepper to your preference using the amounts listed.
- Transfer the hummus to a serving bowl.
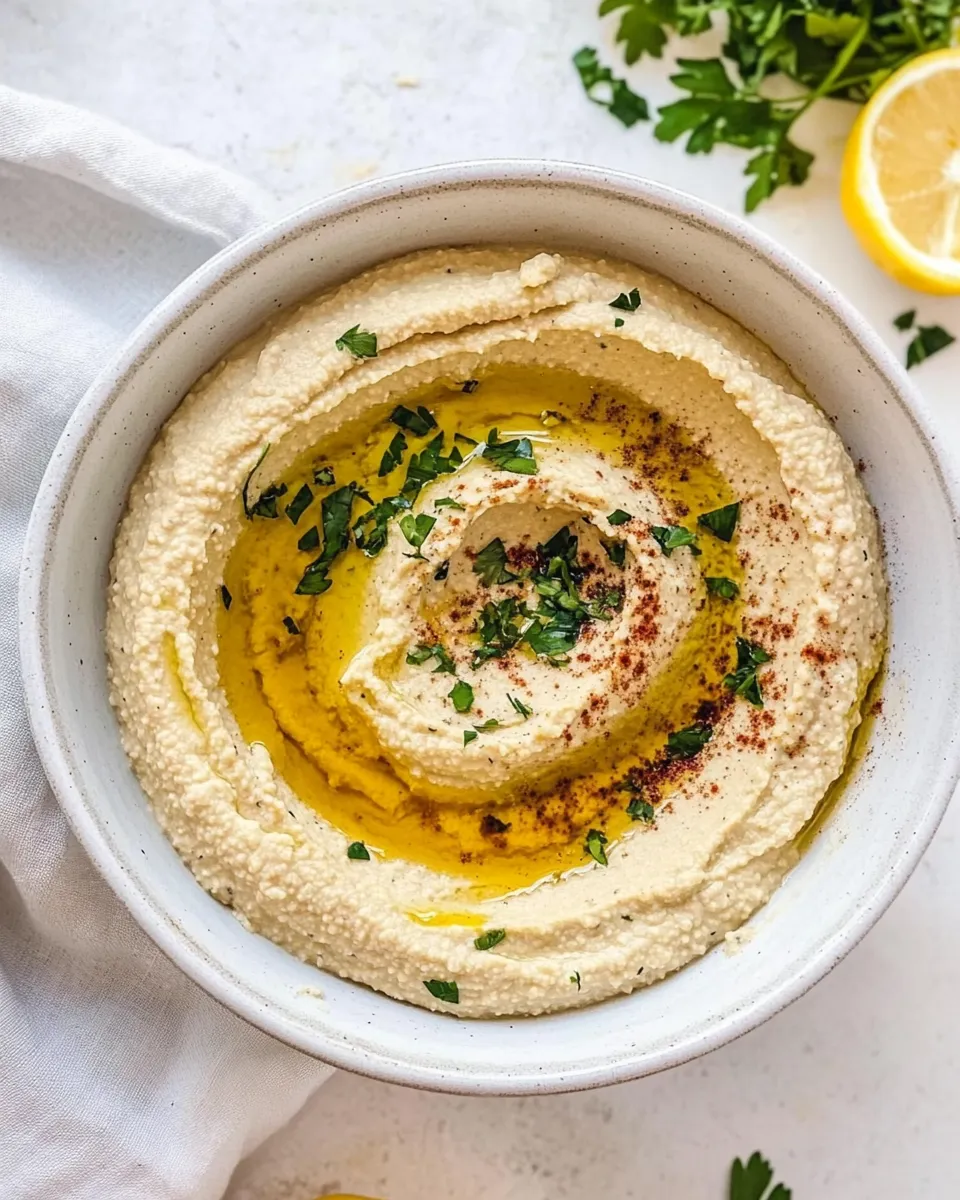
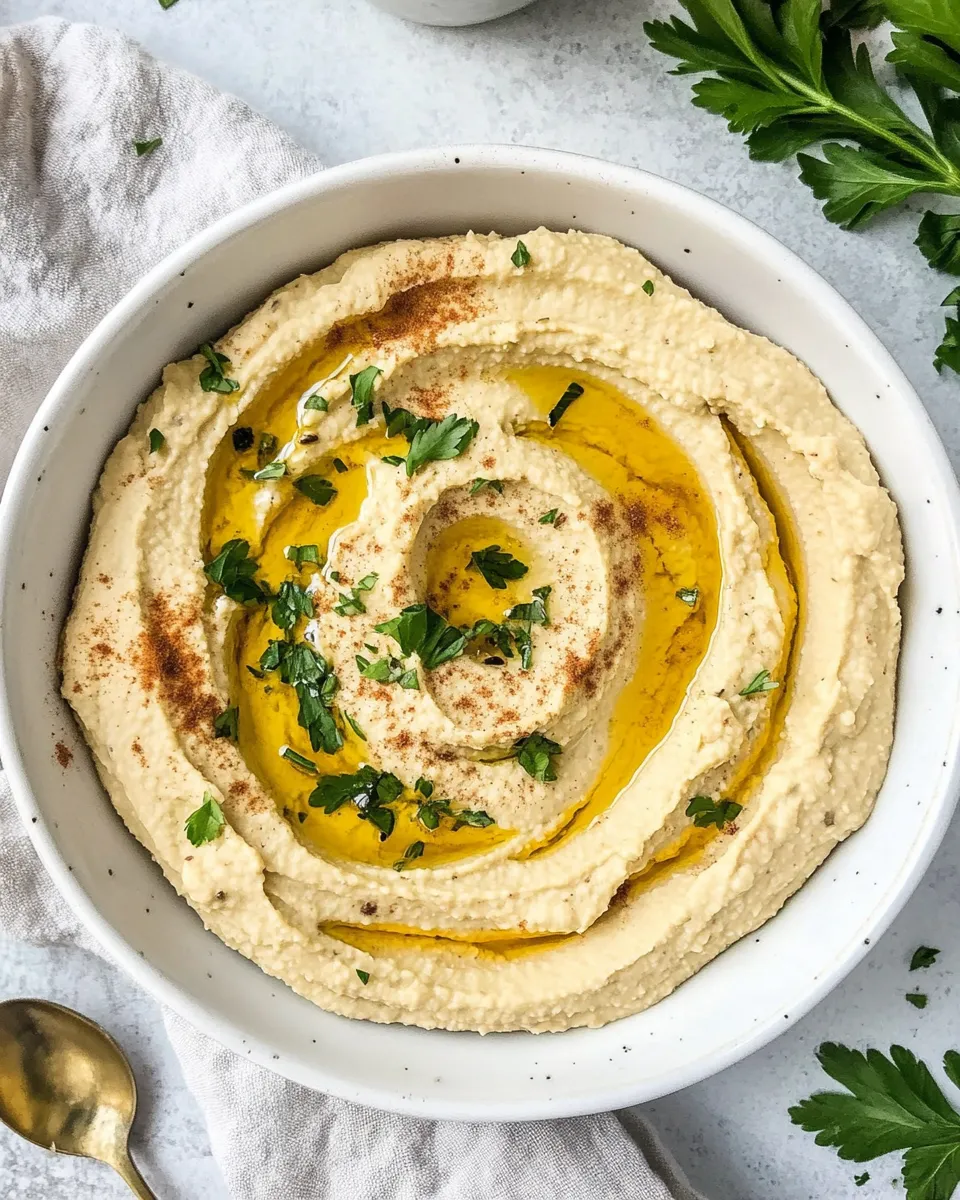
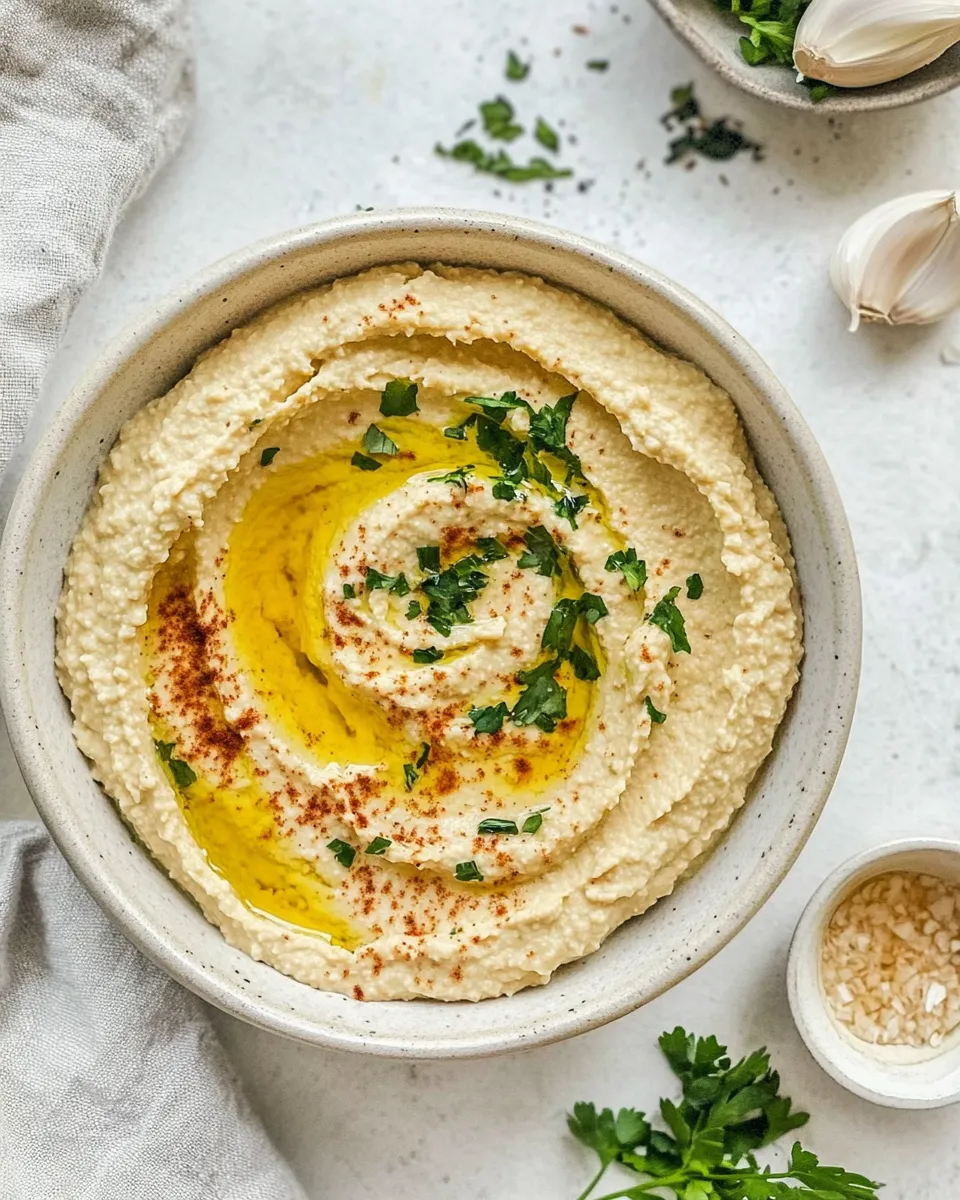
- Serve topped with a drizzle of olive oil and garnish with finely chopped onions and fresh parsley and/or fresh cilantro.
Short notes on the steps
Drain and rinse the chickpeas well to reduce any metallic or canned flavor. Crushing the garlic by hand before it goes in the processor releases more of its oils and makes the garlic flavor integrated rather than harsh. When pulsing the processor, pause and scrape down the sides; that prevents a pasty ring of unprocessed chickpea and keeps the texture uniform. If the mixture seems too thick to process smoothly, a teaspoon or two of water or an extra teaspoon of olive oil will help it come together — add sparingly.
Why You’ll Love This Recipe
It’s fast. From can to bowl in about ten minutes. If you keep a jar of tahini and a can of chickpeas on hand, this becomes your go-to snack or party starter. The garlic is front-and-center but not aggressive, and the lemon keeps it tasting fresh.
The flavor profile is balanced: creaminess from the chickpeas and tahini, brightness from lemon, savory notes from oregano and pepper, and silk from olive oil. Texture-wise it’s smooth with a pleasant body that spreads easily without collapsing.
No-Store Runs Needed
Most of these ingredients live in a normal pantry or refrigerator: canned chickpeas, tahini, olive oil, salt, pepper, lemon (or bottled lemon juice in a pinch), and dried oregano. Fresh garlic is almost always worth keeping on hand for cooking and garnishes. The garnishes — onions, parsley, cilantro — are optional, so you can make the hummus straight from pantry staples and still have a satisfying result.
Equipment at a Glance

- Food processor — the quickest way to get a smooth, even hummus; a high-speed blender can substitute but may require more liquid.
- Spatula — for scraping the bowl clean and transferring the hummus to the serving dish.
- Serving bowl — shallow bowls show off the garnish and make scooping easy.
- Can opener and sieve/colander — for draining and rinsing the chickpeas.
Avoid These Mistakes
Don’t skip rinsing the chickpeas. The canned liquid can make hummus taste slightly metallic or overly salty. Second, resist the temptation to over-process without scraping — the processor’s heat can make hummus gluey if you keep running it without stopping to re-distribute the mixture.
Watch the garlic: three crushed cloves in this recipe gives a clear garlic note. If you’re serving people with sensitive palates, consider using two cloves until you get a sense of their tolerance. Finally, under-seasoning is common; always taste the hummus and adjust salt and pepper after processing. Tahini and chickpeas both mute saltiness, so final seasoning matters.
Make It Fit Your Plan
Want a smoother hummus? Add a teaspoon of olive oil or a teaspoon of cold water as you process. Want more zip? Add another 1/2 teaspoon of lemon juice. If you prefer herb-forward flavors, finish with finely chopped parsley or cilantro. If you’re serving as part of a spread, make this garlic hummus the base and top with additional olive oil and herbs so guests can customize each bite.
If you’d like more pronounced oregano flavor, sprinkle a little extra on top rather than mixing it all in, so the herb notes come through as a bright finish.
Author’s Commentary
I keep coming back to this hummus because it’s honest and adaptable. It’s the kind of recipe I make when friends pop over unexpectedly — it feels thoughtful, but it doesn’t demand hours. I love the way crushed garlic changes the character compared with minced or roasted garlic: it’s immediate and lively. Finish it with a good drizzle of olive oil and a scattering of fresh herbs, and it looks like you spent much longer than you did.
Over the years I’ve found that small adjustments — a touch more lemon here, a scrape more tahini there — allow each batch to be tailored to what I’m serving it with. Keep those tastes in mind and don’t be afraid to tweak at the end.
How to Store & Reheat
Transfer cooled hummus to an airtight container and refrigerate. It will keep well for 3–4 days. A layer of olive oil on top can help minimize surface drying. If it firms up in the fridge, stir in a teaspoon or two of olive oil or lemon juice to loosen before serving.
Freezing is possible but changes the texture slightly; if you freeze it, use within one month and thaw overnight in the refrigerator. After thawing, give it a good stir and adjust seasoning if it tastes muted.
Troubleshooting Q&A
Q: My hummus is grainy. A: This usually means it needs more processing and scraping. Pulse, scrape, and process again until smooth. If you’ve processed thoroughly and it’s still grainy, a teaspoon of olive oil or cold water can help the mixture emulsify.
Q: It tastes flat. A: Add a little more lemon juice and salt, then taste again. Acidity wakes up the flavors and salt balances them.
Q: It’s too thin. A: You can thicken it by adding more chickpeas (if you have them) or an extra tablespoon of tahini. If neither is available, chill it briefly to firm up and then re-check texture.
Q: Garlic is too strong. A: If you overdid the garlic, balance with a small extra spoon of tahini or a bit more chickpeas. A touch more olive oil and lemon can also help diffuse the pungency.
Let’s Eat
Spoon the hummus into a shallow bowl, create a little well with the back of a spoon, and drizzle the top with olive oil. Scatter the finely chopped onions and a handful of fresh parsley or cilantro for that fresh finish. Serve with warm pita, crisp vegetables, or whatever crackers you have on hand.
This garlic hummus is as useful at a casual snack moment as it is on a party platter. It’s quick, flexible, and reliably tasty — keep the basic formula in your back pocket and you’ll pull together satisfying bites any time.

Garlic Hummus
Ingredients
Ingredients
- 1 canchickpeasdrained and rinsed
- 3 clovesgarliccrushed
- 2 tablespoonstahini
- 2 teaspoonslemon juice
- 1/4 teaspoonoregano
- 2 teaspoonsolive oil
- 1/2 teaspoonsalt
- 1/4 teaspoonblack pepper
- olive oil
- finely chopped onions
- fresh parsley
- fresh cilantro
Instructions
Instructions
- Drain and rinse 1 can chickpeas.
- Peel and crush 3 cloves garlic.
- In a food processor, combine the drained chickpeas, crushed garlic, 2 tablespoons tahini, 2 teaspoons lemon juice, 1/4 teaspoon oregano, 2 teaspoons olive oil, 1/2 teaspoon salt, and 1/4 teaspoon black pepper.
- Process until smooth, stopping to scrape down the sides of the bowl as needed and processing again until you reach a paste-like consistency.
- Taste and, if desired, adjust salt or pepper to your preference using the amounts listed.
- Transfer the hummus to a serving bowl.
- Serve topped with a drizzle of olive oil and garnish with finely chopped onions and fresh parsley and/or fresh cilantro.
Equipment
- Food Processor
- Serving Bowl


