
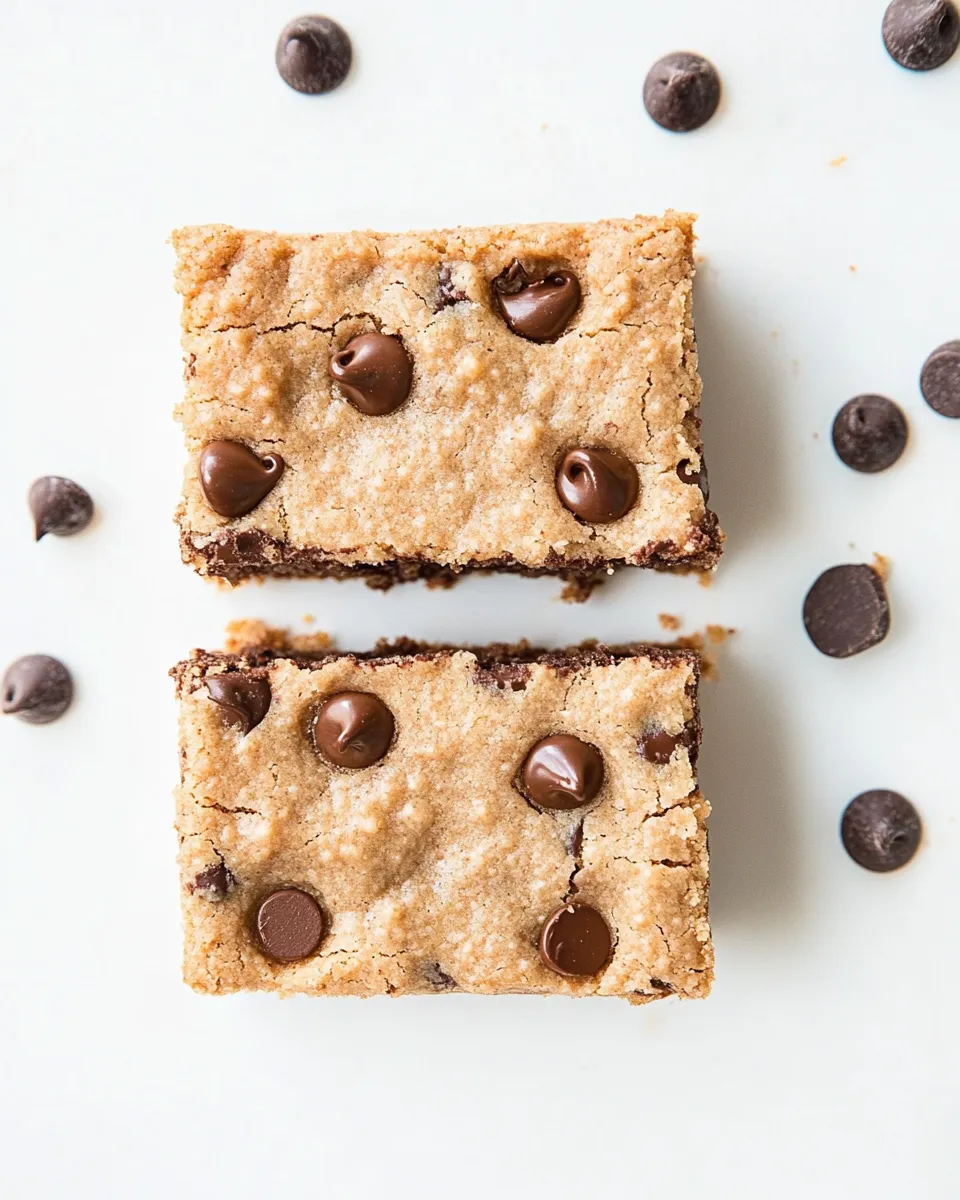
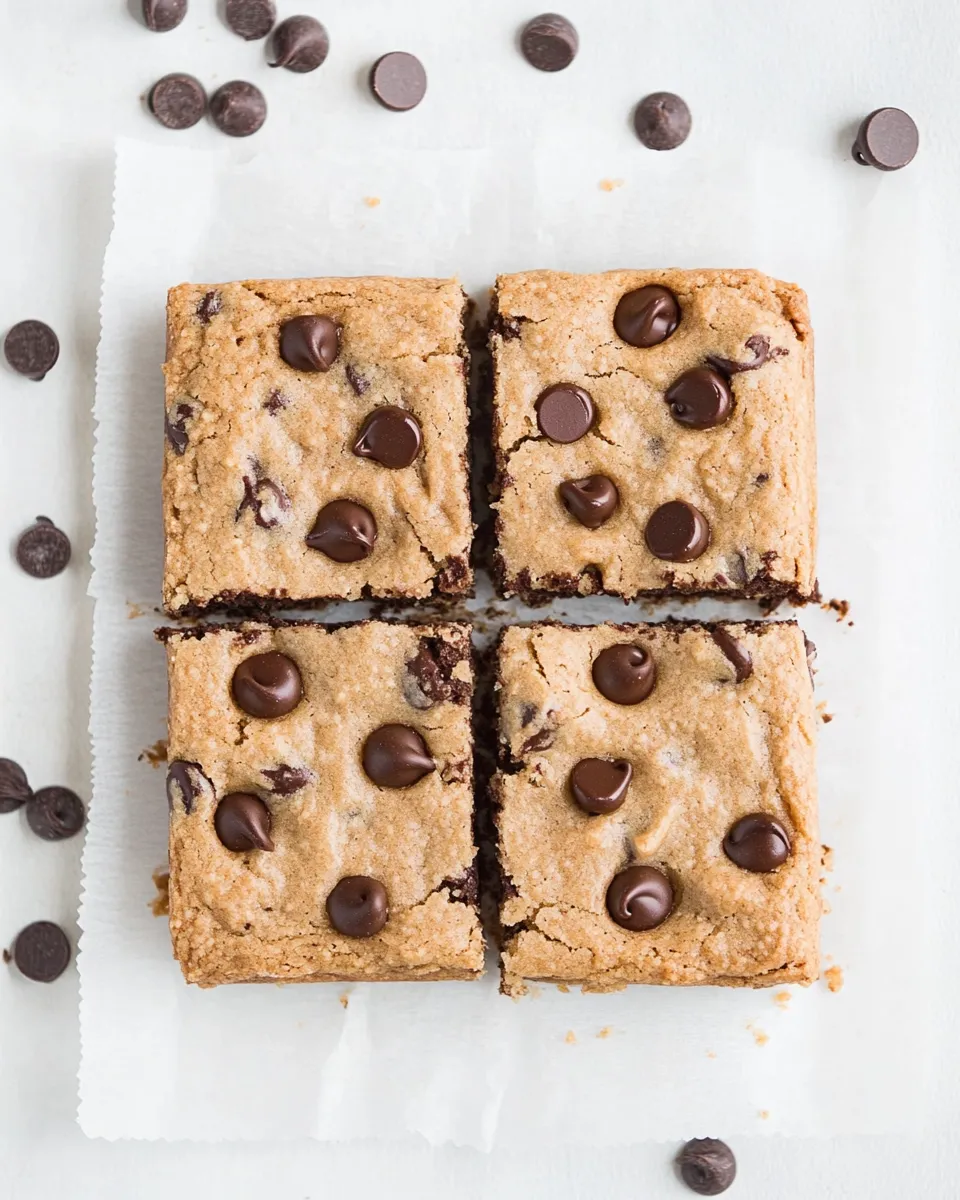
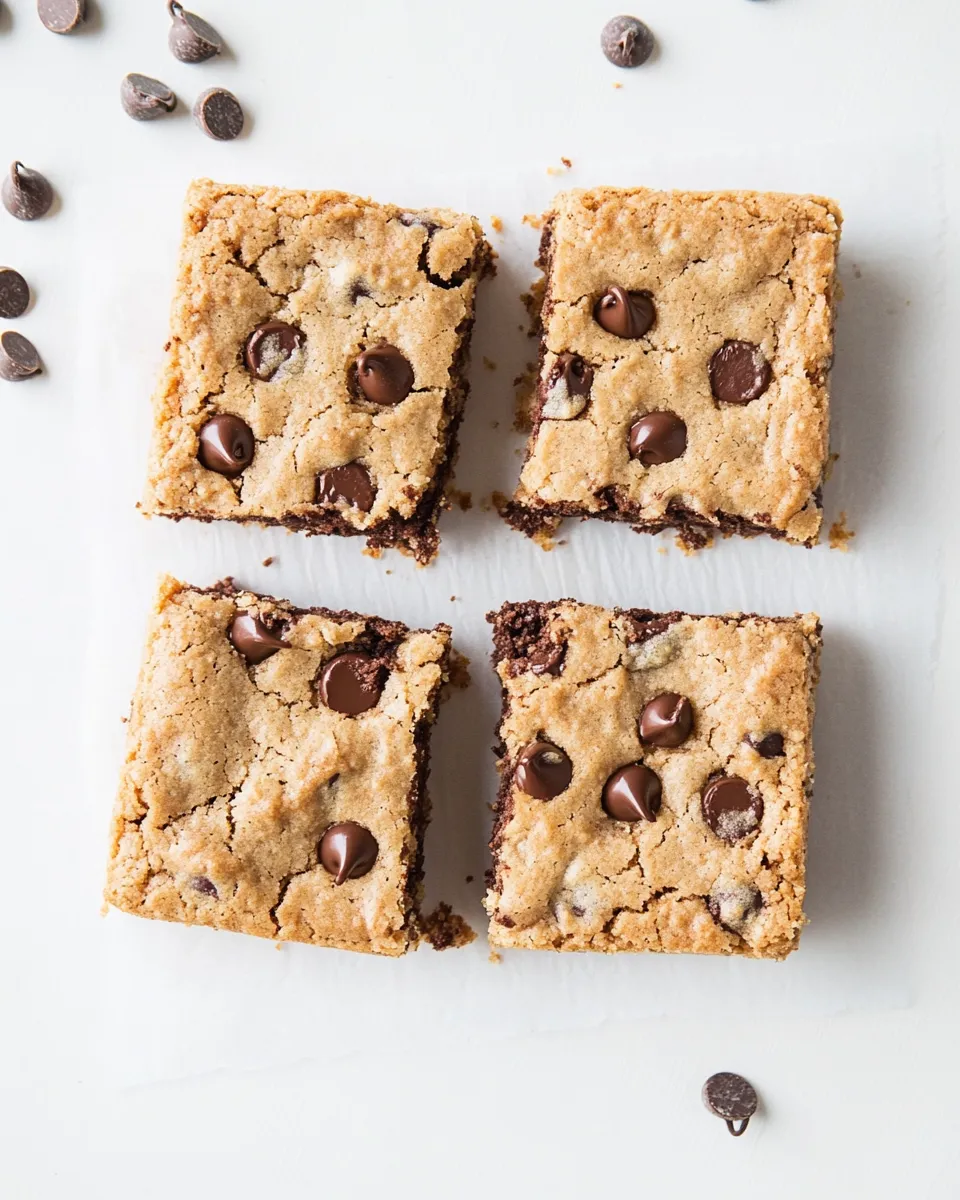
These bars are the sort of recipe I turn to when I want the comfort of a chocolate chip cookie without the effort of shaping and chilling dozens of rounds. They bake in an 8-inch pan, come together quickly, and deliver a tender, chewy interior with molten chocolate pockets. They’re gluten-free by design, built on almond flour and a touch of coconut flour for structure.
I like that they feel simple and unfussy. You don’t need special techniques or long ingredient lists — just good measurements and a little attention in the oven. Whether you want something to slice for a potluck, pack in lunch boxes, or keep on the counter for quick snacks, these bars fit the bill.
Below you’ll find a clear rundown of the ingredients with notes on what each one does, the exact step-by-step process, troubleshooting guidance, and options for adapting the recipe for different diets and seasons. I’ve tested the bake times here so you can choose softer or more set bars, depending on your preference.
Ingredient Rundown

- 1 1/2 cup blanched almond flour — The main body of the bars; provides structure, moistness, and a naturally nutty flavor.
- 1 tablespoon coconut flour — Adds just a bit of absorbency so the bars hold together without becoming dry.
- 1/2 cup coconut palm sugar — Sweetener with a lower glycemic index feel and caramel notes; also helps with chew and color.
- 1 teaspoon baking powder — Gives a light lift so the bars aren’t dense or gummy.
- 1/4 teaspoon baking soda — Works with the other leavening to balance texture and rise.
- Pinch fine sea salt — Enhances flavor and offsets the sweetness.
- 3 tablespoons butter, softened — Adds richness and helps create a tender crumb; use room-temperature butter for easy mixing.
- 1 teaspoon vanilla — Simple flavor booster; deepens the overall profile.
- 2 eggs — Bind the dough and contribute to a fudgy, sturdy interior.
- 1/2 cup chocolate chunks — The chocolate in these bars; use good-quality chunks or chop a bar into pieces.
- Coarse sea salt for garnish (optional) — A final sprinkle lifts the chocolate and adds a pleasant crunch if you like sweet-salty contrasts.
Cooking (Gluten-Free Chocolate Chip Cookie Bars): The Process
Follow these steps exactly as written to get the texture and timing I tested. The bake time is where you choose between a softer center or a firmer bar.
- Preheat the oven to 350°F. Grease an 8-inch baking dish and line it with parchment paper, leaving an overhang (parchment sling) for easy removal.
- In a large bowl, combine 1 1/2cup blanched almond flour, 1 tablespoon coconut flour, 1/2 cup coconut palm sugar, 1 teaspoon baking powder, 1/4 teaspoon baking soda, and a pinch fine sea salt; stir until evenly mixed.
- Add 3 tablespoons softened butter, 2 eggs, and 1 teaspoon vanilla to the dry ingredients. Mix until a thick, cohesive dough forms.
- Fold in 1/2 cup chocolate chunks until evenly distributed.
- Transfer the batter to the prepared pan. Use a spatula or lightly dampened hands to press and smooth the batter into an even layer. Add extra chocolate chunks on top if desired.
- Bake at 350°F for 20–25 minutes—about 20 minutes for a softer, slightly underbaked center or up to 25 minutes for a firmer set.
- Remove from the oven and let the bars cool in the pan until warm or room temperature. Use the parchment sling to lift the bars from the pan and place them on a cooling rack.
- If using, sprinkle coarse sea salt over the top. Cut into 9 equal portions and serve.
Why This Recipe Works
The balance here centers on the combination of almond flour and a small amount of coconut flour. Almond flour keeps the bars moist and rich; coconut flour soaks up enough liquid to prevent a crumbly, loose texture. Using mostly almond flour avoids the gritty or dense feel that can come from relying on coconut flour alone.
Coconut palm sugar brings caramel notes and a deeper color without altering texture the way liquid sweeteners might. The modest amounts of baking powder and baking soda give just enough lift so the bars rise slightly and don’t turn into dense slabs.
Butter and eggs are the emulsifiers and structure-builders. They provide tenderness, chew, and that familiar cookie-like mouthfeel even though the format is a pan bar. Folding the chocolate in ensures even distribution so each square has pockets of melty chocolate without overworking the batter.
Vegan & Vegetarian Swaps
Vegetarian: This recipe is vegetarian as written; butter and eggs are standard. If you follow a lacto-ovo vegetarian diet, no swaps are necessary.
Vegan: To make these vegan, swap the butter for a plant-based stick butter and replace the eggs with a commercial egg replacer or an appropriate plant-based substitute following the package directions. Because eggs play a structural role here, use an egg replacer that’s formulated for baking rather than only a hydration agent—this helps keep the bars cohesive.
Notes: When you swap eggs, textures shift. Expect a slightly different crumb and consider chilling the batter briefly if it feels too soft before pressing it into the pan.
Gear Up: What to Grab
- 8-inch baking dish — The size matters for thickness and bake time.
- Parchment paper — For a parchment sling to lift the bars cleanly.
- Mixing bowls — One large bowl for combining dry ingredients and another if you prefer to soften butter and mix wet ingredients separately.
- Spatula or dough scraper — For pressing the dough evenly into the pan.
- Measuring cups and spoons — Accurate measurements are important with gluten-free flours.
- Oven thermometer (optional) — Helpful if your oven runs hot or cool; accurate temperature equals consistent results.
- Cooling rack — Lets the bars cool evenly once they’re out of the pan.
Troubleshooting Tips
Bars too crumbly? If the bars fall apart when you cut them, they likely need a touch more binder or a slightly shorter bake. Make sure your eggs are at room temperature before mixing; that helps the batter come together. If you repeatedly get crumbly results, try pressing the batter more firmly into the pan before baking or reduce the bake time slightly.
Centre too wet after full bake? Oven temps vary. If the center looks very wet at the minimum bake time, tent the pan with foil and add 3–5 minutes, checking frequently. A slightly underbaked center will set as it cools, so remove at the 20-minute mark if you prefer a fudgier interior.
Edges burning while center is raw? Your pan may conduct heat too quickly. Use an oven thermometer to confirm temperature. If it’s accurate, try lining the pan with an additional layer of parchment or lower the oven temperature by 15–25°F and increase bake time until the center is set.
Chocolate sinks? If chunks sink toward the bottom, fold them in gently and press the batter into the pan right away so the batter’s surface tension holds pieces rather than letting them drop. Larger chunks are more likely to sink; chopping a bar into smaller pieces helps them stay suspended.
Spring–Summer–Fall–Winter Ideas
Spring: Top warm bars with a light dusting of lemon zest or serve with macerated berries for bright contrast.
Summer: Serve warm slices with a scoop of cold vanilla ice cream or a dollop of coconut cream for a cooling treat. Fresh stone fruit on the side pairs beautifully.
Fall: Stir in a small pinch of cinnamon or cardamom to the dry mix, or sprinkle chopped toasted pecans on top before baking for a seasonal crunch.
Winter: Add orange zest and dark chocolate chunks for a cozy citrus-chocolate combination. A sprinkle of flaky sea salt after baking gives a festive finish.
Behind the Recipe
I developed this recipe while testing ways to keep a classic chocolate chip texture without wheat flour. The challenge was texture: almond flour tends to make things tender but loose; adding a tiny amount of coconut flour provided the absorption needed to shape clean bars without heaviness. After a few rounds of timing and chocolate placement, this formula produced reliably sliceable bars with a soft interior when baked for the lower range and a firmer bite closer to the upper bake time.
The parchment sling is a small step that makes life easier—lifting the whole slab out to cool keeps slices neat and preserves the edges. I also learned that coconut palm sugar offers subtle caramel notes that pair well with almond flour and chocolate, so I stuck with it rather than using plain granulated sugar.
Meal Prep & Storage Notes
Store cooled bars in an airtight container at room temperature for up to 3 days. For longer storage, refrigerate for up to 7 days. Rewarm individual portions briefly in a low oven or microwave to revive the melty chocolate experience.
For freezing, wrap individual bars in plastic wrap and place them in a freezer-safe container or bag. Freeze for up to 3 months. Thaw at room temperature or warm gently before serving.
Popular Questions
Can I use all-purpose flour instead of almond flour? This recipe is formulated for almond flour. Substituting all-purpose flour will change the texture and likely require adjustments to the dry-to-wet ratio and bake time, so I don’t recommend a straight swap.
Can I use brown sugar instead of coconut palm sugar? You can use a similar-volume brown sugar if you don’t have coconut palm sugar; expect a slightly different flavor and moisture balance but similar overall results.
How do I make the bars less sweet? Reduce the coconut palm sugar by a tablespoon or two, but keep in mind the sugar contributes to texture as well as sweetness. Decreasing it too much can affect how the bars hold together and brown.
Can I double the recipe? You can double the ingredients and bake in a 9×13 pan, but watch the bake time: it will take longer. Check for set edges and a slightly firm center; if the top browns too quickly, tent with foil.
The Last Word
These Gluten-Free Chocolate Chip Cookie Bars are a practical, forgiving dessert that tastes like a cookie without the fuss. They’re great for batch baking and easy to adapt slightly for season or diet. Follow the step-by-step process for consistent results, and use the troubleshooting notes if your oven behaves differently. Keep a tray of these on hand and you’ve got a reliable, comforting go-to for snacks, school lunches, or last-minute guests.
Gluten-Free Chocolate Chip Cookie Bars
Ingredients
Ingredients
- 1 1/2 cupblanched almond flour
- 1 tablespooncoconut flour
- 1/2 cupcoconut palm sugar
- 1 teaspoonbaking powder
- 1/4 teaspoonbaking soda
- Pinchfine sea salt
- 3 tablespoonsbuttersoftened
- 1 teaspoonvanilla
- 2 eggs
- 1/2 cupchocolate chunks
- Coarse sea saltfor garnish optional
Instructions
Instructions
- Preheat the oven to 350°F. Grease an 8-inch baking dish and line it with parchment paper, leaving an overhang (parchment sling) for easy removal.
- In a large bowl, combine 1 1/2cup blanched almond flour, 1 tablespoon coconut flour, 1/2 cup coconut palm sugar, 1 teaspoon baking powder, 1/4 teaspoon baking soda, and a pinch fine sea salt; stir until evenly mixed.
- Add 3 tablespoons softened butter, 2 eggs, and 1 teaspoon vanilla to the dry ingredients. Mix until a thick, cohesive dough forms.
- Fold in 1/2 cup chocolate chunks until evenly distributed.
- Transfer the batter to the prepared pan. Use a spatula or lightly dampened hands to press and smooth the batter into an even layer. Add extra chocolate chunks on top if desired.
- Bake at 350°F for 20–25 minutes—about 20 minutes for a softer, slightly underbaked center or up to 25 minutes for a firmer set.
- Remove from the oven and let the bars cool in the pan until warm or room temperature. Use the parchment sling to lift the bars from the pan and place them on a cooling rack.
- If using, sprinkle coarse sea salt over the top. Cut into 9 equal portions and serve.
Equipment
- Oven
- 8-inch baking dish
- Parchment Paper
- Mixing Bowl
- Spatula
- Cooling rack
Notes
Can sub coconut oil for the butter.
Works with maple sugar or coconut sugar.


