
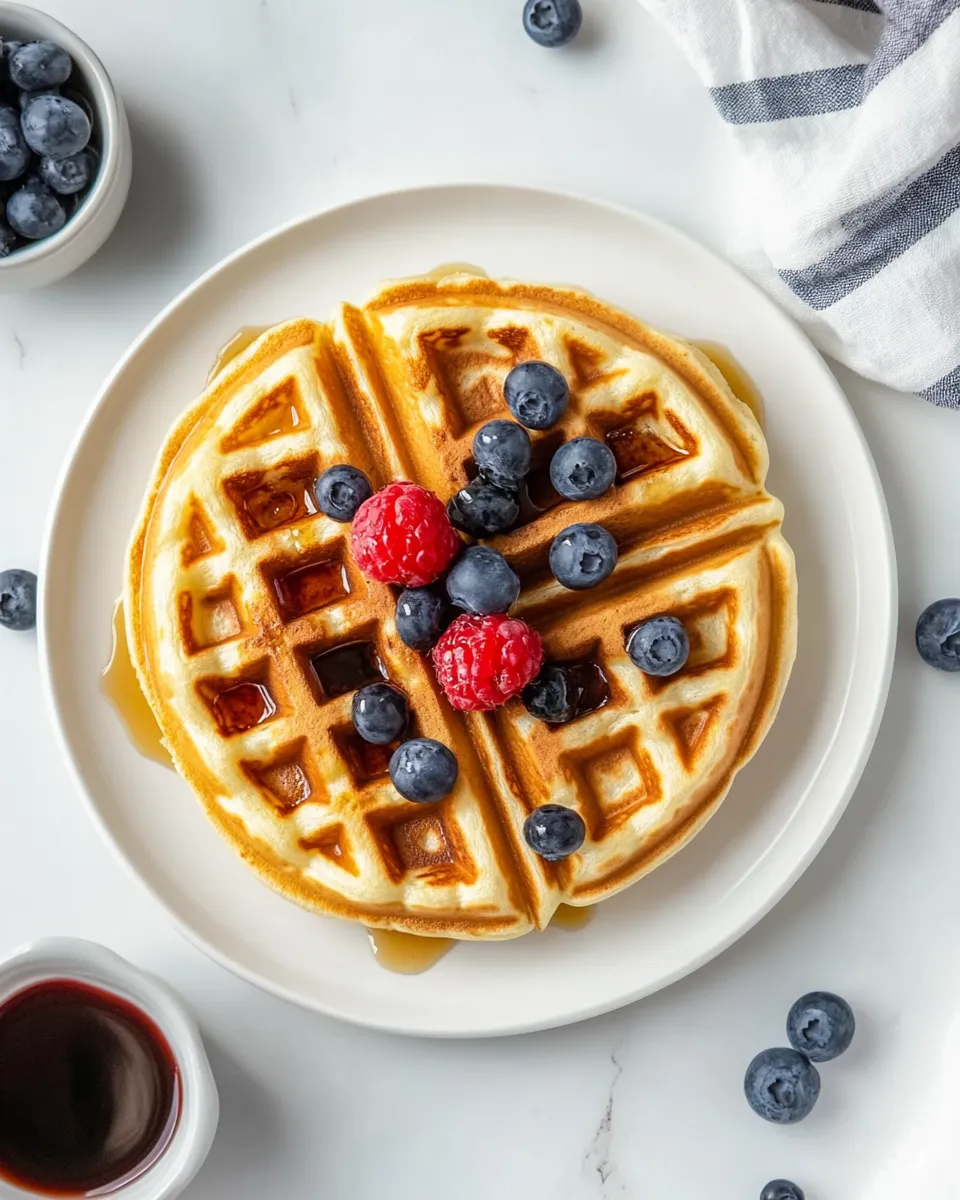
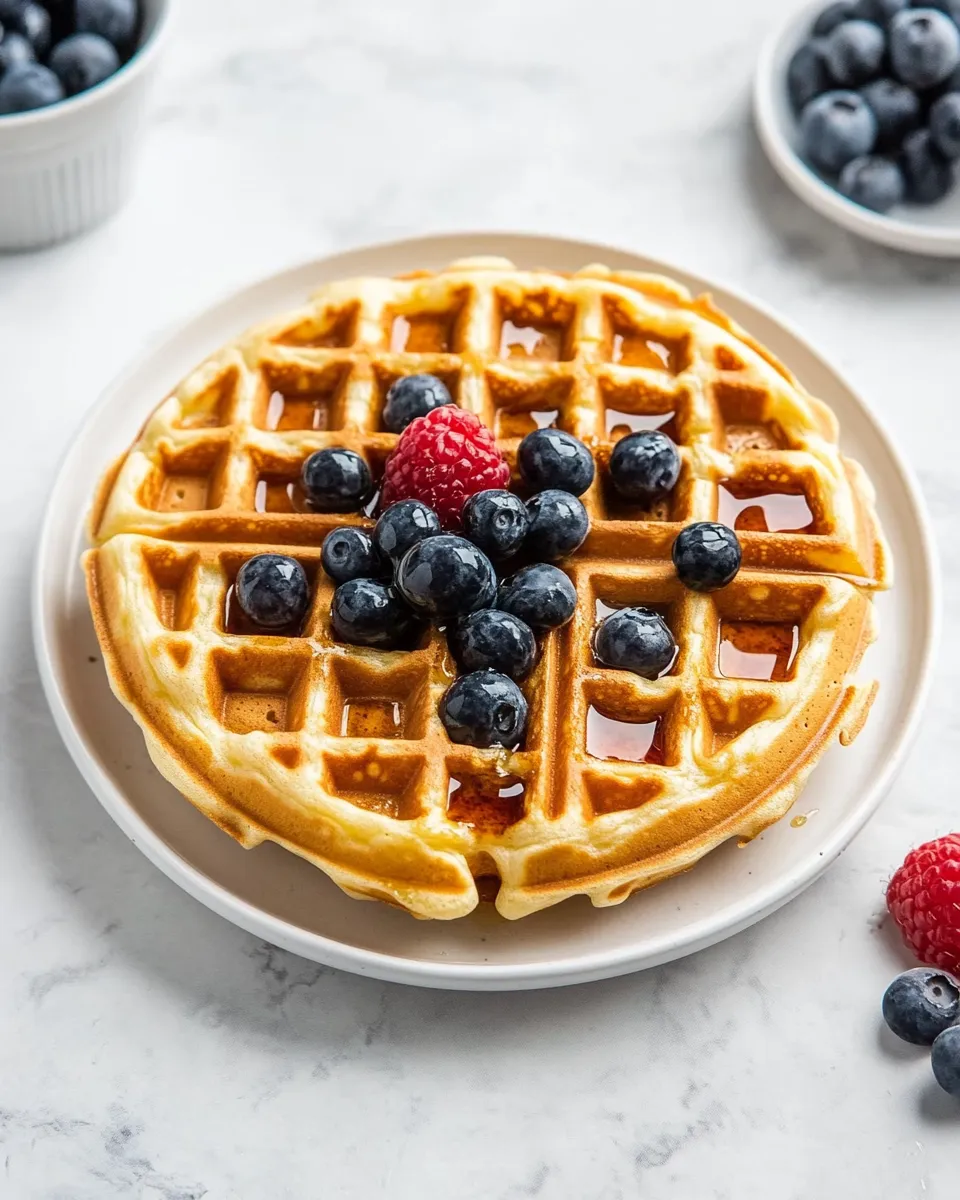
These waffles are my weekday breakfast hero. They take the familiar comfort of a classic waffle and add a little tang and structure from Greek yogurt. The result is a waffle that puffs up with a tender crumb inside and crisps at the edges—great for stacking, topping, and getting fuel in the morning without feeling heavy.
I keep this batter in rotation because it’s straightforward, forgiving, and relies on pantry staples. There’s a small amount of butter for flavor, no complicated separation of eggs, and a texture boost from the yogurt that makes them feel a touch decadent while still being practical. You can dress them simply with butter and maple syrup or brighten them with fresh fruit.
I’ll walk you through the exact ingredients and the step-by-step method I use at home, then cover swaps, troubleshooting, and storage so you can make these reliably any night or morning. If you want crisp waffles, fluffier waffles, or make-ahead waffles, I’ve got tips for that below.
What’s in the Bowl

Ingredients
- 2 cups all-purpose flour — the structure for the waffles; measure by spooning into the cup and leveling for accuracy.
- 2 tablespoons packed brown sugar — adds gentle sweetness and depth; use packed to keep measurements consistent.
- 2 teaspoons baking powder — the leavening that helps waffles rise and become tender.
- ½ teaspoon ground cinnamon — warm, subtle spice; optional but complements the yogurt and brown sugar.
- ½ teaspoon salt — balances sweetness and amplifies flavor.
- 1¾ cups plain nonfat Greek yogurt — the star ingredient for moisture, tang, and protein; nonfat keeps richness in check while giving body.
- 1 cup milk — loosens the yogurt into a pourable batter; use whatever milk you normally have.
- 2 large eggs — binders that add lift and richness.
- 4 tablespoons salted butter, melted and cooled — fat for tender texture and flavor; cool it so it doesn’t cook the eggs when mixed.
- 1 teaspoon vanilla extract — flavor enhancer that rounds out the batter.
- butter, maple syrup and fresh fruit, for topping (as desired) — finishing options; optional but recommended for serving.
Stepwise Method: Greek Yogurt Waffles
- Preheat your waffle iron according to the manufacturer’s instructions (usually to medium-high). Lightly spray the plates with nonstick spray or brush with a thin layer of oil if needed.
- In a large bowl, whisk together 2 cups all-purpose flour, 2 tablespoons packed brown sugar, 2 teaspoons baking powder, 1/2 teaspoon ground cinnamon, and 1/2 teaspoon salt until evenly combined.
- In a separate bowl, whisk 1 3/4 cups plain nonfat Greek yogurt and 1 cup milk until smooth and slightly loosened. Whisk in 2 large eggs until blended, then whisk in 4 tablespoons salted butter (melted and cooled) and 1 teaspoon vanilla extract.
- Pour the wet ingredients into the dry ingredients. Stir gently with a spatula or whisk until just combined; small lumps are okay—do not overmix.
- Spoon or pour batter onto the preheated waffle iron (amount per waffle will depend on your iron). Close the lid and cook until the waffles are golden and cooked through, about 3 to 5 minutes, or according to your waffle iron’s instructions.
- Transfer cooked waffles to a plate or wire rack to keep crisp. Serve immediately topped with butter, maple syrup, and fresh fruit as desired.
The Upside of Greek Yogurt Waffles
Greek yogurt changes the waffle game. It gives structure so you get a tender inside that still holds up to toppings, and it contributes protein and tang without weighing things down. Compared to plain batter made only with milk, these waffle batter yields often feel more substantial—good for mornings when you want something filling but not greasy.
Another big plus: the batter is forgiving. Because the yogurt thickens the wet ingredients, you can usually get away with a little variation in milk without ruining the texture. They reheat well and freeze beautifully, which makes them a sensible choice for meal prep. Crisp them back up in a toaster oven or a hot skillet and you’ve got near-fresh waffles in minutes.
Finally, flavor-wise, the brown sugar and cinnamon are subtle but make a noticeable difference. They lend warmth and a hint of caramel that pairs beautifully with maple syrup and berries. If you want something more neutral for savory toppings, you can reduce the sugar and cinnamon without harming the structure.
Substitutions by Category

- Flours — For a whole-grain option, use part whole-wheat flour (start with half) for nuttiness. For gluten-free, choose a 1:1 gluten-free blend labeled for baking.
- Sweeteners — Swap brown sugar for coconut sugar or regular granulated sugar if you prefer a crisper edge; adjust to taste.
- Leavening — Keep the baking powder as written. If you only have baking soda, do not substitute directly without an acid—stick with baking powder.
- Yogurt and Milk — Full-fat Greek yogurt will yield richer waffles; low-fat or plant-based yogurts can work, but texture and flavor will vary. Use any milk you like—dairy or plant-based—to loosen the yogurt.
- Butter and Oils — Melted butter gives the best flavor. For a dairy-free option, use a neutral oil like canola or melted coconut oil in the same volume.
- Eggs — Eggs add stability. For egg-free baking, try a commercial egg replacer or a flax “egg” (1 tablespoon ground flax + 3 tablespoons water per egg), but expect a slight change in texture.
- Flavorings & Toppings — Vanilla is suggested; almond extract or an extra pinch of cinnamon are easy swaps. Top with nuts, yogurt, nut butter, or savory items like yogurt and smoked salmon for a different direction.
Equipment Breakdown
Must-haves
- Waffle iron — size and style determine the shape and amount per batch.
- Mixing bowls — one for dry ingredients, one for wet; large enough to stir without spilling.
- Whisk and spatula — whisk for dry and wet mixing, spatula to fold and transfer batter.
- Measuring cups and spoons — accurate dry and liquid measures matter for consistent batter.
Nice-to-have
- Wire rack — cools waffles so steam can escape, keeping edges crisp.
- Squeeze bottle or ladle — helps control batter portioning onto the iron.
- Nonstick spray or pastry brush with oil — prevents sticking on older waffle irons.
Troubleshooting Tips
- Batter too thick — If the batter is gummy or doesn’t spread at all, whisk in a tablespoon or two of milk until it loosens to a pourable consistency. A slightly thinner batter makes a more even waffle.
- Waffles are soggy — Make sure the waffle iron is fully preheated and resist stacking hot waffles on a plate; instead, cool them on a wire rack to let steam escape. If your iron runs cool, give extra time to cook.
- Waffles stick — Use a light coat of spray or oil, and ensure the plates are hot before adding batter. For older irons, brush with oil every few batches.
- Uneven browning — This usually means uneven heat in the iron or too little preheat time. Rotate position if your iron allows, or preheat a touch longer.
- Dense interior — Don’t overmix. Small lumps in the batter are fine; overworking activates gluten and leads to toughness. Also double-check your baking powder—if it’s old, replace it.
Allergy-Friendly Swaps
- Gluten-free — Use a gluten-free all-purpose blend labeled for 1:1 substitution. Let the batter rest a few minutes so the blend hydrates.
- Dairy-free — Replace Greek yogurt with a thick dairy-free yogurt (unsweetened coconut or soy-based styles work best) and swap butter for a neutral oil or dairy-free butter.
- Egg-free — Try a commercial egg replacer or ground flaxseed “eggs” (1 tbsp flax + 3 tbsp water per egg). Texture may be slightly different but will still hold together.
- Nut allergies — Avoid nut-based milks and toppings; use dairy or seed-based alternatives and fruit toppings.
Chef’s Notes
1) Temperature matters. A fully preheated waffle iron creates that coveted contrast: crisp outside and tender inside. If you open the iron early to peek repeatedly, the cooking temperature drops and waffles can take longer and brown unevenly.
2) Let waffles rest on a wire rack briefly rather than stacking them on a plate. When stacked, steam traps between layers and softens the crisp edges. A rack maintains texture and makes for better reheating later.
3) If you want to make the batter ahead, you can mix the dry and wet components separately and combine just before cooking. If mixed fully and refrigerated, the batter may thicken—stir in a tablespoon of milk to adjust before cooking.
Storage & Reheat Guide
- Short-term — Cool waffles completely on a wire rack, then store in an airtight container in the refrigerator for up to 3 days. Reheat in a skillet or toaster oven to restore crispness.
- Long-term — Freeze cooled waffles in a single layer on a tray, then transfer to a freezer bag. They’ll keep for 1–2 months. Reheat directly from frozen in a toaster, toaster oven, or oven at moderate heat until warmed through and crisp.
- Reheating — Avoid the microwave if you care about crisp edges. A 350°F oven for 8–12 minutes (or until hot) or a hot skillet/toaster works best to recover texture.
Reader Q&A
- Can I use full-fat Greek yogurt? — Yes. Full-fat yogurt will make richer waffles with slightly more tenderness and flavor. The recipe proportions remain the same.
- Can I make the batter the night before? — You can, but the batter will thicken in the fridge. Stir in a little milk (a tablespoon at a time) before cooking to loosen it if needed.
- Why use brown sugar instead of white? — Brown sugar contributes moisture and a deeper caramel flavor. White sugar is fine if you prefer a more neutral taste.
- How many waffles does this batter make? — That depends on your waffle iron size. For a standard round Belgian iron, expect multiple waffles; portion size varies by iron capacity.
Make It Tonight
If you want waffles tonight, this is a tolerably quick and reliable option: mix your dry ingredients, loosen the yogurt with milk, fold in the wet, and you’re basically there. Cook waffles for about 3–5 minutes each (depending on your iron) and serve hot with butter, maple syrup, and fresh fruit. Once you find the timing and portioning that work for your waffle iron, these will be on repeat in your kitchen—easy, flexible, and consistently tasty.

Greek Yogurt Waffles
Ingredients
Ingredients
- 2 cupsall purpose flour
- 2 tablespoonspacked brown sugar
- 2 teaspoonsbaking powder
- 1/2 teaspoonground cinnamon
- 1/2 teaspoonsalt
- 1 3/4 cupsplain nonfat Greek yogurt
- 1 cupmilk
- 2 largeeggs
- 4 tablespoonssalted butter melted and cooled
- 1 teaspoonvanilla extract
- butter maple syrup and fresh fruit, for topping (as desired)
Instructions
Instructions
- Preheat your waffle iron according to the manufacturer's instructions (usually to medium-high). Lightly spray the plates with nonstick spray or brush with a thin layer of oil if needed.
- In a large bowl, whisk together 2 cups all-purpose flour, 2 tablespoons packed brown sugar, 2 teaspoons baking powder, 1/2 teaspoon ground cinnamon, and 1/2 teaspoon salt until evenly combined.
- In a separate bowl, whisk 1 3/4 cups plain nonfat Greek yogurt and 1 cup milk until smooth and slightly loosened. Whisk in 2 large eggs until blended, then whisk in 4 tablespoons salted butter (melted and cooled) and 1 teaspoon vanilla extract.
- Pour the wet ingredients into the dry ingredients. Stir gently with a spatula or whisk until just combined; small lumps are okay—do not overmix.
- Spoon or pour batter onto the preheated waffle iron (amount per waffle will depend on your iron). Close the lid and cook until the waffles are golden and cooked through, about 3 to 5 minutes, or according to your waffle iron's instructions.
- Transfer cooked waffles to a plate or wire rack to keep crisp. Serve immediately topped with butter, maple syrup, and fresh fruit as desired.
Equipment
- Waffle Iron
- Large Bowl
- Whisk
- Spatula
- Measuring Cups
- Measuring Spoons
- Wire Rack


