
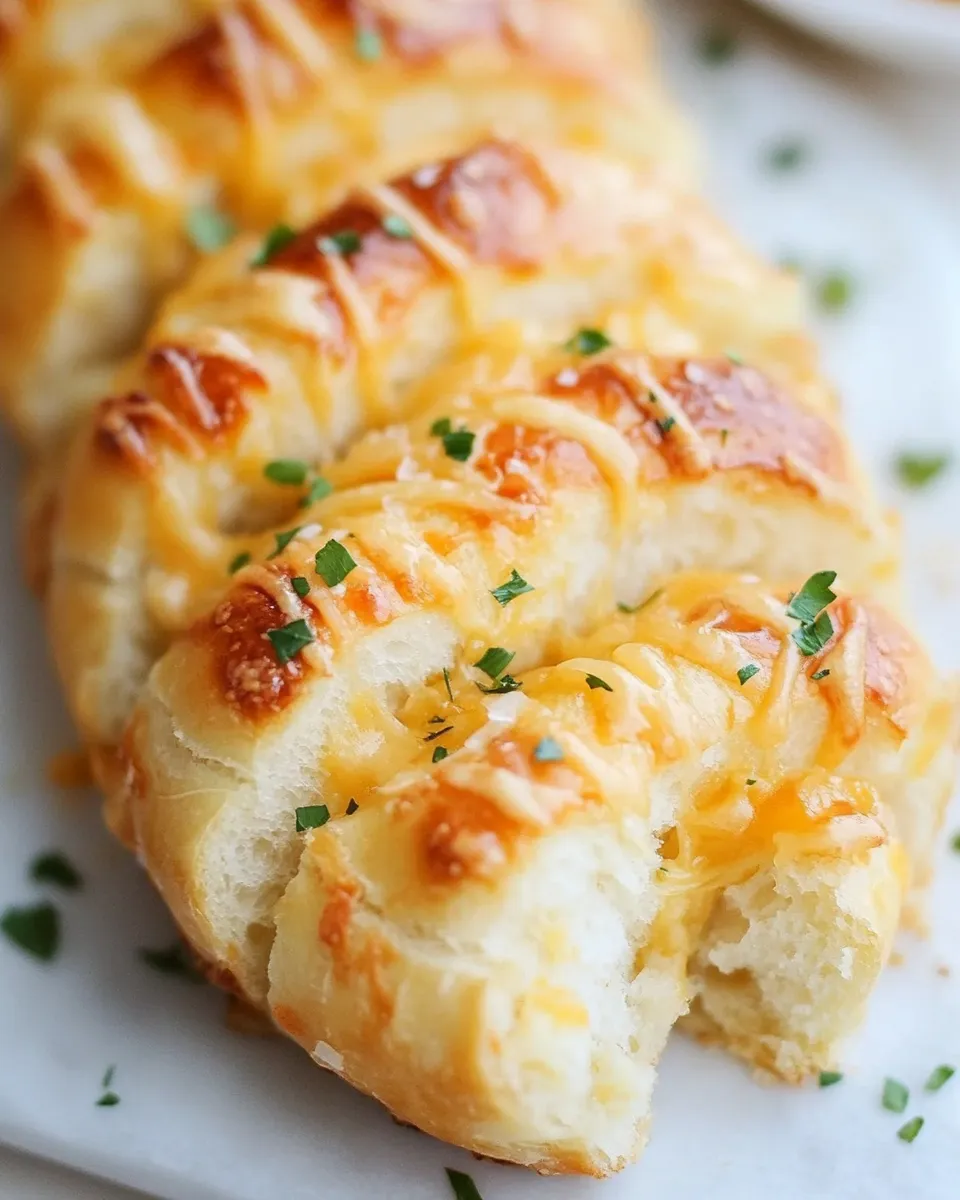
This recipe turns a simple baguette idea into something irresistibly gooey, crisp, and fragrant. You’ll work through a straightforward dough, make strategic slices, push cheese into the gaps, and end up with pull-apart pieces that are perfect for sharing or serving alongside a bowl of soup or a salad. The method is forgiving, and the flavors are classic: sharp cheddar, garlic-herb butter, and a crunchy golden crust.
I’ll walk you through each step, from proofing the yeast to stuffing the cheese and finishing the bake. Expect a bit of hands-on time up front and a short resting time while dough doubles. The result holds well for leftovers and freezes nicely if you want to prepare ahead. Follow the steps closely for reliably great texture and even cheese distribution.
There are no tricks hidden here—just clear stages and practical tips for getting even slices, the right rise, and the best bake. Read the equipment and troubleshooting sections before you start so you can avoid common slip-ups and get maximum melty, garlicky reward.
Ingredient Rundown
Ingredients
- 1 cup warm water — warms the yeast and dissolves the honey; should feel like warm bath water, not hot.
- 1 tablespoon honey — feeds the yeast and adds a touch of sweetness that rounds the crust color and flavor.
- 2 1/4 teaspoons active dry yeast — the leavening agent; standard packet amount for this dough.
- 1 teaspoon salt — essential for flavor and dough structure; don’t skip or reduce too much.
- 3 cups bread flour — gives structure and chew; bread flour’s higher protein helps the loaf hold shape.
- 1/3 pound (151 g) sharp yellow cheddar cheese, or any other cheese you prefer, shredded — the melty filling; sharp cheddar gives a strong, savory profile.
- 3/4 cup garlic herb butter, melted — brushed into slices and on top for flavor and moisture; melted helps it penetrate.
- Olive oil, for greasing surfaces — keeps dough from sticking during shaping and the baking sheet greased.
Make Hasselback Cheesy Garlic Bread: A Simple Method
Method
- Attach the dough hook to your stand mixer. Pour 1 cup warm water, 1 tablespoon honey, and 2 1/4 teaspoons active dry yeast into the mixer bowl. Stir briefly, then let sit 5 minutes until the yeast is foamy.
- Add 1 teaspoon salt and 3 cups bread flour to the bowl, adding the flour in 1/4-cup increments while mixing on low speed. Mix until a shaggy dough forms.
- Increase the mixer speed slightly and knead with the dough hook for 5 minutes, until the dough pulls away from the sides of the bowl and feels slightly tacky but does not leave a sticky residue on your fingers when you poke it.
- Lightly coat the inside of a clean bowl with olive oil. Shape the dough into a ball, place it in the oiled bowl, turn once to coat the top with oil, and cover the bowl with a towel. Let the dough rise in a warm place for about 1 hour, or until doubled in size.
- After the first rise, punch the dough down gently and divide it into 6 to 8 equal portions. On a lightly oiled surface, shape each portion into a long baguette roughly the length of your baking sheet. If the dough wants to shrink, gently stretch and twist each piece once or twice to tighten and maintain length.
- Place the shaped loaves on a baking sheet lightly greased with olive oil. Cover them loosely with plastic wrap and let them rise a second time for 30 minutes while you preheat the oven to 400°F (204°C).
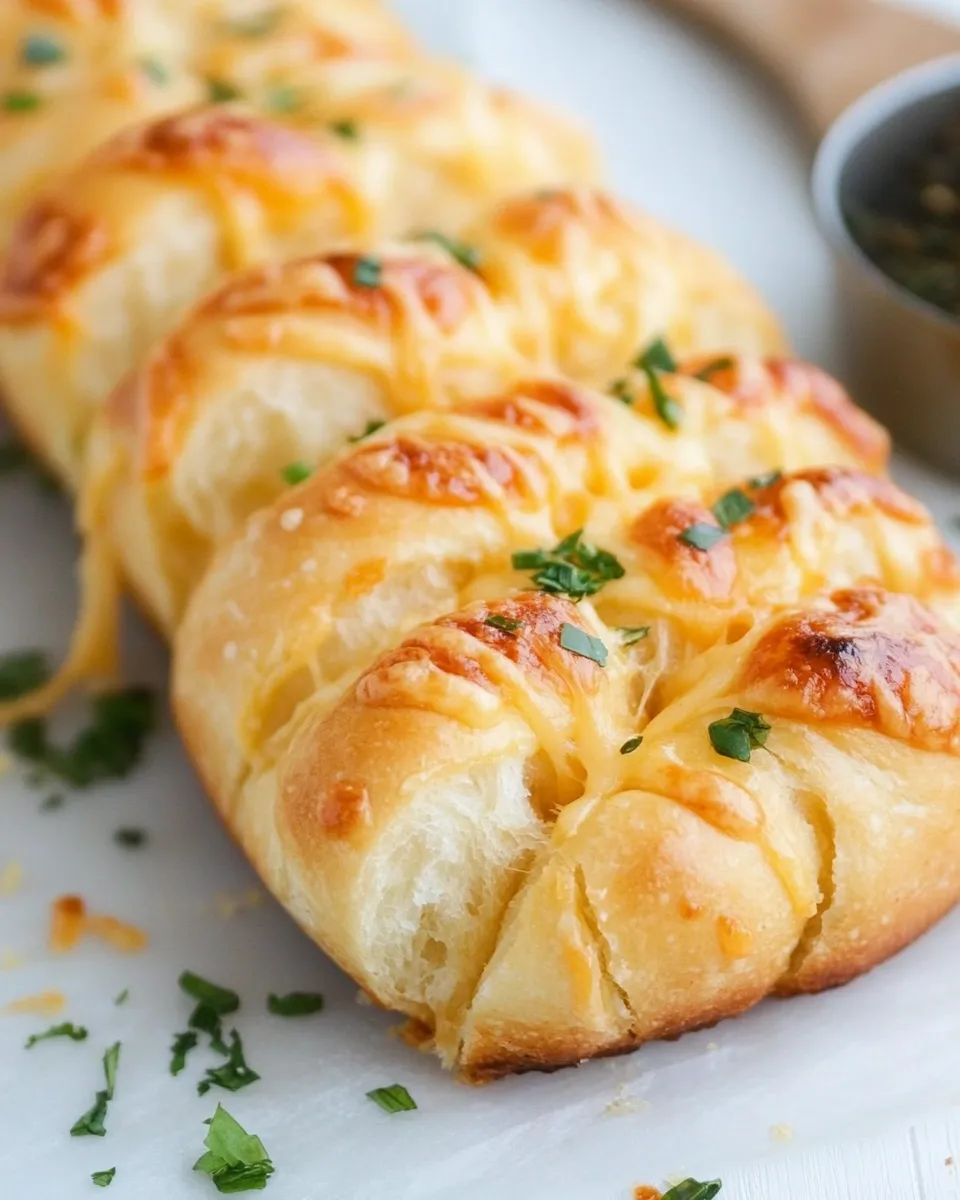
- After the second rise, remove the plastic wrap. Using a sharp knife, make 1-inch (2.5 cm) spaced cuts across each loaf, slicing about three-quarters of the way through (do not cut all the way through).
- Brush the loaves generously with the melted 3/4 cup garlic herb butter, making sure some butter gets between the slices. Divide the 1/3 pound (151 g) shredded cheddar evenly and stuff the cheese into the gaps between the slices.
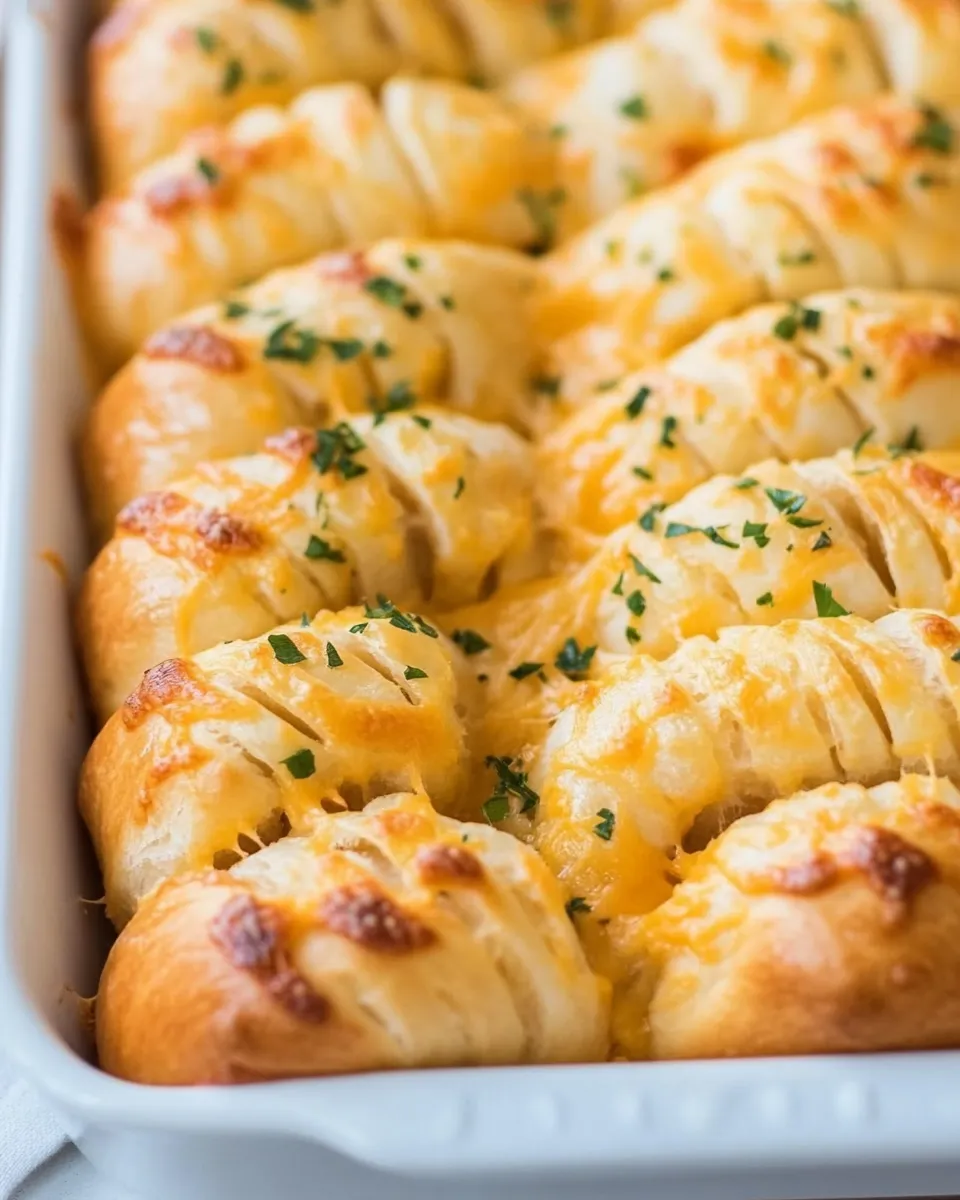
- Bake the filled loaves on the prepared baking sheet at 400°F (204°C) for 18–25 minutes, or until the crust is golden brown and the cheese is melted.
- Remove the loaves from the oven and, if any garlic herb butter remains, brush the tops. Let the loaves cool on a rack for about 10–15 minutes before serving so the cheese firms slightly and the slices hold together. Serve warm.
Why You’ll Love This Recipe
This version combines the tactile satisfaction of slicing a loaf with the payoff of gooey cheese tucked into every cut. Texture is a highlight: a crisp, golden exterior with a tender, slightly chewy crumb. The garlic-herb butter soaks into the cuts and flavors each bite without making it soggy.
It’s crowd-friendly. Slice it at the table and let people pull off pieces, or serve it alongside pasta and salads. The method also scales—make fewer or more loaves depending on your guest count, and the shaping is forgiving for home bakers who are still learning to read dough.
International Equivalents

Variants of stuffed or flavored bread appear worldwide. Think of Korean hotteok (savory or sweet filled pancakes) or Turkish pide topped and folded—both rely on a stuffed or topped bread concept. Garlic and cheese baked into bread are common across Western cuisines: similar comforting outcomes are found in Italian garlic-studded focaccia when layered with cheese, or the Portuguese bifana sandwich when richer spreads are used.
If you’re looking to match local pantry items, swap cheddar for locally made semi-hard cheeses or use a herb butter local to your area. The technique—scoring, buttering, stuffing—translates easily across culinary traditions.
Before You Start: Equipment
- Stand mixer with dough hook — recommended for consistent kneading; you can knead by hand if needed but expect longer time and more effort.
- Sharp knife or bench scraper — for clean, even 1-inch cuts; a serrated knife can tear the dough, so use a sharp chef’s knife if possible.
- Baking sheet — wide enough to hold the loaves without crowding so air circulates for a crisp crust.
- Silicone brush — handy for brushing garlic herb butter into the cuts and over the tops.
- Kitchen scale or measuring cups — the recipe lists both weight and volume for cheese; scale gives more consistency.
- Cooling rack — lets the underside of the loaf stay crisp after baking.
Mistakes Even Pros Make
- Cutting too deep — if you slice all the way through the loaf, the cheese will leak out and the structure collapses.
- Not proofing the yeast enough — skipping the 5-minute foam check can leave you with under-risen dough; always look for foam.
- Using cold butter — unmelted or too-cold butter won’t penetrate the slices; use melted garlic herb butter as instructed.
- Overcrowding the pan — loaves need space to get hot and brown; give each loaf room for air circulation.
Adaptations for Special Diets
- Gluten-free — use a reliable gluten-free bread flour blend and follow the blend’s recommendations for hydration and binders. Shape and bake times may vary; expect a denser crumb.
- Dairy-free / Vegan — replace the garlic herb butter with a vegan garlic spread and use a dairy-free shredded cheese alternative. Texture and flavor will differ, but the technique remains the same.
- Lower-sodium — reduce the salt slightly, but keep in mind salt controls yeast activity and flavor; adjust yeast or proofing if you change salt significantly.
- Make-ahead — you can shape and refrigerate the loaves overnight after the first rise; bring them back to room temperature and allow the second rise before scoring and baking.
Insider Tips
- Sharp knife, steady hand — rest the loaf on a damp towel or hold it steady with your knuckles as a guard if you’re worried about cutting too deep.
- Butter between slices — use the tip of a pastry brush or spoon to push some melted butter into each gap so every bite is flavorful.
- Cheese placement — larger shreds can be tucked in whole; finely shredded cheese melts faster and fills gaps more evenly.
- Finish under broiler briefly — if the tops haven’t browned to your liking, 30–60 seconds under a hot broiler will crisp them, but watch closely.
- Let it rest — cool 10–15 minutes so the cheese firms slightly. Serving too hot will mean a runny, fragile slice.
Refrigerate, Freeze, Reheat
Refrigerate leftover slices wrapped tightly in foil or airtight containers for up to 3 days. To reheat, cover with foil and warm in a 325°F (160°C) oven for 10–15 minutes until heated through.
To freeze, wrap whole loaves or individual portions in plastic wrap and foil, then store in a freezer bag for up to 2 months. Reheat from frozen: unwrap and place on a baking sheet, cover with foil, and bake at 350°F (175°C) for 20–30 minutes, then uncover and bake an extra 5–10 minutes to re-crisp the crust and melt cheese.
Common Questions
- Can I use instant yeast instead of active dry? — Yes. If using instant yeast, you can mix it directly with the flour and reduce the initial warm-water proof step; however, the recipe’s proof step is useful for confirming yeast activity.
- What if my dough is sticky after kneading? — Light tack is fine. Dust your hands or the surface sparingly with a little flour if shaping is difficult. Too much extra flour will make the bread dense.
- Can I use store-bought baguettes? — You can, but the recipe above is for made-from-scratch loaves. If using store-bought bread, score, butter, stuff cheese, and bake—adjust bake time since pre-baked bread only needs reheating and melting.
- How do I prevent the cheese from burning? — Slide a piece of foil loosely over the loaves if the cheese or butter starts to darken too quickly. Remove foil near the end to re-crisp the crust.
Save & Share
If you try this, save the recipe and jot down any small changes you made (different cheese, bake time, or a switch to plant-based butter). It helps you repeat the results you loved. Share a photo with friends or tag me if you post it—there’s nothing better than seeing someone else’s golden, cheesy pull-apart success.

Hasselback Cheesy Garlic Bread
Ingredients
Ingredients
- 1 cupwarm water
- 1 tablespoonhoney
- 2 1/4 teaspoonsactive dry yeast
- 1 teaspoonsalt
- 3 cupsbread flour
- 1/3 pound 151 gsharp yellow cheddar cheese, or any other cheese you prefer, shredded
- 3/4 cupgarlic herb butter melted
- olive oil for greasing surfaces
Instructions
Instructions
- Attach the dough hook to your stand mixer. Pour 1 cup warm water, 1 tablespoon honey, and 2 1/4 teaspoons active dry yeast into the mixer bowl. Stir briefly, then let sit 5 minutes until the yeast is foamy.
- Add 1 teaspoon salt and 3 cups bread flour to the bowl, adding the flour in 1/4-cup increments while mixing on low speed. Mix until a shaggy dough forms.
- Increase the mixer speed slightly and knead with the dough hook for 5 minutes, until the dough pulls away from the sides of the bowl and feels slightly tacky but does not leave a sticky residue on your fingers when you poke it.
- Lightly coat the inside of a clean bowl with olive oil. Shape the dough into a ball, place it in the oiled bowl, turn once to coat the top with oil, and cover the bowl with a towel. Let the dough rise in a warm place for about 1 hour, or until doubled in size.
- After the first rise, punch the dough down gently and divide it into 6 to 8 equal portions. On a lightly oiled surface, shape each portion into a long baguette roughly the length of your baking sheet. If the dough wants to shrink, gently stretch and twist each piece once or twice to tighten and maintain length.
- Place the shaped loaves on a baking sheet lightly greased with olive oil. Cover them loosely with plastic wrap and let them rise a second time for 30 minutes while you preheat the oven to 400°F (204°C).
- After the second rise, remove the plastic wrap. Using a sharp knife, make 1-inch (2.5 cm) spaced cuts across each loaf, slicing about three-quarters of the way through (do not cut all the way through).
- Brush the loaves generously with the melted 3/4 cup garlic herb butter, making sure some butter gets between the slices. Divide the 1/3 pound (151 g) shredded cheddar evenly and stuff the cheese into the gaps between the slices.
- Bake the filled loaves on the prepared baking sheet at 400°F (204°C) for 18–25 minutes, or until the crust is golden brown and the cheese is melted.
- Remove the loaves from the oven and, if any garlic herb butter remains, brush the tops. Let the loaves cool on a rack for about 10–15 minutes before serving so the cheese firms slightly and the slices hold together. Serve warm.
Equipment
- Stand mixer
- dough hook
- Mixing Bowl
- clean bowl
- Baking Sheet
- Plastic Wrap
- Oven
- Cooling rack
- Sharp Knife
- Pastry Brush
Notes
You can make the garlic herb butter at home using
my recipe here
.


