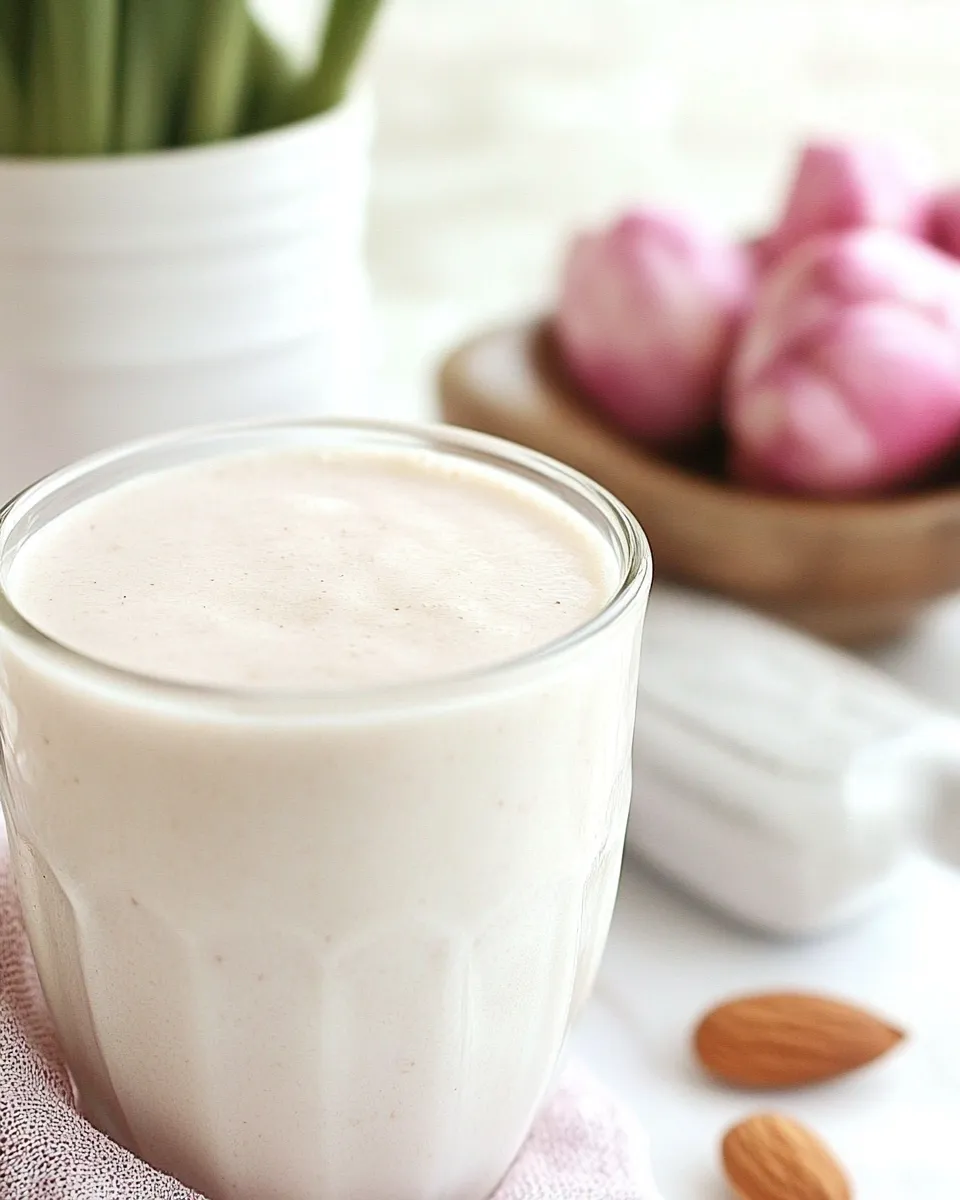
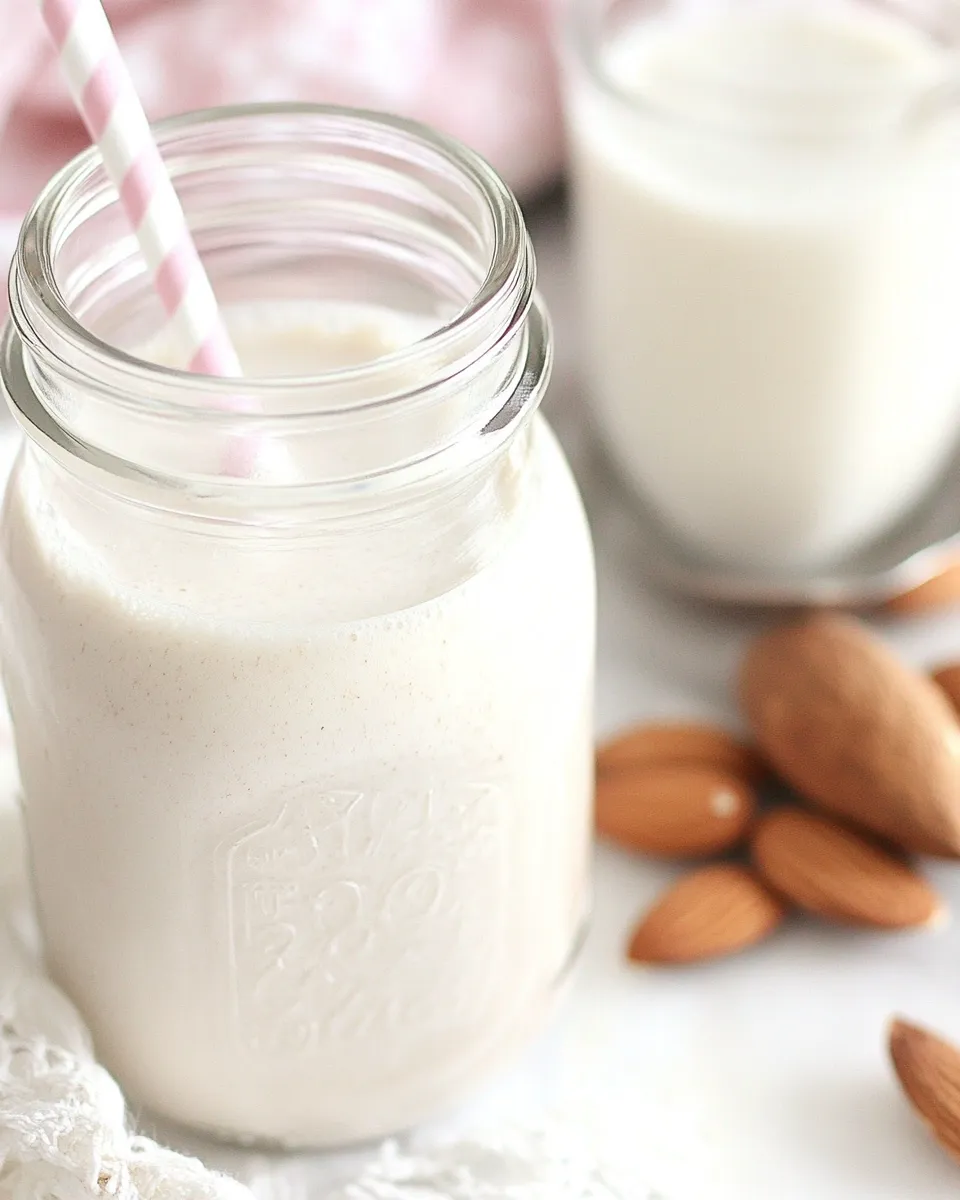
I make almond milk at home more often than I buy it. It’s fresher, cleaner, and you control exactly what goes into the jar. The process takes a little planning (soak the almonds) and a blender, but the result is worth it—silky, fragrant almond milk with a gentle sweetness.
This post is practical: clear steps, the exact ingredients you’ll need, and the traps I see readers fall into. No fluff. Just straightforward guidance so your first batch is as good as the fifth.
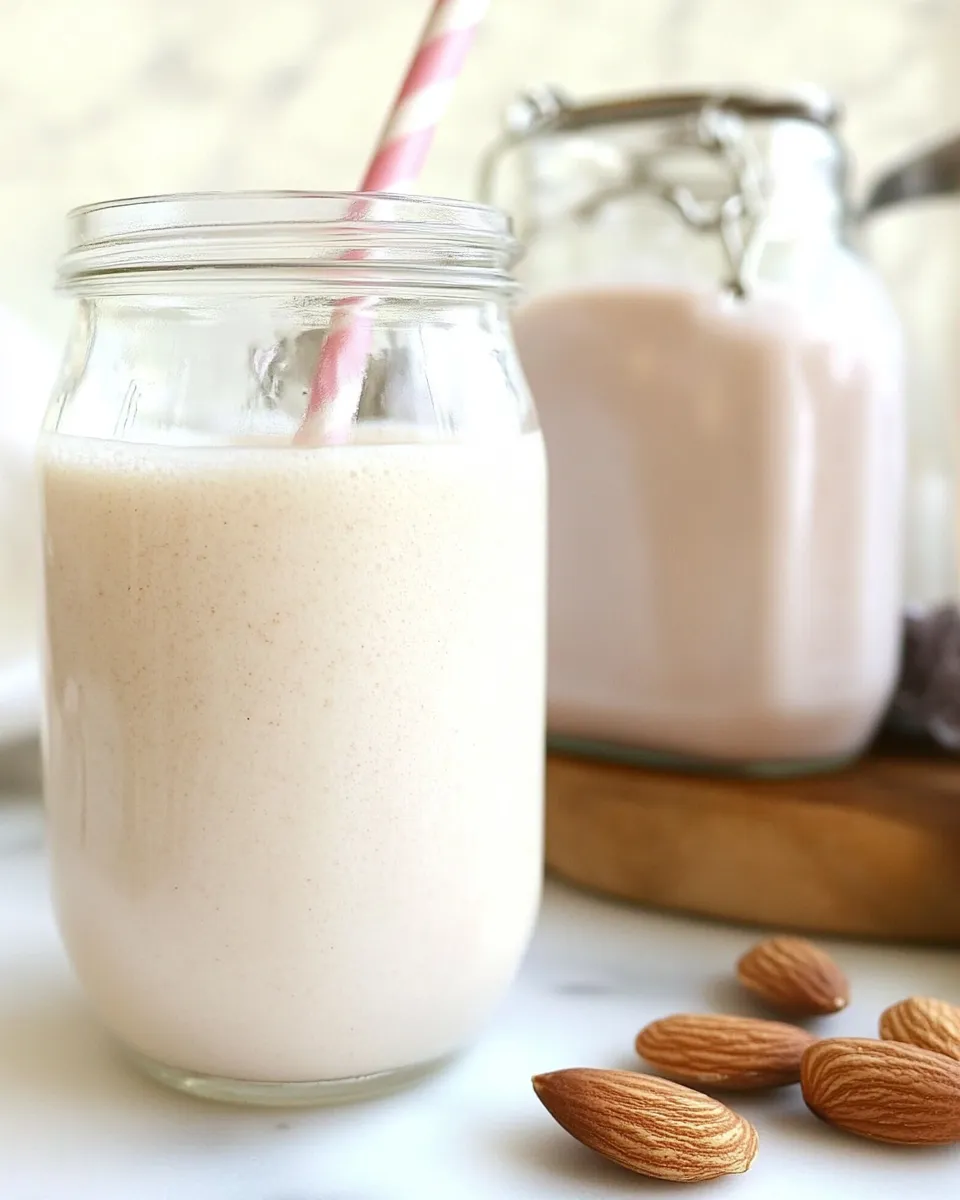
Keep one thing in mind: homemade almond milk separates naturally. Shake and use. It’s normal. Read on for the ingredients, the method you’ll follow step by step, and tips to make this a weekly habit.
What Goes Into Homemade Almond Milk
- 1 cup organic raw almonds — the base; soak these to soften and reduce bitterness.
- 2 tablespoons agave nectar or honey — sweetener choice; use agave to keep it vegan, honey for a rounder sweetness.
- 1/2 teaspoon vanilla extract — flavor lift; purely optional but makes the milk taste bakery-fresh.
- 4 cups filtered water, plus extra for soaking — main liquid; filtered water keeps the flavor pure and extends fridge life.
The Method for Homemade Almond Milk
- Place 1 cup raw almonds in a large bowl and cover with enough water to fully submerge them. Soak at least 4 hours, up to 2 days (overnight is ideal).
- Drain and rinse the soaked almonds under cool running water. Discard the soaking liquid.
- Put the drained almonds into a blender. Add 4 cups filtered water, 2 tablespoons agave nectar or honey, and 1/2 teaspoon vanilla extract.
- Blend on high until the mixture is uniformly smooth and milky and the almonds are broken into very small pieces (about 1–2 minutes or longer as needed).
- Set a fine-mesh strainer over a large bowl and line the strainer with cheesecloth.
- Pour the blended mixture through the cheesecloth-lined strainer in batches if needed. Let the liquid drain, then gather the cheesecloth and gently squeeze or twist to extract as much milk as possible. Use a spoon to help press the pulp if it’s slow to drain.
- Transfer the strained almond milk to a sealed container and refrigerate until ready to drink. Put the remaining almond pulp into a separate container for another use or discard.
The Upside of Homemade Almond Milk
Making almond milk at home gives you control. You choose the sweetener (or none at all), avoid stabilizers, and skip additives like carrageenan. The milk tastes fresher—nutty, slightly sweet, and aromatic from the vanilla.
It’s economical in the long run if you buy almonds in bulk, and the leftover pulp is useful: add it to smoothies, baked goods, or dry it for almond meal. The rhythm of soaking and blending is simple, and once you have the routine down it’s a quick morning chore.
Finally, homemade almond milk is kinder to your palate if store-bought varieties upset you—no hidden gums or odd aftertastes. You can tailor texture and sweetness every single time.
Texture-Safe Substitutions
- Thicker milk: blend with a touch less water or add a few additional almonds (no exact amounts given here — adjust by small increments and taste).
- Thinner milk: increase the water slightly. A thinner pour works well for cereal or smoothies.
- Sweetener swaps: natural syrups (agave, maple), or leave it unsweetened. If you need it vegan, skip honey and use agave or maple.
- Flavor swaps: a pinch of cinnamon or a date (pitted) blended in will change the profile without affecting basic technique.
Tools of the Trade
- High-speed blender — makes the smoothest milk and extracts flavor efficiently.
- Fine-mesh strainer and cheesecloth — cheesecloth yields the creamiest milk; a nut milk bag is an easy alternative if you have one.
- Large bowl — to catch the milk while you strain.
- Sealable bottle or jar — for storing the milk in the fridge.
- Sharp spoon or spatula — to help press pulp when needed.
Frequent Missteps to Avoid
- Skipping the soak — this results in bitter, gritty milk. Soak at least four hours; overnight is best.
- Using chlorinated tap water — it can add off flavors. Filtered water keeps the taste pure.
- Overfilling the blender — blend in batches if your blender is small to avoid underprocessing.
- Throwing away the pulp immediately — it’s useful. Save it for baking, oatmeal, or crackers.
- Expecting no separation — almond milk separates naturally; a quick shake before pouring fixes it.
Adaptations for Special Diets
Because the base ingredients are simple, this recipe adapts well:
- Vegan: choose agave nectar (or omit sweetener). The rest of the recipe is naturally plant-based.
- Low-sugar: omit the 2 tablespoons of agave nectar or honey, or use a no-calorie sweetener if you prefer.
- Dairy-free: this is a dairy-free option by design—great if you’re lactose-intolerant.
- Nut-free: if you have a nut allergy, don’t substitute with almonds. Try oat or soy milk recipes instead; those change the technique slightly and are separate recipes.
Behind the Recipe
I started making almond milk because store-bought versions tasted flat and left a chalky finish. The secret is simple: soak, blend well, and strain patiently. Soaking softens the almonds and releases oils gently. A strong blend breaks the nuts down completely so you extract a silky milk.
That vanilla extract is a small flourish that makes the milk feel homemade-bakery level. The choice of sweetener is up to you; I prefer a mild sweet note—not cloying, just enough to round out the almond flavor.
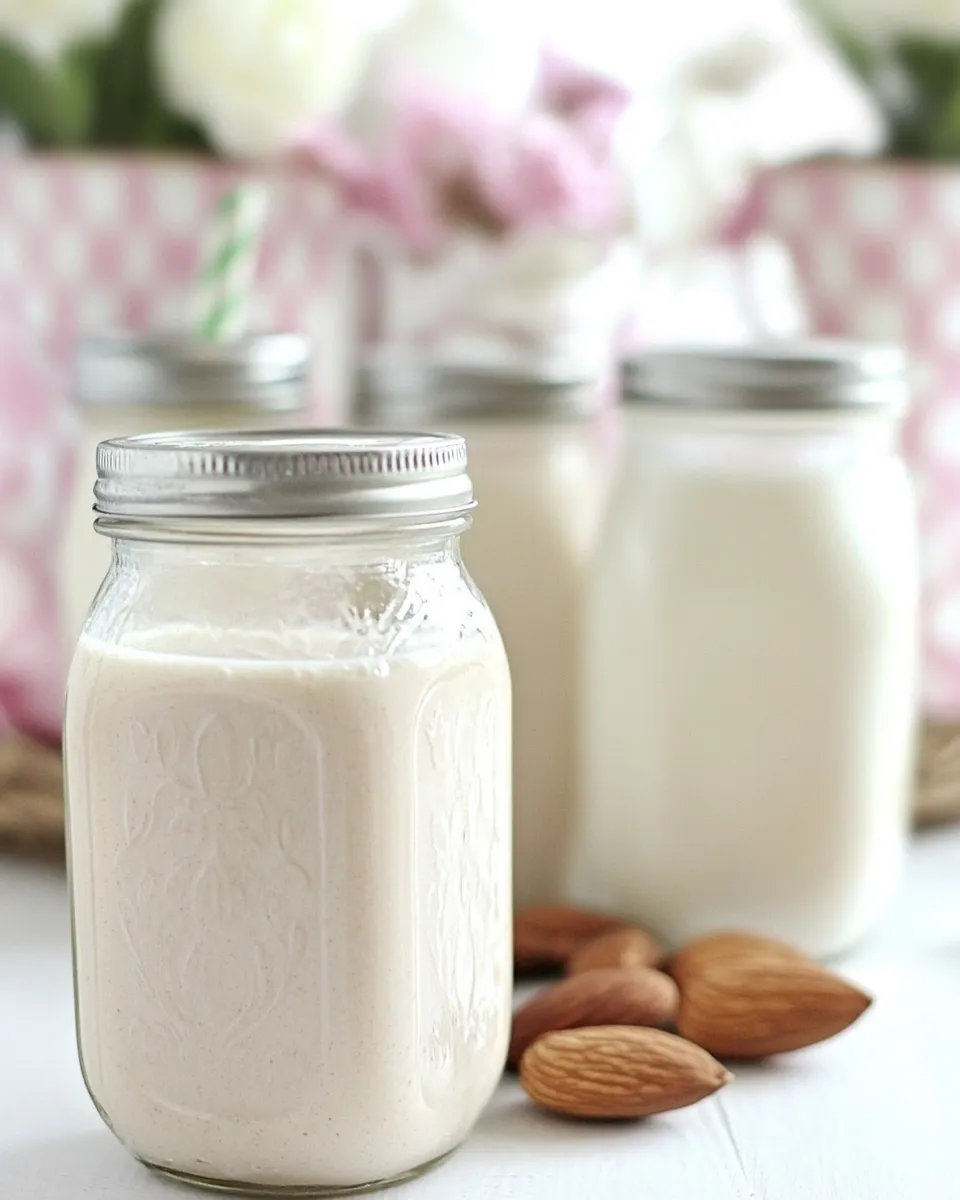
Storing Tips & Timelines
- Refrigerate in a sealed container immediately after straining. Fresh almond milk will keep for about 3–5 days in the fridge.
- Shake before using—the milk separates naturally. Use a tight lid and give it a good swirl or shake.
- Freeze cautiously: you can freeze almond milk in ice cube trays for smoothies, but the texture changes after freezing and thawing, so it’s not recommended for drinking straight.
- Label the jar with the date you made it. Homemade doesn’t last as long as store-bought because it lacks preservatives.
Troubleshooting Q&A
- Q: My milk tastes bitter. A: You likely didn’t soak long enough or used water that tasted off. Soak at least 4 hours and use filtered water.
- Q: My milk is grainy. A: Blend longer. A high-speed blender helps; strain thoroughly through cheesecloth or a nut milk bag.
- Q: The milk separates and looks thin. A: That’s normal. Homemade almond milk lacks emulsifiers. Shake before pouring. To slightly reduce separation, blend in a small date or a tablespoon of neutral oil, but that changes flavor and ingredient list.
- Q: How do I use the pulp? A: Spread it on a sheet to dry for almond meal, add to muffins or pancakes, or stir into oatmeal for extra fiber.
Next Steps
Try this recipe twice: once exactly as written, and once with one small change (less water for thicker milk, or no sweetener). Compare. You’ll notice how small adjustments change the texture and flavor.
When you have leftover pulp, don’t toss it. Fold it into cookie dough, toss with oats for breakfast, or dry it to make almond flour. If you want to scale up, double the recipe but blend in batches so your blender can do the job.
If you liked this method, save it. It’s a reliable routine: soak overnight, blend in the morning, strain, and keep a fresh jar in the fridge. Homemade almond milk is a small ritual with a big reward—clean flavor and satisfying results.

Homemade Almond Milk
Ingredients
Ingredients
- ?1 cuporganic raw almonds
- ?2 tablespoonsagave nectar or honey
- ?1/2 teaspoonvanilla extract
- ?4 cupsfiltered water plus extra for soaking
Instructions
Instructions
- Place 1 cup raw almonds in a large bowl and cover with enough water to fully submerge them. Soak at least 4 hours, up to 2 days (overnight is ideal).
- Drain and rinse the soaked almonds under cool running water. Discard the soaking liquid.
- Put the drained almonds into a blender. Add 4 cups filtered water, 2 tablespoons agave nectar or honey, and 1/2 teaspoon vanilla extract.
- Blend on high until the mixture is uniformly smooth and milky and the almonds are broken into very small pieces (about 1–2 minutes or longer as needed).
- Set a fine-mesh strainer over a large bowl and line the strainer with cheesecloth.
- Pour the blended mixture through the cheesecloth-lined strainer in batches if needed. Let the liquid drain, then gather the cheesecloth and gently squeeze or twist to extract as much milk as possible. Use a spoon to help press the pulp if it’s slow to drain.
- Transfer the strained almond milk to a sealed container and refrigerate until ready to drink. Put the remaining almond pulp into a separate container for another use or discard.
Equipment
- Large Bowl
- Blender
- Fine-mesh strainer
- cheesecloth
- Spoon
- sealed container